Note: These steps will only work on Windows machines. If you have a Mac, you need to install a virtual machine first. If you need help or run into errors, contact the McCombs Service Desk.
1. Navigate to https://azureforeducation.microsoft.com/devtools and hit the sign in button.
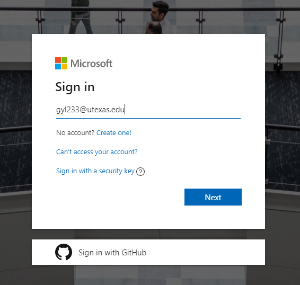
2. In the sign in window, enter in your utexas email and hit next. If you are already logged in, skip to step 4.
3. The page should redirect to a UT sign in page. Enter in your eid and password, and confirm the DUO authentication as well.
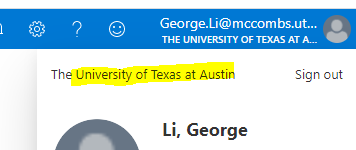
4. Once logged in successfully, click the user icon on the top right to make sure it says "University of Texas at Austin."
5. Under "Learning Resources"on the left sidebar, click on "Software." In the search bar, search for "project." Click on the result Project Professional 2019 (Windows Only).

7. In the right sidebar that pops up, hit Download at the very bottom. Keep this window open because you will need to enter a license key in later. The file will take about 20 minutes to download depending on your connection.
8. Once the file is downloaded, you should be able to click on it to open it. Run Setup.exe that is inside the file you downloaded and follow the steps to complete the installation.
9. Once the installation is finished, launch Microsoft Project. It will ask you for a license key. Go back to the webpage where you downloaded Project from earlier and click on "View Key". Copy this key and enter it into MS Project.
