The first step of the manufacturing process involved 3D printing the parts that were sketched as engineering drawings. As mentioned earlier, the teaching assistant printed these for me because I did not have access to a 3D printer while working remotely. These 3D printed parts were made out of hard plastic and were relatively easy to fit together and construct.
A large wooden board was obtained to mount the entire mechanism on. First, the pink 3D printed ground block and the slider path were glued onto the board. These were in their accurate positions as calculated earlier from the design process. Next, the three black links all fit together like LEGO pieces, and the tip of the first input link from this assembly fit onto the pink block that was glued onto the board. The tip of the third link fit the slider block, and this slider block comfortably fit into the slider path. Since the second slotted link is constrained, a proper constraint had to be fitted. I chose the constraint to be a metal screw that was about the same diameter of the slotted link, and drilled a hole into the board at the accurate position of the constraint. The metal screw then comfortably fit through the slotted link and was grounded in the hole. A photograph of the completed initial assembly is shown below:

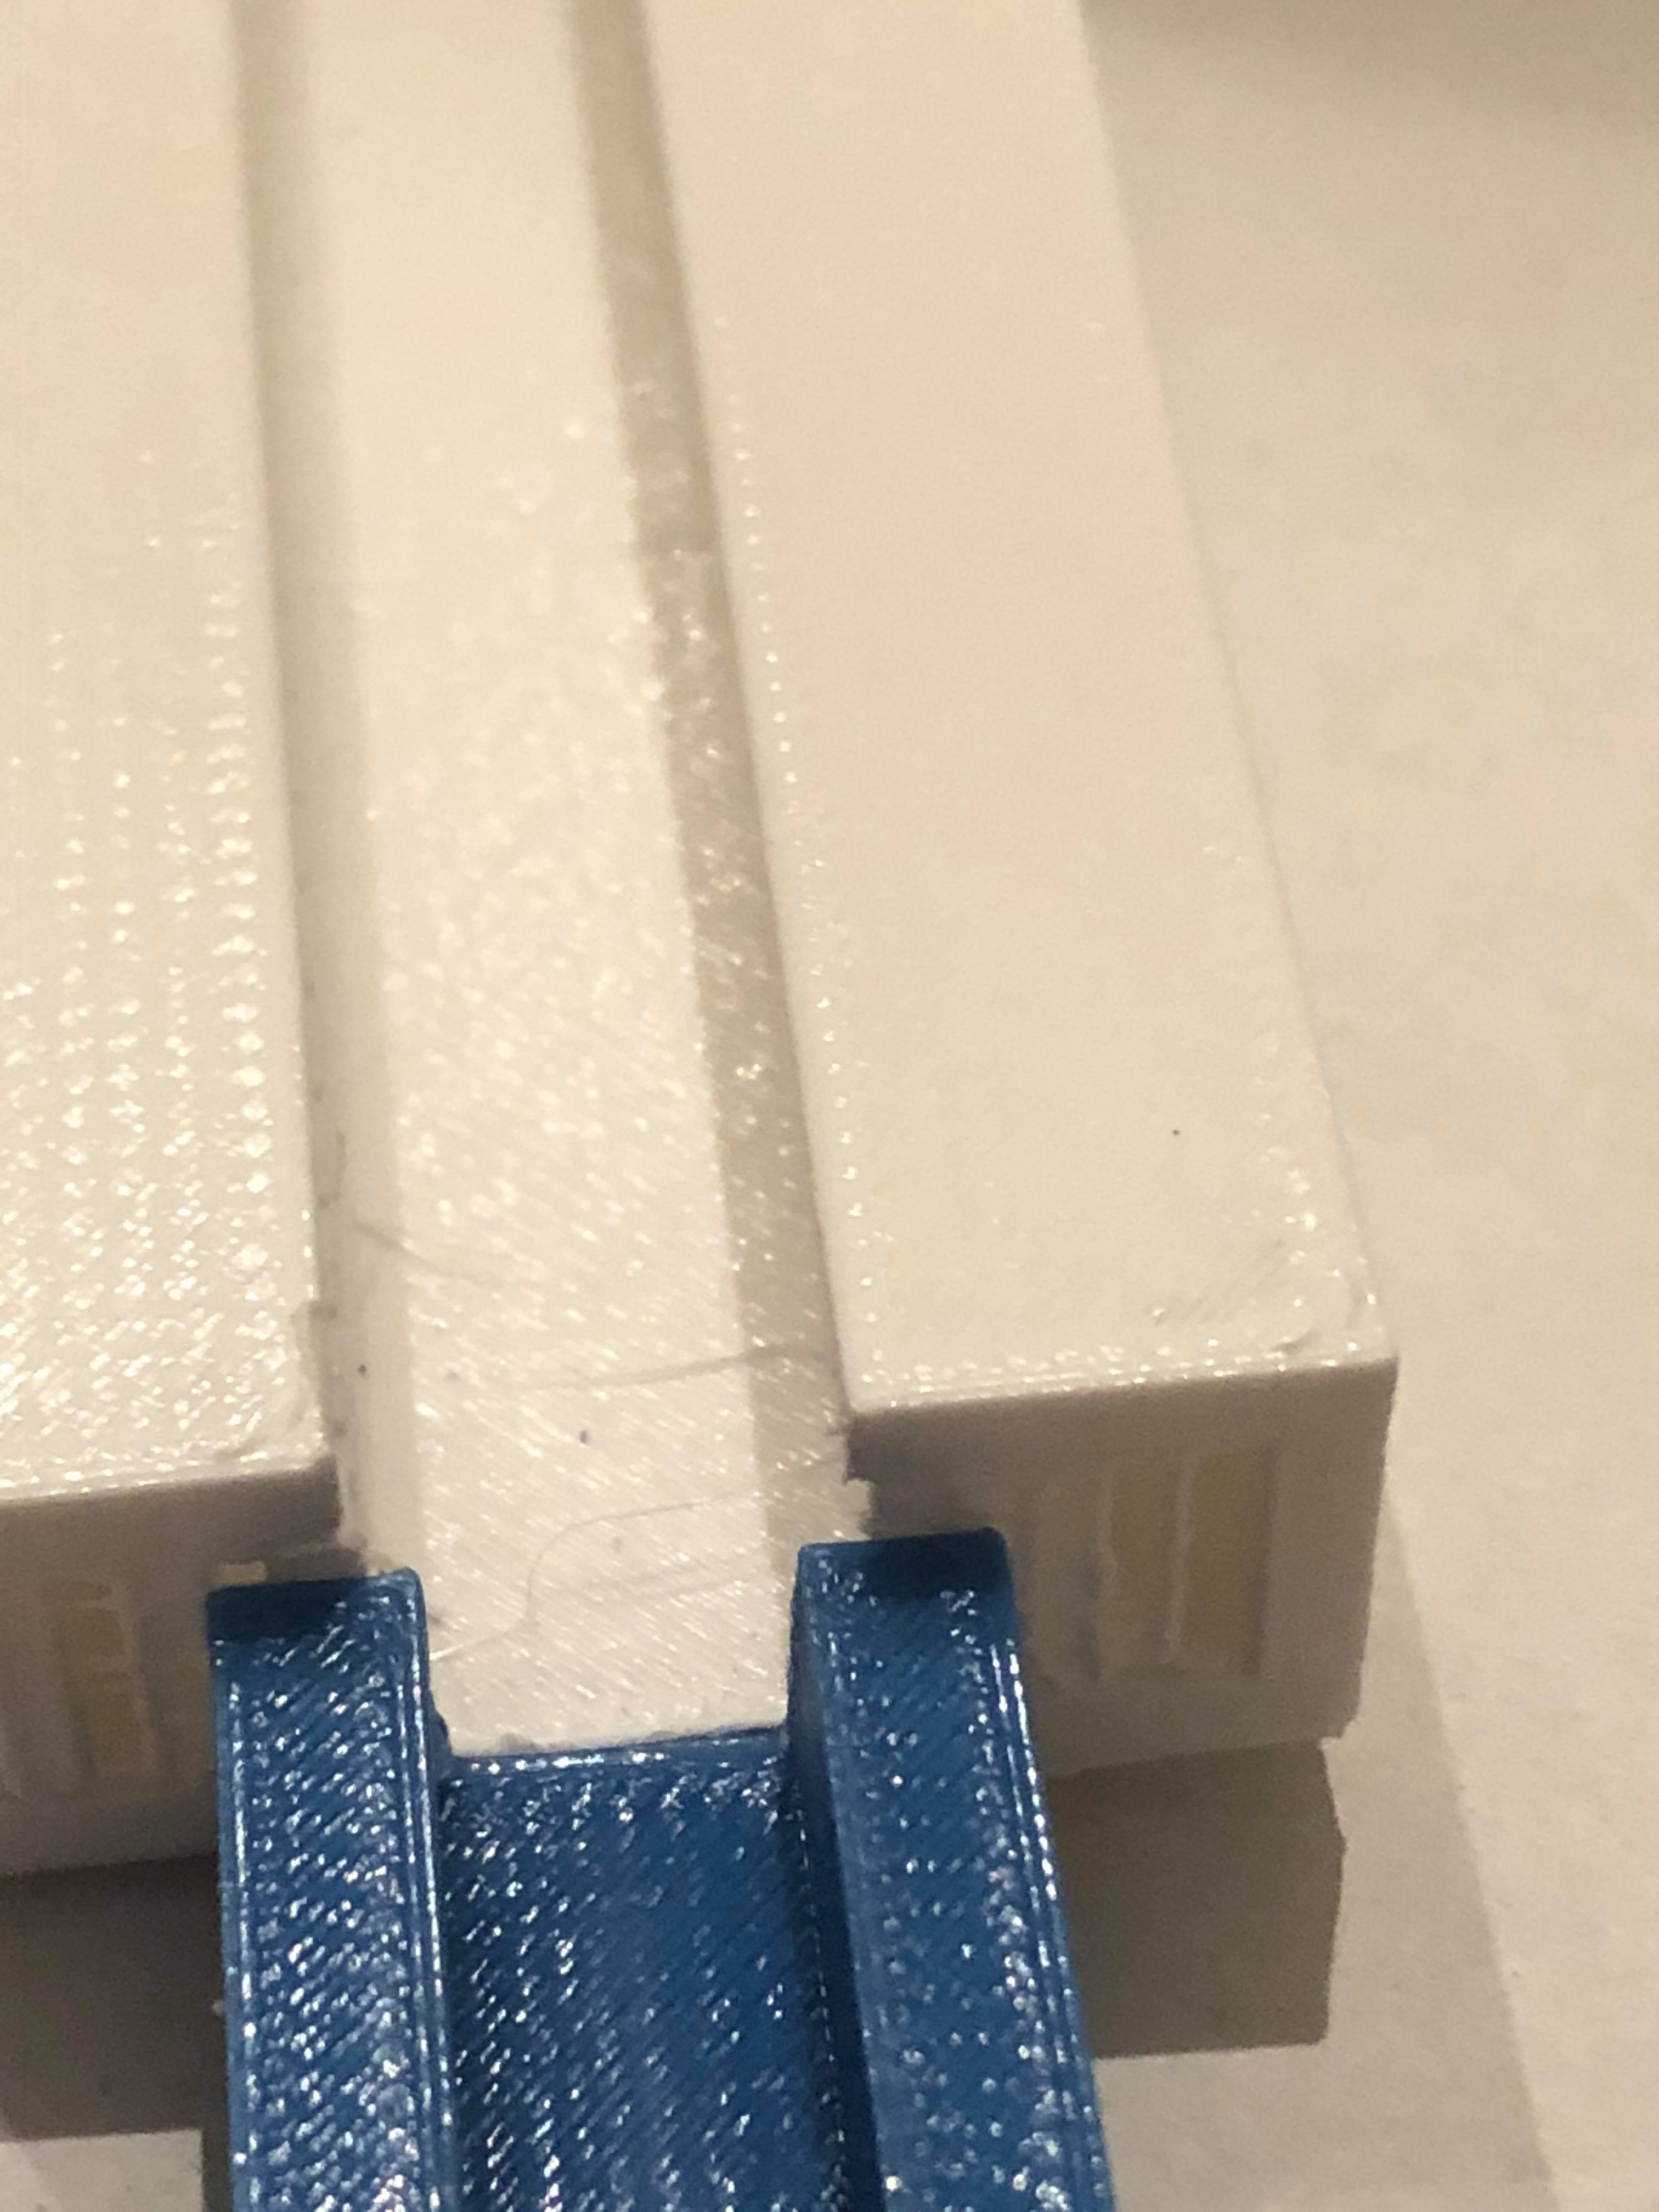
Initially, there was an obstacle that had to be overcome with the construction of the assembly. There was a 3D printing error, and the two sections of the slider path were not equal in width and elevation. This would have made it extremely difficult for the slider block to move from one section of the slider path to the other. This concern is shown in the photograph below.
To fix this, I laid two solid wooden sticks into the path of the white slider path, and had three layers of this in height to close the elevation gap between the blue and white sections. Also, I used a nail filer to round out the edges where the two sections met. This was done to make the slider block move much more comfortably when going from the white section of the slider path to the blue section and the other way around. This improvement in the slider path is showcased in the photograph below:

In addition to this improvement for the slider path, I used sandpaper at all of the connected joints for the parts to fit more comfortably and with less stress. Also, I applied petroleum jelly in the slider path and at all joints of the mechanism to reduce friction and allow the mechanism to move more freely. I recorded a video of this initial prototype which is shown below: