Step-by-step guide
- Once you have 'printed' your job, it will show up in the queue of the laser cutter machine, which can be accessed using the button near the top:
- Here, the most recent jobs sent to the laser cutter machine will appear at the top of the queue. If you would like, you can trace a bounding box of the linework to confirm its positioning by first pressing the middle button near the bottom to toggle the laser-pointer, and then, with the job selected, pressing the 'Trace' button near the bottom right:
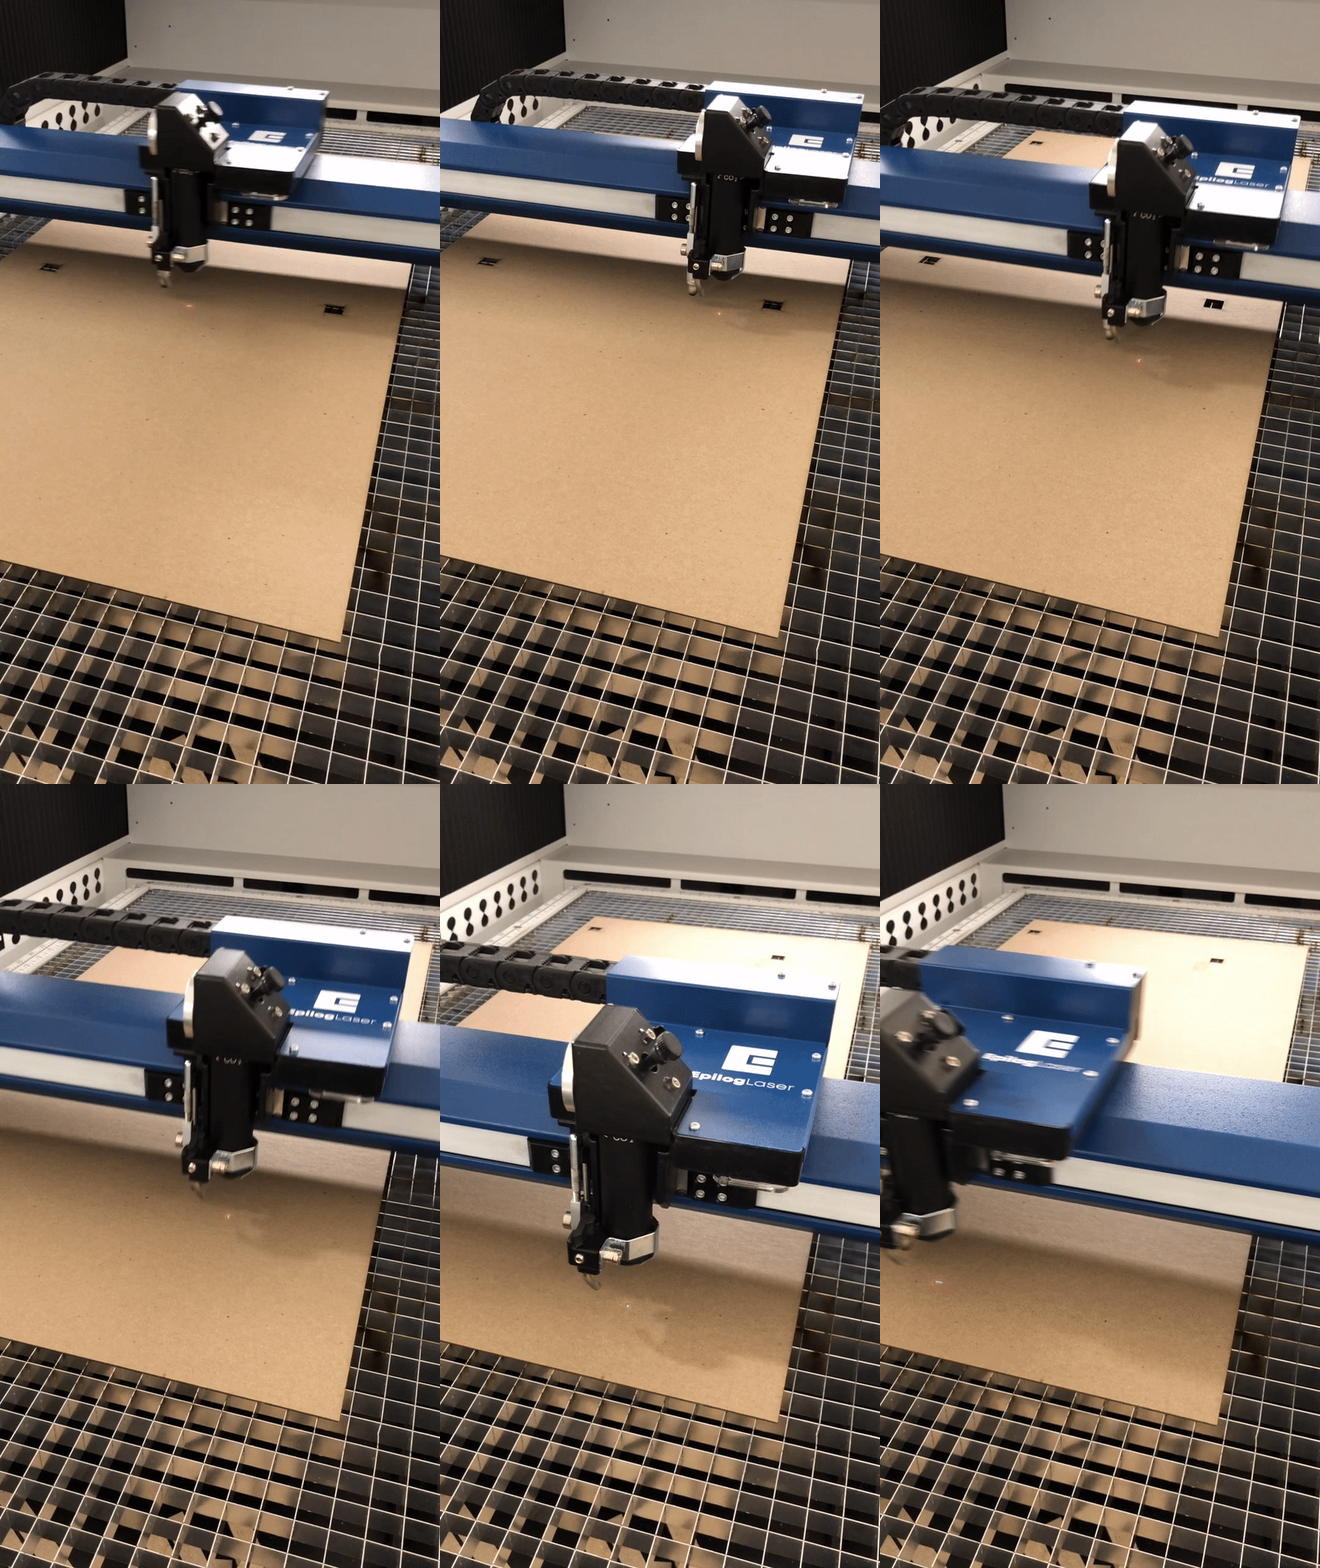
- This will show you the overall area that your laser processes will occur within and can also be used to position your material. The machine will continue to trace this path until you press the 'Trace' button again:
- When you are satisfied with the positioning of your material, just press the green Play/Pause button on the machine to start the job! This button can also be used to pause and resume the job.
IF AT ANY TIME, A FIRE IS STARTED OR SOME OTHER THREATENING ISSUE ARISES, PRESS THE RED STOP BUTTON ON THE LASER CUTTER TO STOP THE MACHINE AND ALERT A TECH LAB STAFF MEMBER.
If the Laser Cutter is running but not cutting, check that the top and front doors are closed.
Related articles


