Equalization, or simply EQ in sound recording and reproduction is the process of adjusting the volume of different frequency bands within an audio signal
In AVID Timeline position the blue cursor on the clip that the Audio Suite Plug in is to be applied. |
|
Then go to >Tools>AudioSuite |
|
The following illustration shows the default layout of the AudioSuite window. |
|
Click on the Plug in Selection Menu to see the plug ins that are available. |
|
Click the Activate Current Plug-In button. |
|
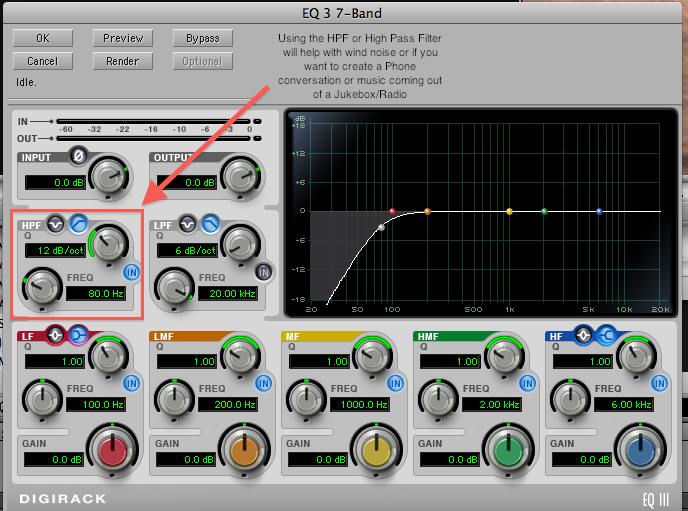
Using the HPF or High Pass Filter |
|
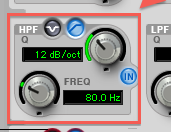
Set the settings to this |
|
The D-Verb plug in is used with ADR recorded to match the dialog recorded on set pick "Room" and the size of the room you are trying to match. |
|
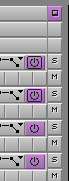
An Audio Track Monitor button with a black border indicates that the tracks are the primary monitored tracks and audio information is not dropped when the play speed increases during scrubbing. By default, the Avid editing application sets the two top audio tracks as the primary monitored tracks. |
|


Overview
Content Tools