Note: Format the card if it is over 64 gigs format it first in a Mac Disk Utility as HFS OSX Journaled plain mac formattingThen put card in Ki Pro Mini and format it'll format fast. | |
The Compact Flash cards necessary for recording with the KiPro Mini are located at the College of Communication Equipment Checkout at CMA 3.104. |
|
Gently insert the compact flash card into the KiPro Mini. 2 slots are located on the side of the KiPro, and it does not matter which one you use. It should easily go 3/4 of the way into the KiPro. |
|
Make sure the KiPro mini is powered on. |
|


How to Format the Compact Flash card for the KiPro Mini
To format a CF card, press the MEDIA button. |
|
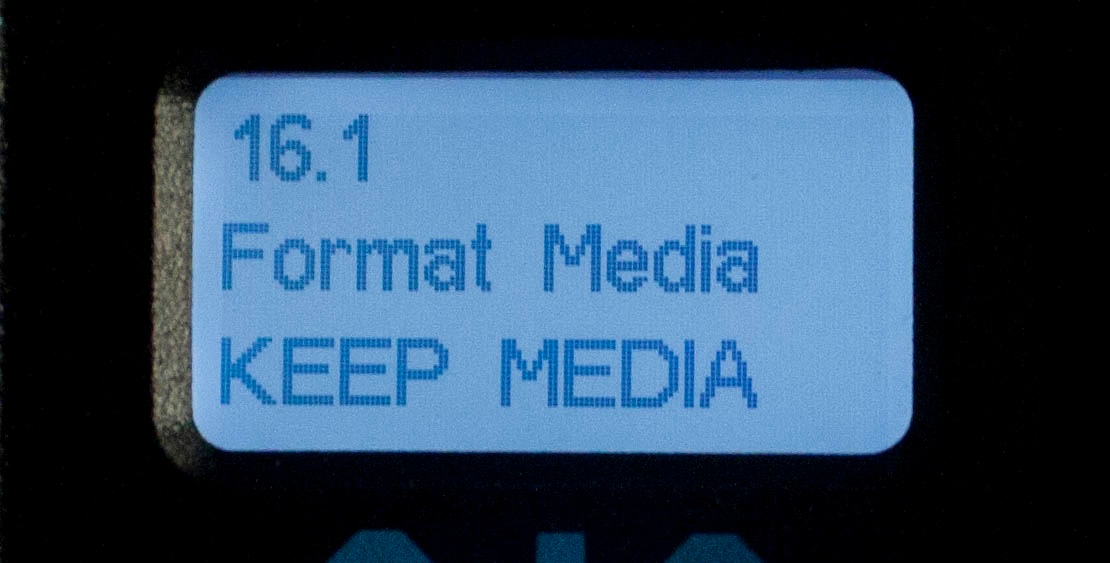
Using the SELECT up/down arrows, navigate to the MEDIA menu > Format Media. |
|
Use the ADJUST up button to select FORMAT. Press the ADJUST up arrow button again. KiPro Mini will display "ERASE S1 [or S2]". Press and hold the ADJUST up arrow button for 2 seconds or longer and then formatting will begin. |
|
Once the media finishes formatting, the KiPro Mini will display a completion confirmation. |
|
Press stop to return to regular operation. |
|


You can record in multiple formats of Apple ProRes using the KiPro Mini recorder. Using the Select button, you can adjust the quality Apple ProRes that the KiPro mini uses, and the total amount of media that can be fit onto one card.
Apple ProRes |
Data-rate Mb/sec |
Data-rate GB/minute |
Minutes per 64GB card |
Notes |
|---|---|---|---|---|
422(HQ) |
220 Mb |
1.6 GB |
39.7 |
|
422 |
145 Mb |
1.06 GB |
60 |
|
422 (LT) |
100 Mb |
0.73 GB |
87.4 |
not considered full quality. |
422 (Proxy)** |
36 Mb |
0.26 GB |
242.7 |
for high-quality offline editing. Not an acceptable original. |
*Apple ProRes is the same data-rate regardless of resolution.
On your video monitor, select the output from the KiPro mini. Ensure that the source you wish to record is coming through the KiPro mini to your record monitor. |
|
When you are ready, push the red Record button below the display. |
|
When recording, the green LED next to the CF card release button will begin blinking, showing that a recording is in process, and you’ll see the timecode changing on the display. The RECORD button is also backlit while recording. | |
When you are finished, push the STOP button. |
|
While recording, the KiPro mini will display a percentage readout indicating how much recording space is left on the card. |
|
To Record again, repeat the Record button / Stop button process. |
|


Overview
Content Tools