How to record 360 videos and convert them to a quicktime format.
Step-by-step guide
Insert an ExFat formatted Micro SDXC card in the bottom of the camera. You may need an edge of a id or credit card to get it in fully until it 'clicks' into place. 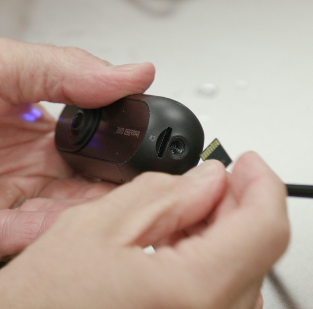
This camera doesn't have any configuration choices. There is not a menu, nor any indicator for how much recording time you have passed nor have left on the memory. Functionality is via the power button. Using a USB power adapter and the enclosed Micro USB cable, you can keep the camera plugged in for recordings. 
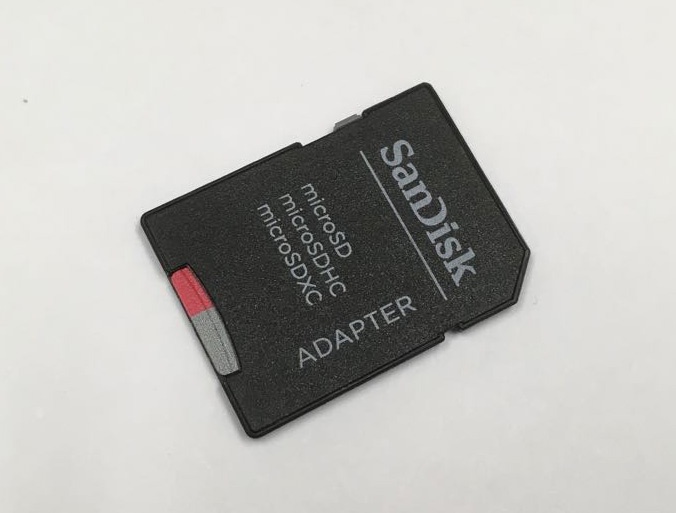
Press the Power button to turn the camera on. The Indicator Light will glow blue, then a chime will sound when the boot up process is finished and the Indicator light will turn a solid green. Press the Power button twice to start recording. The recording chime will sound and the Indicator Light will start to blink green. (Pressing the Power button once will take a picture.) To Stop the recording, press the Power button once. It will take a few seconds to wrap up the file. The Indicator Light will stop flashing, return to solid green and the camera will make another chime. Before ejecting the media, power off the camera by pressing and holding the Power button until the Power Down chime sounds and the Indicator Light turns off. The microSDXC card can be mounted on your computer with an SD Adapter. On the card, the video recordings are located the directory: Card/DCIM/Camera01. Drag the .insv files over to your local storage. Note that these files cannot be read by Quicktime Compatible Players and must be converted to view them. 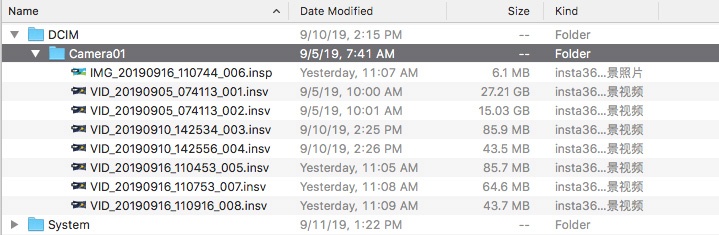
The Application for reading and converting these files is Insta360Studio. (currently v2.15) The application can be found at: https://www.insta360.com/download/insta360-one The Moody College IT staff can also access it at smb://fileserver.moody.utexas.edu/software/Insta360-Camera The application can view the .insv files without converting them by dragging and dropping them to the main viewer window. 
You can view the files without converting them within the application. To export a Quicktime Compatible .mp4, Click the 'Browse' Button to navigate to where the exported videos should be stored. Once that is set, Click the yellow 'Export to' button to begin the conversion process. A progress bar will appear below the button. 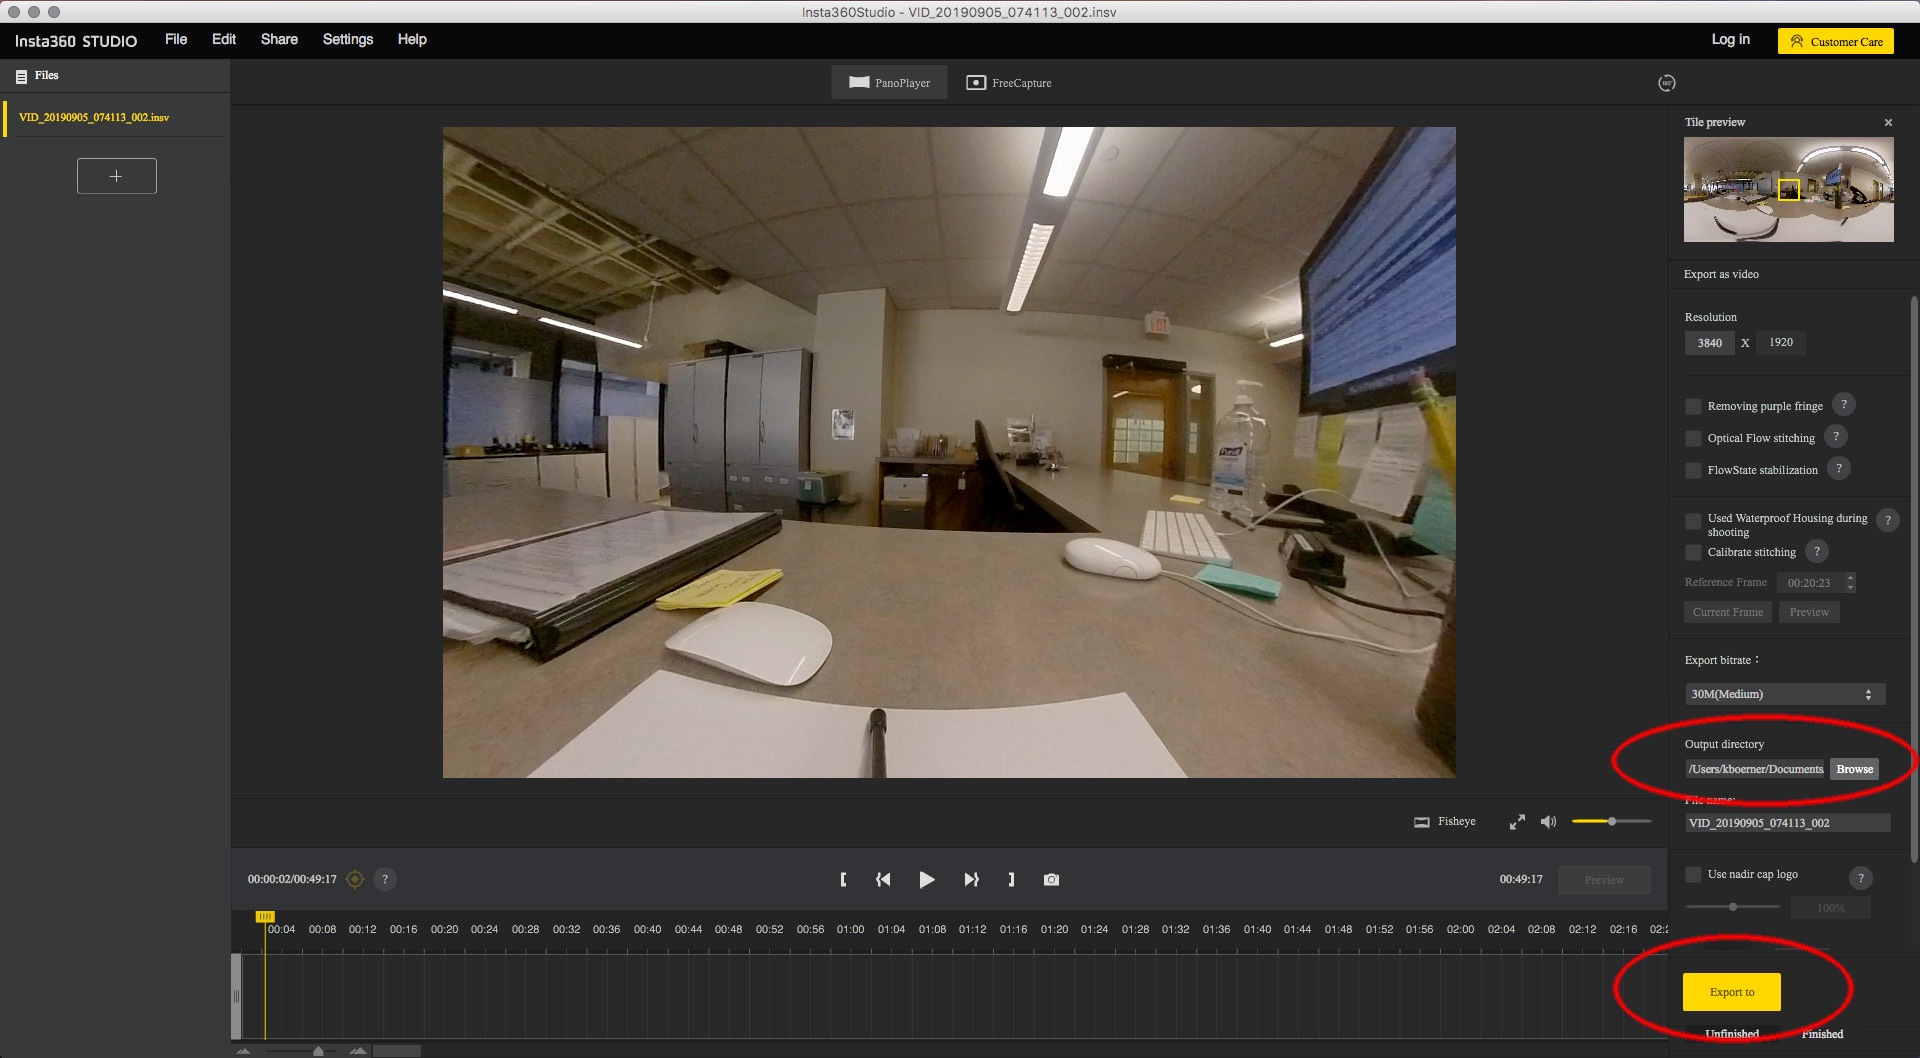

Related articles
Overview
Content Tools