This page outlines the steps to print to a Ricoh Printer. If you do not have access to the Faculty Ricoh printer, you will need to submit an ITS Ticket to have the printer added.
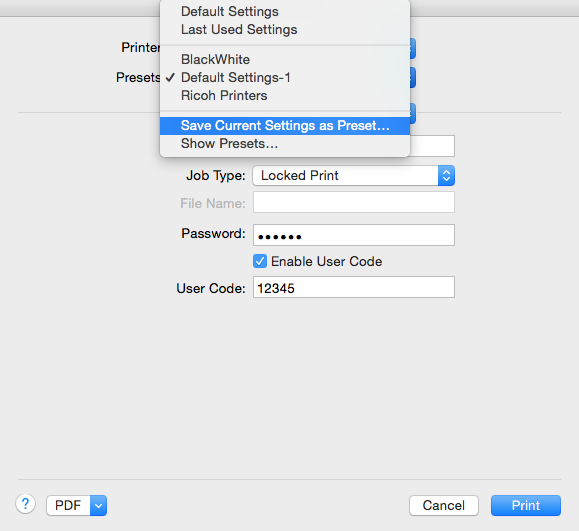
Prior to printing to the Faculty Ricoh IM 5310 you will need to set the Preset to Lock your print jobs. When you Lock a print job, it will hold all print jobs until you retrieve the job with your numerical Password. Once you set your Preset to Locked Print, that setting will transfer to Adobe Acrobat, Outlook, and your other document printing capabilities.
If you do not remember your password, please contact Tori Marshall.
1. Open a Word Document. While on the print screen, select Faculty Ricoh IM 5310 from the Printer drop-down menu. |
|
2. From the drop-down menu, select Job Log. |
|
3.
* If you don't have a code, or can't remember, contact Tori Marshall. 4. Enter the same User Code in the Password field. 5. From the Job Log menu, select Printer Features 6. From Color Mode drop menu, select Black and White ***(this must be set or the job will have an error and NEVER print)*** |
|
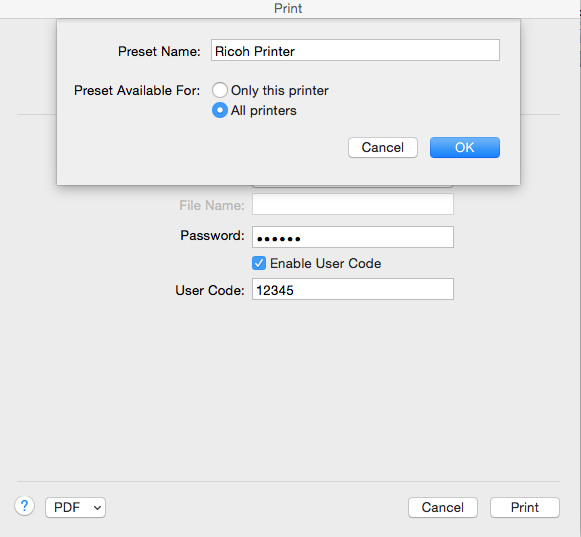
4. Under Presets, click Save Current Settings as Preset and save this information as "Ricoh Printer". |
|
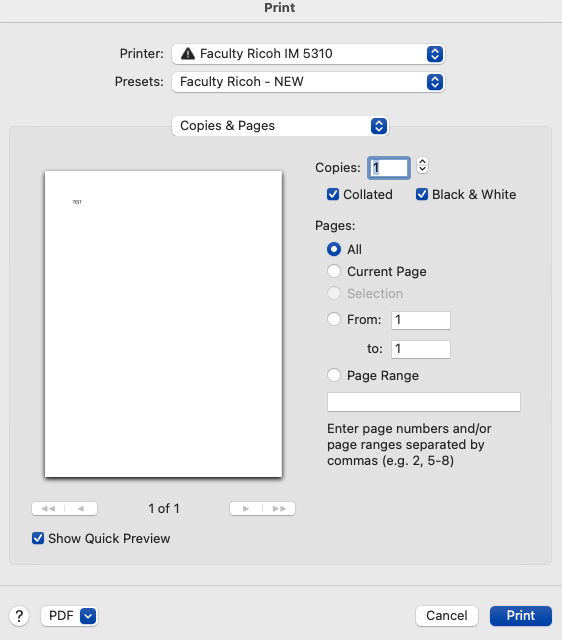
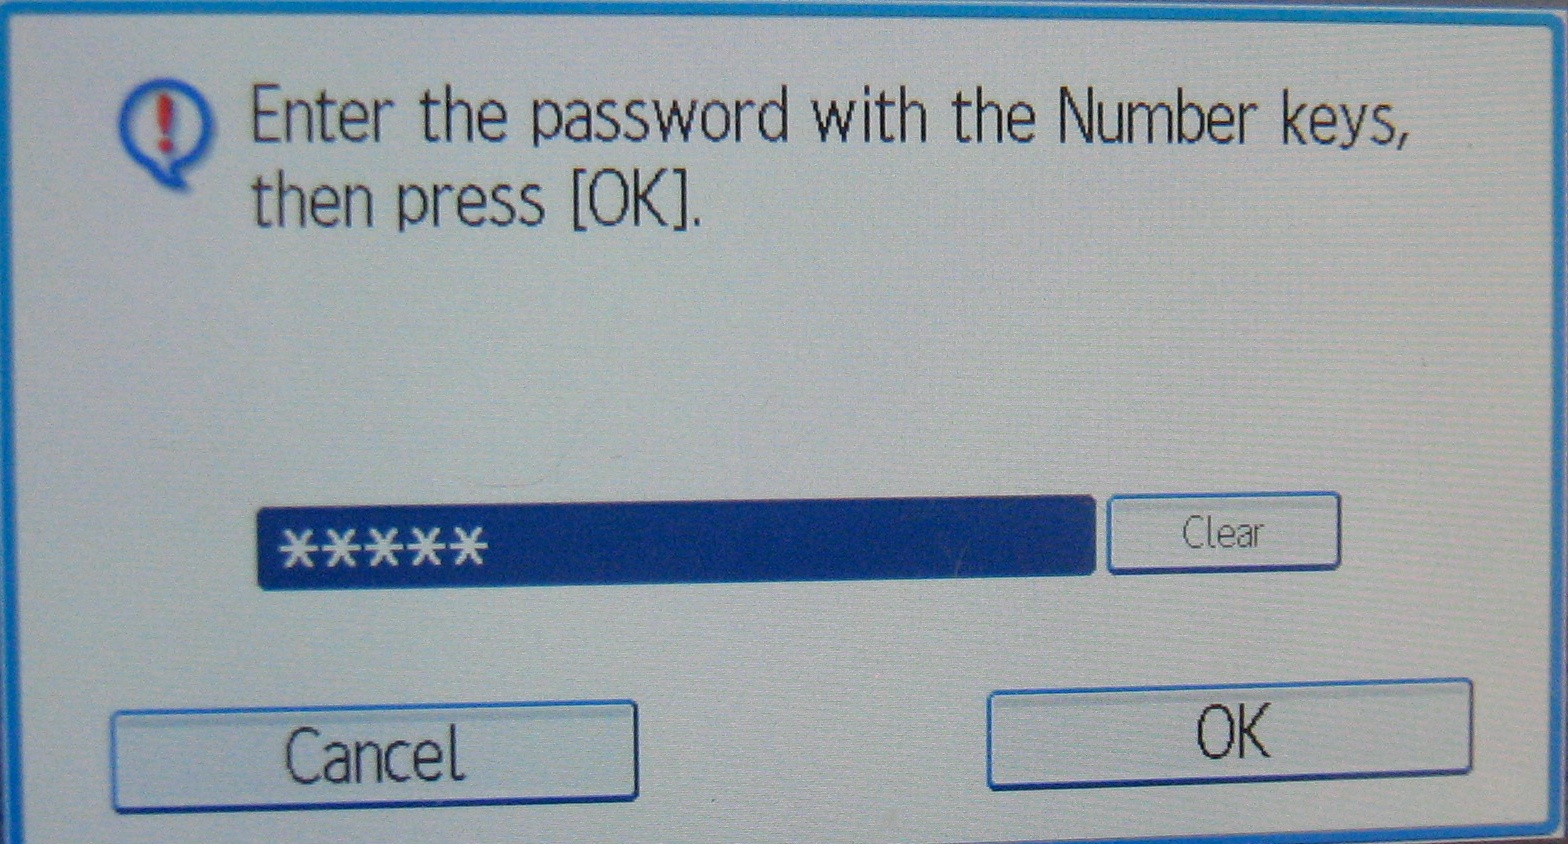
5. Click Print. 6. Your Print screen should now look like this=> 7. At the Faculty Ricoh IM 5310 select Print, Print Job tab. **If you have sent multiple jobs to the machine you can Select All Jobs to release all jobs under your User ID** 8. The Ricoh will prompt you to enter the password. |
|