Page History
...
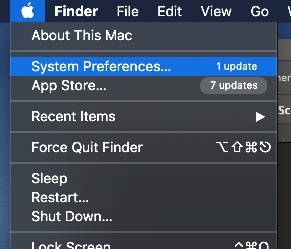
You first need to make sure that the Quicktime player has permission to use the camera and microphone on your computer. Click on Apple>System Preferences |
|
Then, click on Security & Privacy |
|
Click on the PRIVACY tab, then Click on Camera and check the box next to QuickTime Player repeat the step for Microphone |
|
Launch the QuickTime Player |
|
Click on FILE → New Movie Recording
|
|
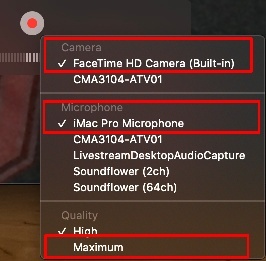
Quicktime will default to the FaceTime camera and built-in microphone. If you use an external webcam you may need to choose it in this step. Click on the downward facing arrow to view/change the settings. |
|
UNDER CAMERA If you only have one camera it will be the default. Usually this is – FaceTime HD Camera (Built-in). If you are using an external webcam, such as a Logitech, you will see that camera as an option. UNDER MICROPHONE If you are not using an external webcam Quicktime will default to the microphone built in to the computer. (In this case it is - iMac Pro Microphone). If you do use an external webcam, such as a Logitech, you will also see that microphone as an option. UNDER QUALITY Choose Maximum |
|
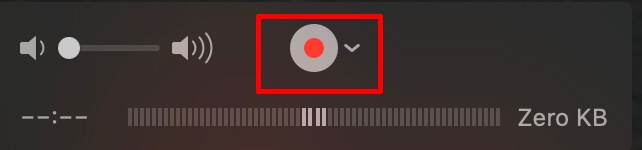
To verify your microphone is working properly you will see the menu meters moving while you speak. The closer you position yourself to the microphone (computer or webcam) the clearer the audio will be. |
|
When you are ready to record click the RED RECORD button. You will know Quicktime is recording when you see the Record button turn to a black square, the timecode is counting up on the bottom left and the file size is increasing on the right. To stop recording - click on the STOP BUTTON (black square button) |
|
When you stop recording the newly recorded video will pop up as a video in the Quicktime Player. If you are happy with the video you can save it now. To save the video, Click FILE → SAVE QuickTime Player allows some basic editing to trim the beginning and the end of the video. If you would like to trim the beginning and/or end of the video continue to the steps below |
|
On the newly recorded video, Click EDIT → TRIM |
|
| You will see a row of video frames at the bottom of the video. You can drag the ends of the yellow handles to trim the start and ending of the video. When you have selected the correct start and ending of the video, click TRIM. |
|
| After trimming the video, Click FILE → SAVE |
|


...
Overview
Content Tools