The following instructions will detail how to download an existing Zoom recording and upload it to your Panopto instance for a separate course or new semester.
| Multiexcerpt |
|---|
| MultiExcerptName | DownloadZoomRecording |
|---|
|
Downloading Your Zoom RecordingDue to restrictions in place to prevent students from directly downloading class recordings, Zoom cloud recordings must be downloaded from the Zoom web portal at https://utexas.zoom.us/. To do so: - Log in at https://utexas.zoom.us/ using your UT EID and password by clicking "Sign In"
 - You may also be prompted to complete multi-factor authentication
- From the left-hand options, click "Recordings"
 From the listed recordings, select your desired class session | Section |
|---|
| Column |
|---|
 |
| Column |
|---|
| Info |
|---|
If you have very many Cloud Recordings, you can use the Search feature to more easily locate the desired recordings.
You can search by: - ID: the meeting ID
- This ID is the same for all occurrences of a recurring meeting, which may help you locate a specific class session
- Topic: the name of the meeting
- Keyword: searches for the submitted text
|
|
|
- From the recording information page, you have the option to download the recorded video, along with separate files for the audio and audio transcript, if you desire
- To download the recorded video, hover over the "Shared screen with speaker view" item, then click the download icon to begin downloading the recording

- The time to download your recording will vary depending upon the length of the recording and the speed of your internet connection
- Once the download has completed, you'll be able to use the video file as you see fit.
|
| Multiexcerpt |
|---|
| MultiExcerptName | UploadZoomPanopto |
|---|
|
Uploading Your Zoom Recording to PanoptoOnce you have a local copy of your Zoom recordings, you can easily upload them to Panopto. Once in Panopto, they can easily be copied or moved to new courses, in the same or different semesters, as you need. | Multiexcerpt include |
|---|
| MultiExcerptName | NavigateToPanopto |
|---|
| PageWithExcerpt | Panopto Videos In Canvas |
|---|
|
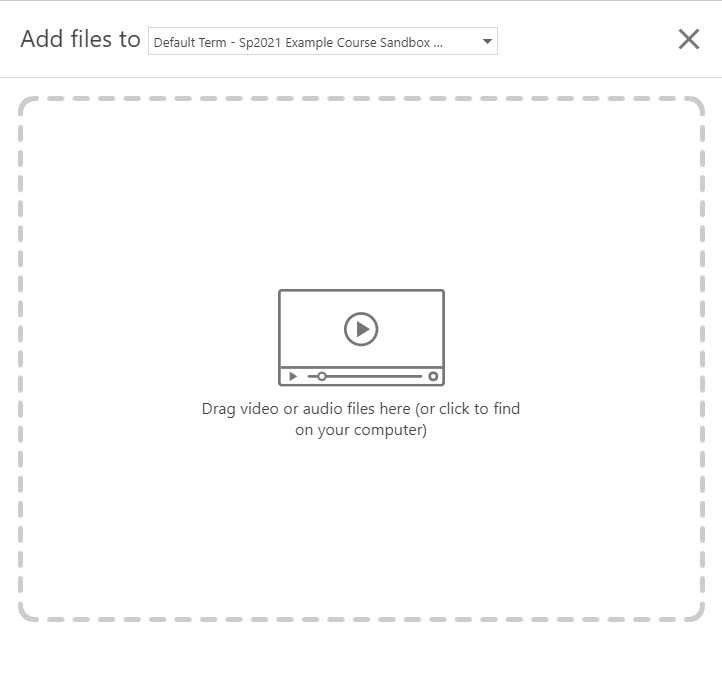
Uploading Video Files to Panopto- To begin uploading video files to Panopto for your chosen course, click the "Create" button, then click "Upload Media"
 A new window will appear, prompting you to select or drag-and-drop your media | Section |
|---|
| Column |
|---|
 |
| Column |
|---|
| Info |
|---|
| You can drag-and-drop or select multiple media files at once, allowing you to upload them in bulk |
|
|
The media files will be uploaded, displaying their current status - whether they're still uploading or have completed | Section |
|---|
| Column |
|---|
 |
| Column |
|---|
| Info |
|---|
You may continue to drag-and-drop or select additional media files, as necessary |
|
|
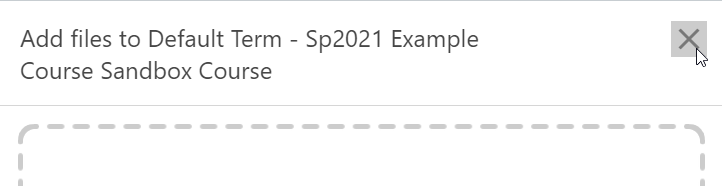
- When you are finished uploading media files, click outside the pop-up window, or click the "X" icon to close the window
 - You'll be returned to your Panopto Video Dashboard, with the newly uploaded media listed, as shown

|
| Multiexcerpt include |
|---|
| MultiExcerptName | CopyingMovingPanoptoVideo |
|---|
| PageWithExcerpt | Panopto Videos In Canvas |
|---|
|