Page History
...
Section I - D-BOX Experience: Rolling Media Cart Components and How to Display Images on the Video Monitor | |
|---|---|
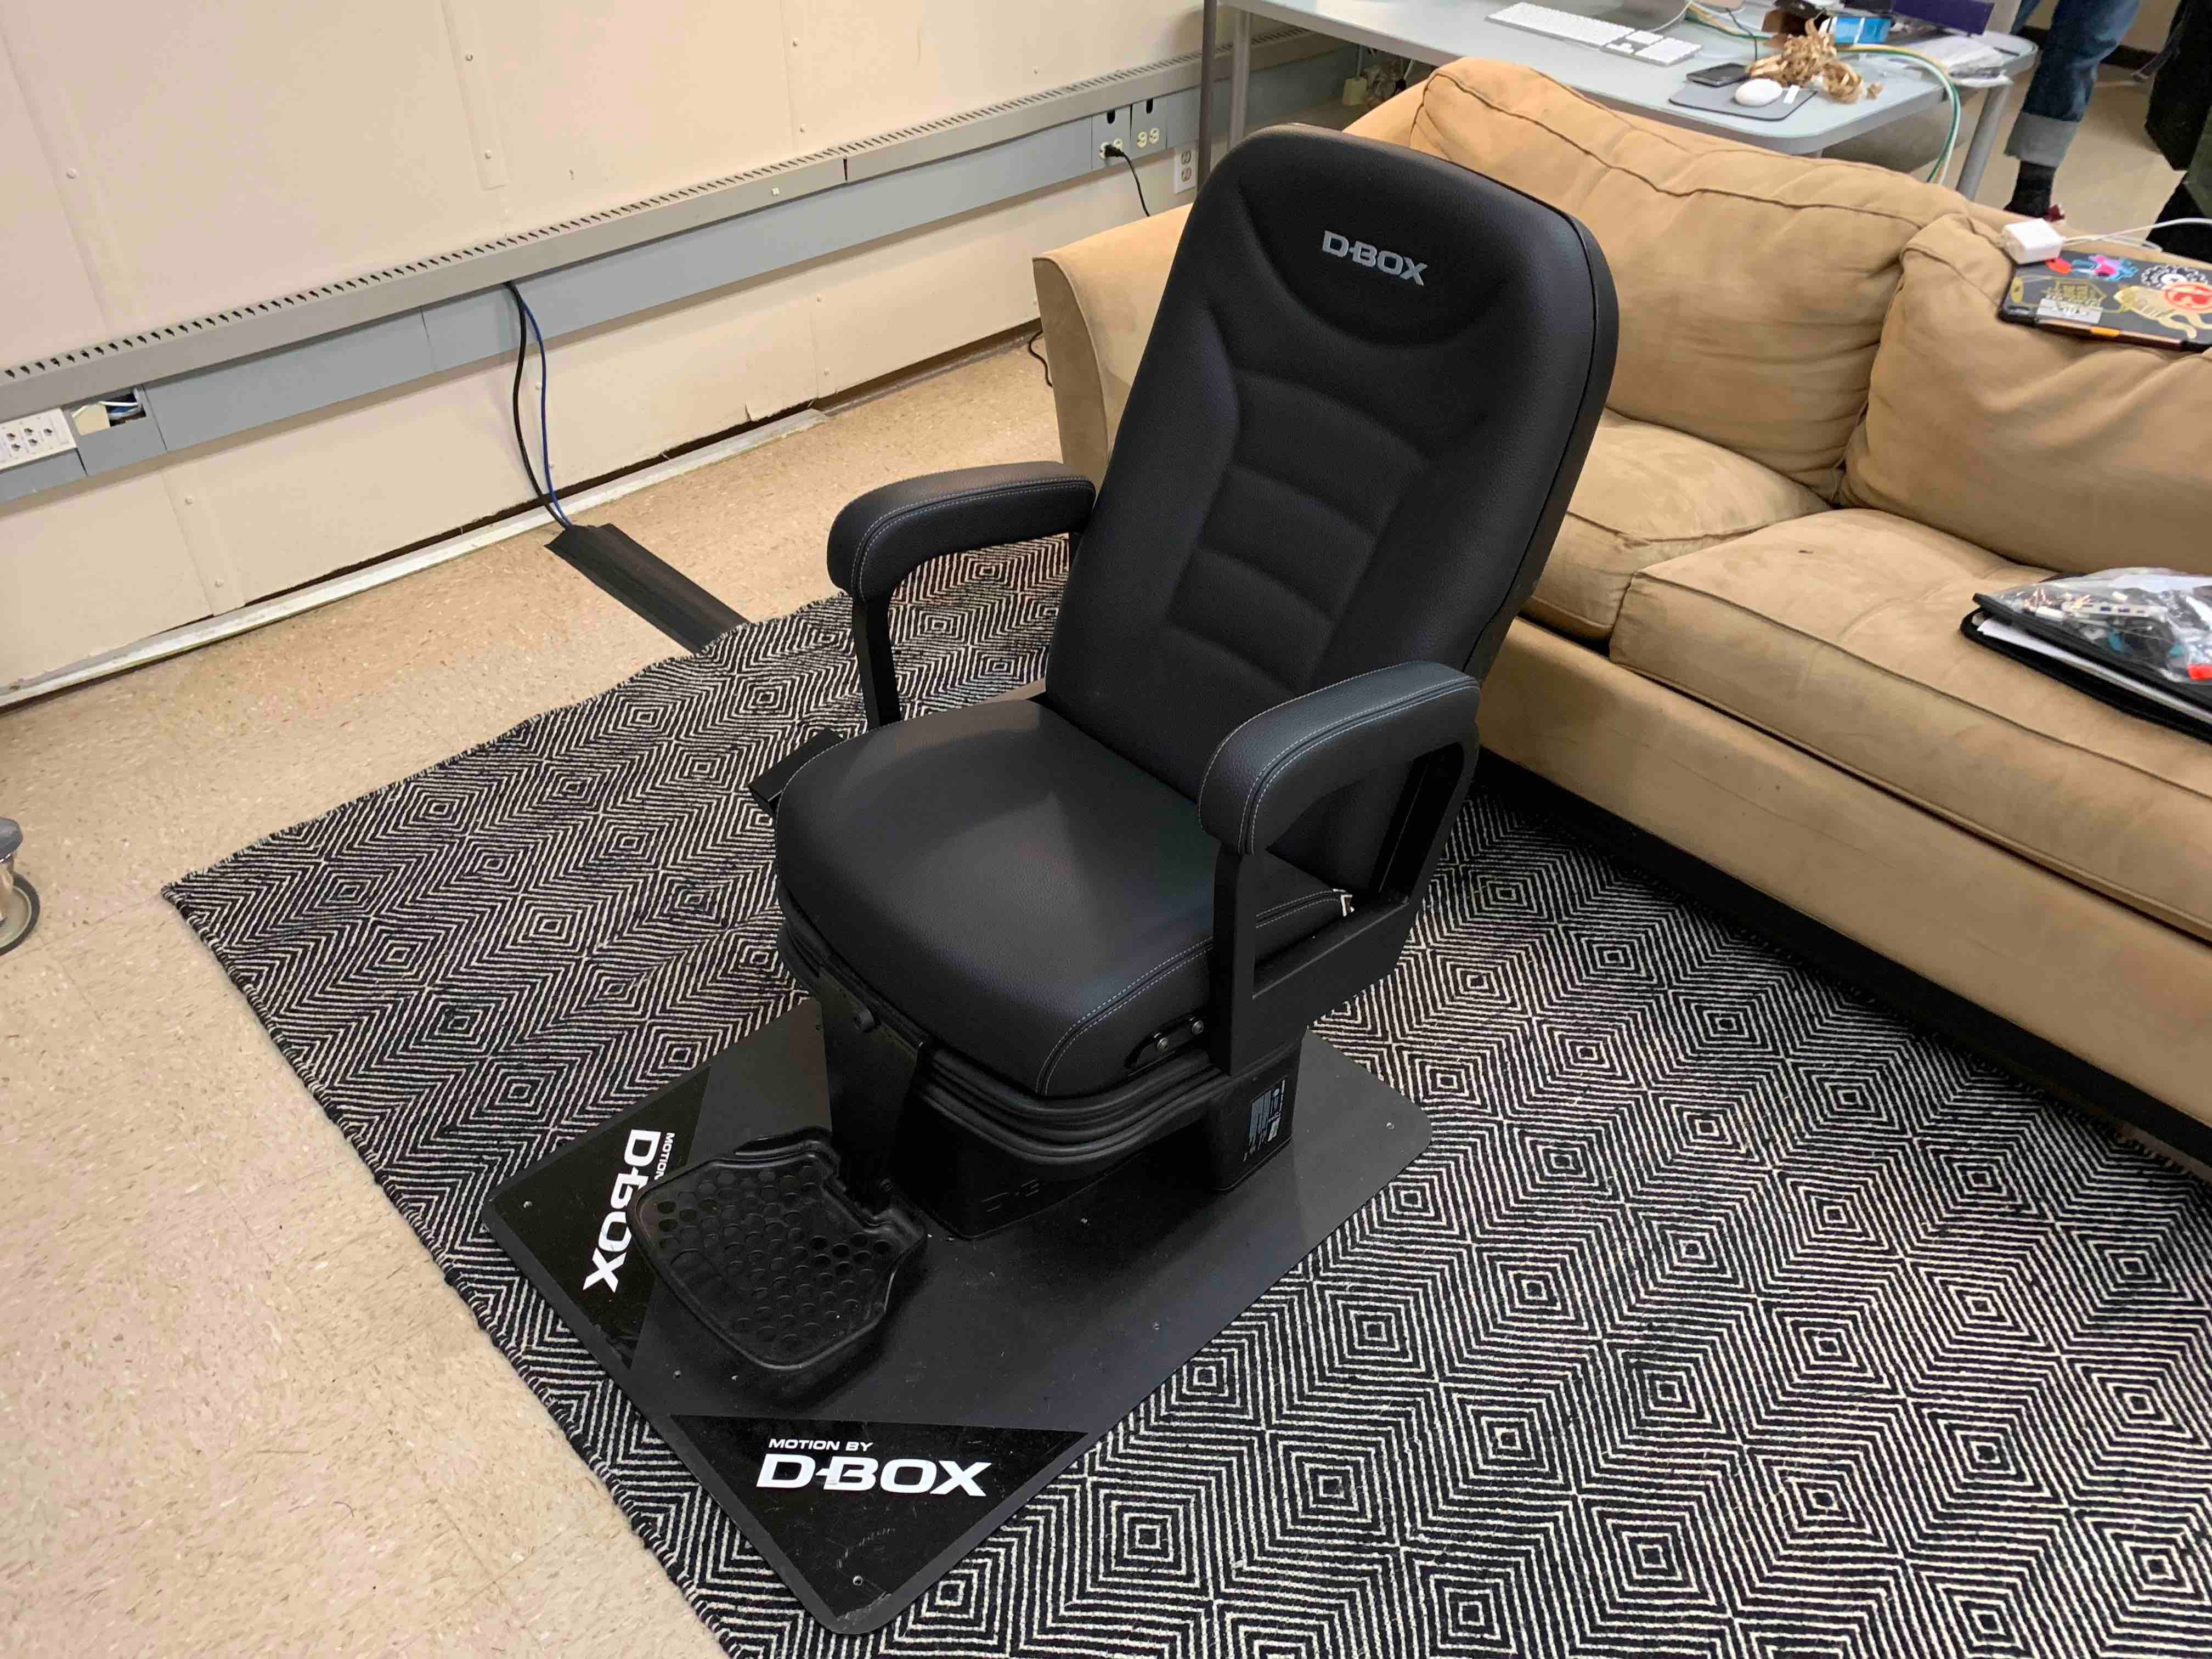
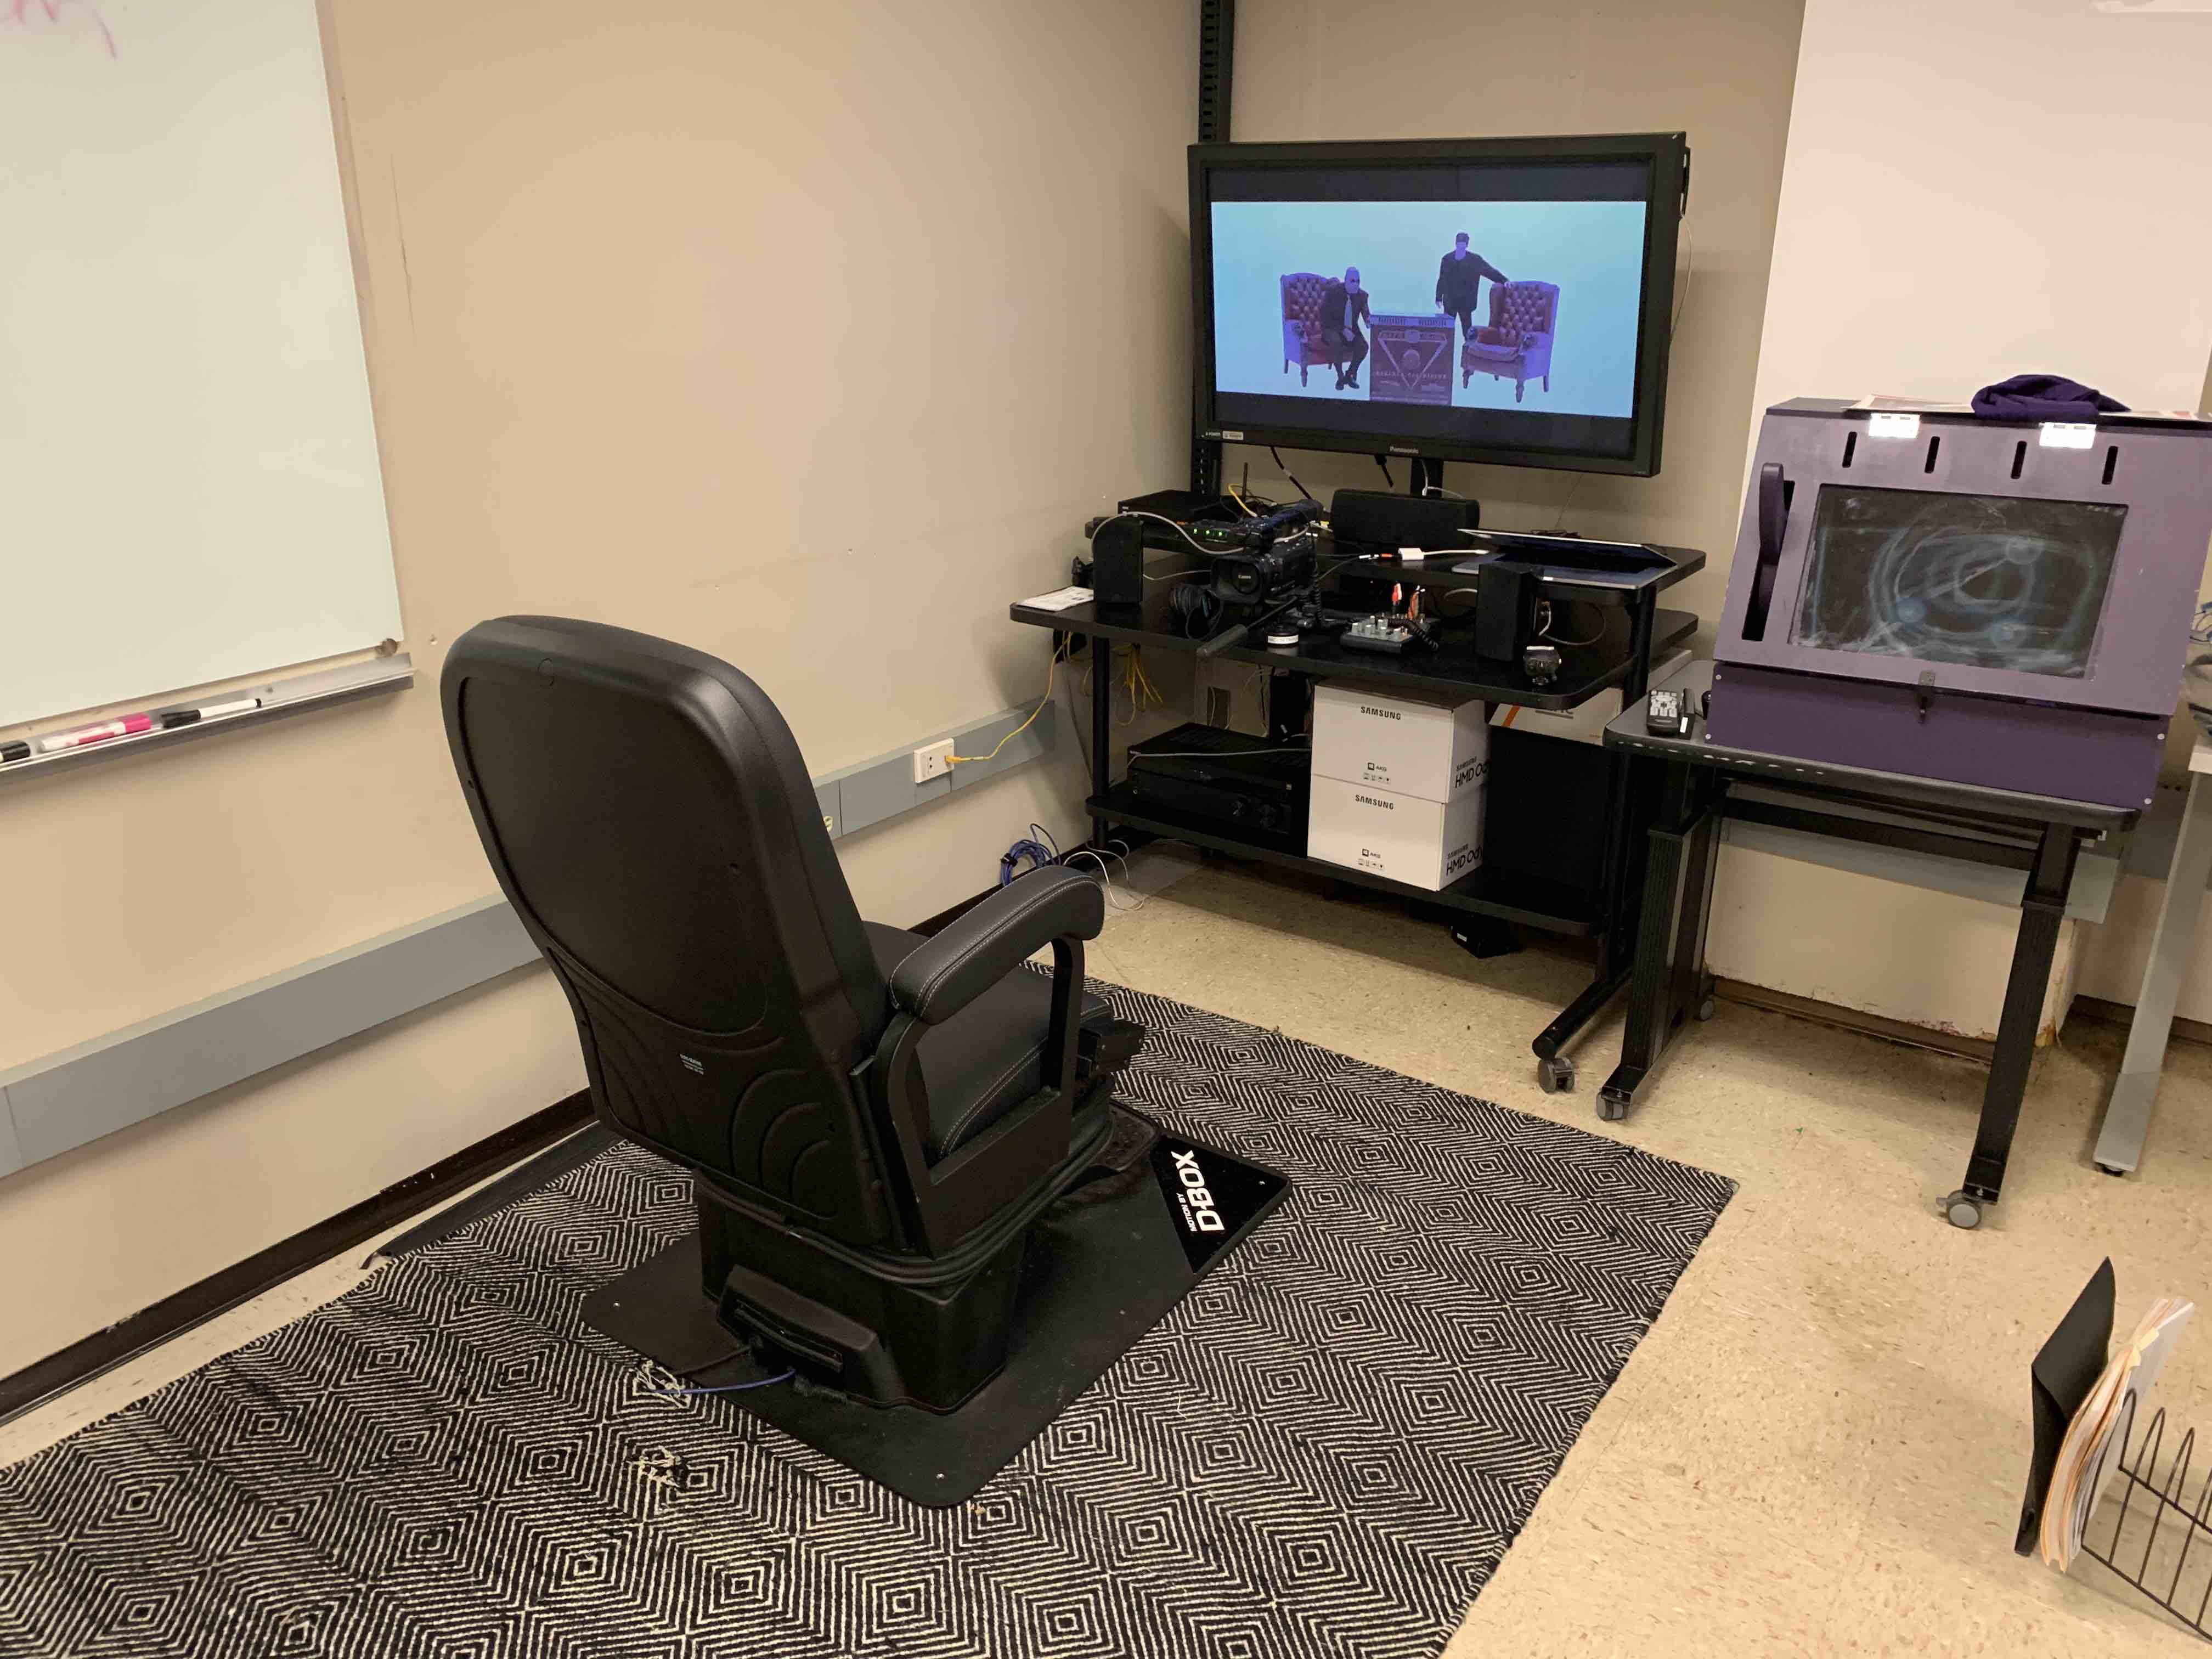
The rolling media cart has 7 major components indicated above. The cart is fully capable of playing back media independently of the projection system. See Section II for details on sending audio and video to the projector. The D-BOX chair can recognize and playback feature titles on Blu-Ray discs, DVD discs, or Video On Demand services like Netflix, Hulu, HBO MAX, etc. Please bring your own media with you! | |
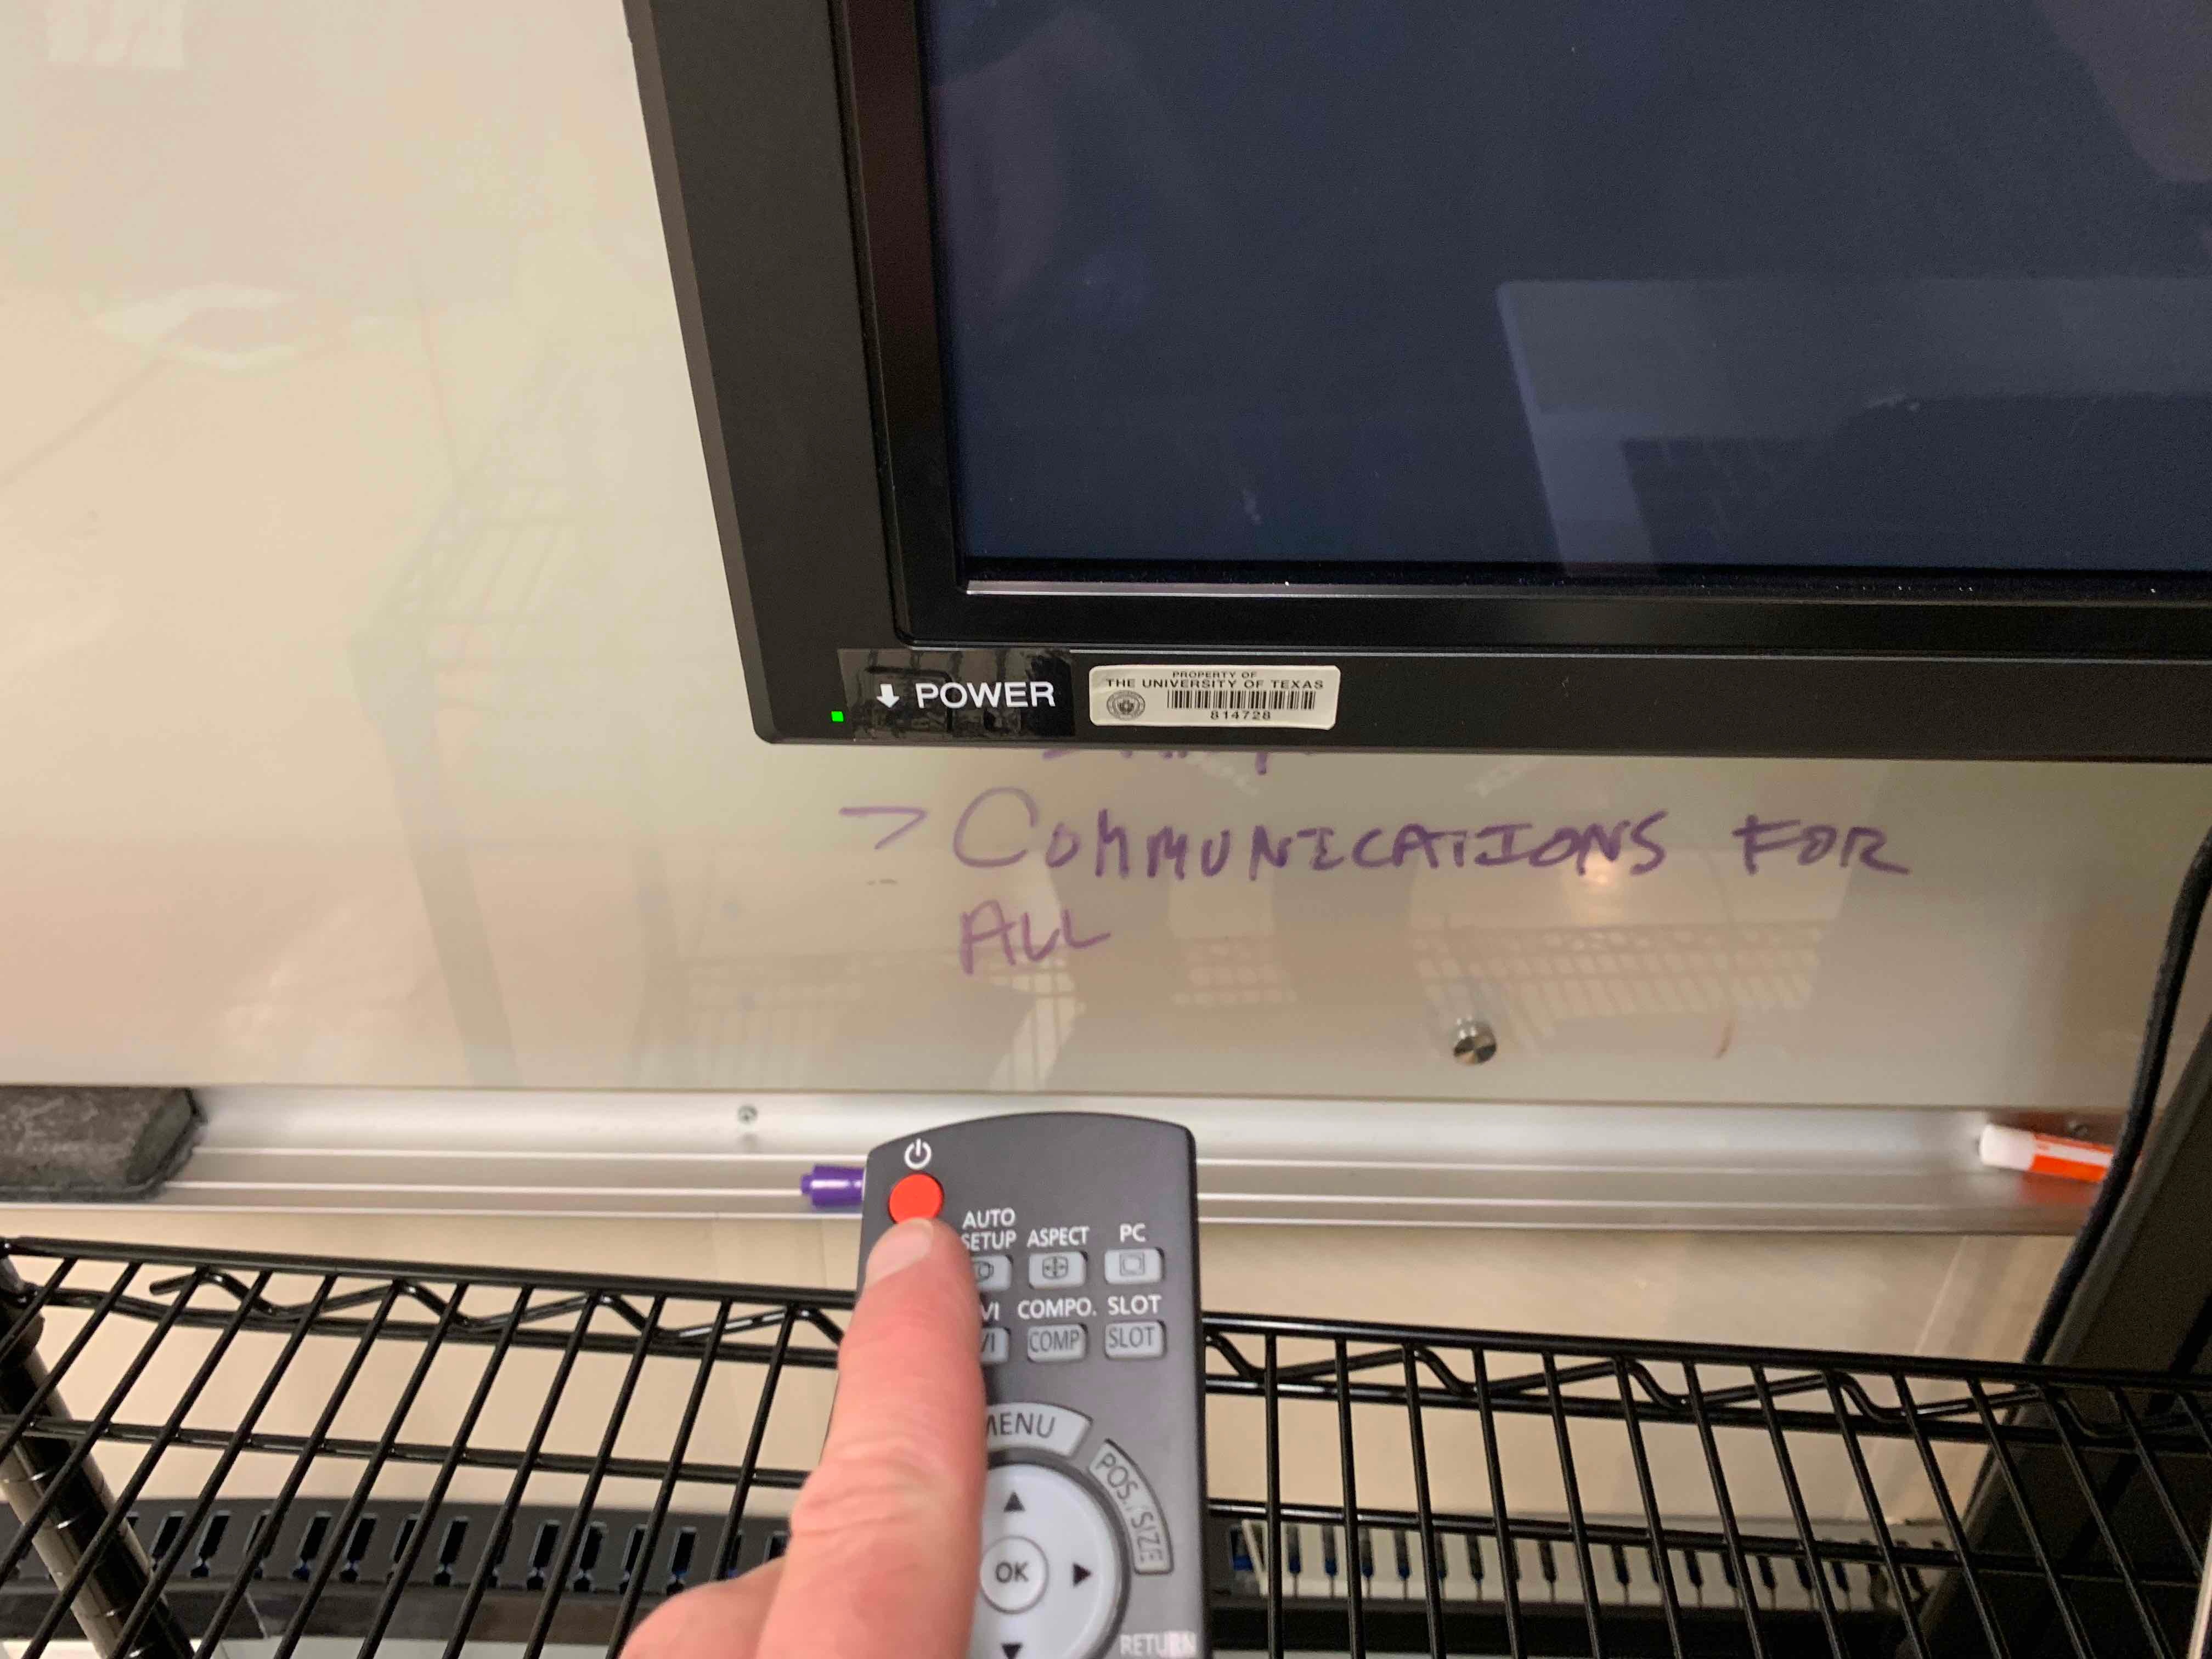
| 1.) Turn on the Video Monitor using the provided remote control. The red indicator light in the bottom left corner of the monitor should turn green when powered on. If there is not a red or green light visible in the bottom left corner of the monitor, confirm the physical power button is depressed under the ↓POWER label. |
|
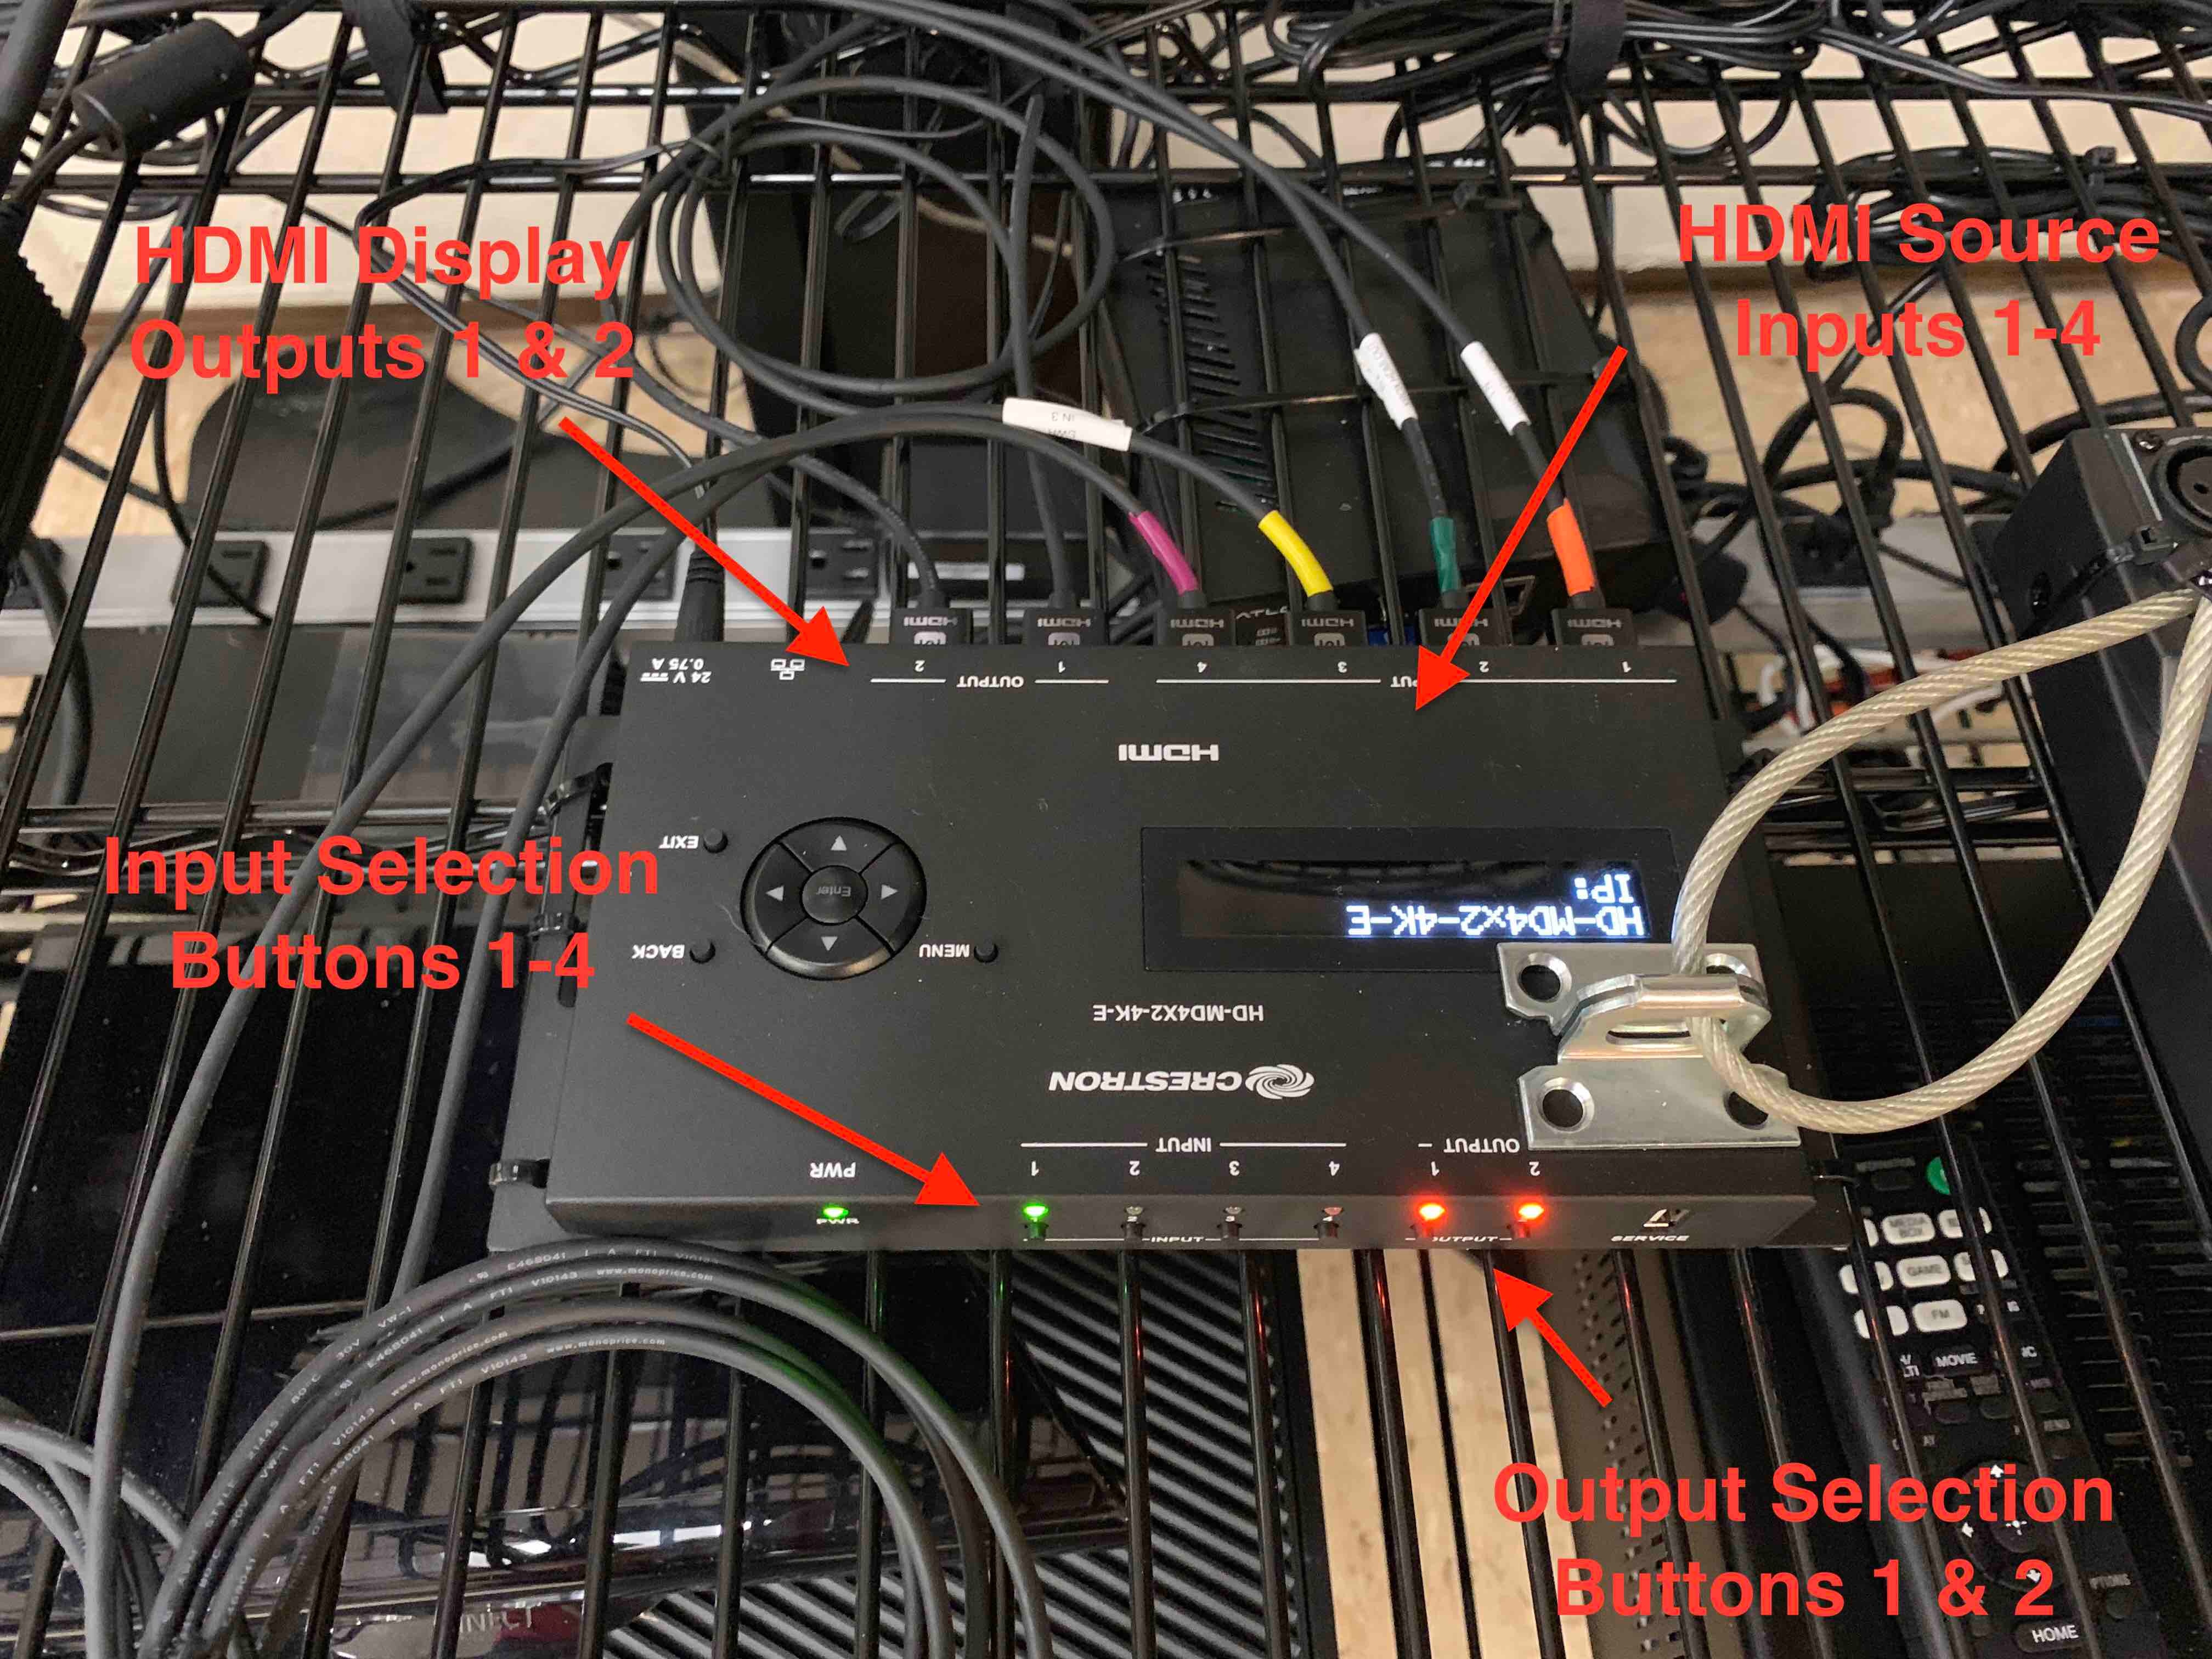
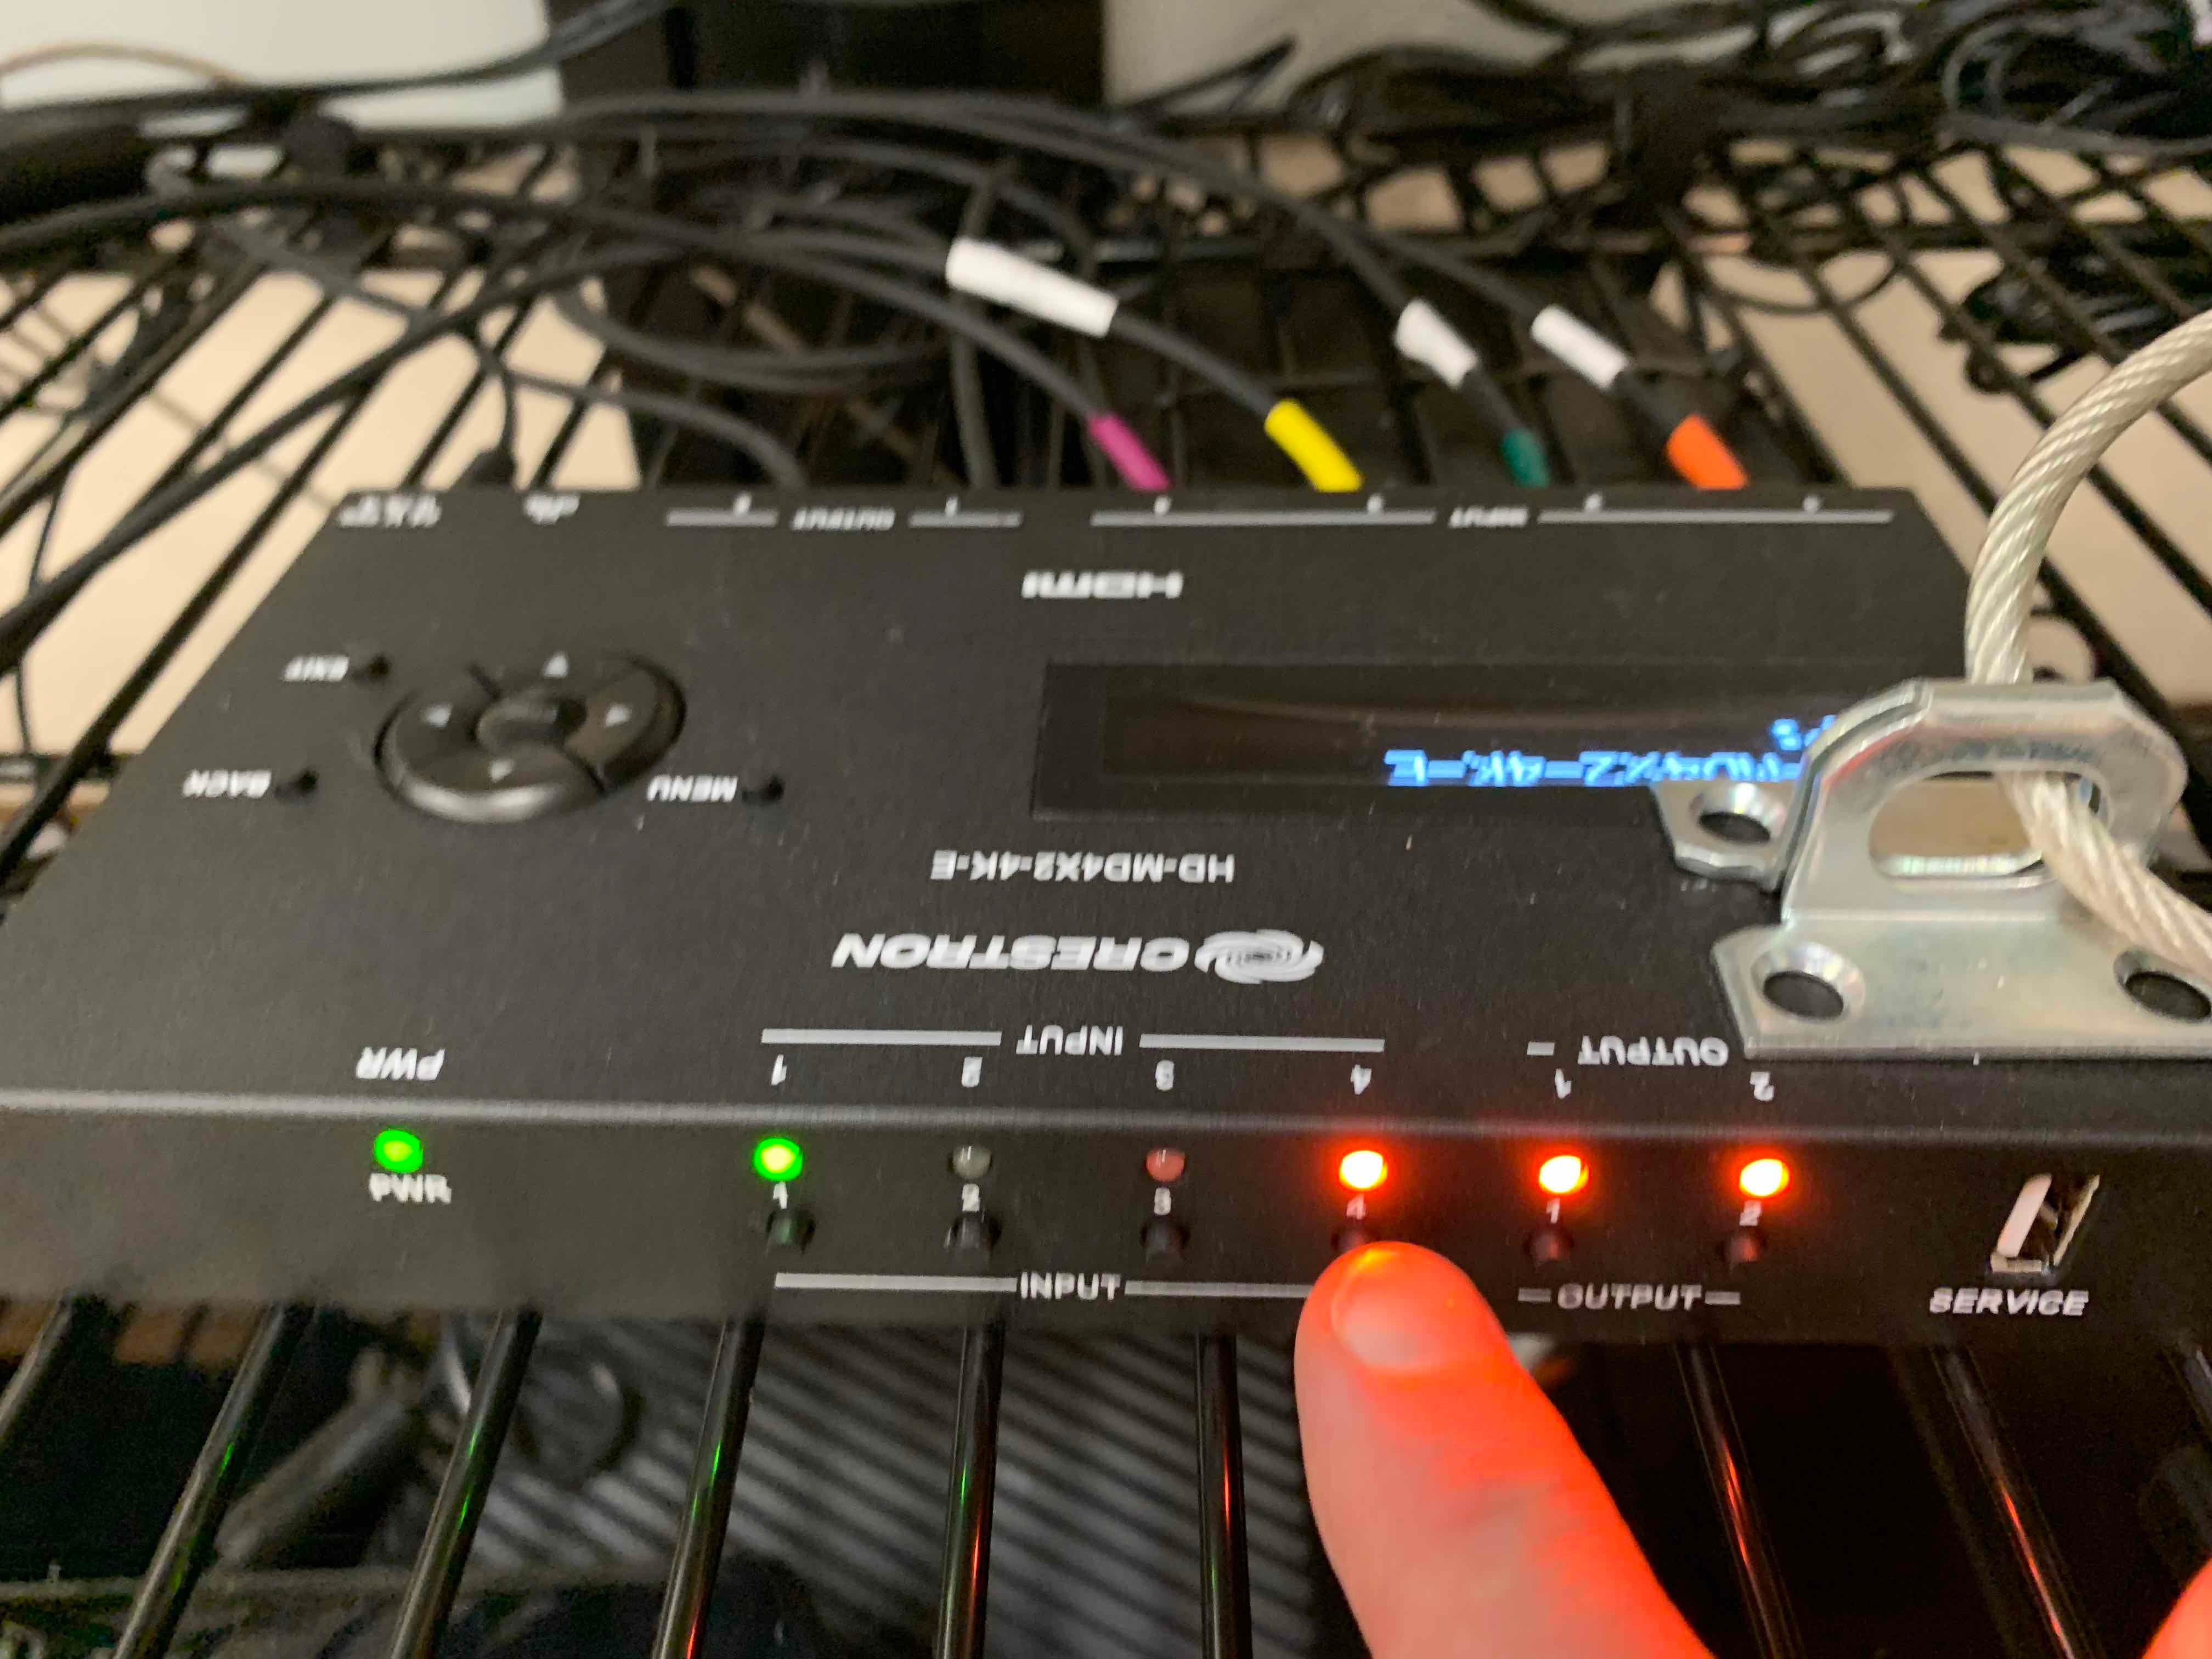
2.) Confirm the Crestron HDMI Source Switcher has power. There are 4 available HDMI Inputs/Sources and 2 available HDMI Outputs. Review the Image to the right with the information below: HDMI Input 1: Sony PS4 Console (Orange) HDMI Input 2: Microsoft XBOX One Console (Green) HDMI Input 3: Spare Laptop or Plug-and-Play Input (Yellow) HDMI Input 4: Spare Laptop or Plug-and-Play Input (Purple) HDMI Output 1: Quadrant 3 Video Monitor HDMI Output 2: Projection Screen/Audio De-Embedder (Down-mixing) Routing your inputs and outputs can be advanced. A single input can be routed to both outputs, or two inputs can be routed individually to each output. We'll cover this more below in Step 4. |
|
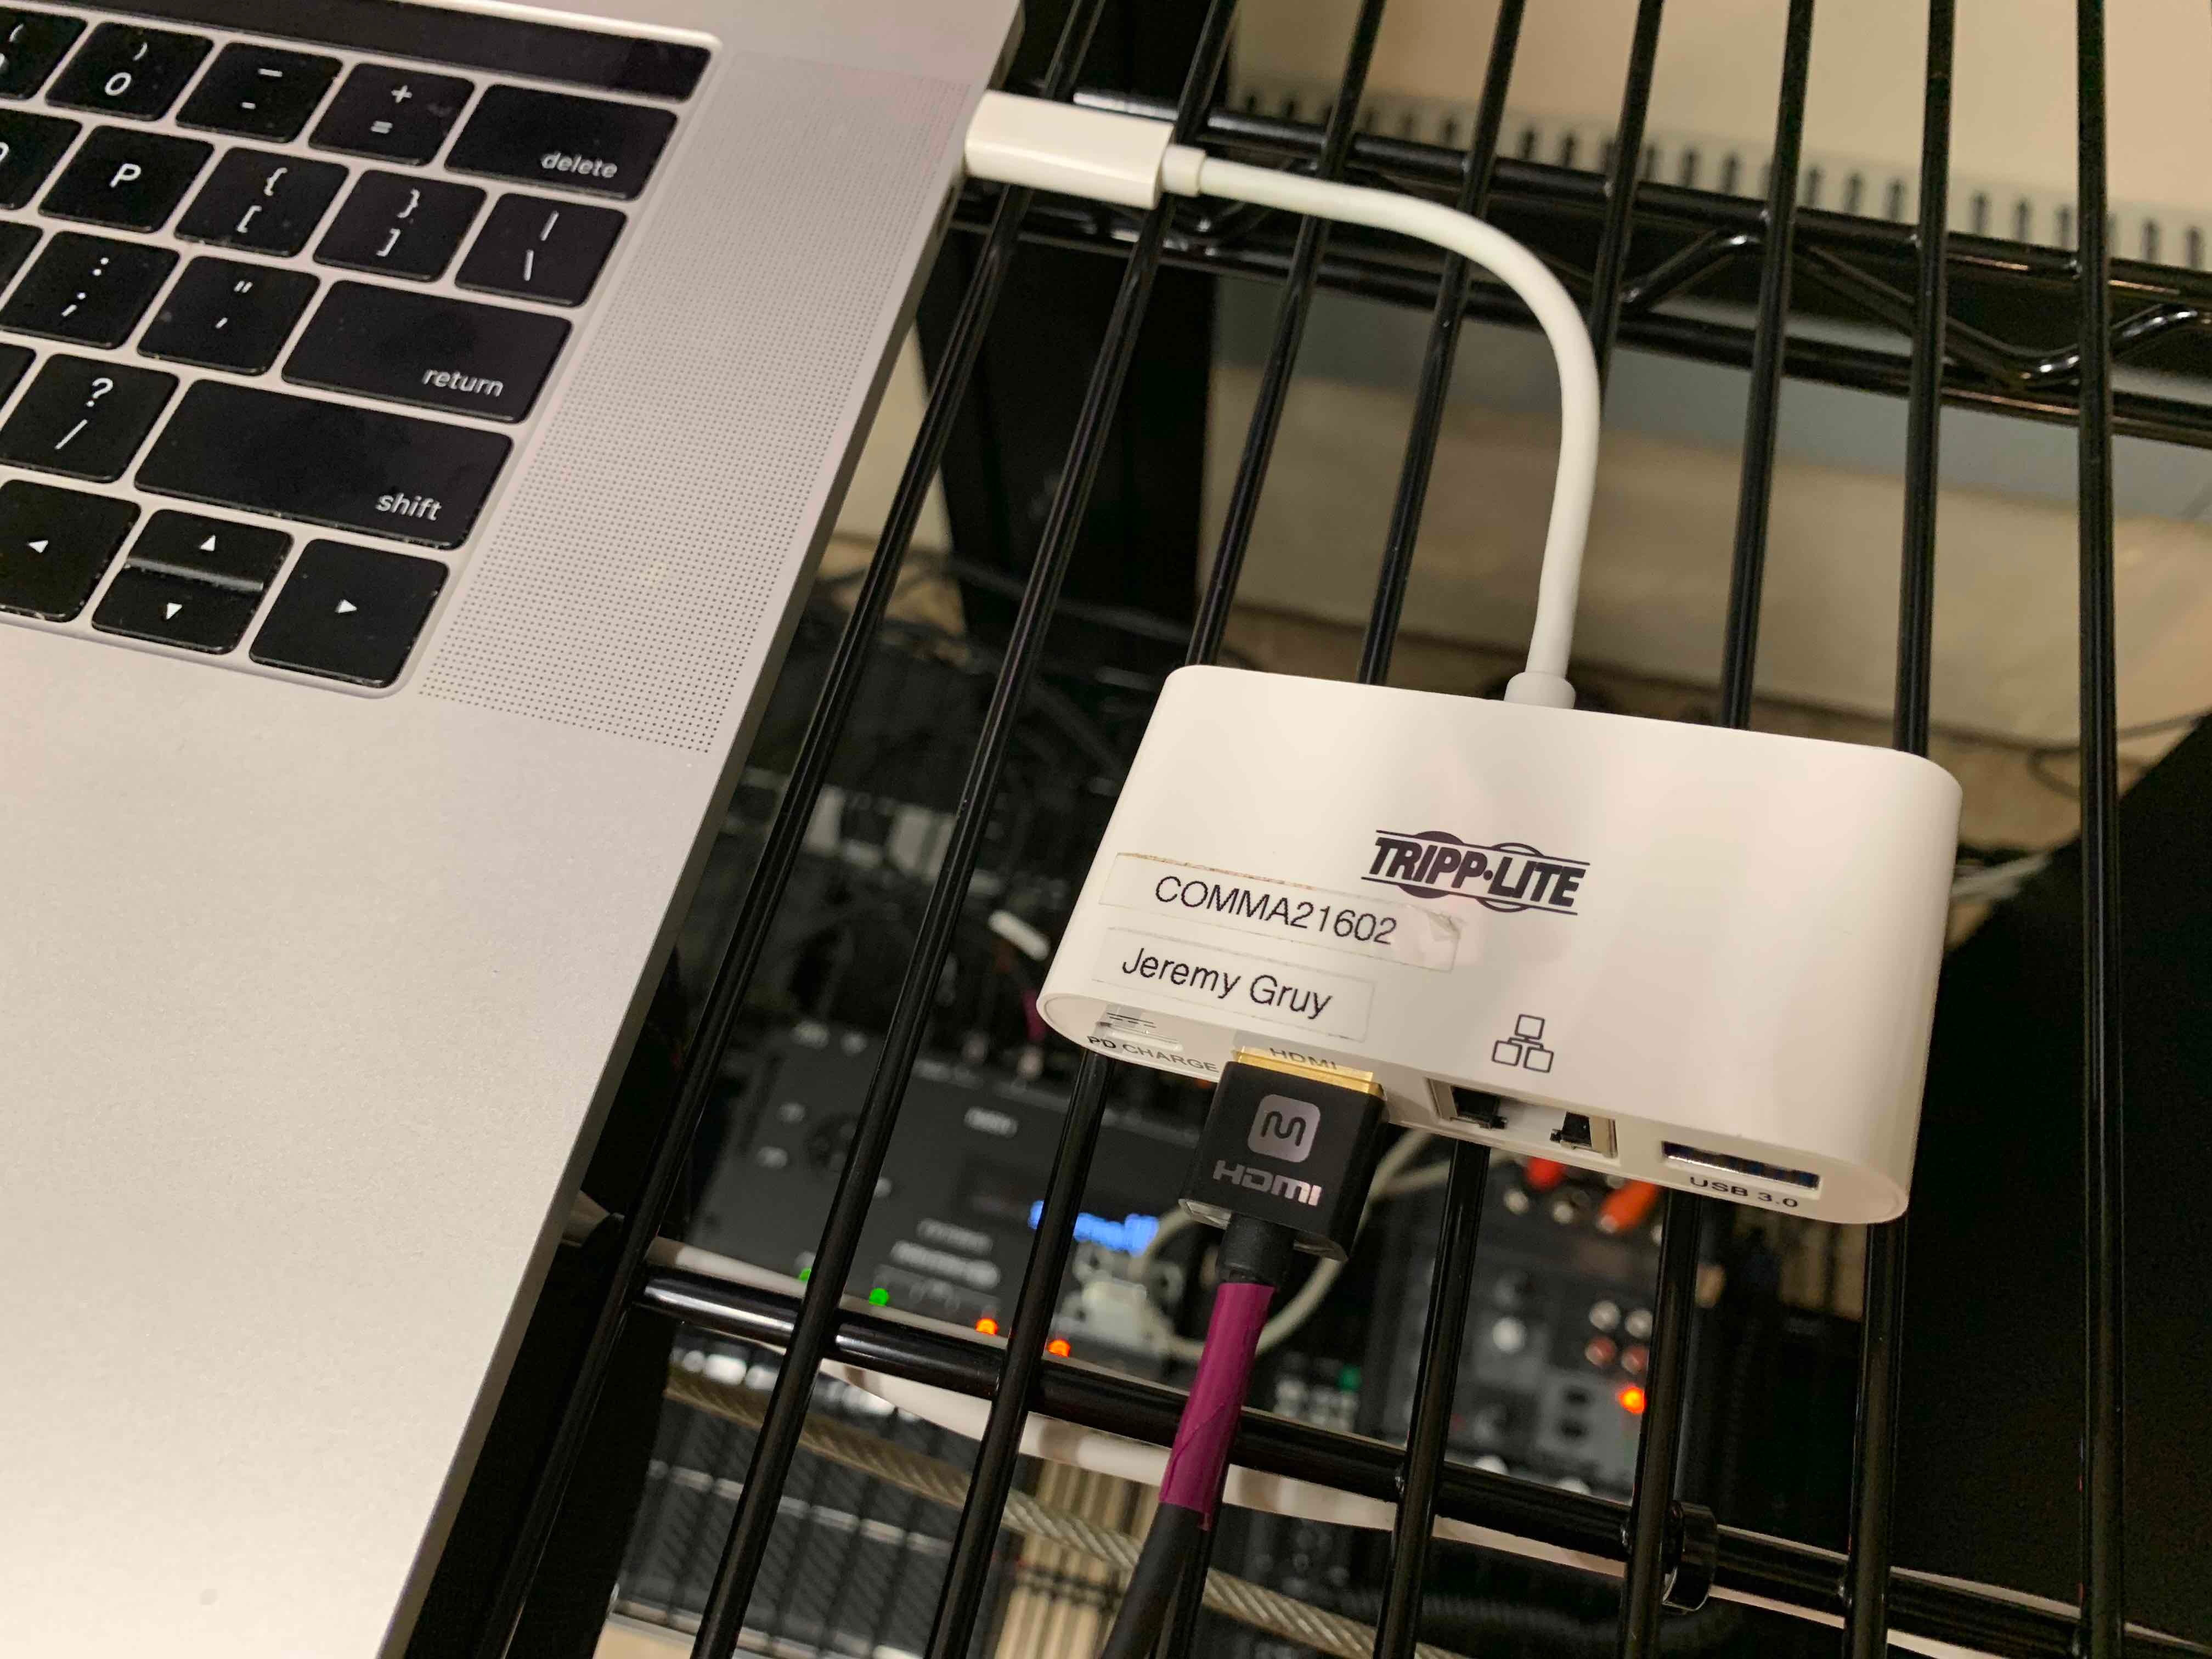
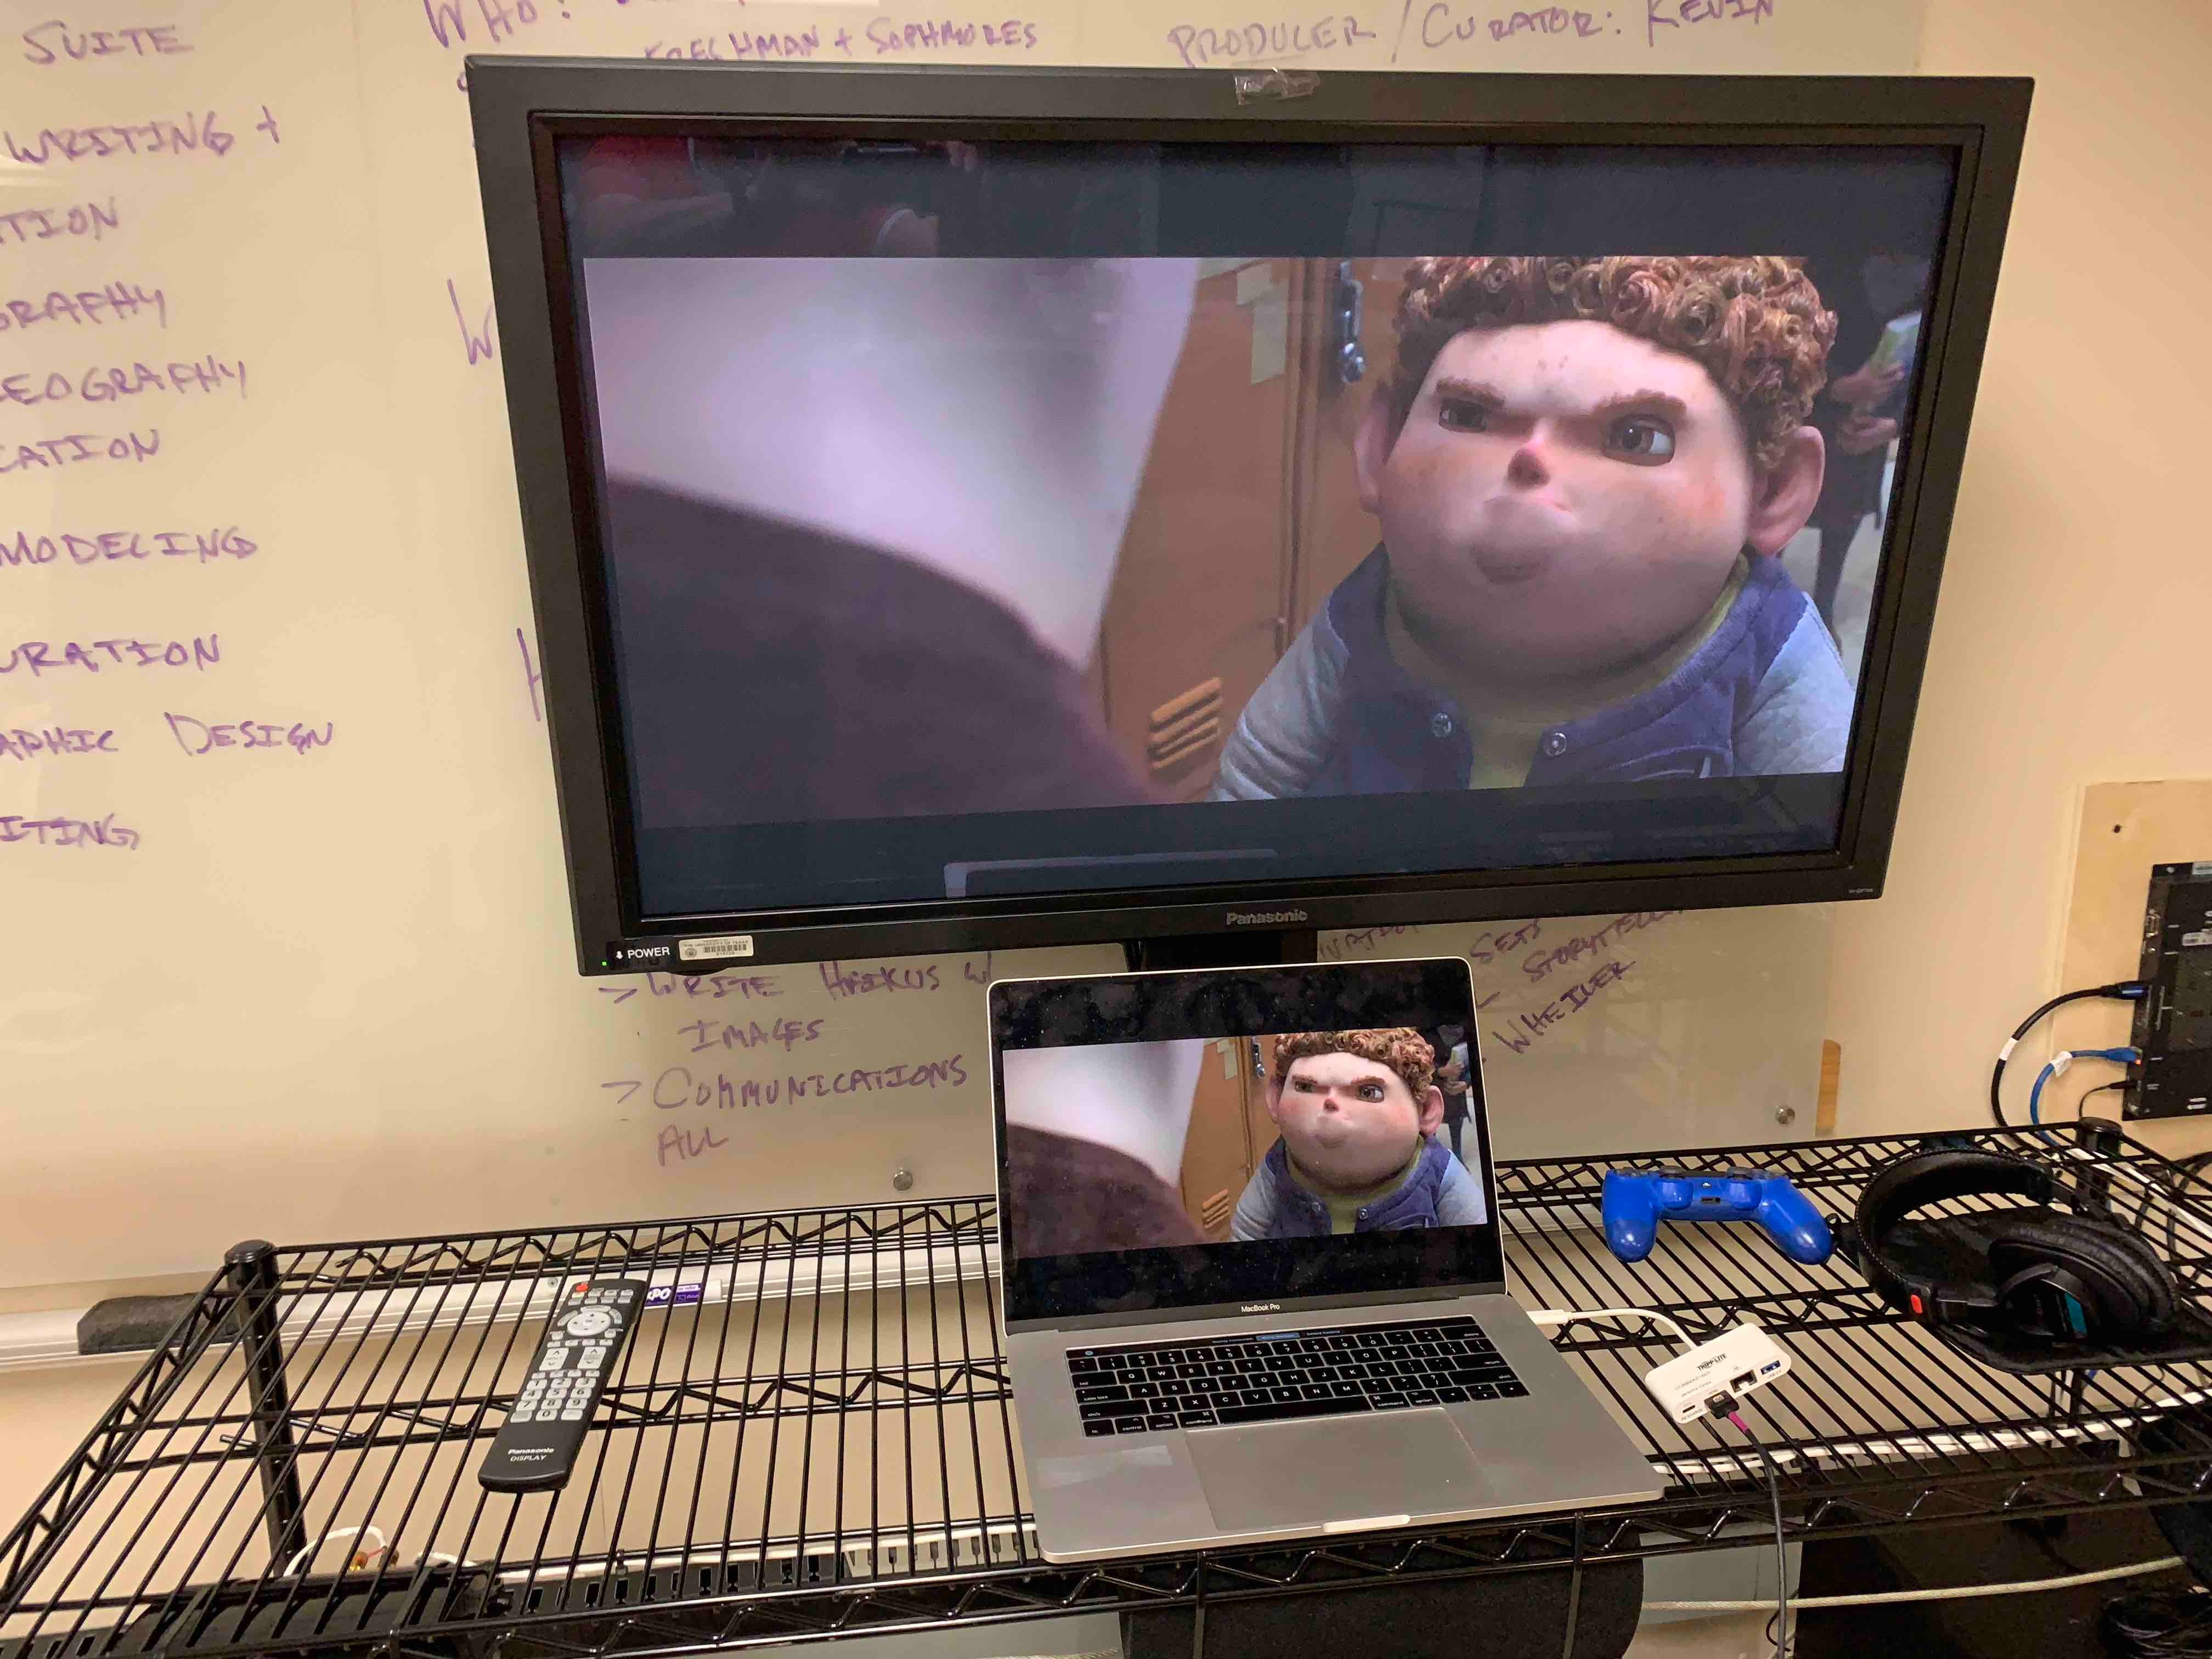
| 3.) For laptop playback, connect the HDMI Input 4: Spare Laptop or Plug-and-Play Input (Purple) cable to your laptop. If your laptop does not have an internal HDMI port, you may need to use an adapter as illustrated here. Be sure to bring it with you as well as your laptop's power supply! |
|
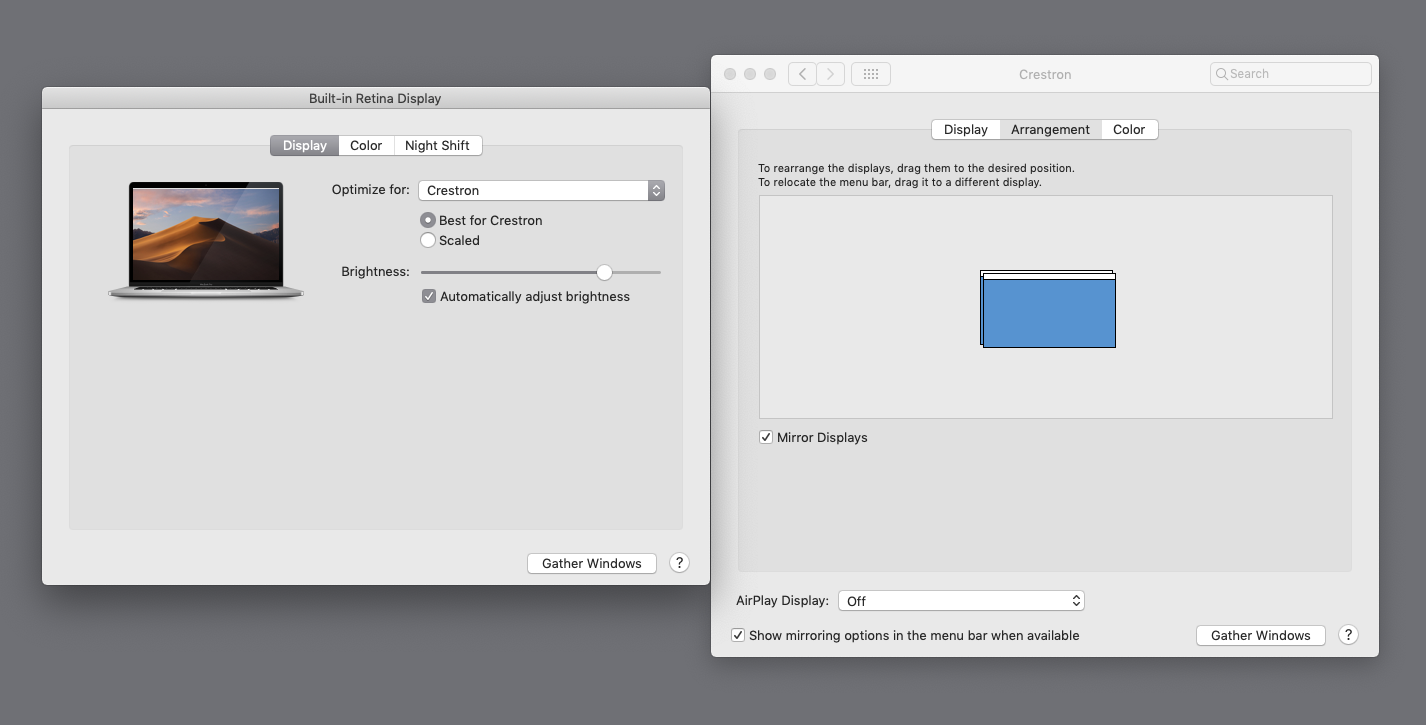
Once you've connected the HDMI cable, be sure to set your audio and video settings properly on your laptop (Set both to CRESTRON.) In this instance, I am mirroring my displays so the Outputs will be the same as my laptop screen. |
|
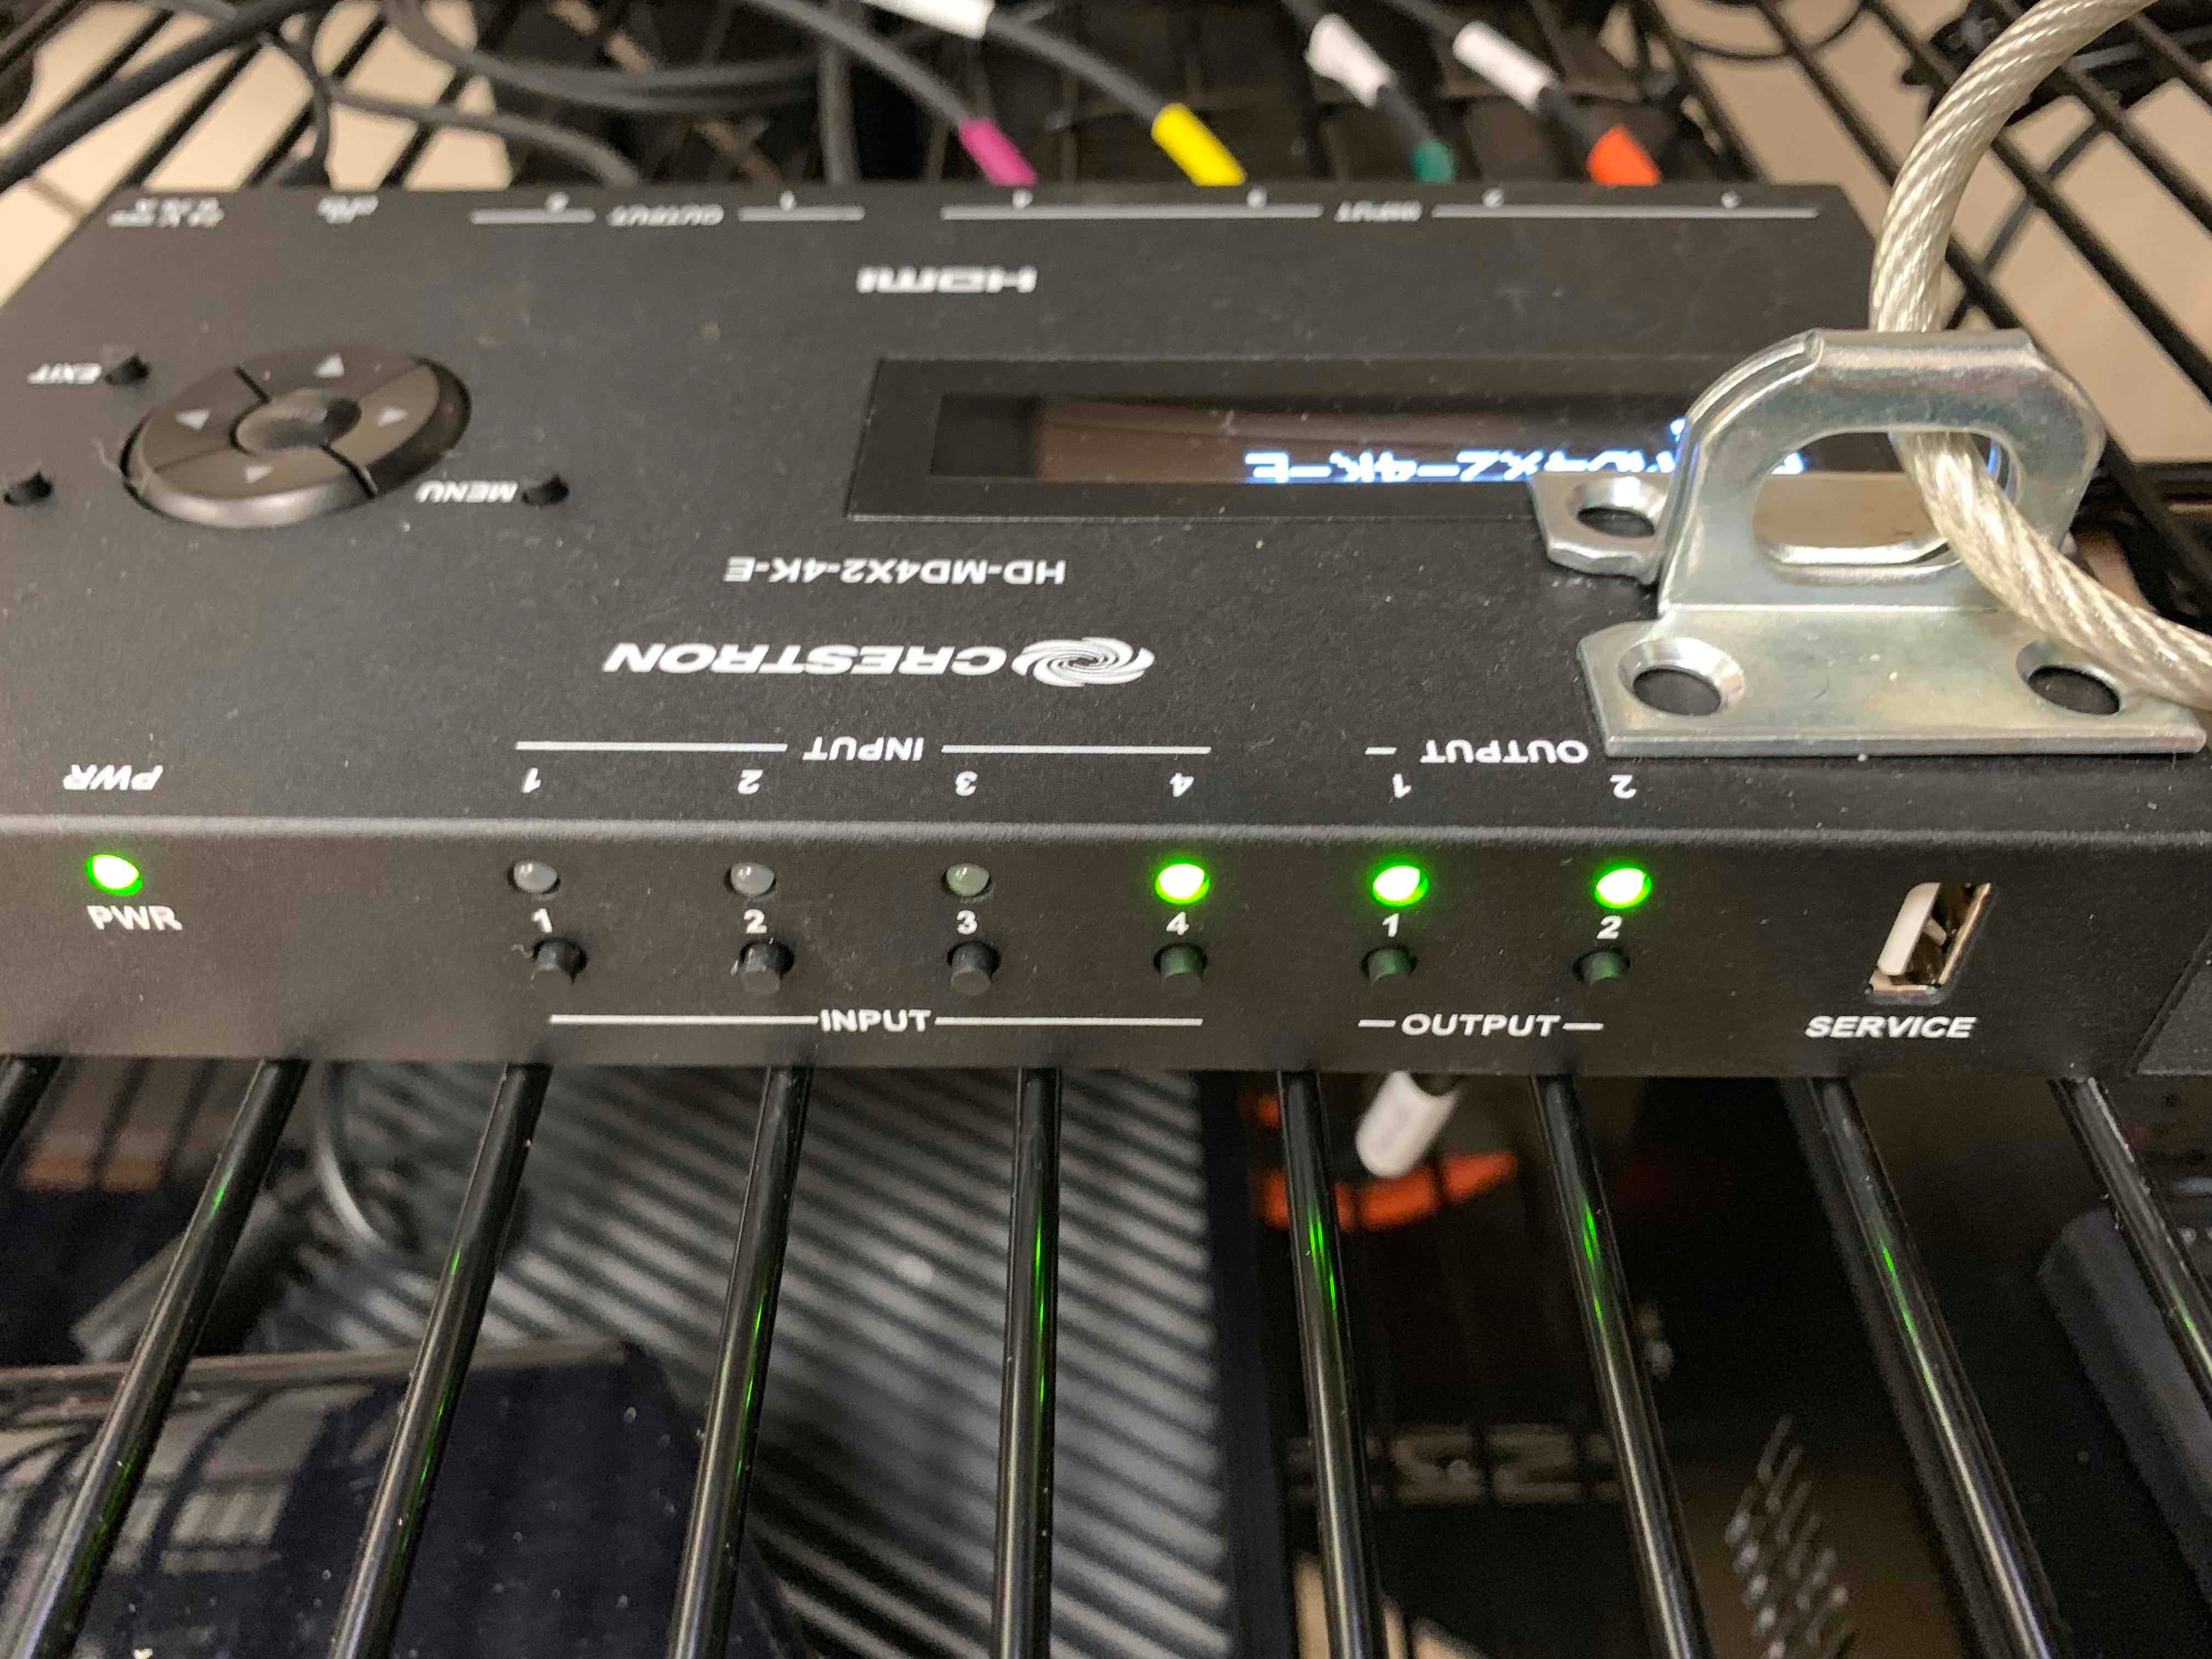
4.) Reviewing the Crestron HDMI Switcher, routing is fairly simply. Sources and Outputs that are available are Amber colored. Sources and Outputs currently selected and assigned are Green colored. In this instance, I have the Sony PS4 powered on and currently selected. Input 1 is Green but the Outputs have not yet been assigned and are Amber. |
|
| To select my laptop, I will press the Input 4 button. It will begin to flash. |
|
| 5.) Now that I have my input selected, I need to assign my output(s). Press the Output 1 button to assign Input 4 to the Video Monitor. |
|
| 6.) Additionally, to make sure the D-BOX chair gets the properly down-mixed audio signal it needs to operate, you need to also route your Input to Output 2 by pressing the Output 2 button. |
|
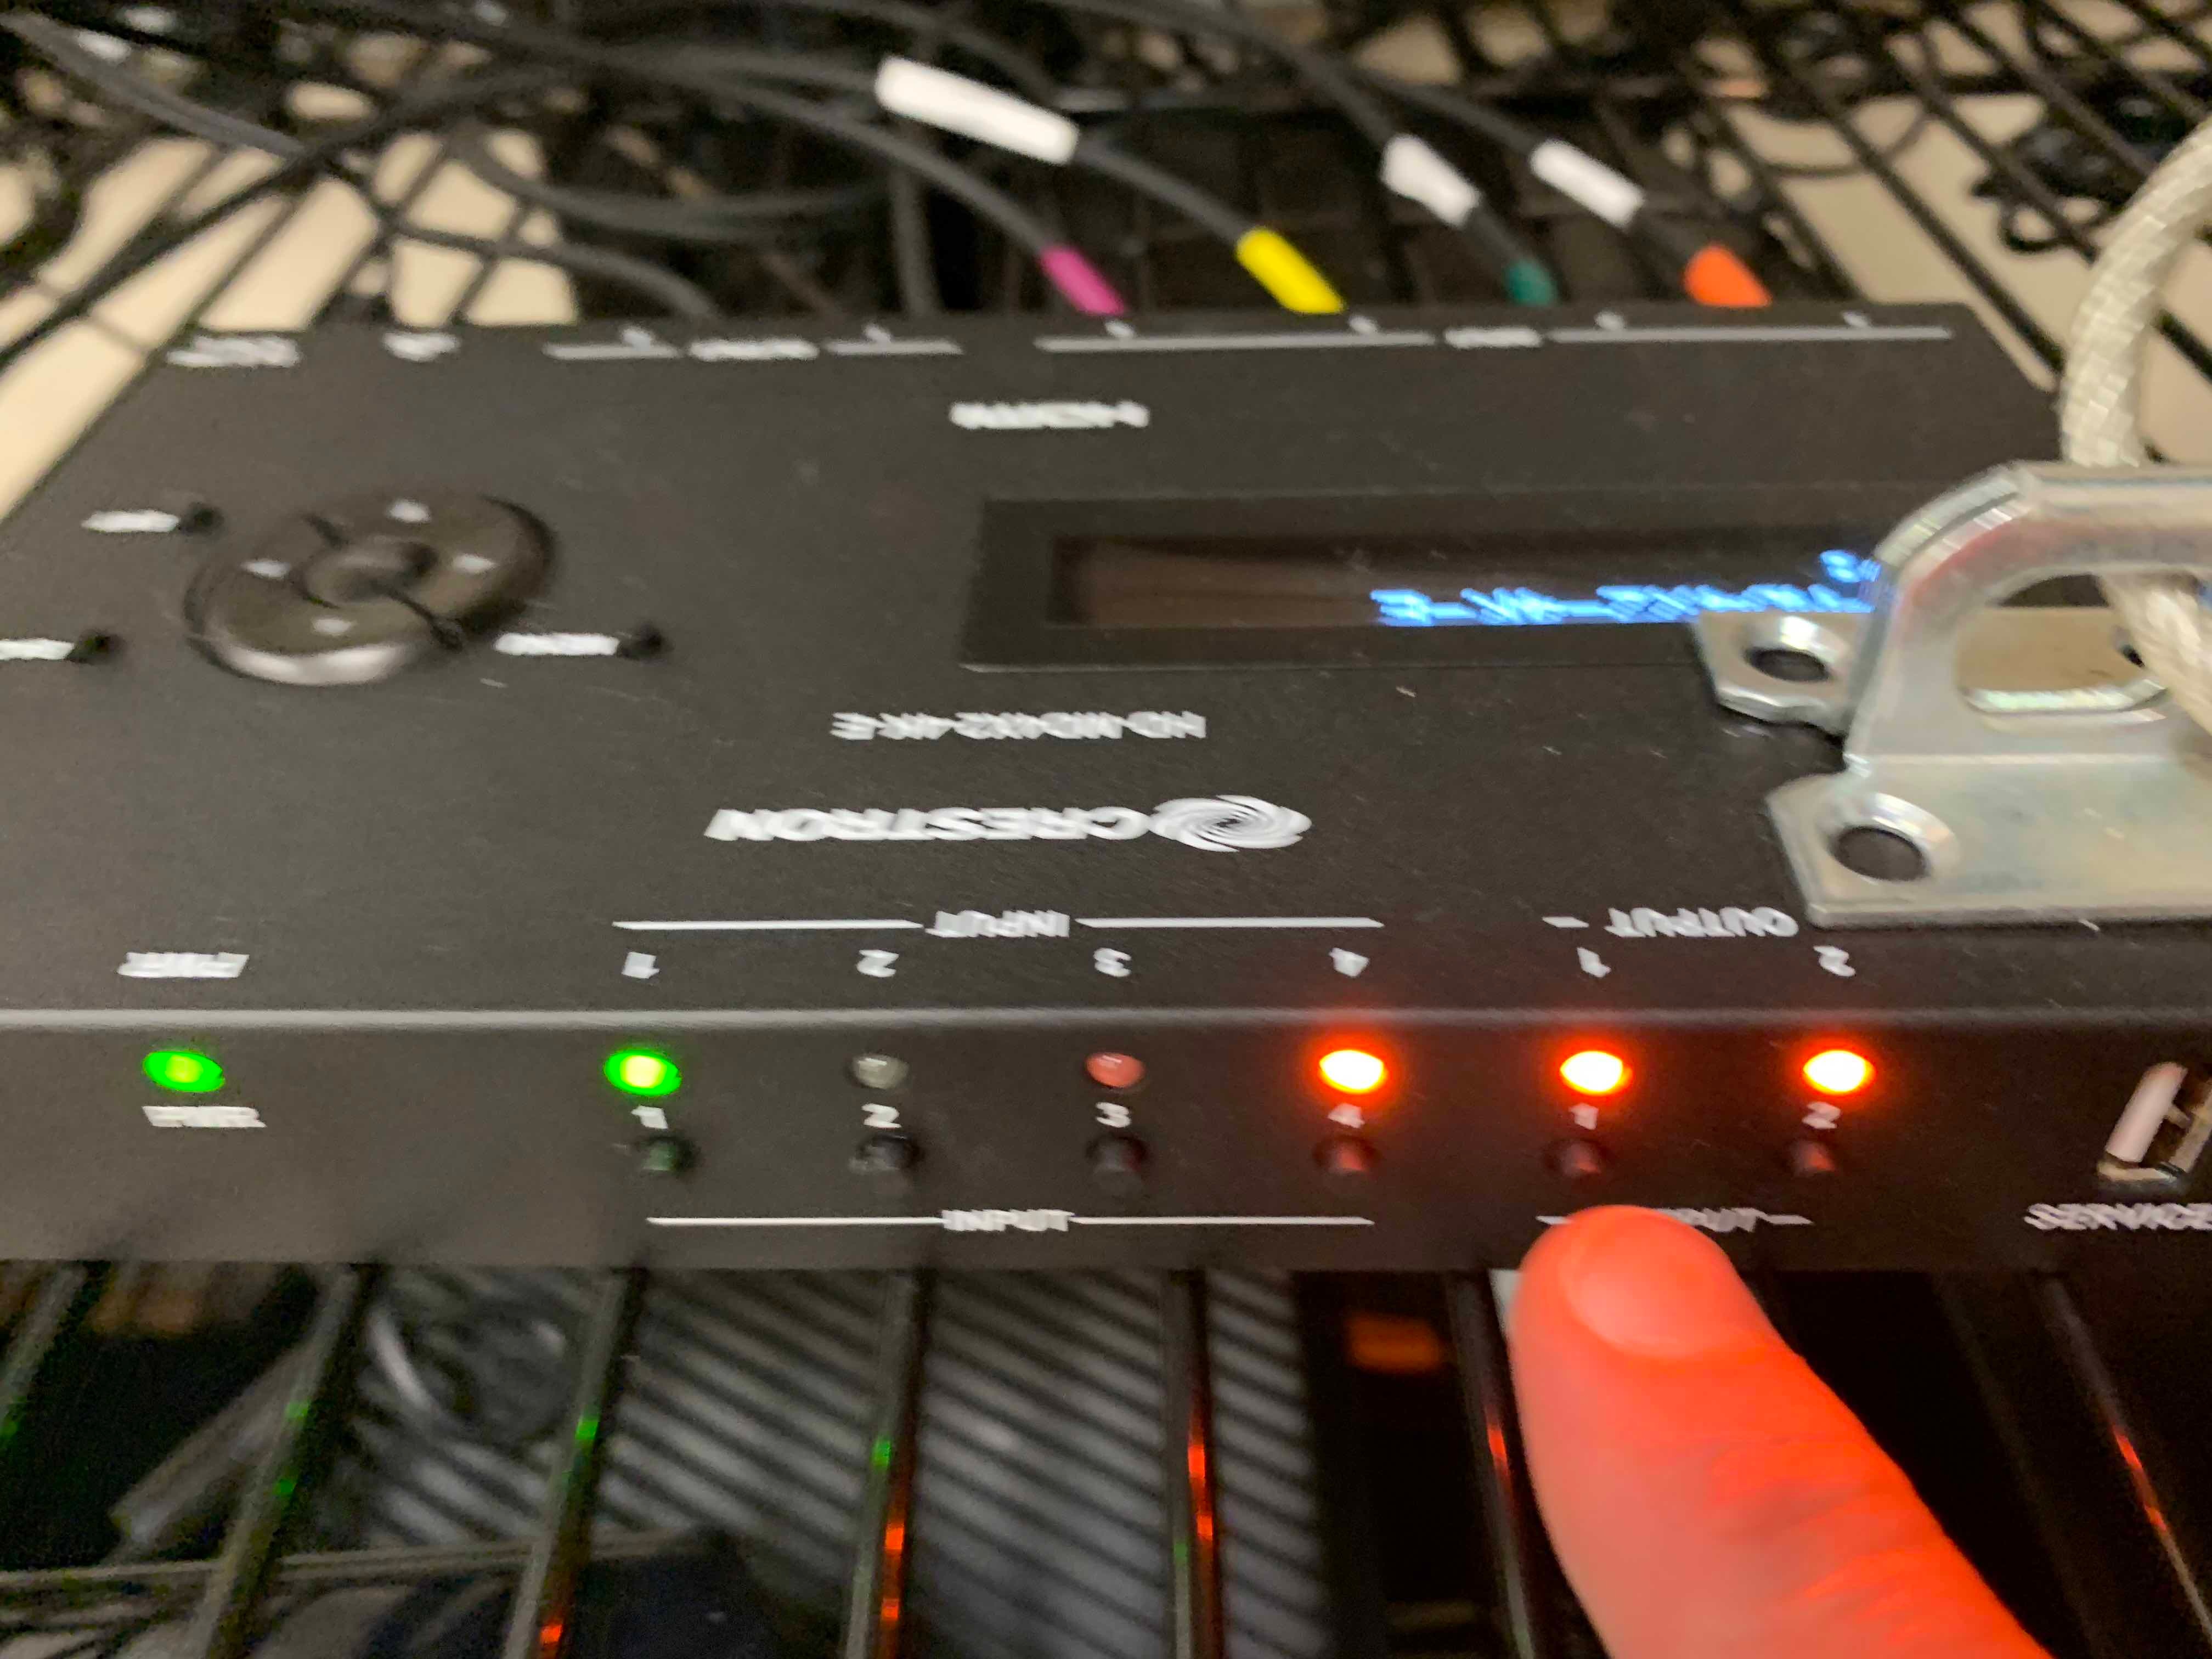
| An example of Input 4 properly connected to both Output 1 & 2 is illustrated here |
|
8.) Once your Inputs are routed, begin to play your media from the start of the program. Please note: always start titles from the beginning. The technology may need 1-2 minutes to accurately synch and load the corresponding motion code. Once the chair becomes responsive, you may jump around the movie to experience different chapters/scenes. |
|
9.) Use caution when sitting in the D-BOX chair. The platform is capable of vibrating heavily and shifting axis' quickly. The platform is completely secure, and you will not unintentionally fall out of the chair. Most importantly, just sit back, relax, and enjoy the ride/experience |
|
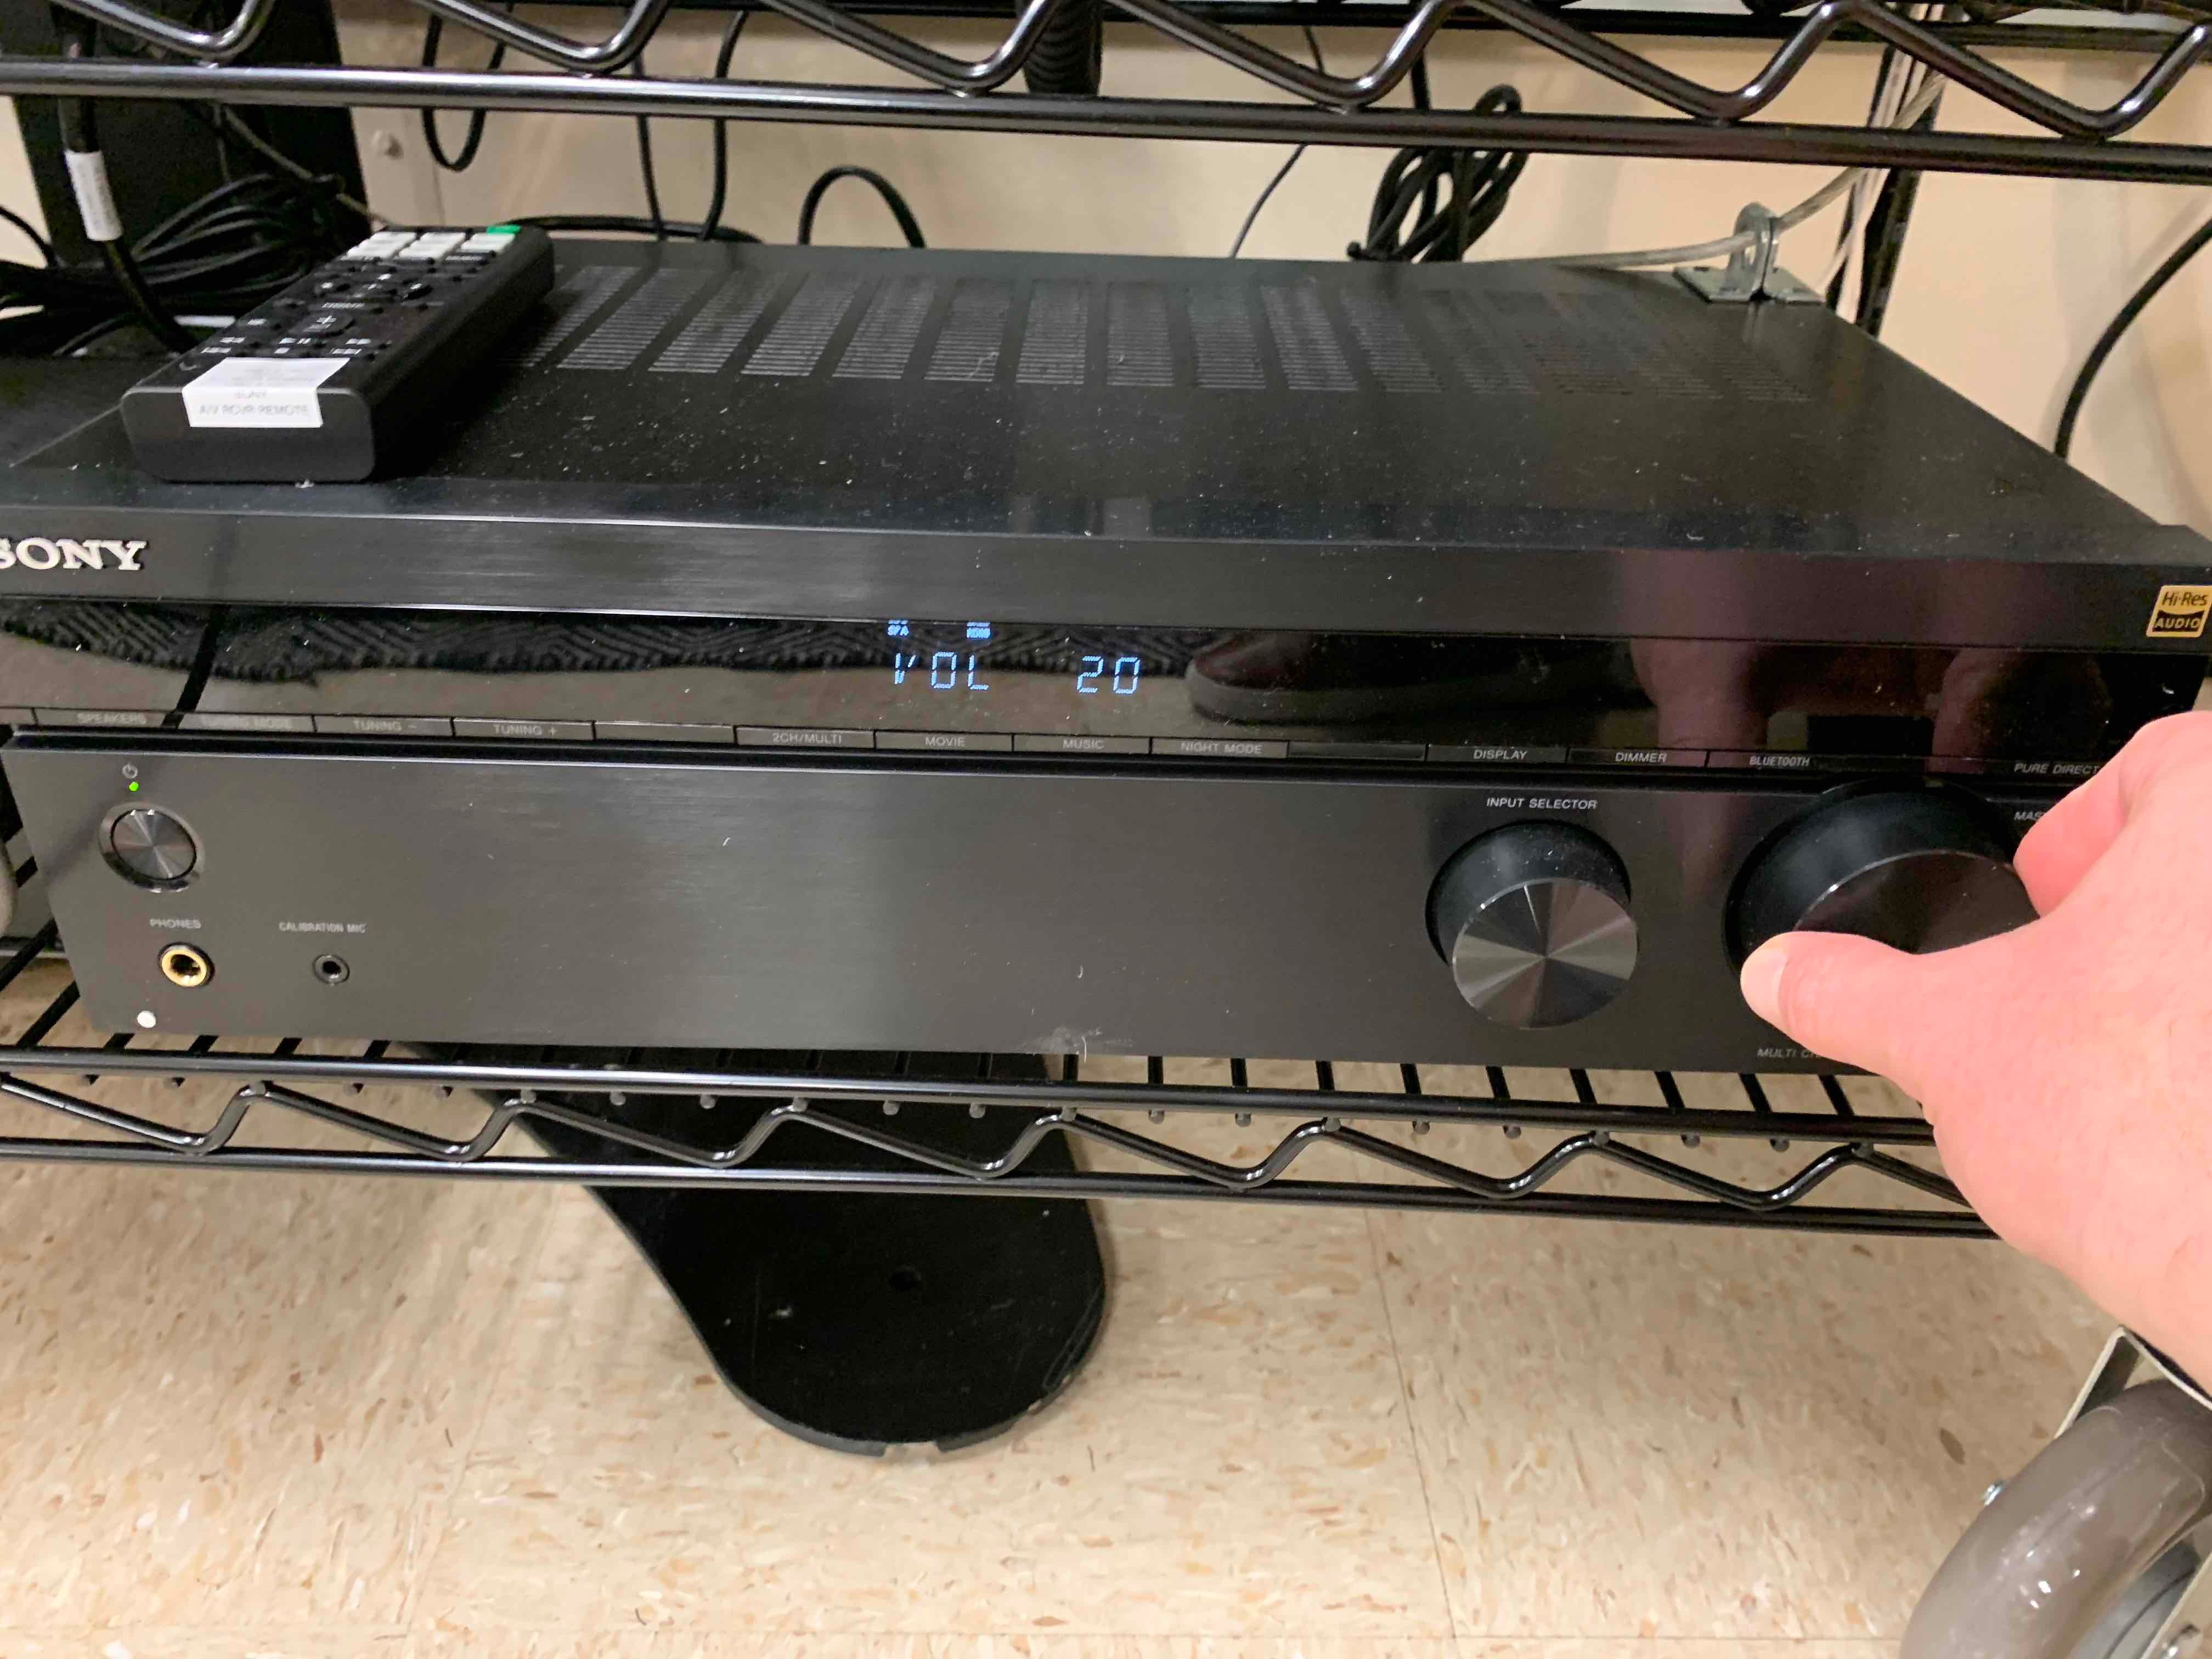
10.) Dependent on your media, the audio source may be Stereo or Surround. Listening out loud via the 6 surround sound speakers is the preferable method. To adjust the volume:
The higher the VOL indicator reads on the display, the louder your sound/speaker volume will be. In this instance, my volume level is set to VOL 20. |
|
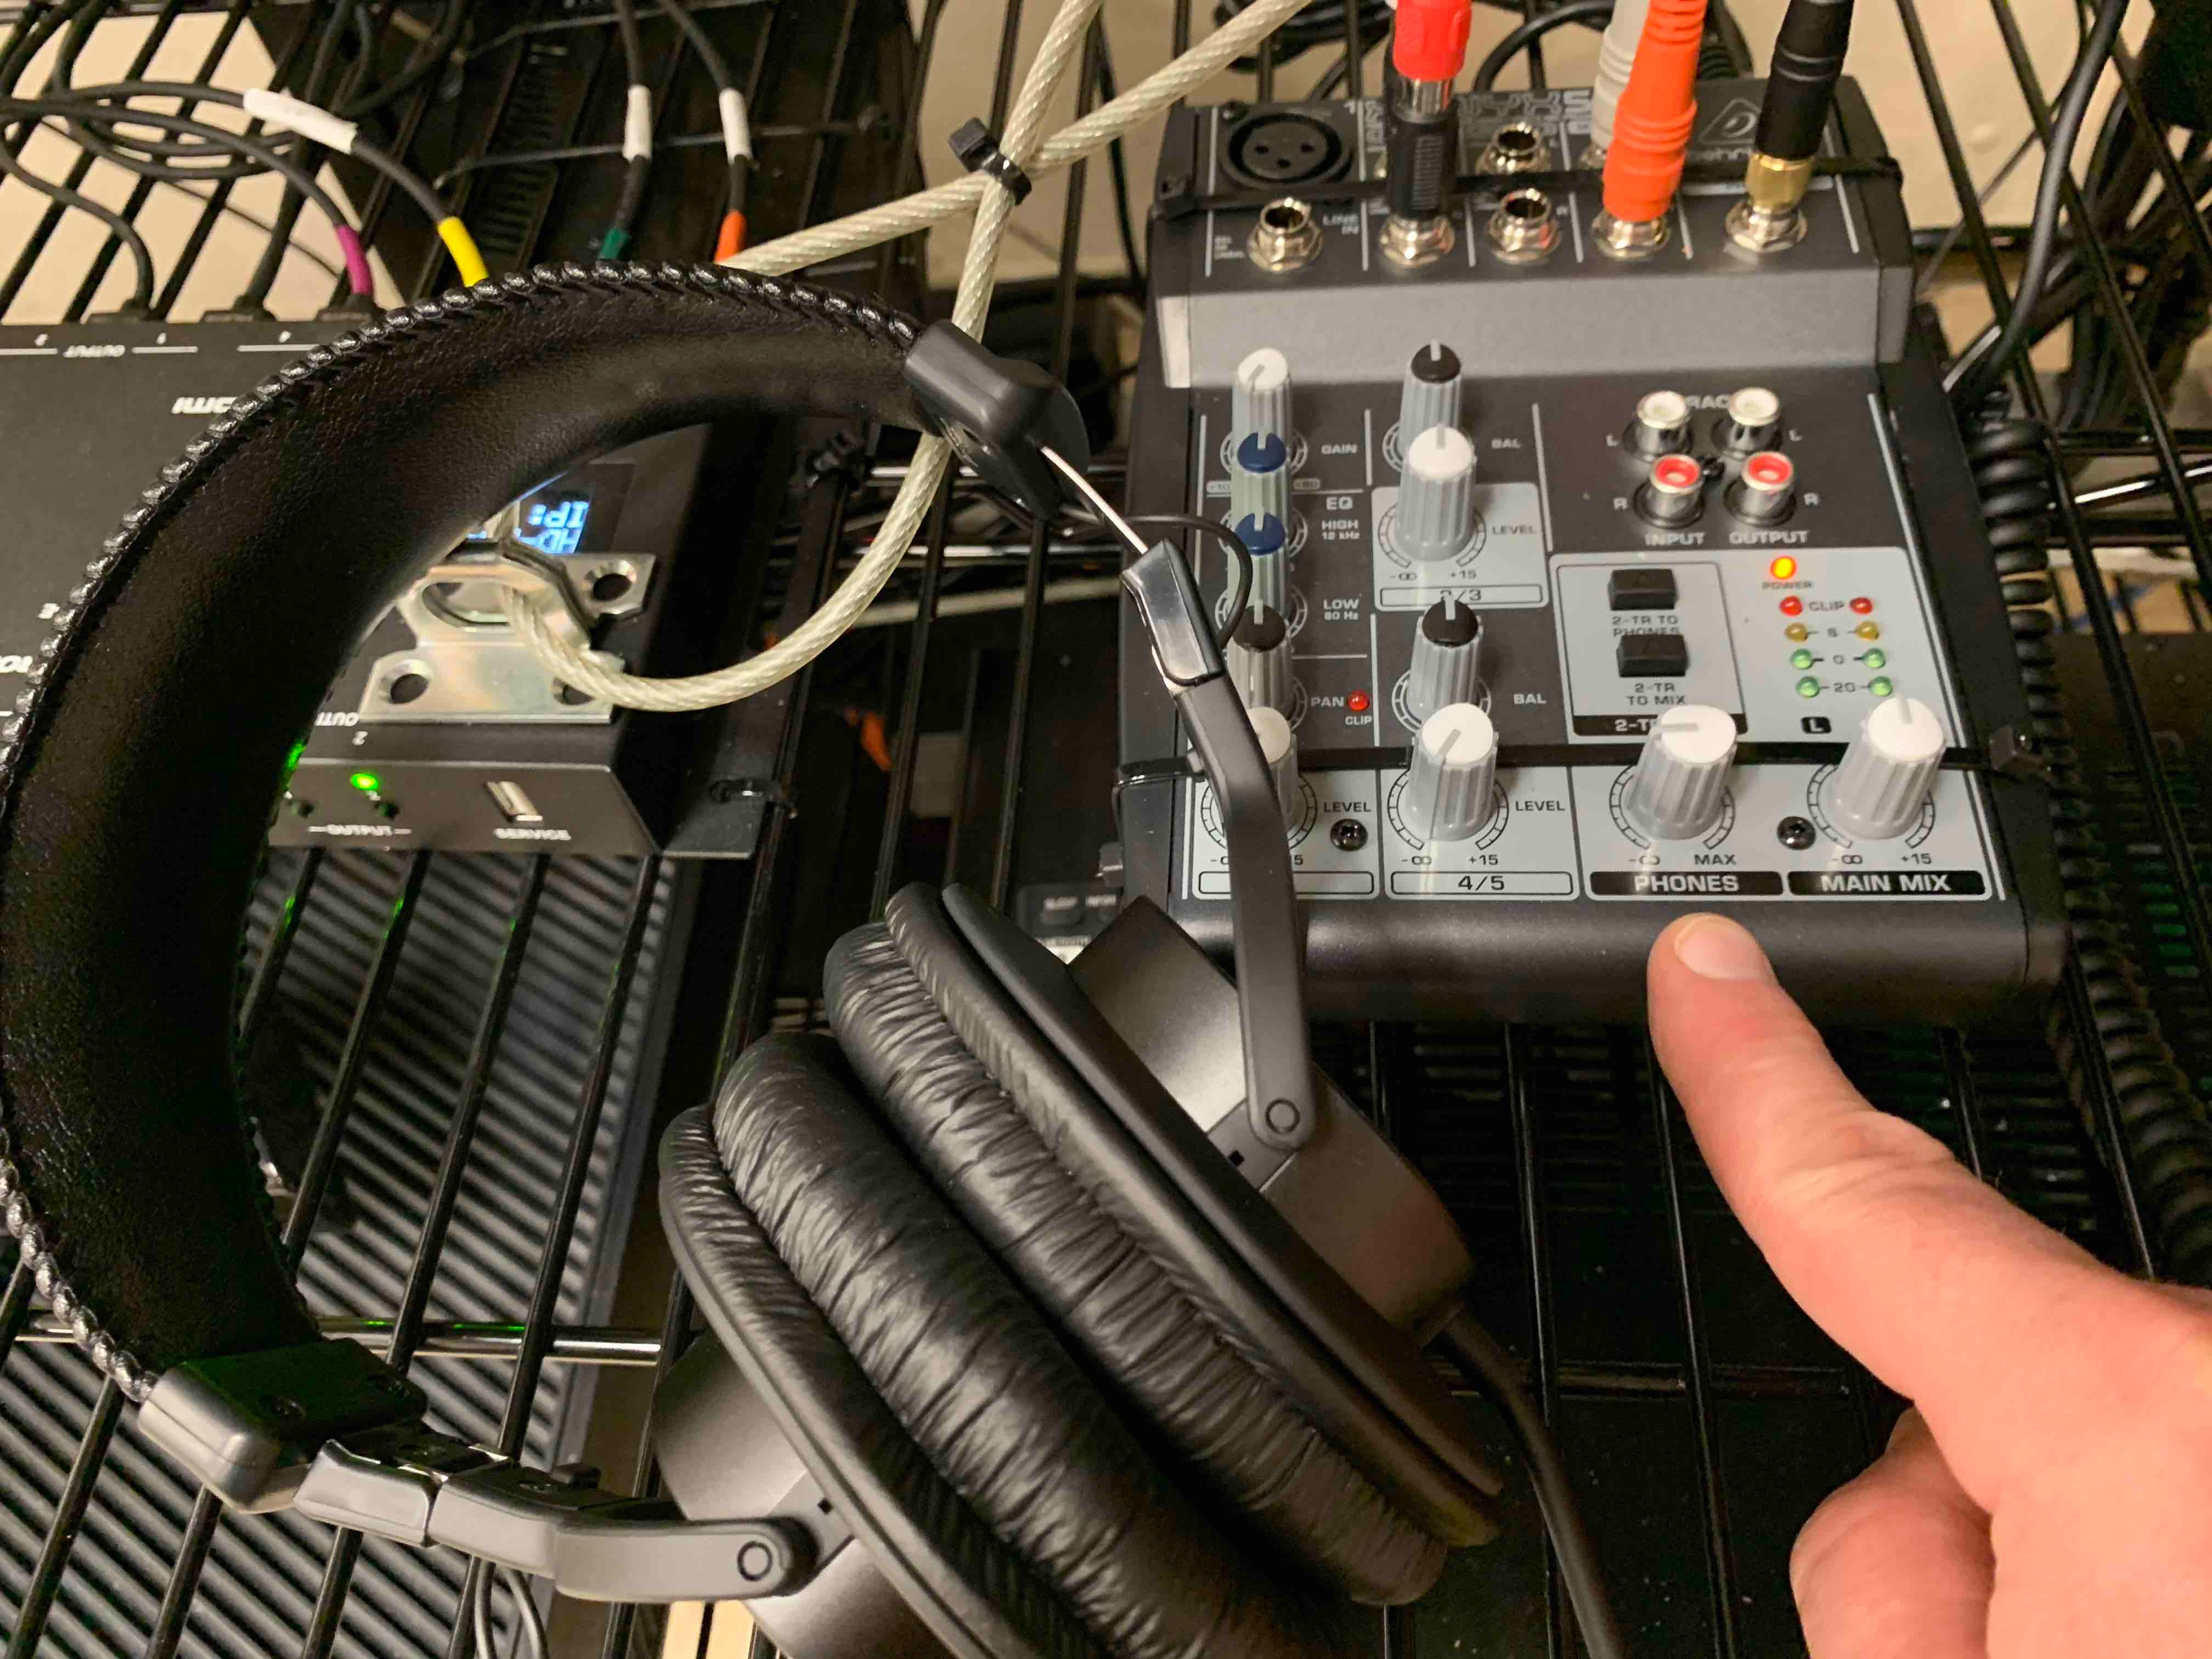
If playing audio out loud is not favorable (i.e. others are working in the lab with you), the audio may also be enjoyed via the provided pair of Sony Headphones. The cord is long-enough to reach from the cart to the chair, but feel free to move the entire rolling cart closer to the chair, if necessary. To adjust the volume of the headphones:
ALWAYS EXERCISE CAUTION WHEN USING HEADPHONES! LOUD SOUNDS AND MUSIC CAN PERMANENTLY DAMAGE YOUR HEARING. IT IS RECOMMENDED TO START WITH THE HEADPHONES VOLUME TURNED ALL THE WAY DOWN (COUNTER-CLOCKWISE), AND GRADUALLY INCREASE THE VOLUME (TURNING KNOB CLOCKWISE) UNTIL COMFORTABLE VOLUME IS ACHIEVED IN THE HEADSET AND YOUR EARS. |
|
11.) For a list of the titles with available motion codes, please consult the D-BOX Plus library catalogue. |
|


...
| Section IV - Troubleshooting Problems | |
|---|---|
| If the D-BOX chair is not responding to the media you're playing back, please do the following: | |
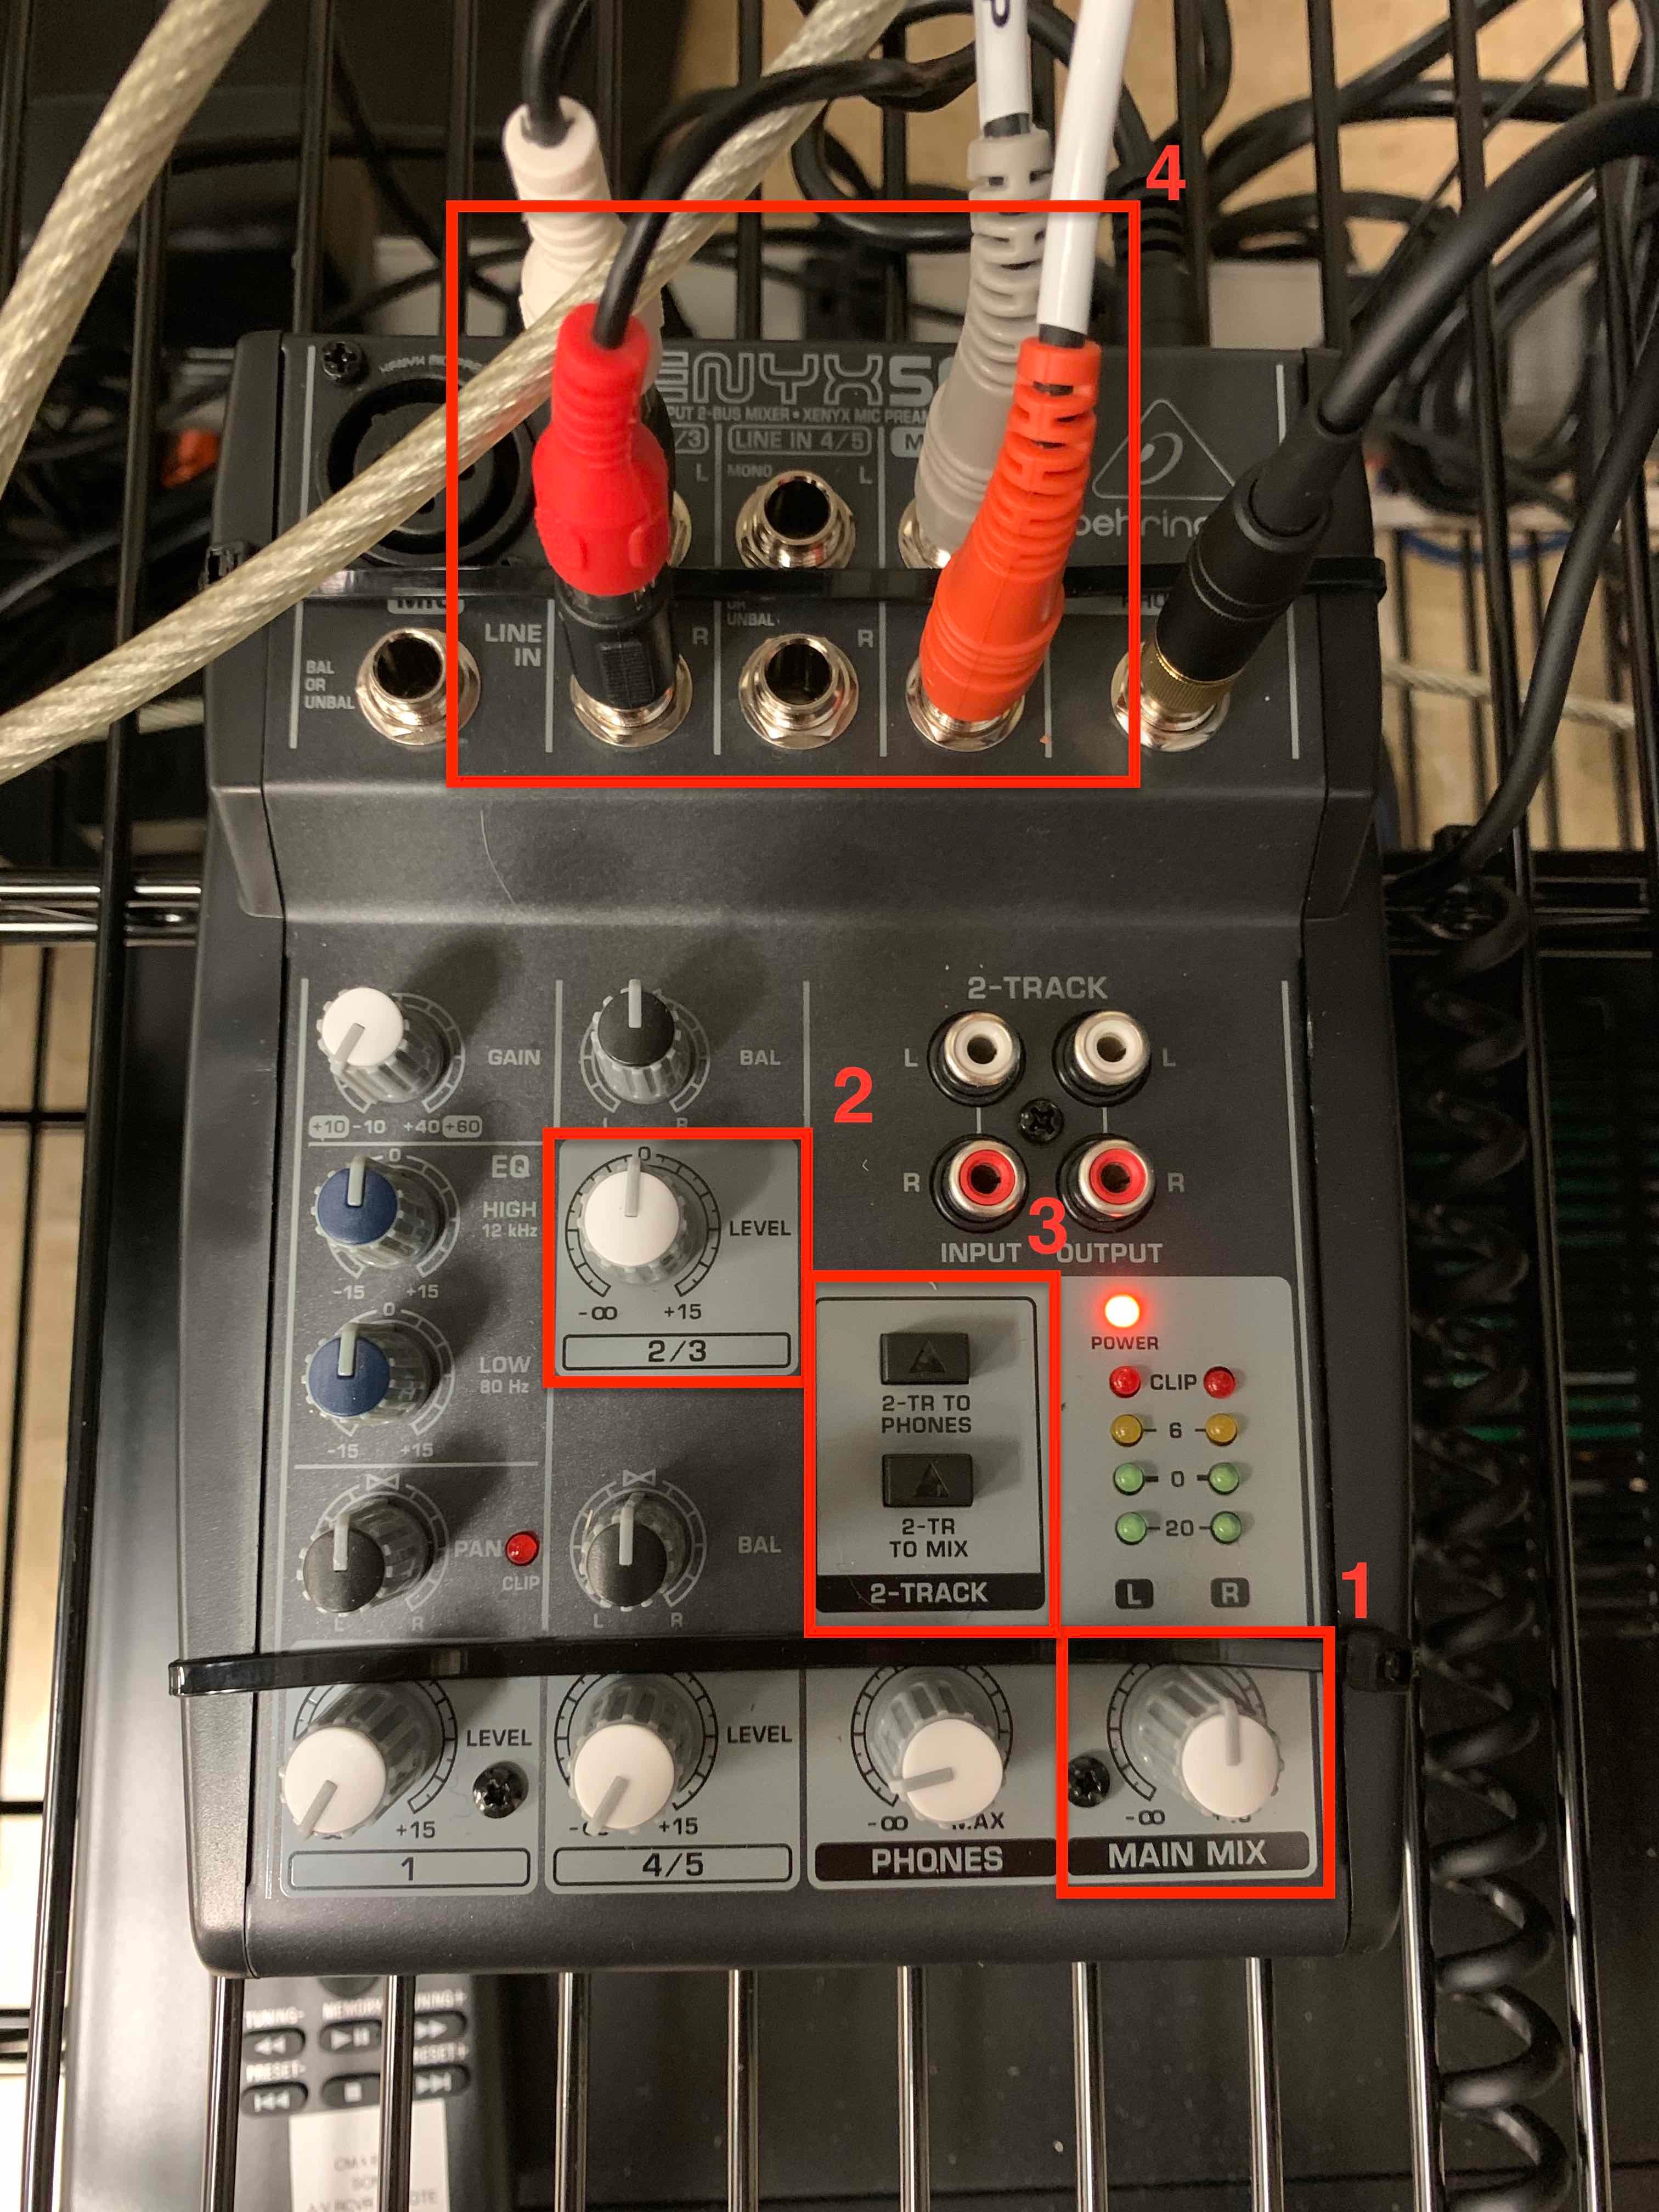
1.) Check the Behringer Audio Mixer to confirm audio signal is being output form the device. Refer to the image to the right. a.) Box 1 - Confirm Main Mix knob is turned up. Preferably leave it at the 12 o' clock position. b.) Box 2 - Confirm 2/3 knob is turned up. Preferably leave it at the 12 o' clock position. c.) Box 3 - Confirm neither of the two push-buttons are depressed. These functions should not be enabled. d.) Box 4 - Confirm all 4 audio cables are securely plugged into their corresponding jacks. |
|
| 2.) Check that the D-BOX chair is currently powered. The power cord and plug should be connected to the power strip on the floor directly behind the desk. | |
| 3.) Check the HEMC controller and confirm the device is powered on by confirming the power button on the front panel is depressed and glowing blue |
|
4.) Check the HEMC controller and confirm all of the 4 cables are securely plugged into the device. Refer to image to the right: From left to right:
|
|
5.) Confirm the Sony audio amplifier is on the correct input. The LCD display should read BD/DVD. |
|
6.) Double-check the D-BOX Plus library catalogue to confirm your title has a supported motion file available for the chair. |


Overview
Content Tools