Page History
| Open Adobe Premere Pro |
|
| |
Name your project. And Browse to a place you'd like your project to be saved...like your external hard drive. | 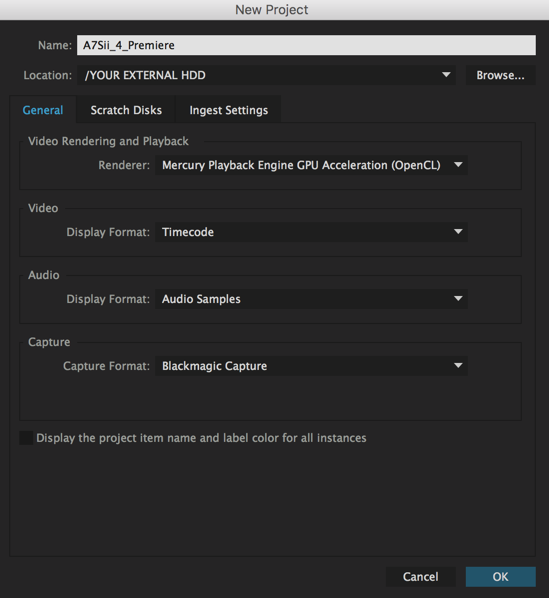 |
Under the Scratch Disk tab, if you have every dropdown as "Same as Project" you should be fine. |  |
| Click OK |  |
Once you've created your project choose File > Import... or Command + I |  |
| Navigate to your A7Sii or any other types of HD to 4K native camera footage clips |  |
Highlight the clips you want click Import |  |
Select the clips that you would like turned into proxies. (usually all of them) | 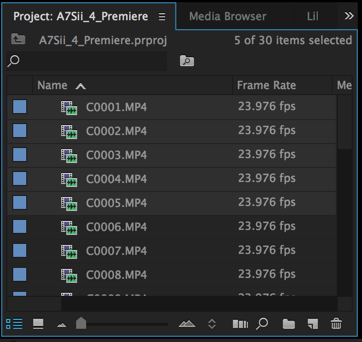 |
Once the clips are imported into Premiere we need to make sure no LUTS are applied Select all the clips and Right click >Choose Modify>Interpret Footage |
|
Make sure Color Management is set to 709 and LUT is set to None click OK If Color Management is greyed out then you are okay to proceed there is no LUT being applied |
|
| Right click on your selected clips choose Proxy > Create Proxies... |  |
Choose the Browse button to choose a place that you would like to store your proxies. (Recommended) |
|
| Next Navigate to your hard drive or shared storage volume and create a new folder and click Create. |  |
| Choose Select Folder to apply the changes of saved files location |  |
Choose Quicktime as the Format and ProRes Low Resolution (Proxy) as the preset. |
|
| Media encoder will automatically launch... |  |
| ...and start encoding your proxies. |  |
Back in Premiere Choose Premiere Pro CC > Preferences > Media... | 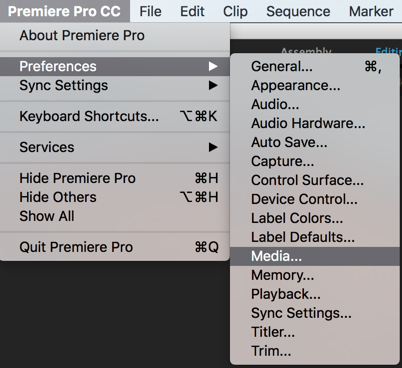 |
| Make sure the "Enable proxies" check box is checked |  |
| Click OK |
|
| You can watch Media Encoder and once all your clips have "Done" and a Green check mark all your proxies have been created. |
|
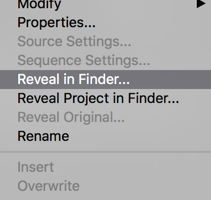
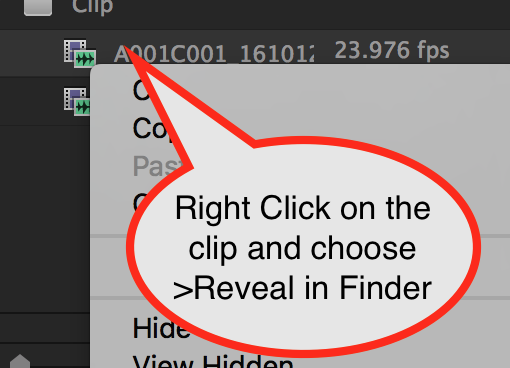
Back in Premiere - check that the proxies are being referenced properly you can "right click" on the file in the Project Window and choose "Reveal in Finder"
|  |
| You should see the clips in the designated Proxy folder |  |
You should notice a significant performance increase in the computer processing by using Proxies. Edit the project with the proxy files. | |
When you're done editing and want to Reconnect to the 4K media, uncheck the "Enable proxies" under the "Premiere Pro CC > Preferences > Media..." menu check box Click OK | 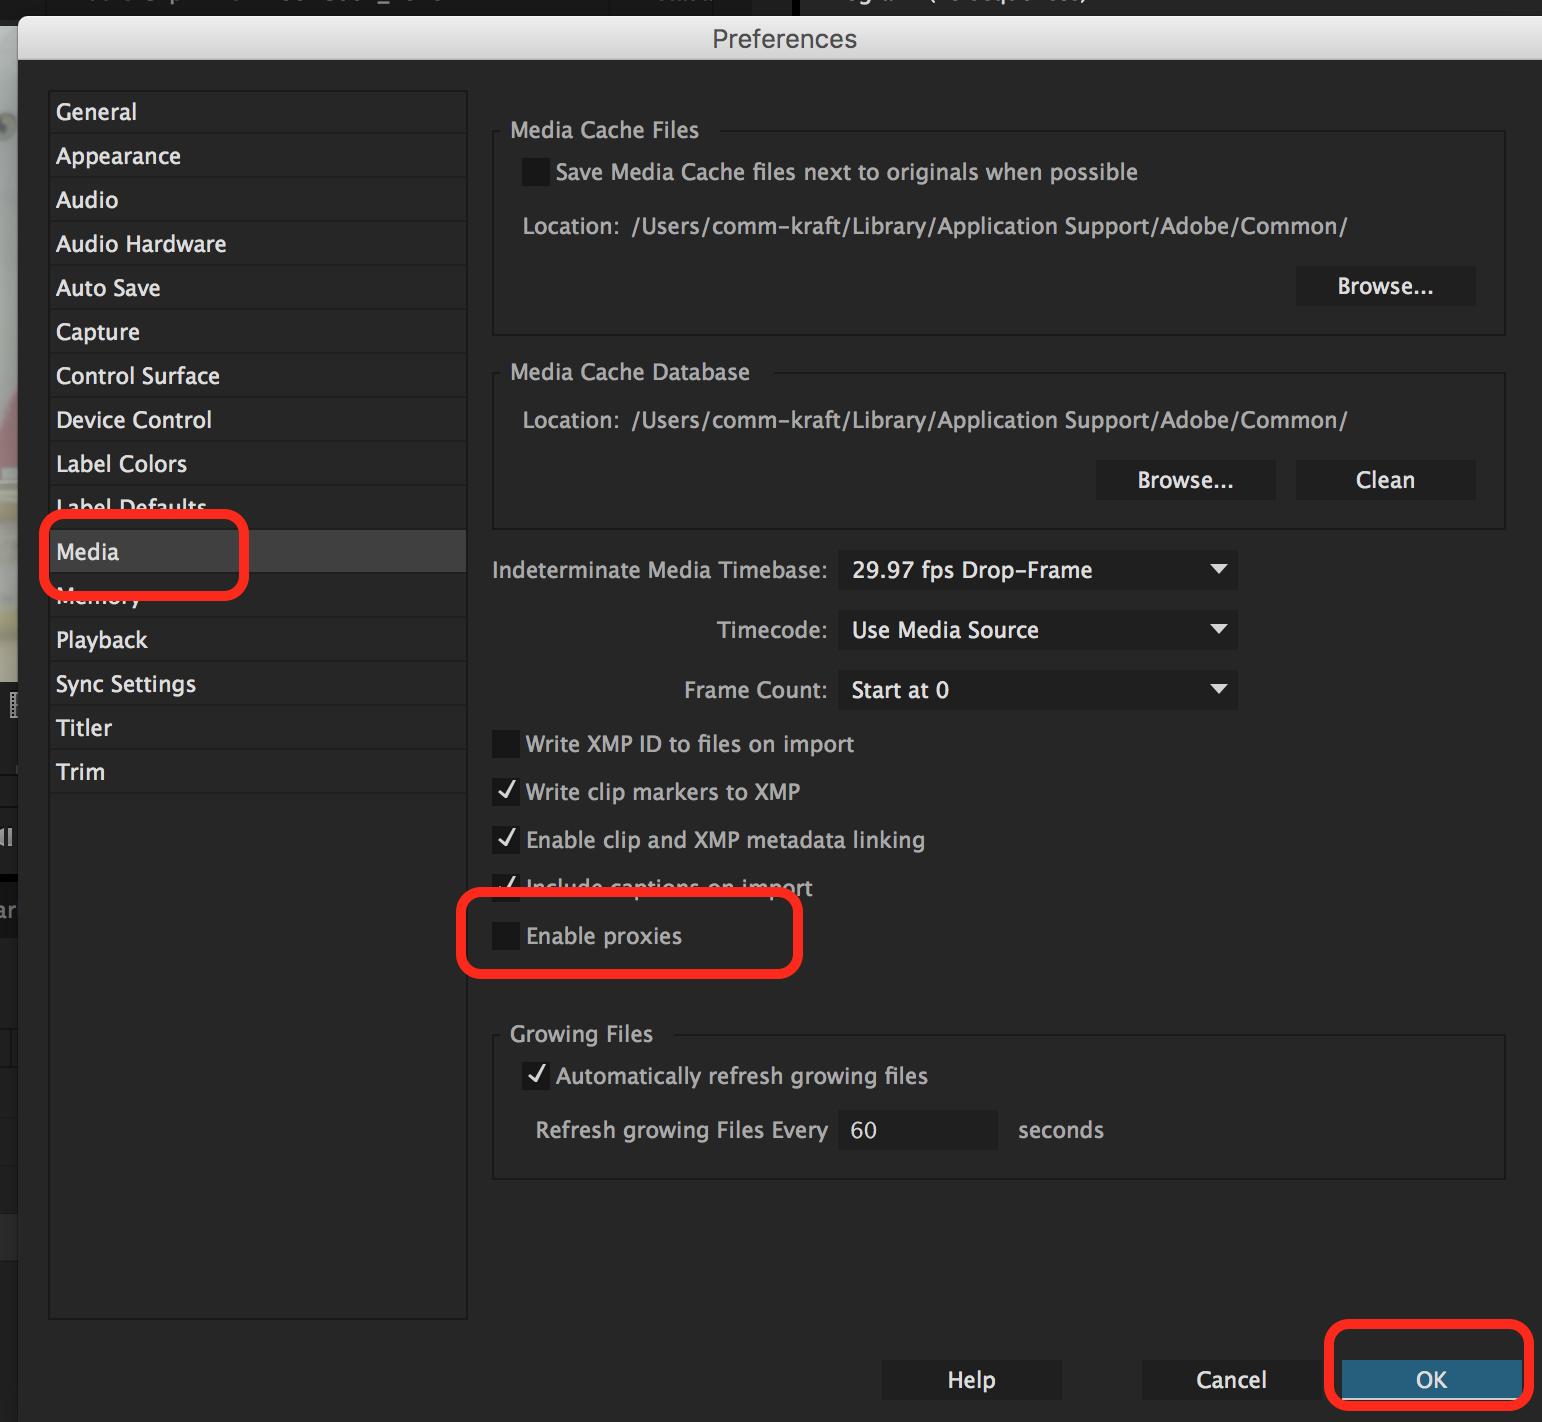 |
To check that the files are being referenced properly to the 4K media you can "right click" on the file in the Project Window and choose "Reveal in Finder" Will now show you that the files are linked to the XDROOT folder using the 4K native data that you backed up off the Sony F5 SXS card Now you can color correct and export at 4K resolution | 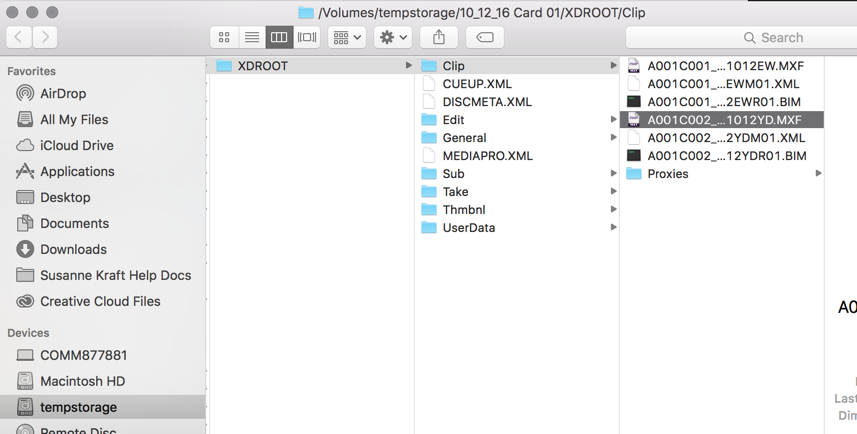 |
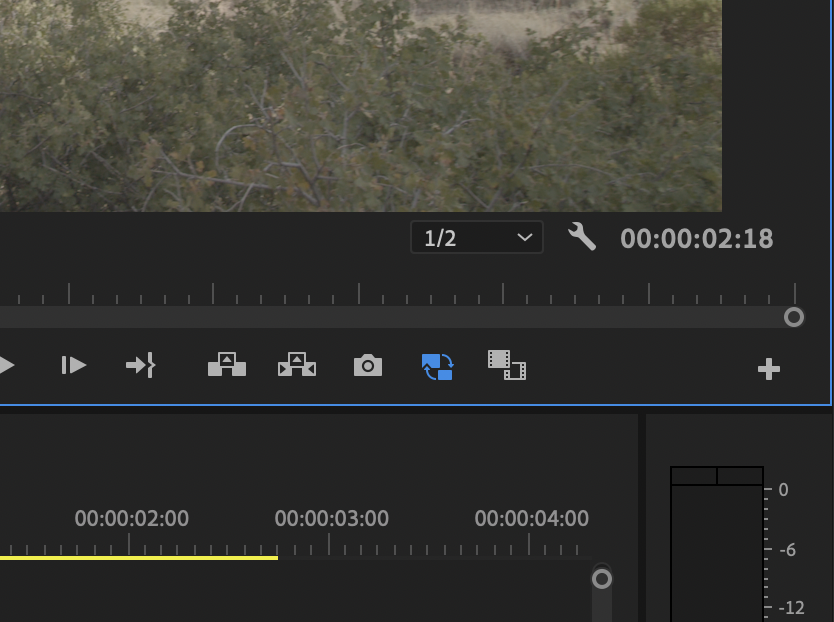
Next setup Editor so you can toggle proxies On the left side monitor or record side click the Button Editor icon or "+" |
|
Then look for the Toggle Proxies icon shown here and drag it to the record side |
|
| Shown here the icon is placed on the record side Press OK to set |
|
Now you can press the icon to toggle proxies on and off. Blue = Proxies |
|
| White Icon = Native Camera Original |
|


...
Overview
Content Tools