Current faculty members in the College of Education now have the ability to update their profiles in the Faculty Directory. New faculty members should fill out the Marketing and Communications submission form before trying to access.
Please be sure to note the following:
- Check your program affiliations on the Your Research sub-tab under the main Research tab. The affiliations will show up as links in the Program Area column on your department’s Faculty Listing page.
- Text entered in the Areas of Expertise field on the same sub-tab as above will show up when someone mouses over your photo in the faculty directory, so, anything you enter there should be kept brief and stylistically similar to your colleagues’ copy.
- Graduate students can connect their profiles to yours and vice versa.
Table of Contents
| Table of Contents | ||||||
|---|---|---|---|---|---|---|
|
1. Go to Your Profile
Go to https://apps.jsg.utexas.edu/profiles/ and log in with your UT EID.
...
2.
Access
http://experts.utexas.edu - click on "Media Rep Login" and authenticate with your UT EID.
Create Your Profile
Click "Manage Profiles" then click "Add New" over towards the right-hand side.
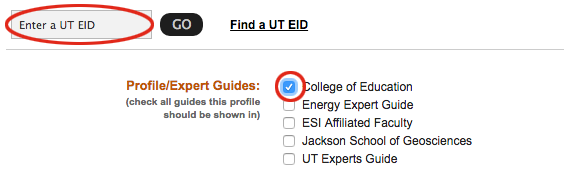
Enter your UT EID and click GO.
Be sure to select "College of Education" before you press "Save."
How it Works
Your profile information is contained in a series of tabs. If you opt not to not enter any information in a given tab, that tab will not appear on your profile page.
| Tip |
|---|
| Be sure to click "Save" before moving |
...
| to the next tab or |
...
| you will lose your updates. Look for the green bar indicating that your updates have been saved before moving on |
...
| . |
| Warning |
|---|
You may need to clear your browser's cache to see the updates on your profile. |
...
3. About You
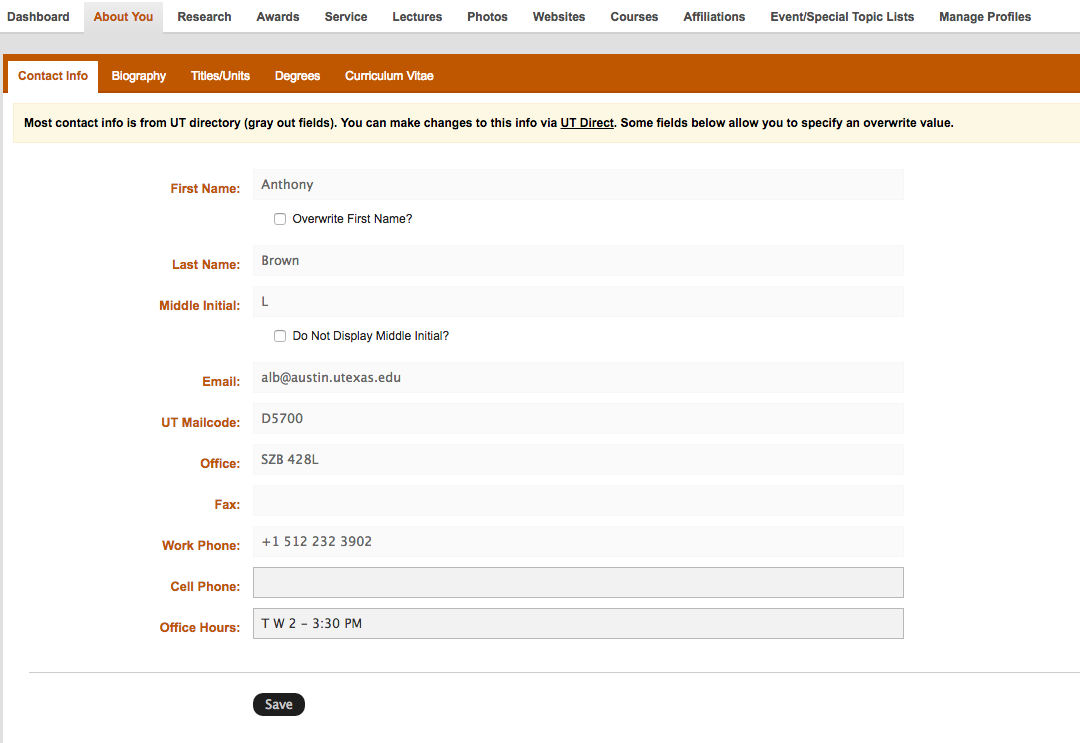
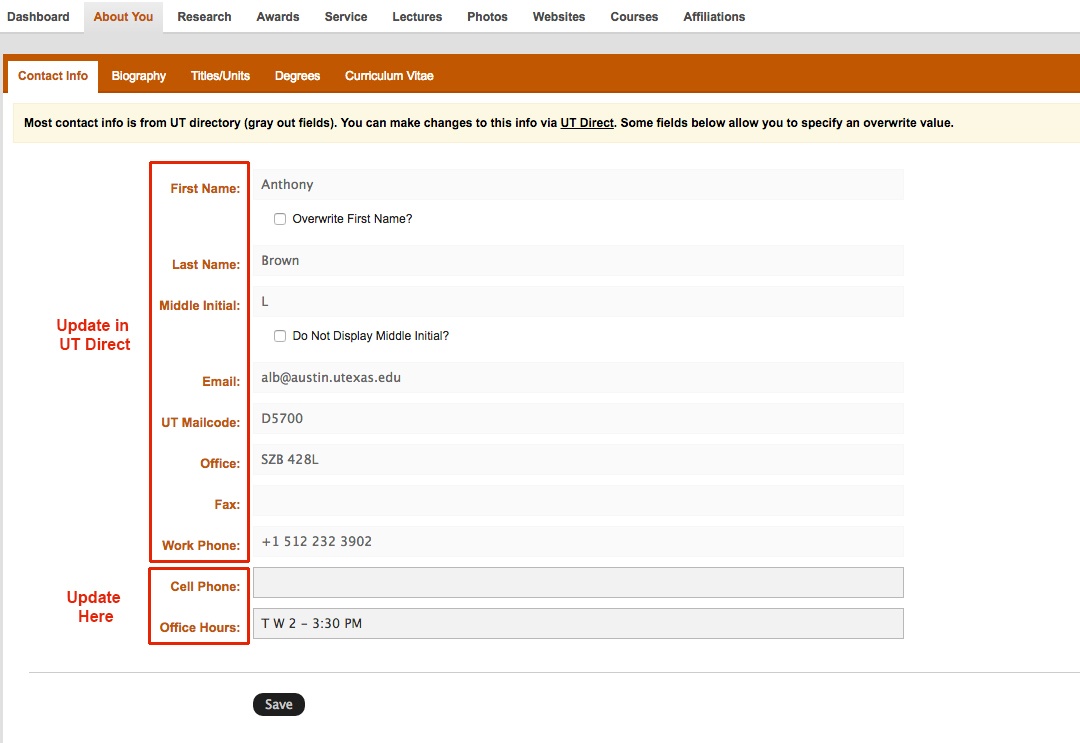
3.1 Contact Info
Most, but not all,
About You Tab
Contact Info
As you'll see, most of this information is automatically pulled in populated from the University Directory. If you so choose, you can add your cell phone number and your office hours on this page.
| Note |
|---|
| Updates to your phone number, office location, or email address must be made in UT Direct's "All My Addresses" page. |
If you want your middle initial to appear, you will need to add it to Workday.
Workday by default does not display the middle name for a worker unless an update is made to change your preferred name in Workday so that the middle name appears. Follow the guidance in the Edit Personal Data - Workday Instructional Guide to "Add/Change My Preferred Name" and be sure to uncheck the Use Legal Name as Preferred Name checkbox, which will allow you to edit the Middle Name field.
| Tip |
|---|
Remember |
...
to click "Save" before moving on. |
...
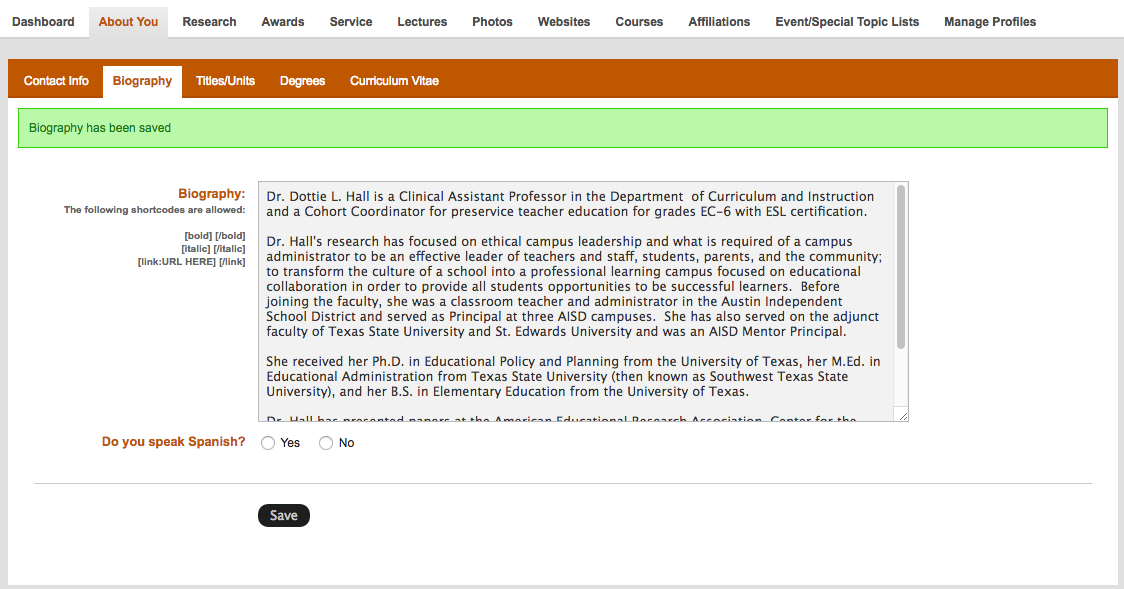
3.2 Biography
This can be as long as you likeYour bio should be current, concise, spell-checked, accessible to a layperson, and as jargon-free as possible. You can copy/paste from wordMicrosoft Word, but please note formatting will be lost. Use the shortcodes provided at the left of the text box field to apply the available formatting styles that are available.
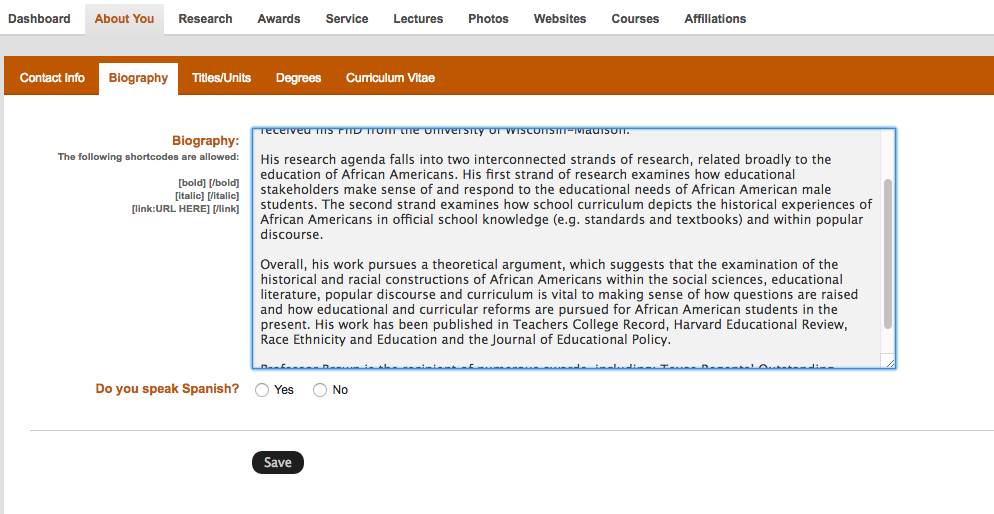 Be sure
| Warning | ||
|---|---|---|
| ||
If you are copying your bio over from MS Word, please note that Smart Quotes will render as boxes. Just delete and redo them in the Biography box. |
| Tip |
|---|
| Remember to click "Save" |
...
| before moving on. |
3.3 Titles/Unit
...
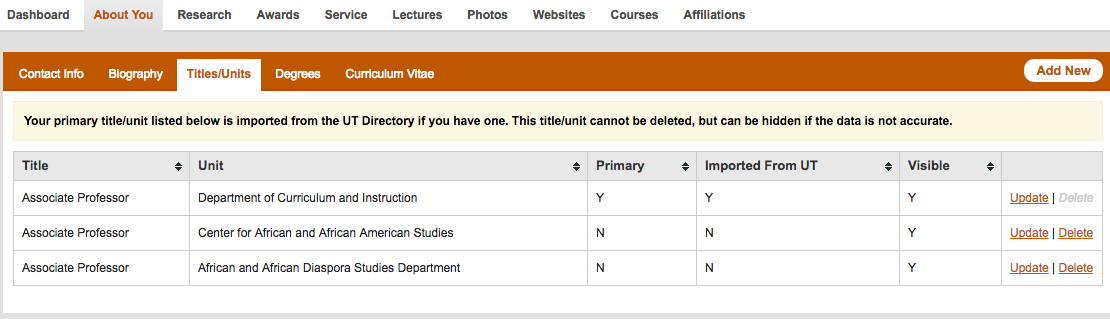
Your primary title will be imported from UT Direct, but you can add other UT Austin-related titles such as an endowed chair or an appointment with another department. Click the "Add New" button on the right to get started.
| Warning |
|---|
| One title MUST be selected "Primary" in order for your profile to be visible. |
3.4 Degrees

...
Click the "Add New" button to There are fields for Degree, Major, Institution, Year Earned. add a degree.
Select your degree from the pull-down menu then enter the "Major" and "Institution" data.
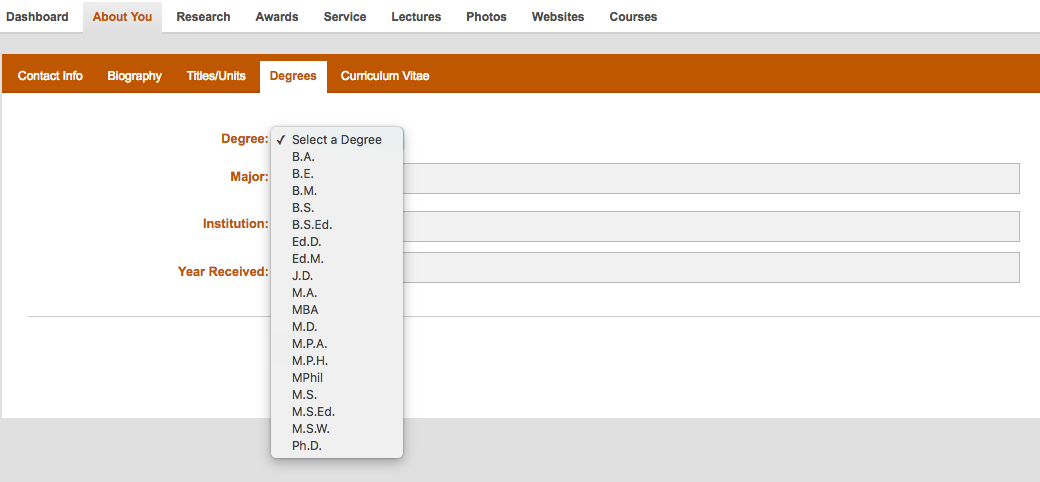
The "Year Received" field is NOT required.

| Tip |
|---|
| Remember to click "Save" before moving on. |
3.5 Curriculum Vitae
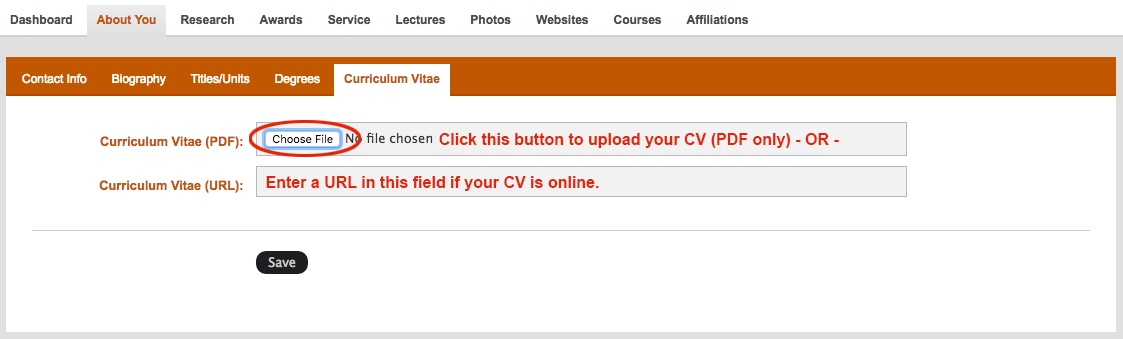
Research Tab
| Tip |
|---|
| Remember to click "Save" before moving on. |
...
4. Research
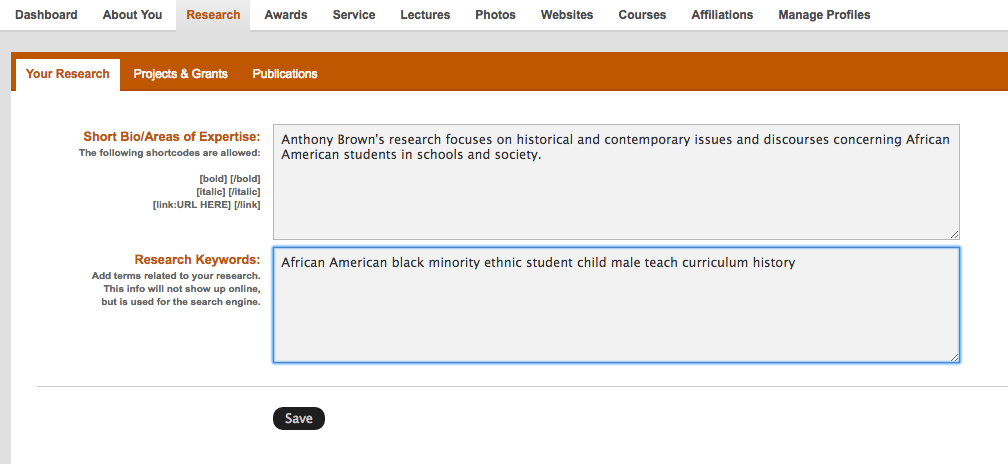
4.1 Your Research - Short Bio/Areas of Expertise
...
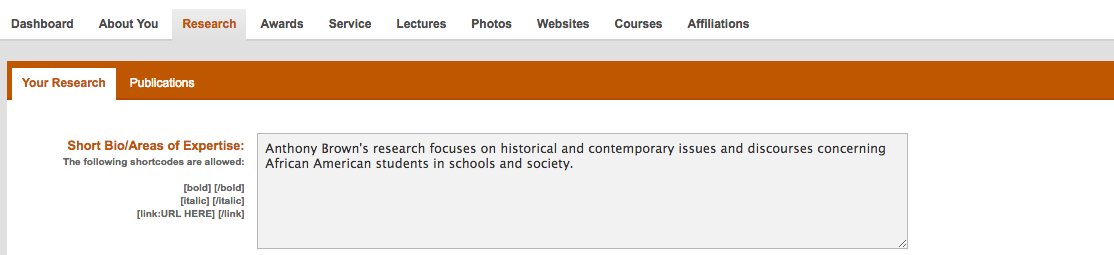
Text entered here will appear on a search result page that links to your complete profile.

Your Research - Short Bio/Areas of Expertise
The Short Bio/Areas of Expertise appear on when someone mouses over a headshot in the Faculty Directory, per the screengrab below.

This text needs to be kept short and be similar stylistically with the other faculty introductions in order to ensure a consistent experience with who may visit the site, including prospective students.
This text also will appear under the "Expertise" tab on your profile page. This text is also used next to your headshot on the appropriate graduate program web pages on the college's website.
4.2 Your Research - Research Keywords
As the screen grab below shows, Research Keywords are used for the Faculty Experts Guide's search engine.
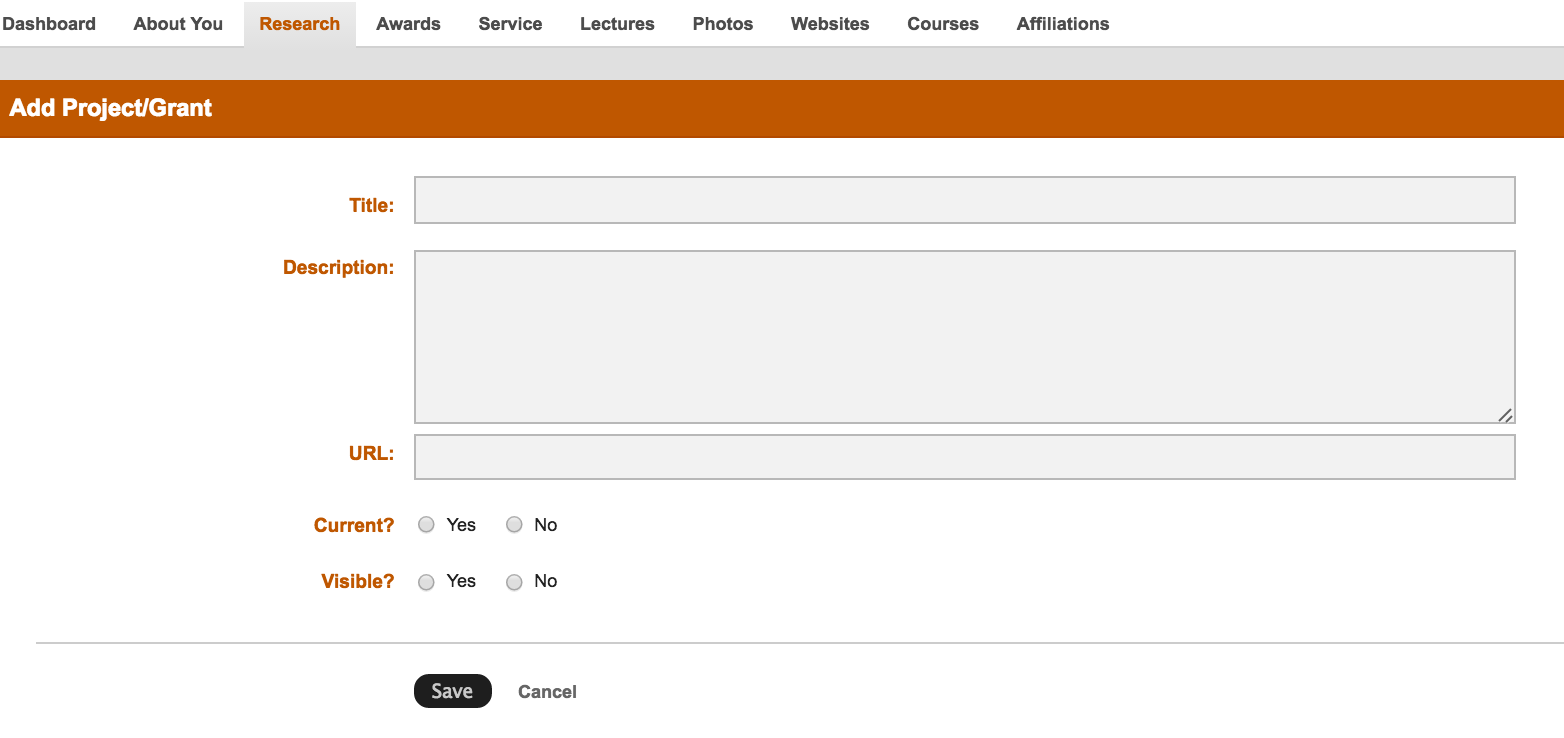
4.3 Projects & Grants
Use this section to highlight grants and other research projects past and present.

Click "Add New" to get started. Consider "Current" to mean work that is actively in progress.
Publications
Entries flagged as current will appear above those flagged as not current.
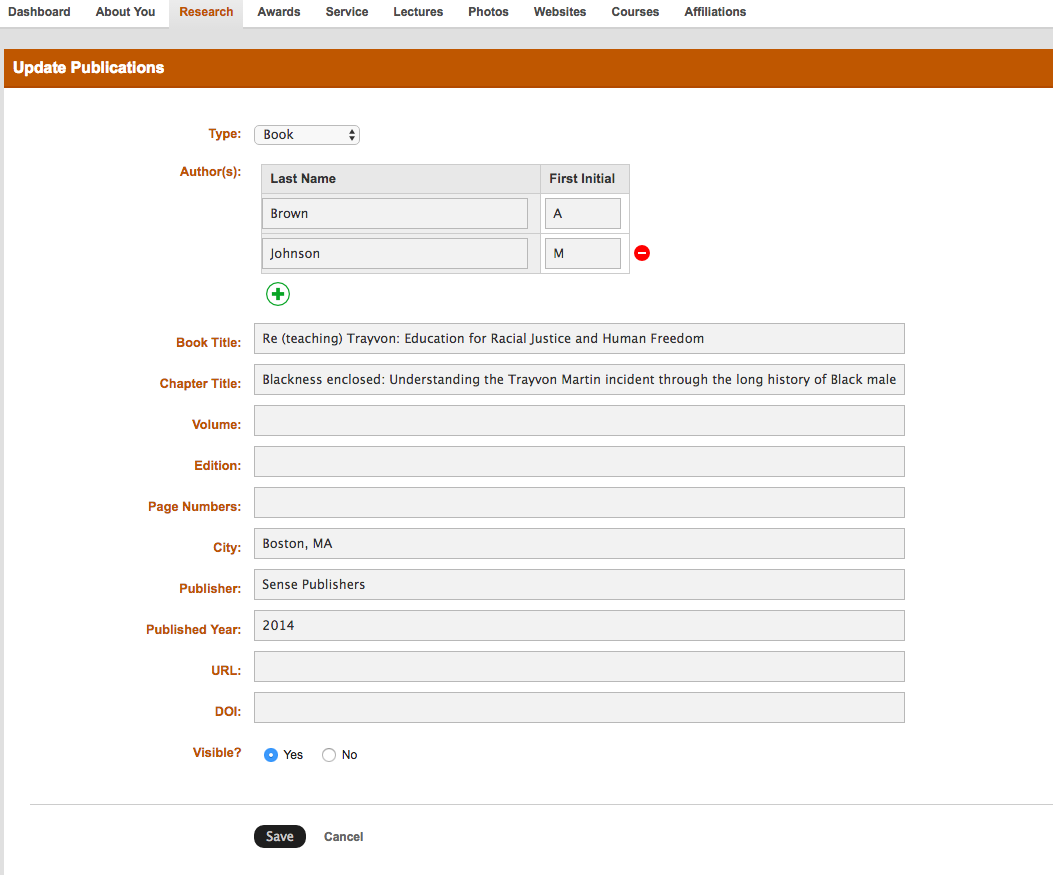
4.4 Publications
| Info |
|---|
| All publications entered will have APA formatting applied automatically. There is no need to add a period at the end of a field as the system will add them and apply other formatting styles for you. Also note that previous entries may be updated. We suggest you list no more than 10 publications. Be sure to use your most recent or the publications that best represent your work. |

There There are several options to choose from:
...
The fields that appear will change depending on the selection selections you make.
All text entered will follow APA formatting.
There is no need to add any punctuation, e.g., periods at the end of first initials, article titles, etc. The system will add it and take care of all other formatting for you.
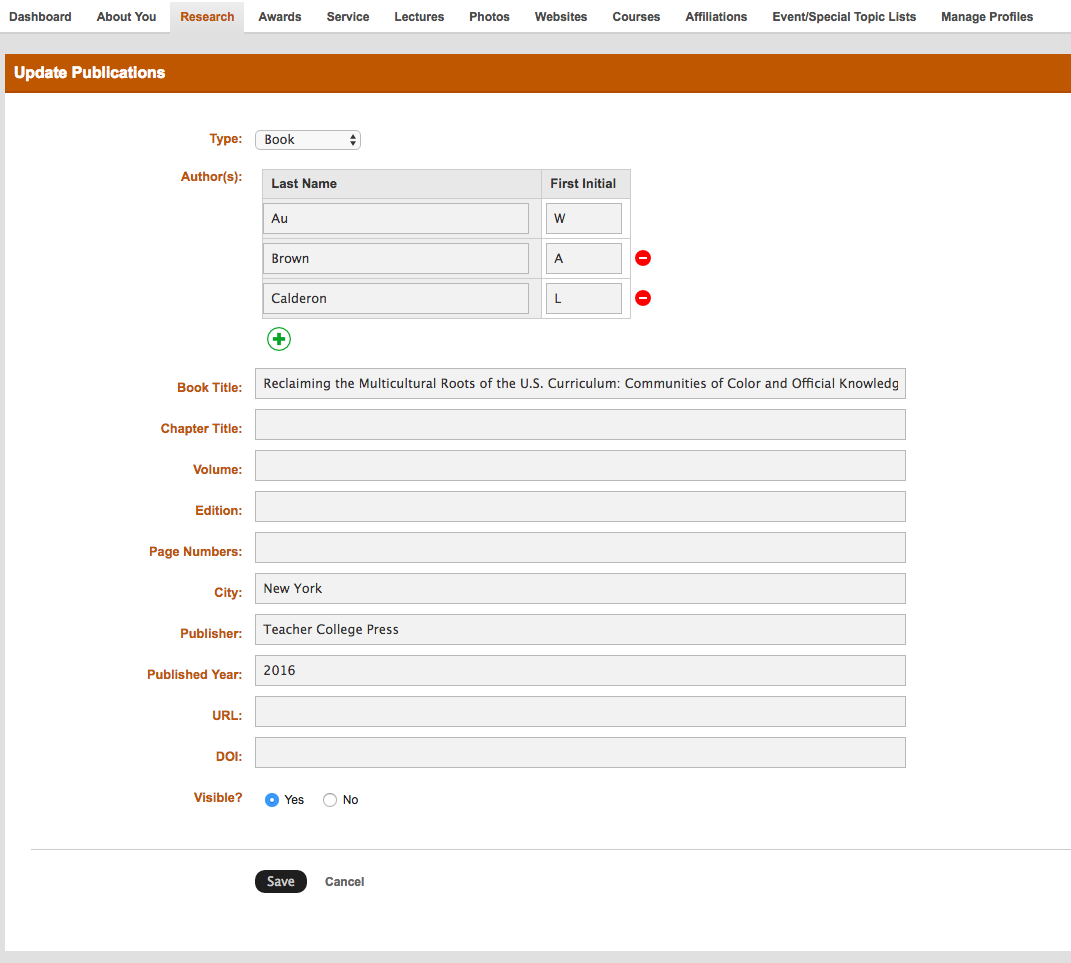
Also see this book chapter example:
| Note |
|---|
| For Journal articles, be sure to select the appropriate response next to "Is this a peer-reviewed article." Also, select "Yes" for the field "Visible?" |
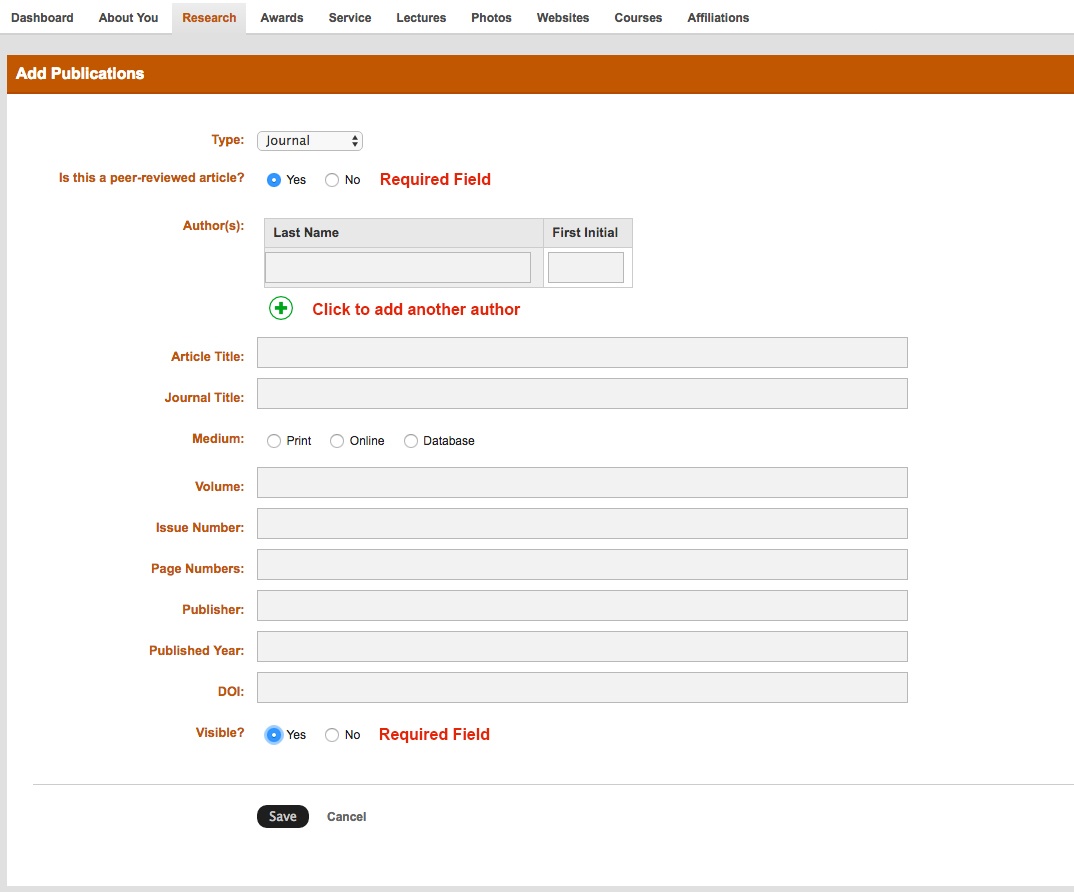
| Tip |
|---|
...
| If you want to add an article that has not been published, |
...
| add the status (in press, under review, etc.) in parenthesis at the end of the article's name. |
Be sure to select "Yes" next to "Visible" if you want it to appear on your profile.
Awards Tab
>>> show an example
Field options are straightforward:
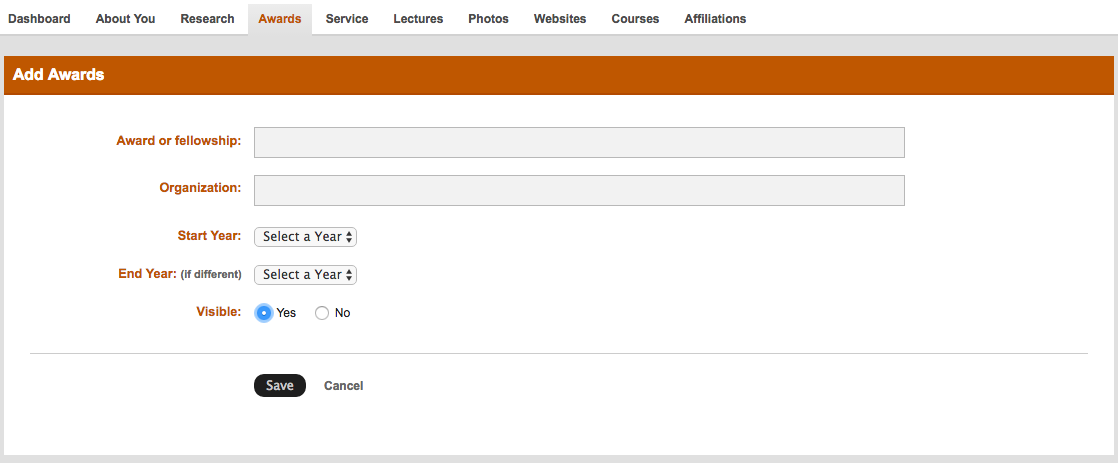
- Award/Fellowship
- Organization
- Year Start and Year End (if applicable).
Be sure to select "Yes" next to "Visible" if you want it to appear on your profile.
Service Tab
...
5. Awards
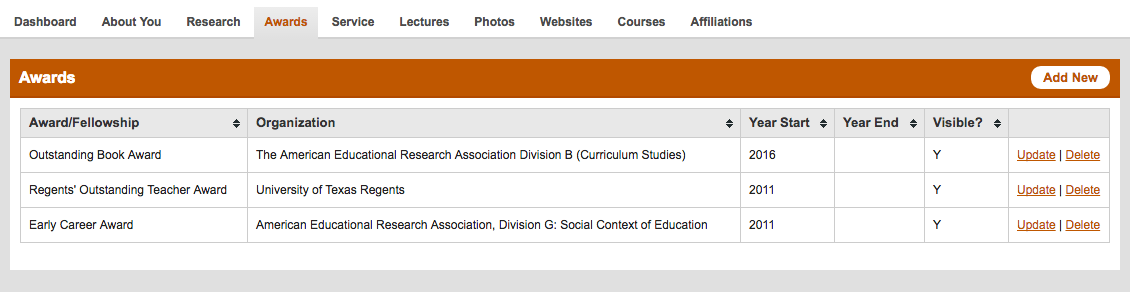
Click "Add New" to add another award. Enter the field data accordingly.
...
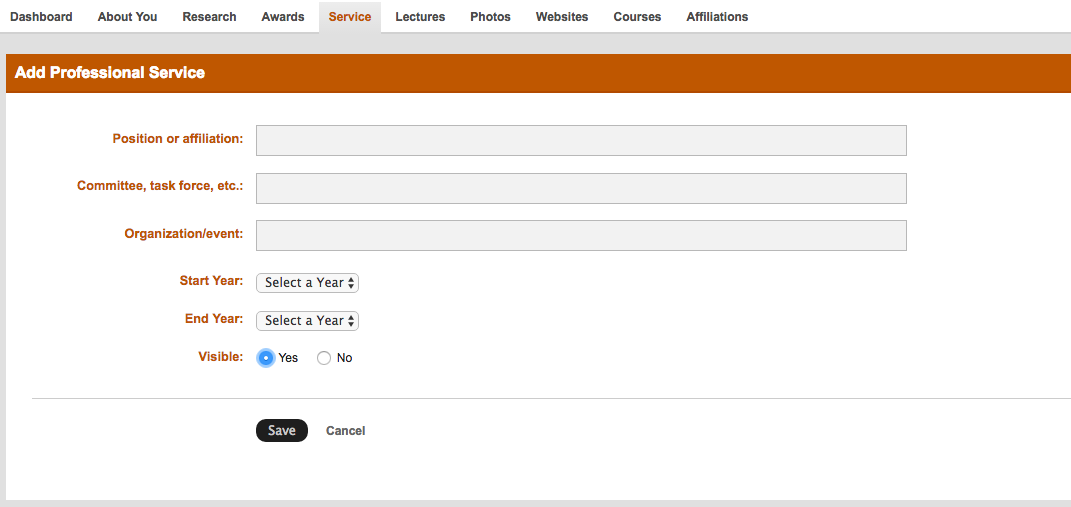
6. Service
Use this section to highlight You can use this section to highlight your membership and participation in boards, professional organizations, and the likeetc.
>>>show an example.
Field options are straightforward:
- Position/Affiliation, e.g., Member, President, etc.
- Committee/Task Force, e.g., Editorial Board
- Organization/Event, e.g., Association for Behavior Analysis International
- Year Start and Year End (if applicable)
Be sure to select "Yes" next to "Visible" if you want it to appear on your profile.
Lectures Tab
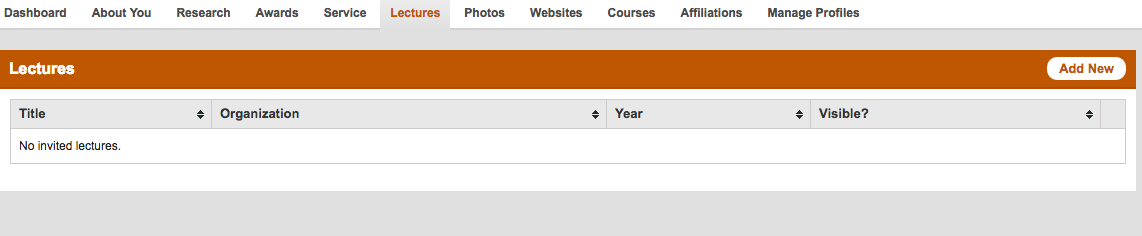
- Title (mandatory)
- Organization
- Year
Be sure to select "Yes" next to "Visible" if you want it to appear on your profile.
Photos Tab
Upload a small headshot here. The system has a built in resizing tool that works well.
Websites Tab
This is a great spot for adding links to your lab sites, social media accounts, and the like.
Courses Tab

Click "Add New" to get started.
...
7. Lectures
| Note |
|---|
| Add lectures given at other institutions or organizations here. This field is NOT intended for UT class lectures. |

8. Connecting to Graduate Student Profiles
Now that graduate students can manage their own profiles in the same system faculty currently use, faculty members can connect to the profile pages of the graduate students they supervise regardless of if they are in the College of Education.
When you log on to https://apps.jsg.utexas.edu/profiles/, you will see a new tab called Graduate Students, per the below.

Click on the tab and click the “Add New” button on the right.

Check the appropriate radio buttons. If your student is in the College of Education, his or her name will appear in the pull-down menu. Start typing your student’s last name to jump to it quickly. Make sure the correct name is selected, then click Save.

If you are supervising a student who is NOT in the College of Education, you will be provided with different options. Enter your student’s UT EID, which you can get from the UT Directory, select the appropriate degree, enter a URL to the student’s profile, and click Save.

9. Photos
To get started, click "Choose File" and browse to the photo you want to use.

| Warning | ||
|---|---|---|
| ||
Make sure there are no spaces or special characters in your image's file name. |
| Tip |
|---|
| Contact Marketing and Communication to schedule a new portrait session. |
...
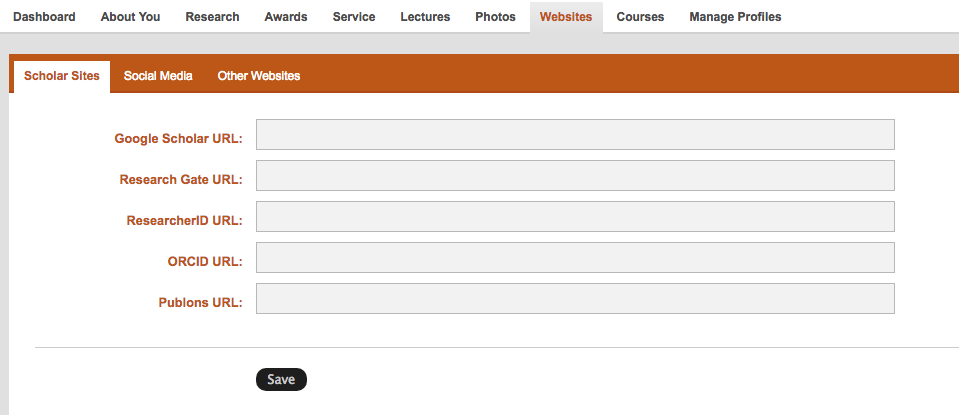
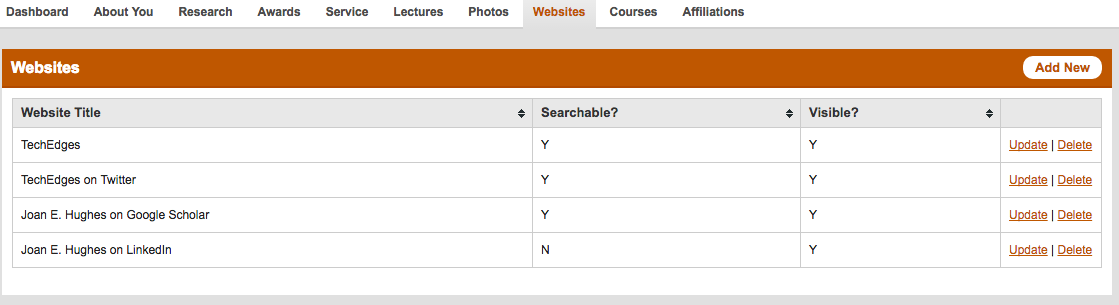
10. Websites
Use this section to add links to your scholar sites, social media profiles, and lab or other university-related websites.
Scholar Sites
Enter your URL for any of the below sites and click "Save." The corresponding icon will appear on your profile's landing page.
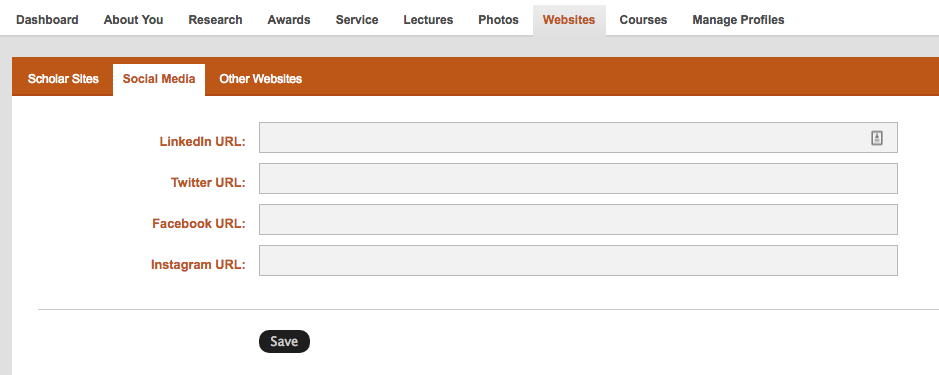
Social Media Sites
Enter your URL for any of the social media sites listed below and click "Save." The corresponding icon will appear on your profile's landing page.
Other Websites
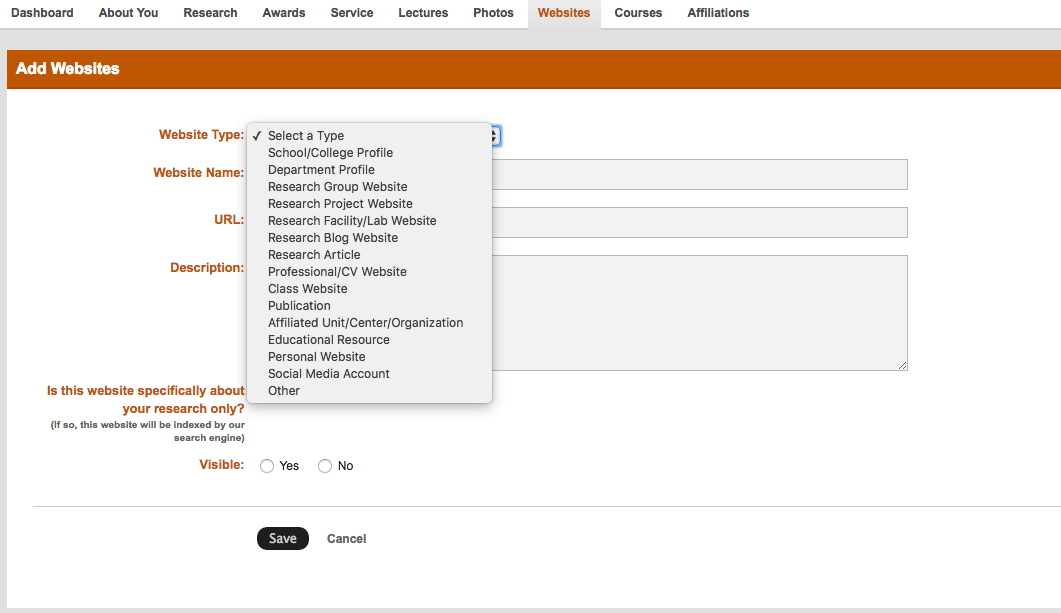
Click the "Add New" button to add a website link to your profile.
Note the website options that are available once the "Website Type" pull-down menu is clicked:
If you would like to create a site for your lab or research project, please contact the Office of Instructional Innovation.
...
11. Courses
Courses Your courses will be pulled automatically from UT Direct.