Page History
...
To Auto White Balance on a white board use the AWB Hold button |
|
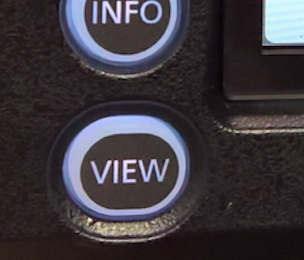
Press the VIEW button to put the monitor in Viewing mode |
|
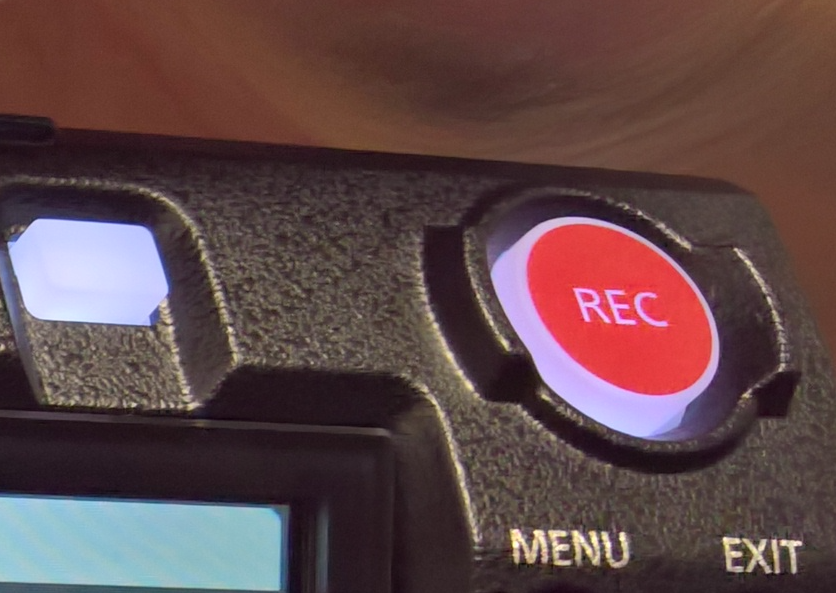
Press the REC button to start recording |
|
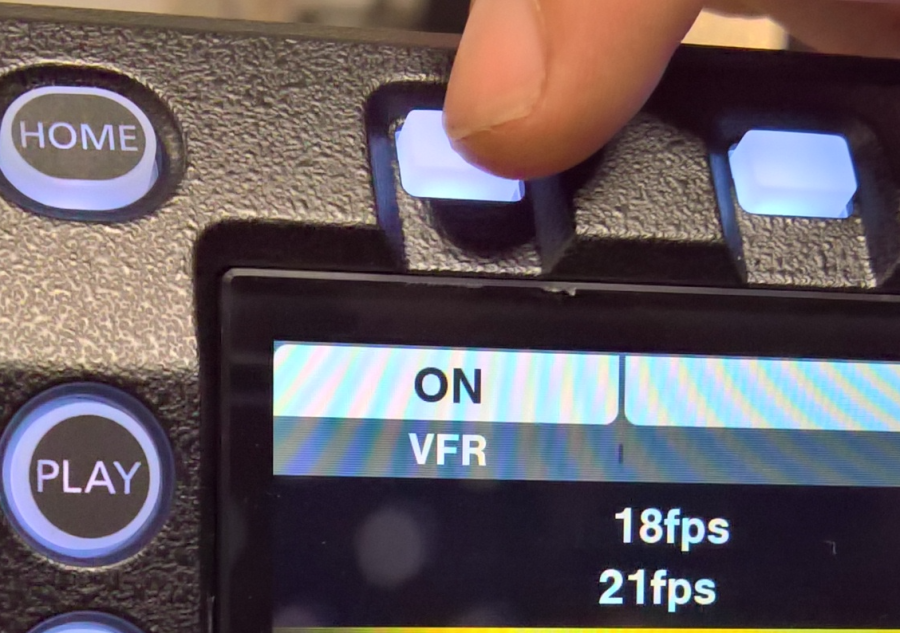
To adjust the Overcrank and Undercrank press the VFR white button on the "Home" page of the camera "Control Panel" |
|
Press the same white button again to turn "ON" VFR and then turn the knob to what frame rate |
|
4K only will go to 30FPS overcranking |
|
Once you have shot footage on the DVX200 Panasonic Varicam LT you need to bring that into AVID. Launch AVID |
|
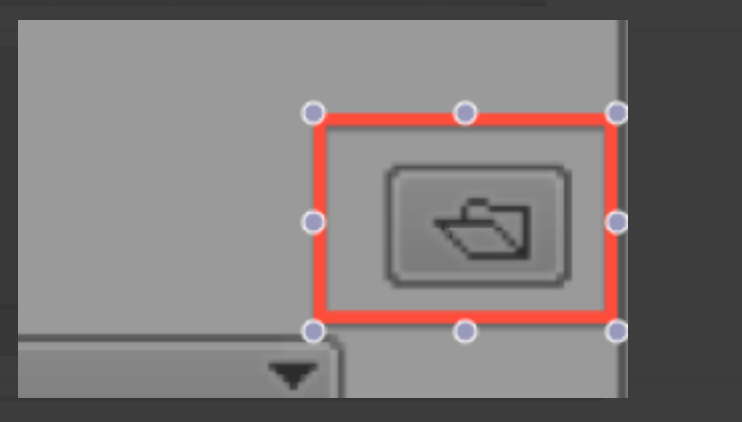
The Initial Project Screen will open. Here is where you choose where you create and save new projects. Click on the "Folder" to select where to save your new projects also how to navigate to already existing projects. |
|
Navigate to the hard drive and folder that you want AVID to access and save new projects |
|
You can look at the path where AVID will be accessing projects once you select the folder |
|
Now click on the "New Project" button |
|
The New Project Dialog will come up. Select the project parameters
Click OK to create the project |
|
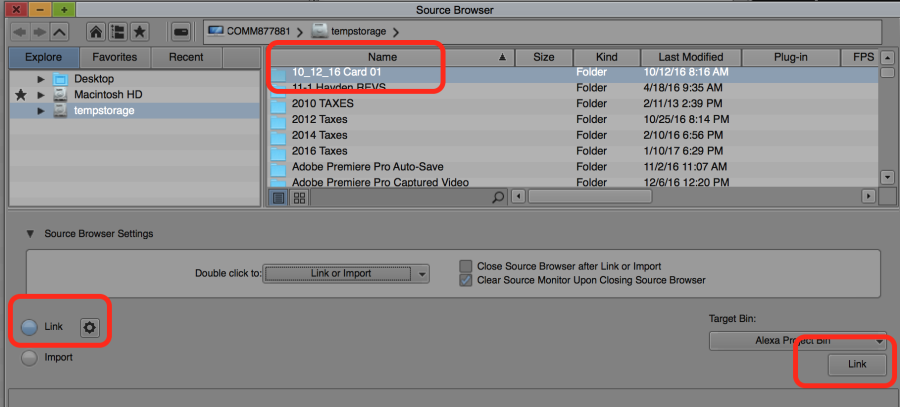
Open the Source Browser if you haven't already |
|
Choose to "Link" |
|
The files will load into the open bin |
|
Select the files in the bin and choose >clip>Consolidate/Transcode |
|
Then select where you want to save the consolidated files and choose the "Target Video Resolution" |
|
Edit with the master clip not the linked file |
|


Overview
Content Tools