Page History
| Barry Green and Panasonic have created this ebook download it here |
| ||||||
Setup the Tripod first using this wiki for the Libec Tripod - How to Setup and Use
| |||||||
Open the back door and put the batter inside |  | ||||||
Or plug in the external power supply to the "DC Input" on the side of the camera. | 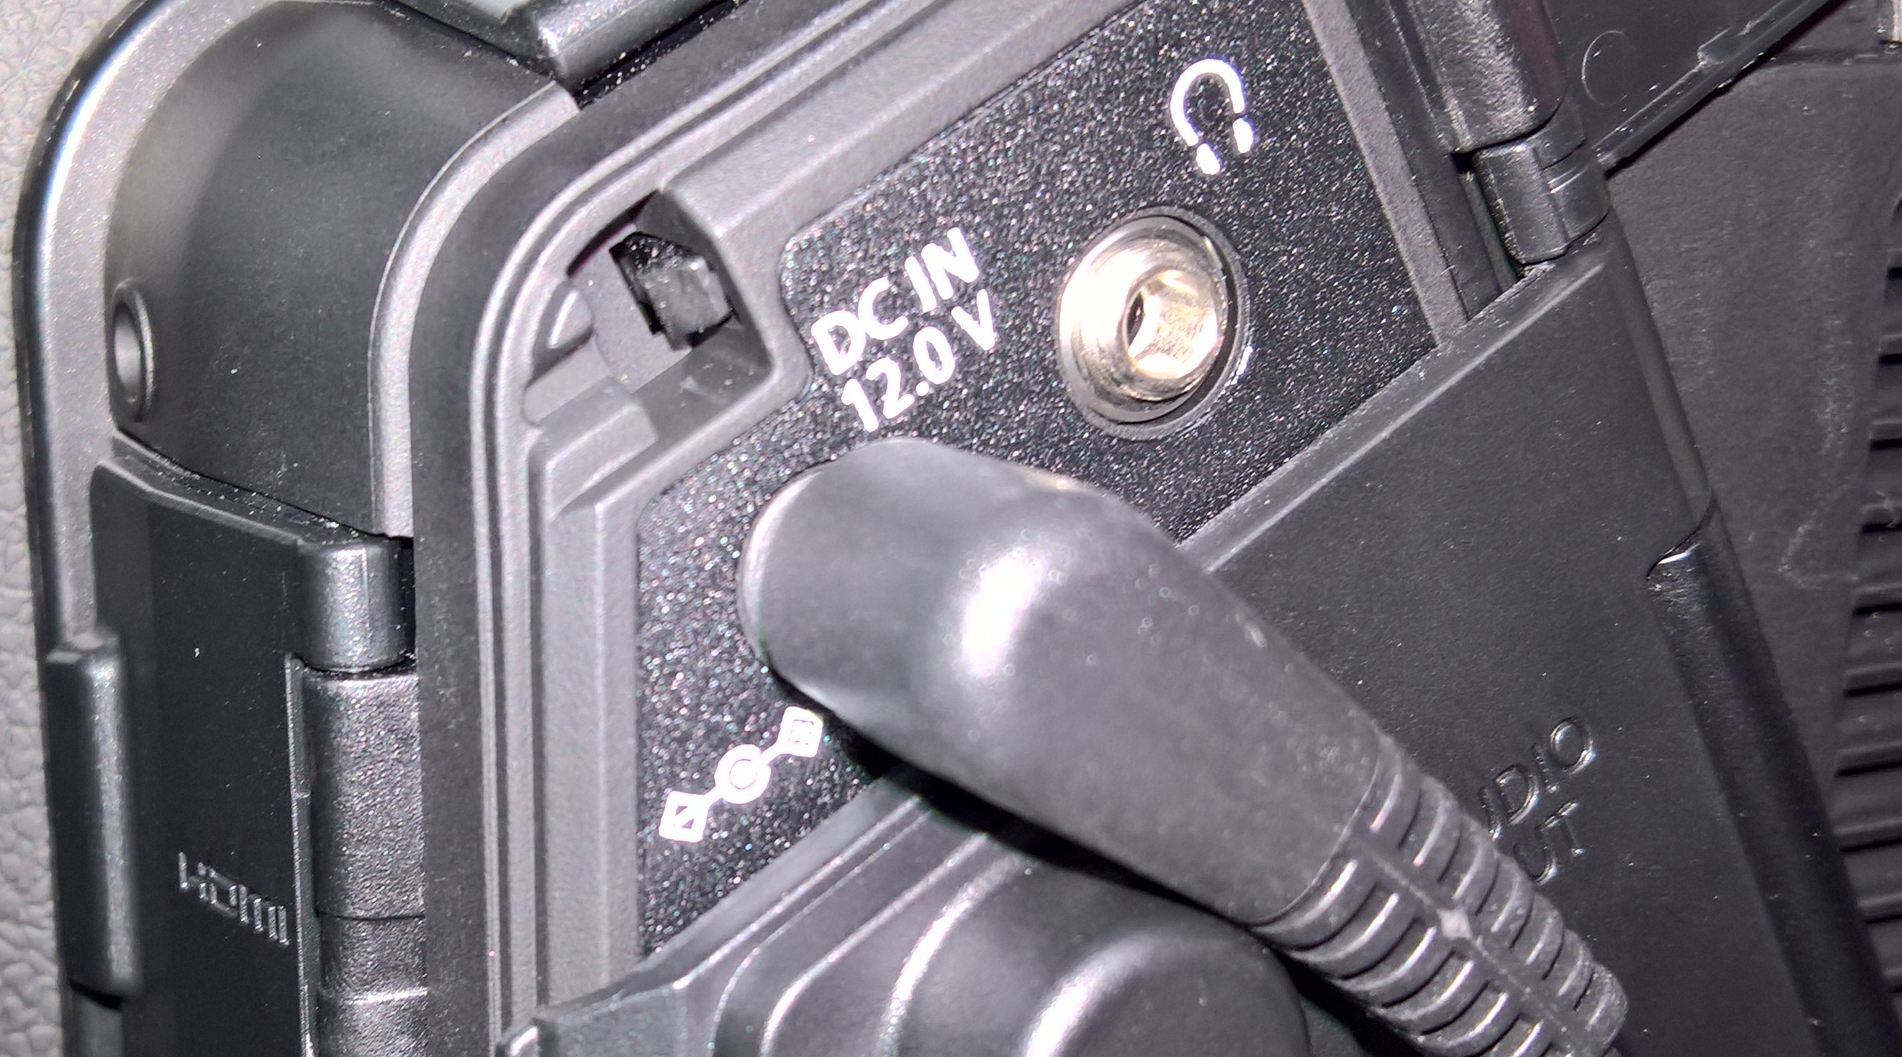 | ||||||
| Turn on the camera |  | ||||||
| Pull the viewfinder out of the slot on the top of the camera |  | ||||||
| Flip it up to see the menus and camera display |  | ||||||
| The camera uses SanDisk Extreme 64 GB 90 MB/S SDHC Cards | 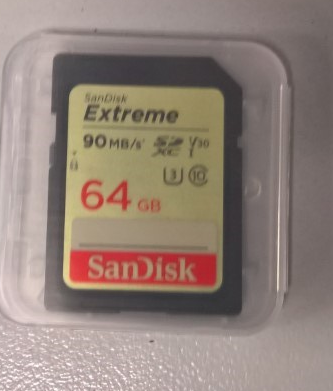 | ||||||
| Make sure two cards are loaded into the card slots |  | ||||||
| This will show you how to open the card slot to insert the CARD |  | ||||||
If you are prompted at the boot of the camera to set the time zone and date go ahead and do that |  | ||||||
On the side of the camera press the "Menu" button to get into the menus.
We are going to "Reset" the camera to defaults |  | ||||||
| Then Select "Other Functions" | 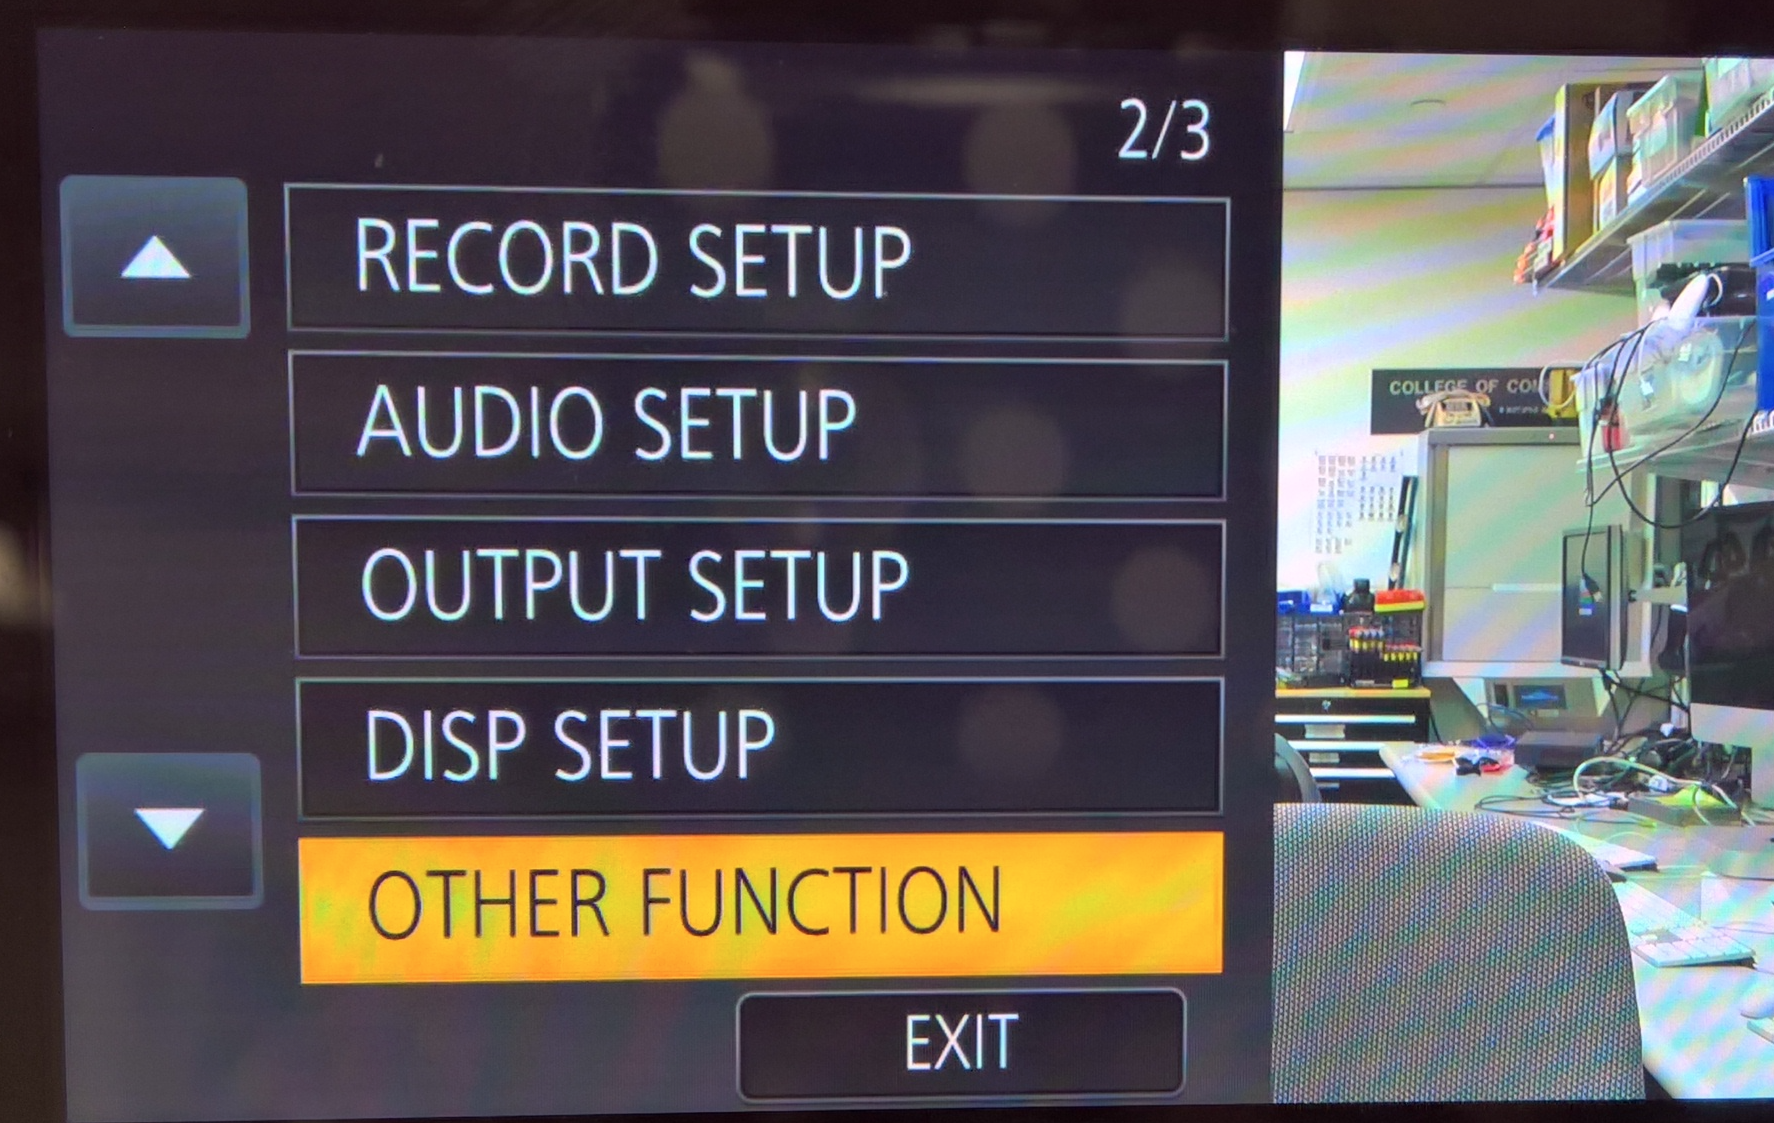 | ||||||
| Choose "Initial Set" |  | ||||||
| Choose "All" |  | ||||||
The camera will reboot and set all the menus back to default so any weird settings are erased on the camera. This way we can set the correct settings without any worry that something is set incorrectly.
|  | ||||||
| Press Menu again after the camera reboots | | ||||||
| Choose SYSTEM MODE | 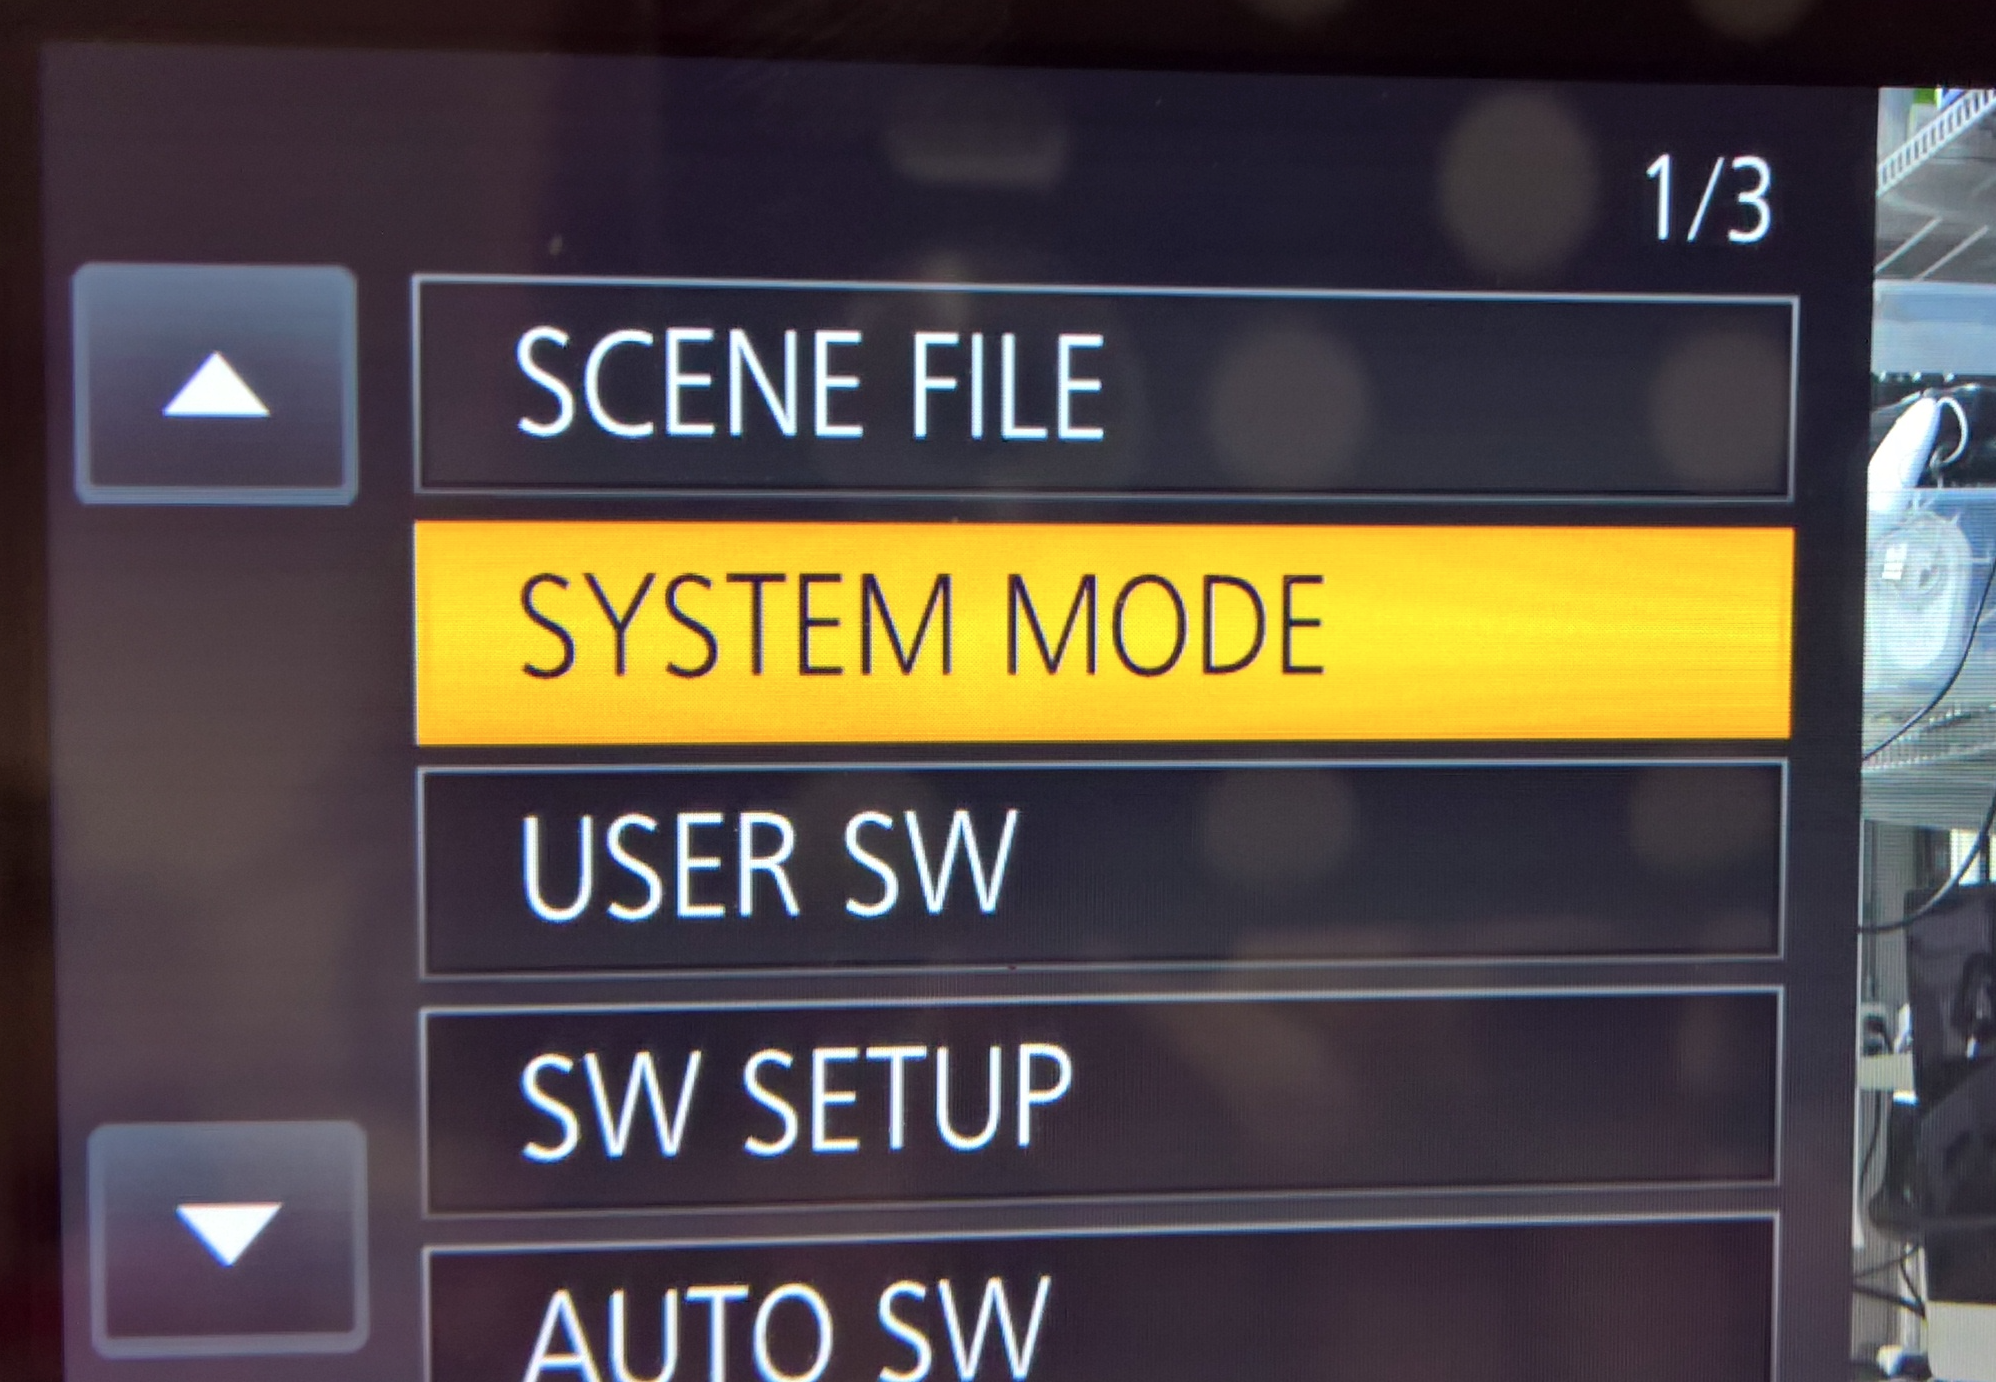 | ||||||
SYSTEM FREQ set to 59.94 |  | ||||||
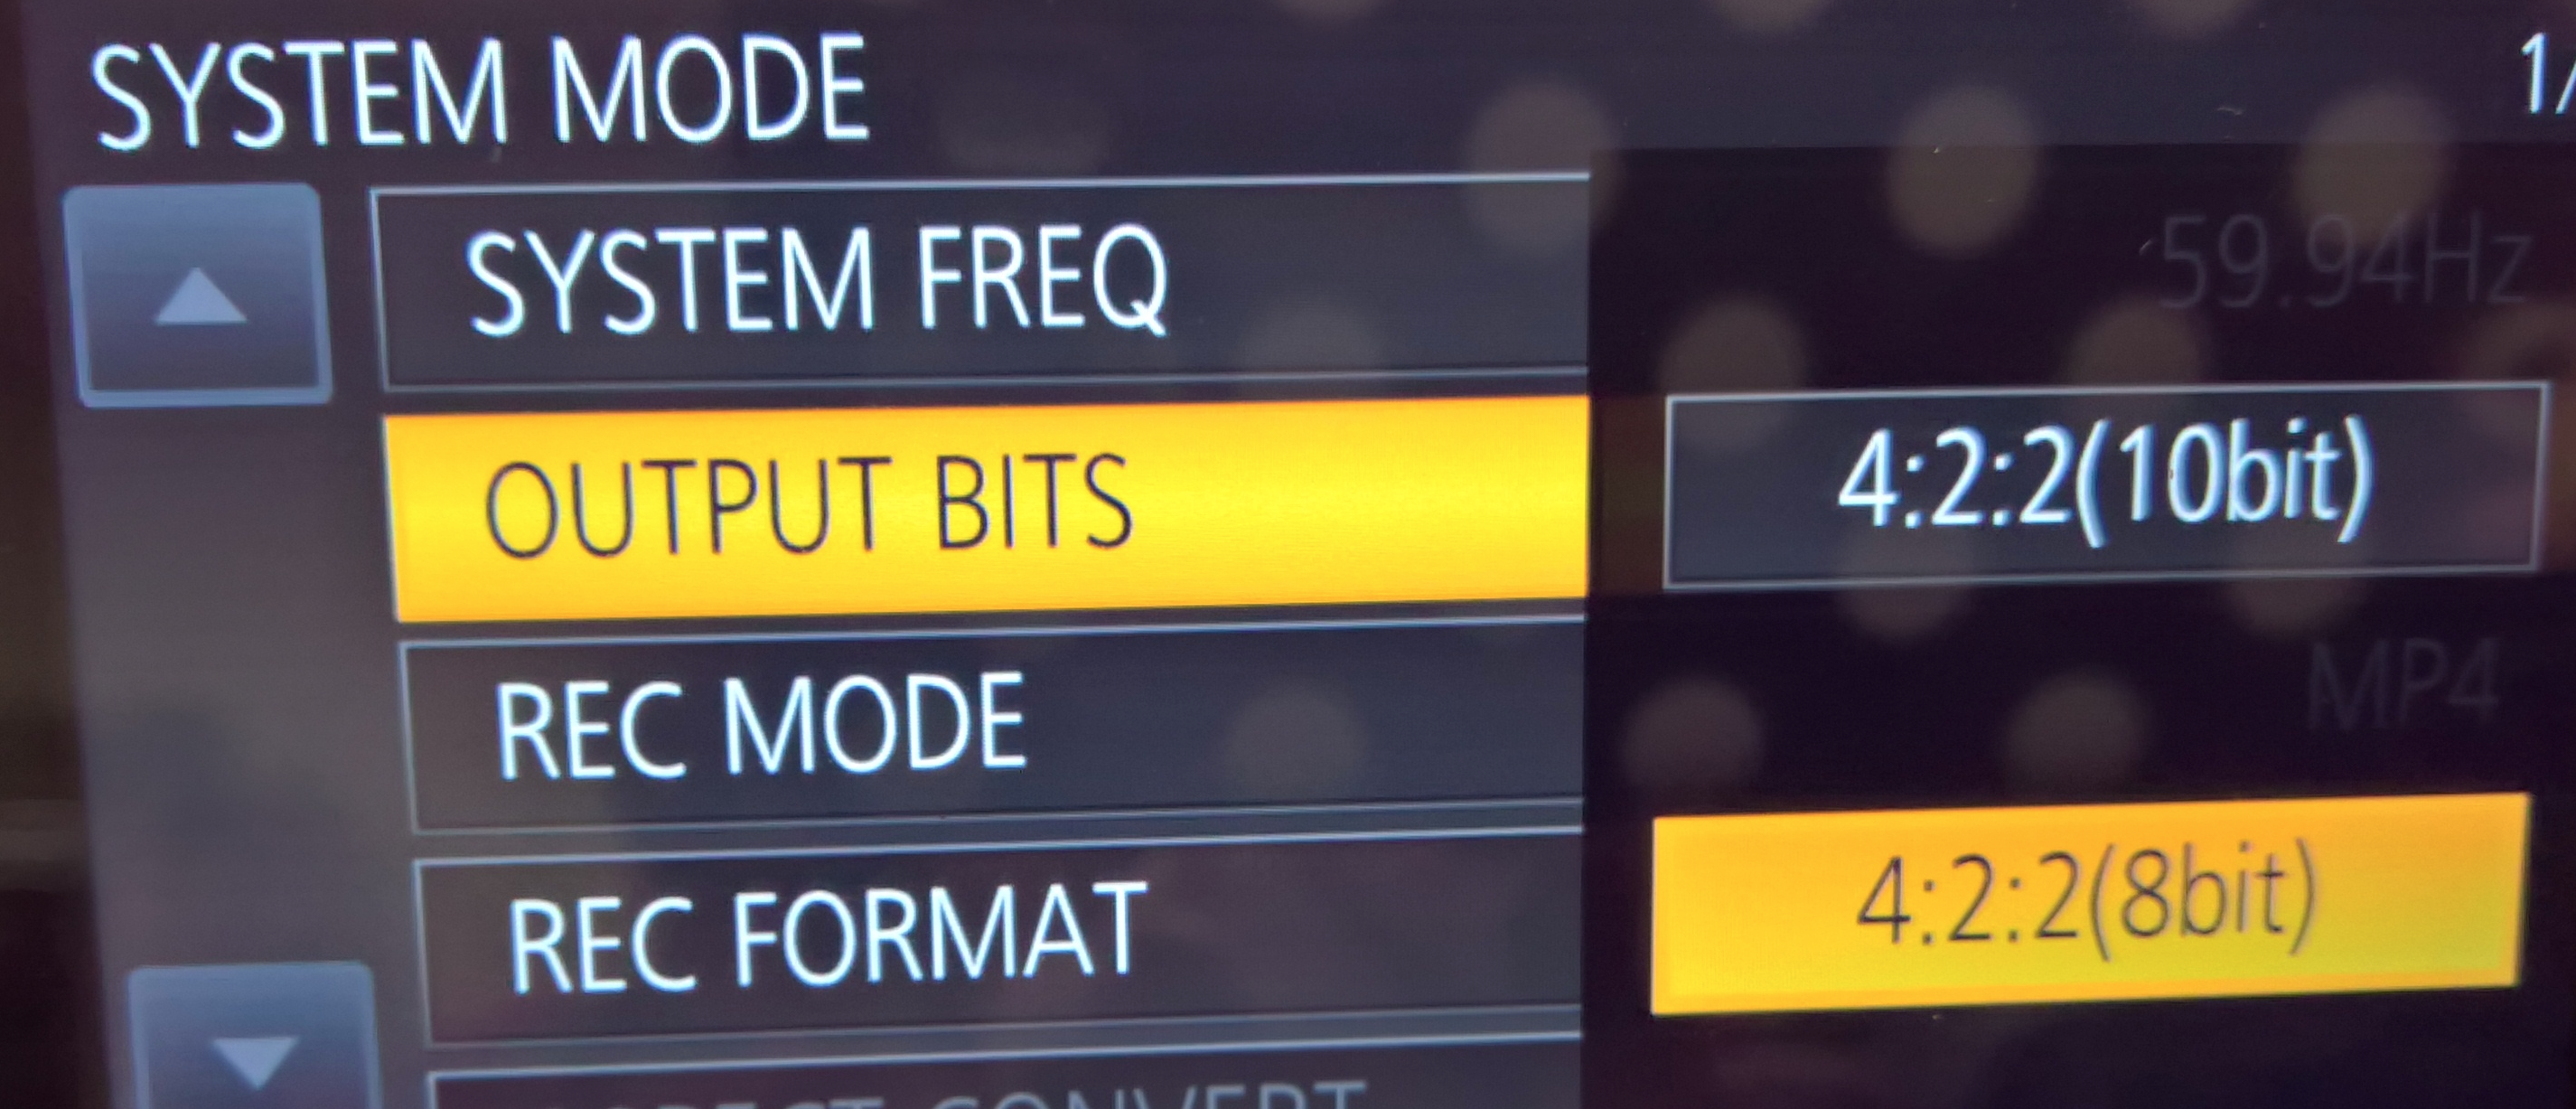
OUTPUT BITS - MUST BE SET TO 4:2:2 (8bit) if you are recording to internal SDHC If you set it to 10 bit then you can't record internally to SDHC cards.
This menu setting governs what kind of data is output through the HDMI and SDI ports. It doesn’t change the quality of internal (SD card) recordings, it only affects what is sent out to the monitor or external recorder you have attached to the HDMI or SDI ports. Internal recording - Every recording mode the camera offers uses 8-bit 4:2:0.
|  | ||||||
REC MODE - USE MOV or MP4 not any difference in quality but if you are using a Mac it's easier to use .MOV on Windows use a .MP4 AVCHD will only record HD not 4K or UHD |  | ||||||
| We've chosen REC MODE - MOV |  | ||||||
| Next Click on REC FORMAT |  | ||||||
Most likely you will record in UHD 2160/23.98 100M this is the best setting for most recording. For example, interviews this is a great setting.
The 4K setting is 4K/2160P at 24.00 frames per second. This mode utilizes an (approximately) 17:9 aspect ratio 4,096 x 2,160 and also records at 24 Frames Per Second not 23.98. It is designed to exactly match the frame rate of a film camera, not a video camera; as such, video footage shot in this mode may not synchronize exactly with external audio recordings unless you are recording at 47.952 not 48KHz on a Sound Devices Audio Recorder. How to set the 744T for TRUE 24 (not 23.98) frame recording of video or Film | 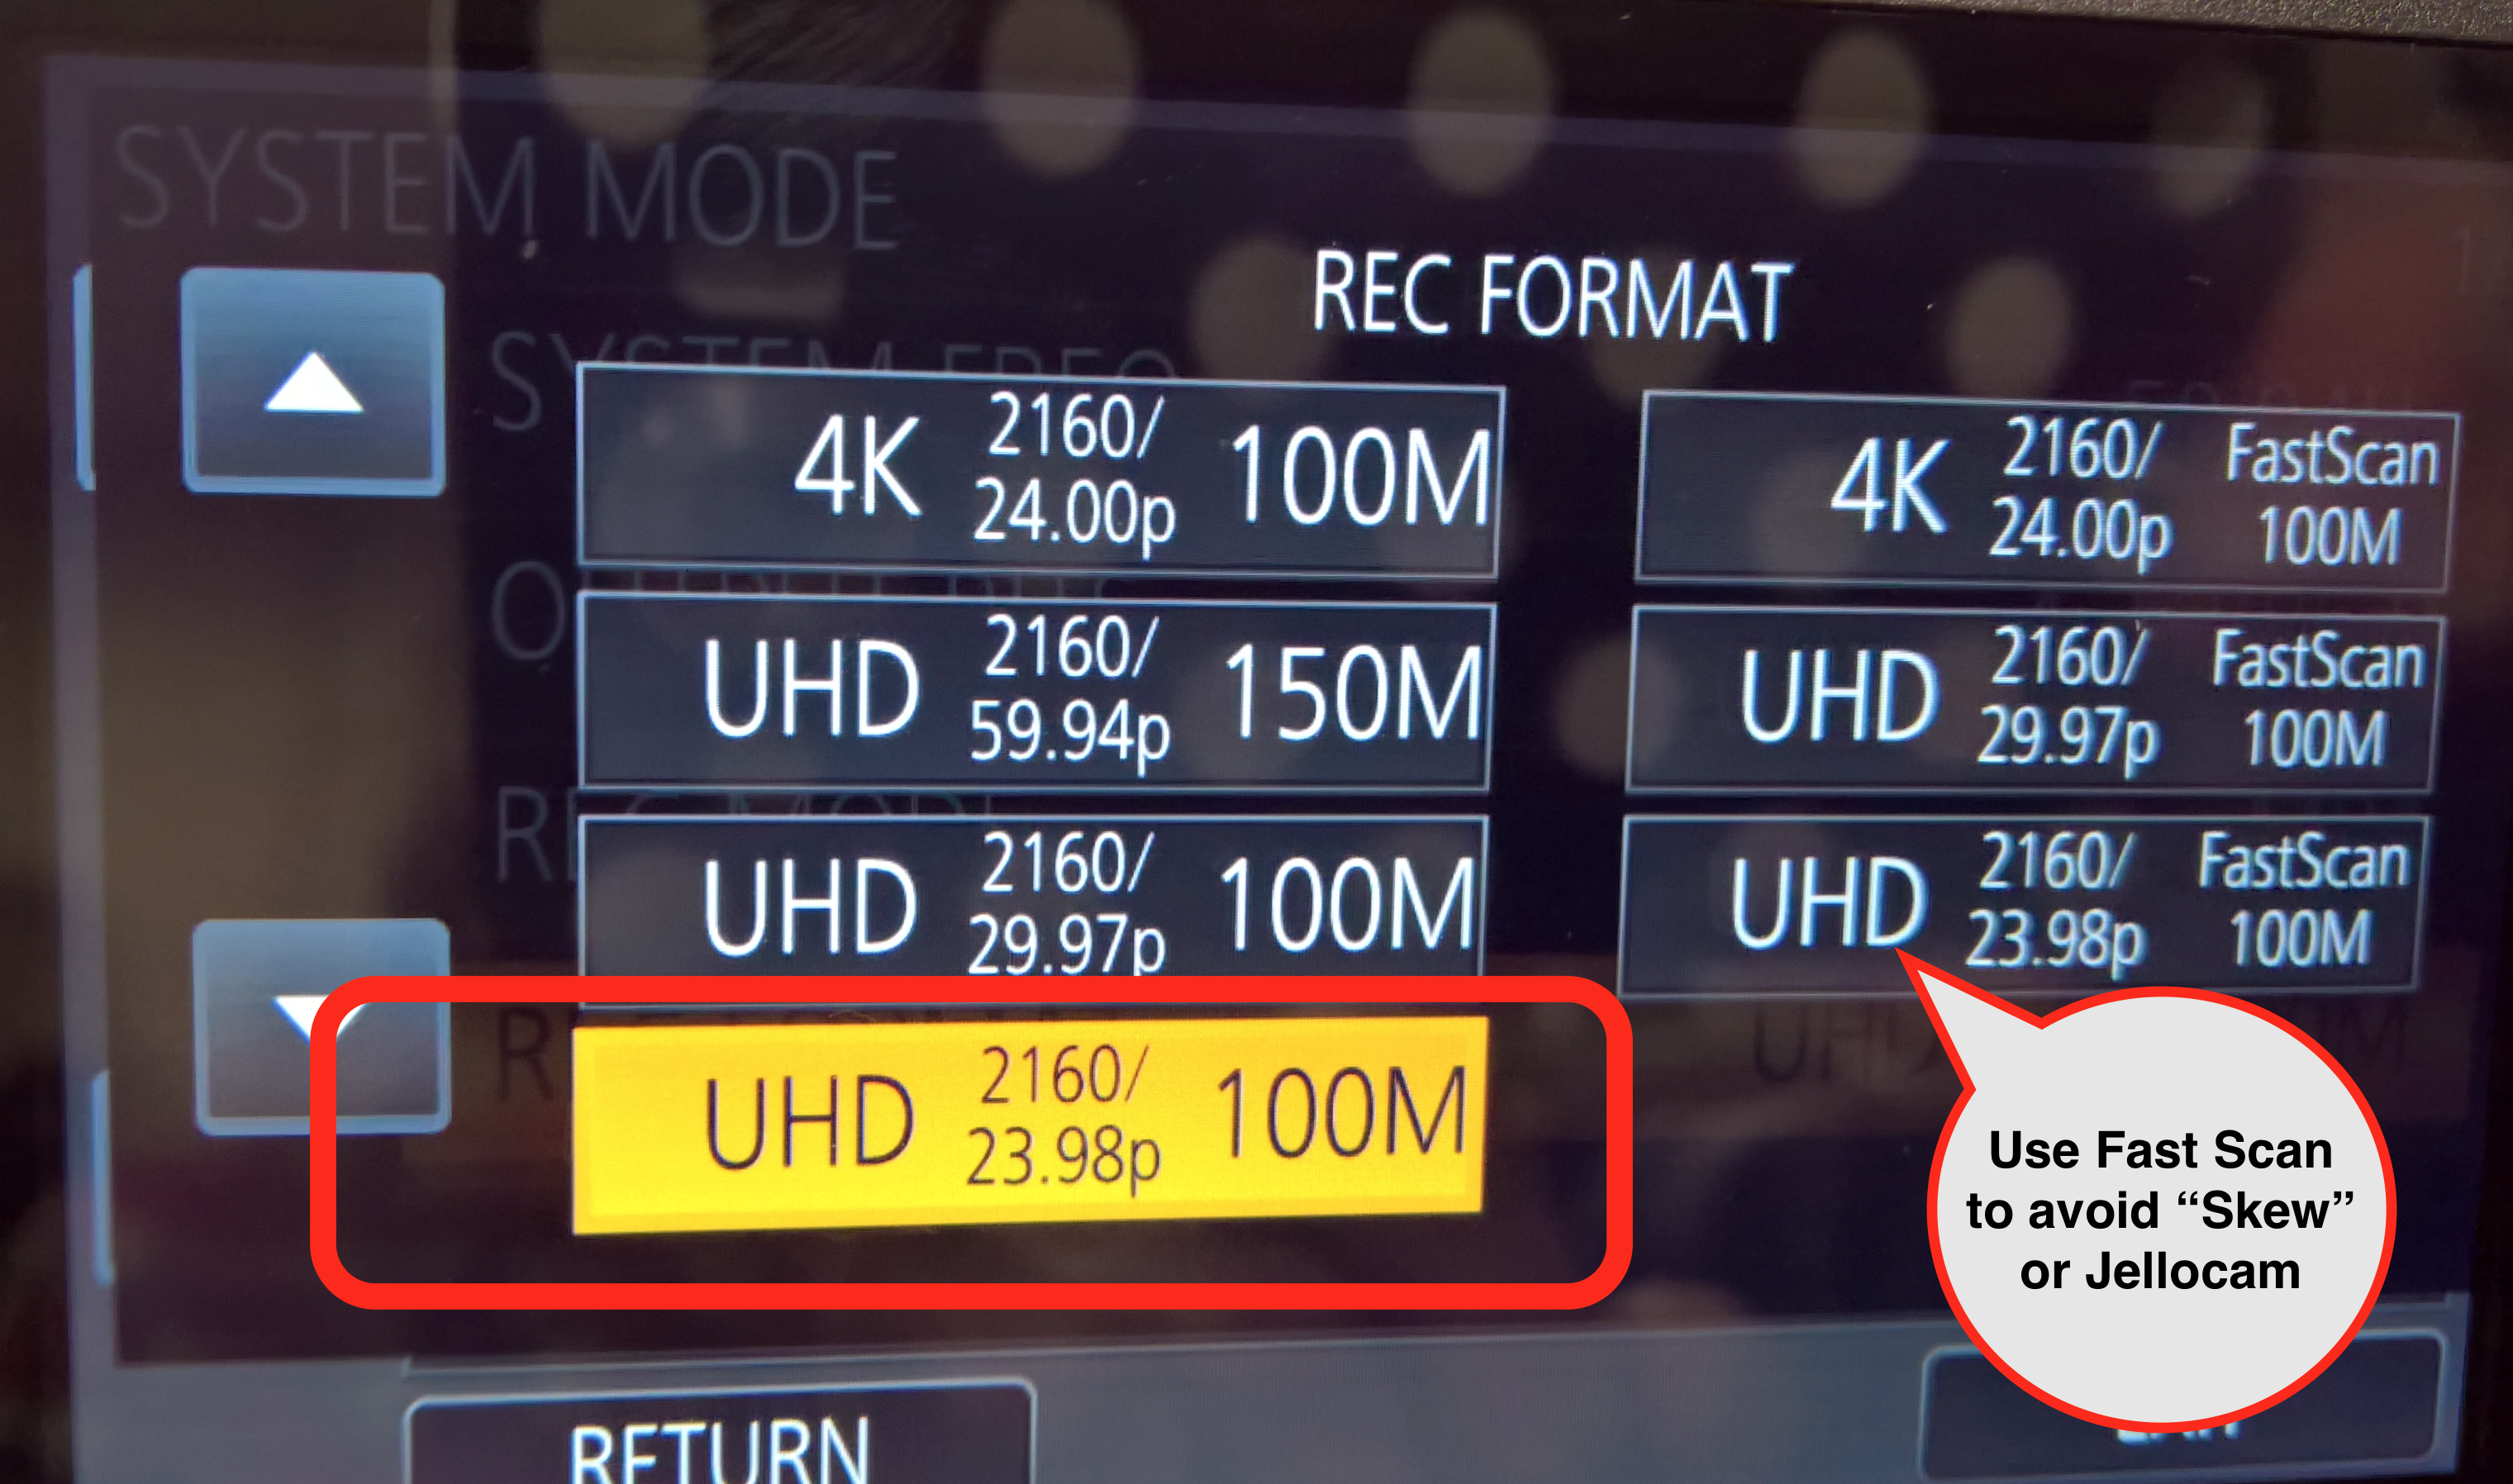 | ||||||
To be on the safe side unless you have worked in 24FPS before set the camera to UHD 2160 23.98 |  | ||||||
This is the "SYSTEM MODE" settings that should be set double check them SYSTEM FREQ - 59.94Hz OUTPUTBITS - 4:2:2 (8bit) REC MODE - MOV REC FORMAT - UHD 2160 23.98 Press Return to go back to "Main Menu"
|  | ||||||
Turn on V-Log mode this mode provides for preservation of the maximum latitude and dynamic range. Best mode for post production color correction.
Click on >Menu |  | ||||||
| Go to >Scene File |  | ||||||
| Select V-Log L MODE |  | ||||||
Turn V-Log L MODE ON Click on RETURN |  | ||||||
| Scene File >V-Log MODE is ON |  | ||||||
Click on AUDIO SETUP - If you are recording internally. If you are recording to a external recorder skip this step. | 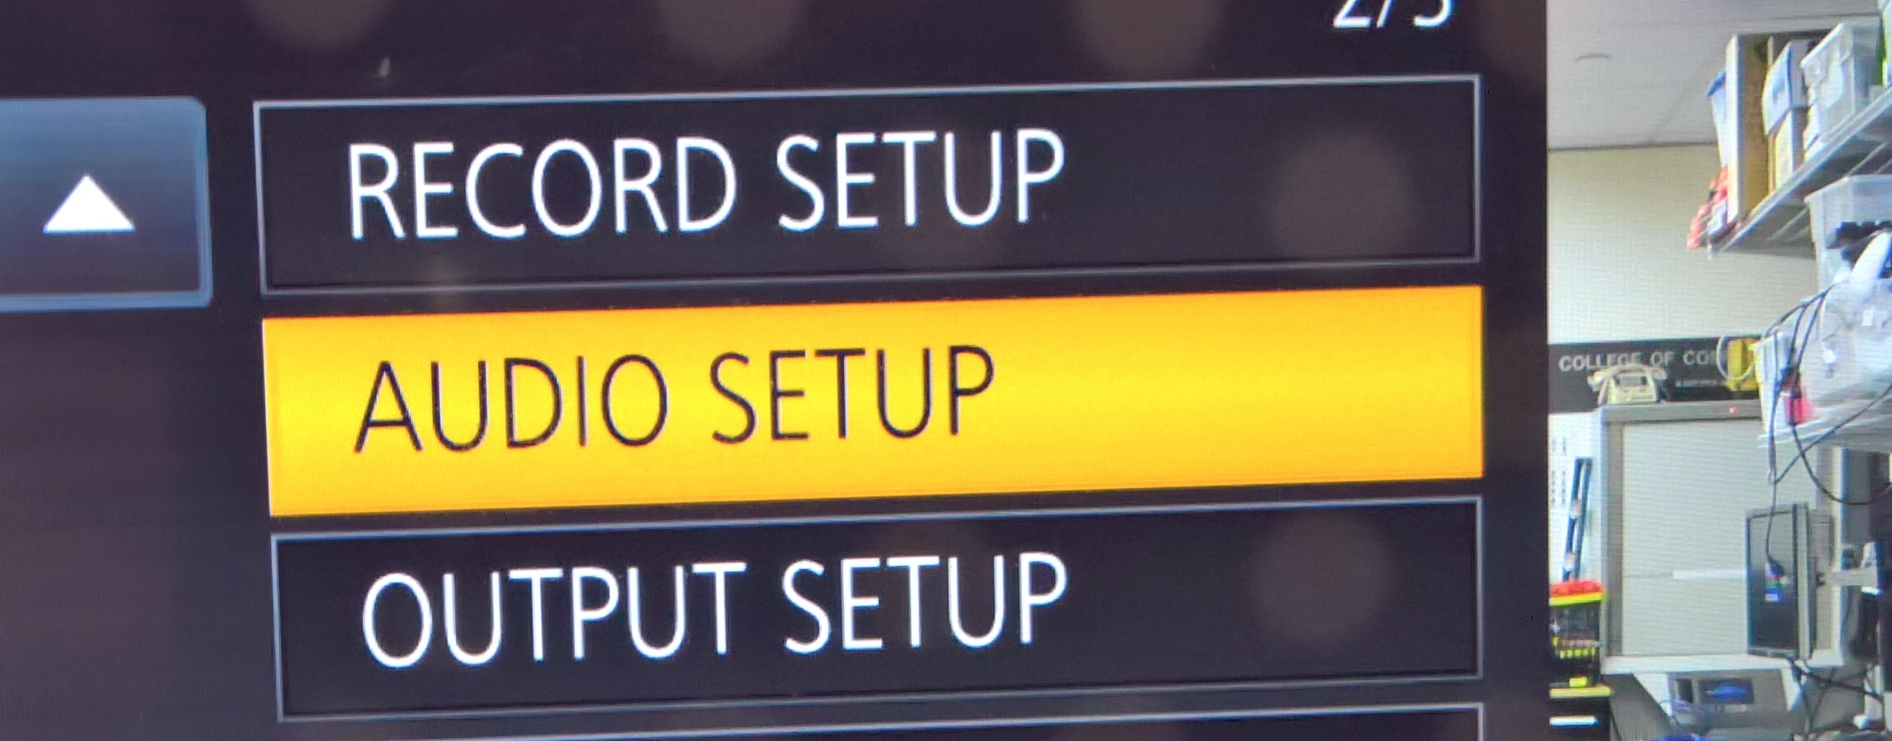 | ||||||
| Leave on the default settings shown here |  | ||||||
There is a decent mic on board the camera. To record from it set the side buttons on the camera to INT ( L) and INT (R) |  | ||||||
To record from it set the side buttons on the camera to INT ( L) and INT (R)
Also set INPUT 1 and 2 to MIC |  | ||||||
| To record from an added microphone - plug an XLR into the end of the MIC |  | ||||||
| Plug the other end of the XLR to Audio Input 2 |  | ||||||
| Or Audio Input 1 |  | ||||||
Set the Chanel select to the Input your XLR cable from the mic is plugged into
In our case Input 2
Set the INPUT to +48 for phantom power for the microphone
Adjust the knobs for AUDIO LEVEL input |  | ||||||
FORMAT THE SDHC CARDS before recording
Click MENU |  | ||||||
| Go to the "OTHER FUNCTION" menu |  | ||||||
| choose "FORMAT MEDIA" |  | ||||||
choose SD CARD 1 OR SD CARD 2 make sure you format both cards |  | ||||||
Confirm format - YES
|  | ||||||
| Click on MENU one last time | | ||||||
| Choose "RECORD SETUP" |  | ||||||
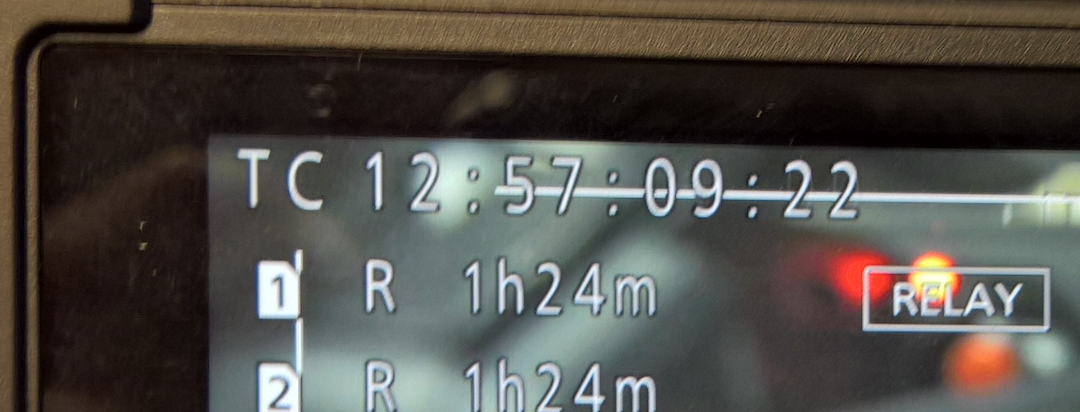
Choose 2 "SLOTS FUNC" - Choose RELAY REC This will turn on clip spanning |  | ||||||
The other option if you don't want to record over 1 hour and 24 min is to choose "SIMULTANEOUS" RECORDING this will record the same data to both cards so there is redundancy if one card is bad. |  | ||||||
TURN ON FOCUS ASSIST - to make sure you are in focus Press Menu |  | ||||||
| SW SETUP |  | ||||||
| Turn on MF ASSIST > ON |  | ||||||
| Now Press FOCUS ASSIST |  | ||||||
The RED lines will appear with the items are in focus. Turning this knob will adjust focus
|  | ||||||
Next setup the external TimeCode
Menu>Record Setup |  | ||||||
>TCG>Free Run
Then click on TimeCode Preset and set the timecode on the Master Camera for time of day. |  | ||||||
| Master Camera for time of day timecode |  | ||||||
|
Click on Record Setup Ext TC Link
|  | ||||||
| The Camera will start to output a LTC signal |  | ||||||
| Connect the BNC cable to the TC Preset In/Out of the Master camera to the Slave Camera |
| ||||||
| On the Slave Camera go to >Menu>Record Setup>EXT TC Link |  | ||||||
To Jam Sync the timecode press Slave on the "Non Master Camera"
|  | ||||||
 | |||||||
| Check the timecode on all the cameras it should match now. |
| ||||||
| One more good feature to turn on is the Menuy>Display Setup> |  | ||||||
 | |||||||
White Balance Put the WHITE BAL on "A" or "B" |  | ||||||
Have someone hold a white card or piece of paper or place a white card on an easel. With cameras in position, approximately 10 feet away from where your subject will be. Zoom in on the card until the picture on the viewfinder is filled with nothing but the white card. |  | ||||||
| Press the AWB button (in front of the camera under the lens) on the camera for 30 seconds |  | ||||||
When you are finished with the Menus you will see on the Viewfinder all the information the Cards recording time RELAY record on
UHD 2160 and 23.98 fps |  | ||||||
| To load the files into AVID use this wiki | AVID - Panasonic - DVX 200 - Quick Start Editing Workflow |


Overview
Content Tools