Page History
Turn on HDV Deck |
|
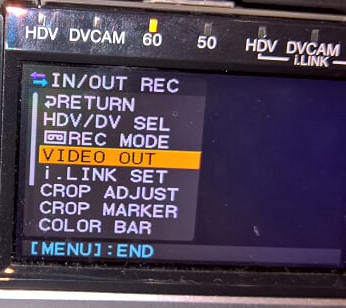
Click on Menu |
|
Make sure HDV/DV is set to DV |
|
Click on Video Out |
|
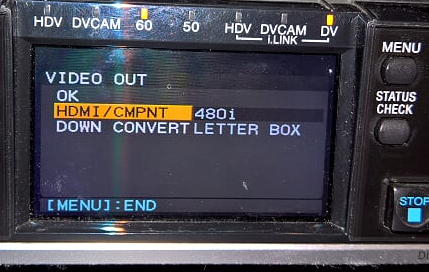
Set to HDMI / CMPT to 480i |
|
Audio Mixer make sure the Tape to mix button should be pushed to get the audio from the DVCAM deck. |  |
Make sure the Thunderbolt cable is connected to the computer (IMac) and the Teranex |
|
Put the tape in the deck |
|
Click on PLAY make sure there is some image on the tape and play for a at least 20 seconds |
|
Turn on the Teranex |
|
System Prefs >Blackmagic Desktop Video
| Click on the Setup Icon
|
System Prefs >Blackmagic Desktop Video Click On Video Input |


Set Default video as HD 1080p 23.98
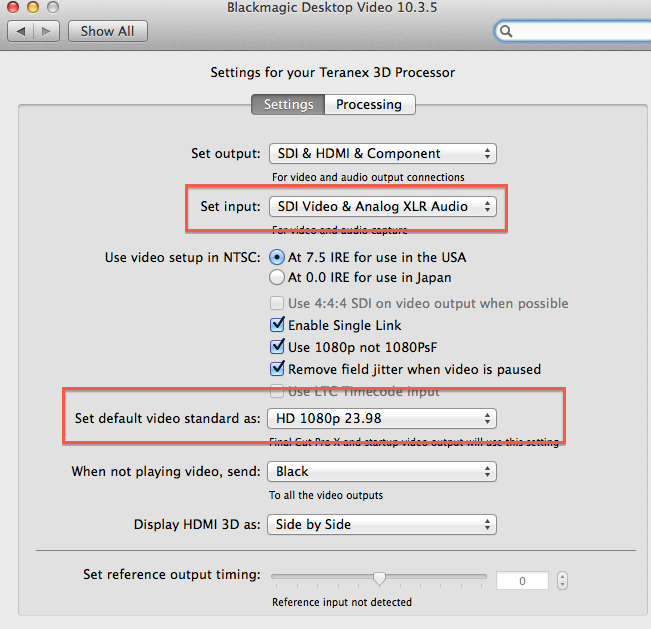
Component Video |
|
Click on the Audio Tab and change the Audio to XLR Click on Save |
|
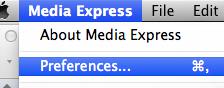
Open Blackmagic Media Express |
|
Go to >Media Express> |
|
Set the Video Format to |


anchor
Capture File Format will be ProRes 422 |
|
Click on the Log and Capture Tab in Media Express |
|


...

You should see audio levels
Then click on the Capture Button to start capturing.
Capture Button will turn RED
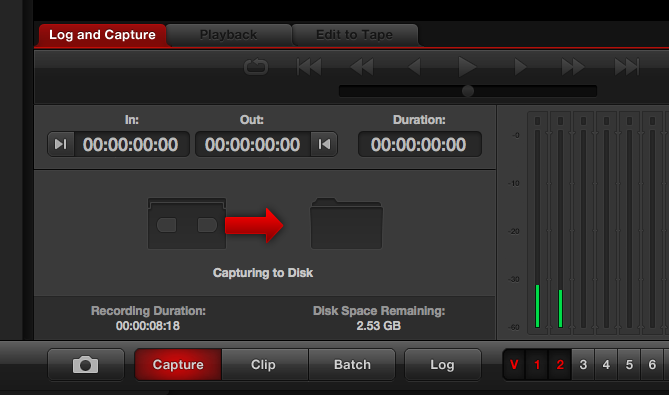
Click Capture to stop capturing
| Turn off the Teranex when finished | 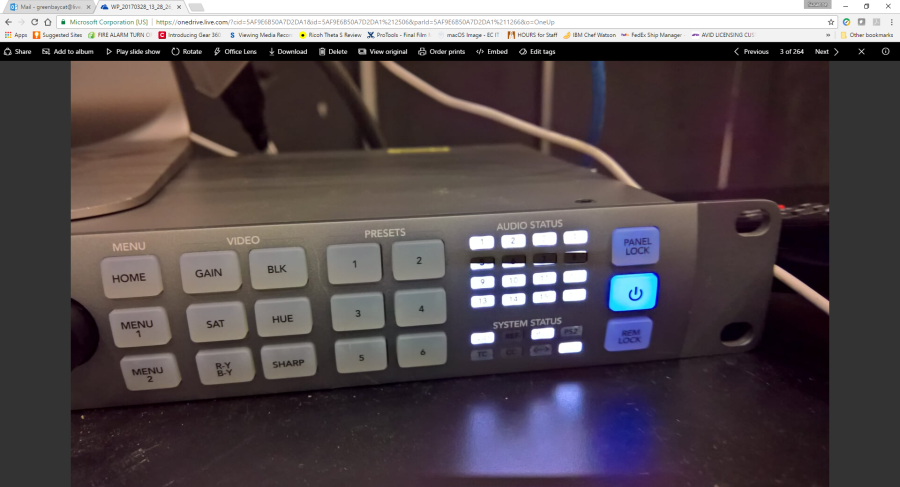 |
| Turn off the VTR's when finished |  |
Overview
Content Tools