Page History
 | Click on the New Item and choose Sequence |
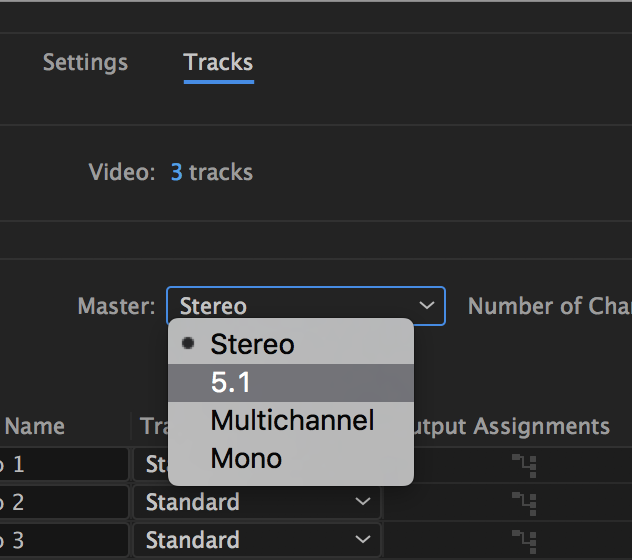
 | Choose Sequence |
 | Choose Canon XF MPEG2 1080p 23.976 |
 | |
 | |
 | |
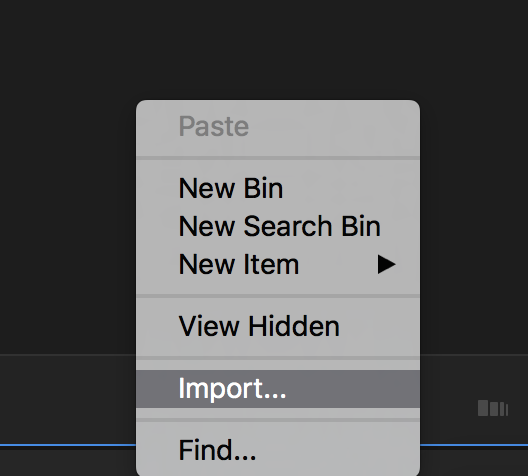 | Import the Audio Files |
 | Select the files and import |
 | |
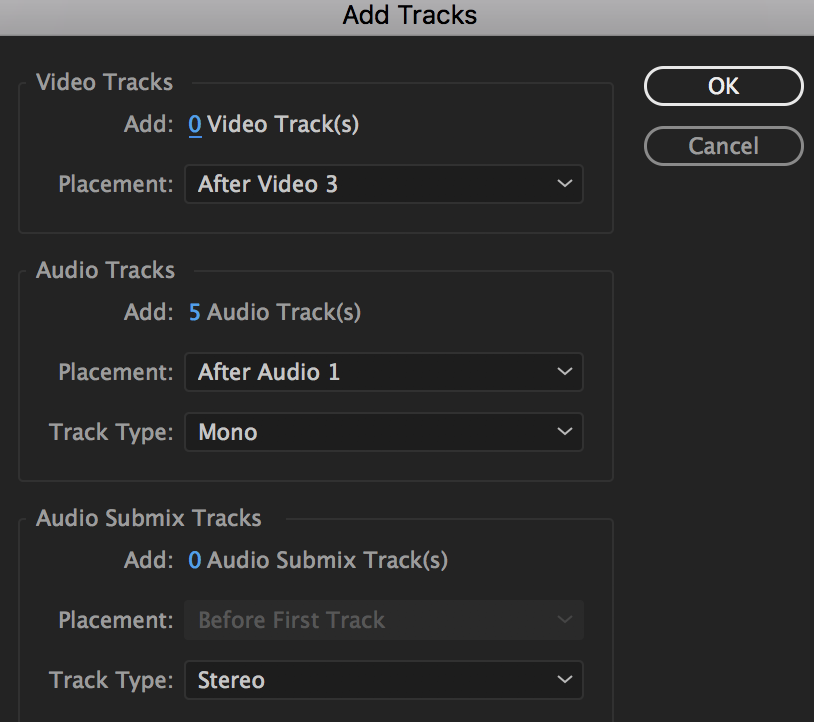 | |
 | Add audio clips to the sequence. Drag audio clips from the Project window to the 5.1 surround sequence in the Timeline window. You can drag an audio clip only to a track with the same number of channels, so if necessary choose Sequence > Add Tracks to add new tracks containing the number of channels that match the clips you want to import. Add them as follows A1 - Left A2 - Right A3 - Center A4 - LFE A5 - Left Surround A6 - Right Surround |
 | Open the Audio Track Mixer |
 | Label the Tracks A1 - Left A2 - Right A3 - Center A4 - LFE A5 - Left Surround A6 - Right Surround |
Turn up LFE to "Zero" or unity use the LFE gain knob |  |
 | Export the QuickTime File>Export>Media |
Click on the Sequence to export and choose >File>Export>Media or click "Command M" |
|
Choose the following: |
|
Click on Audio tab and choose Sample Rate 48 Sample Size 24
|  |
 | Audio Channel Configuration Output Chanels 5.1 L,R,C, LFE, Ls, Rs |
| Choose Export |  |


Overview
Content Tools