Page History
...
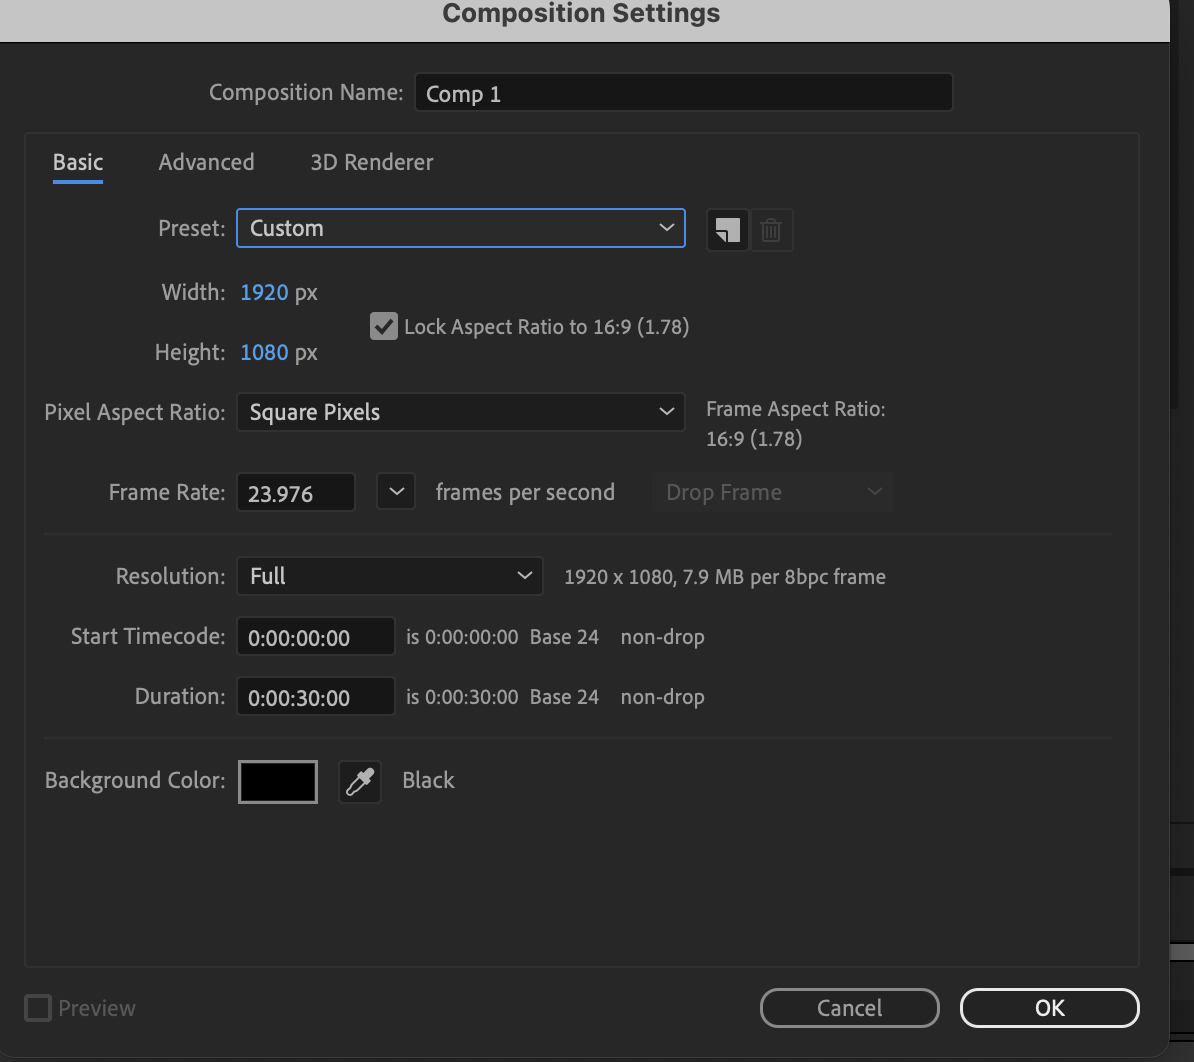
Open After Effects and create a new composition by selecting Composition > New Composition Choose UHD 4K 23.976 but match the aspect ratio of the editing project you are working on | 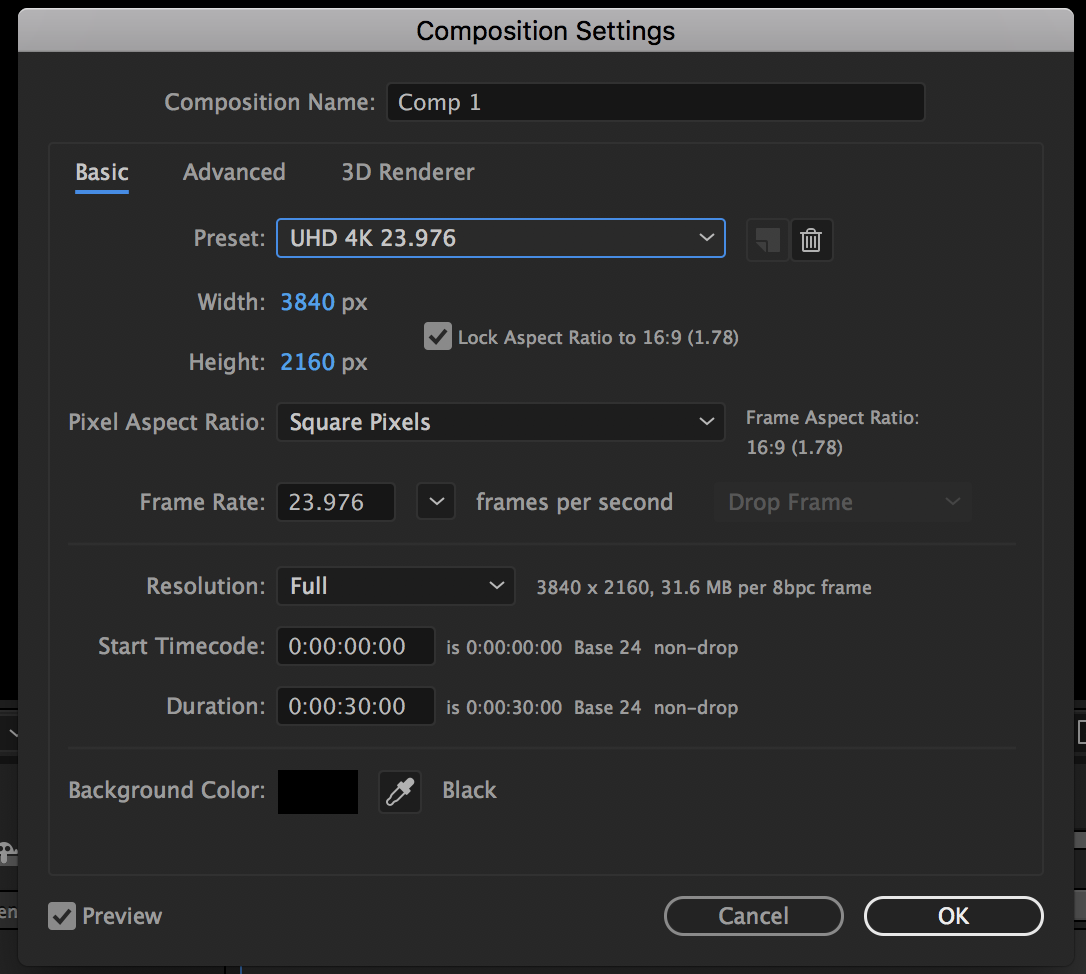 |
For HD Projects choose 1920 x 1080 square pixels at the correct frame rate |
|
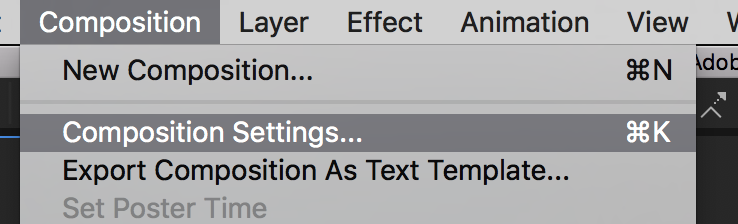
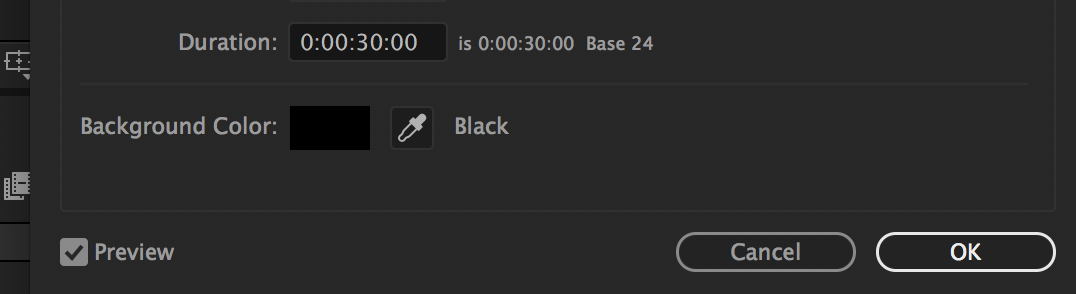
Go ton >Compostition>Composition Settings> Look at the background color>make sure it is black |
|
For example if the credits are over black then the AE background color should be black as well. |
|
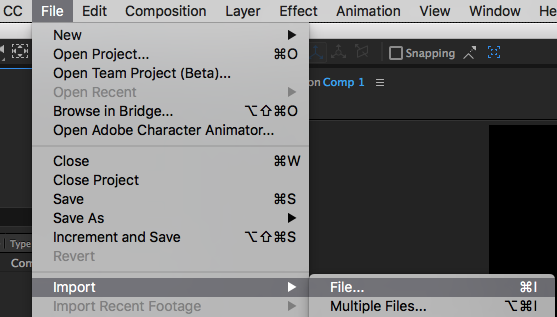
Import the photoshop file of the credits to after effects |
|
| Navigate to the file you saved in Photoshop |  |
| and place the image into after effects Composition Timeline Window | 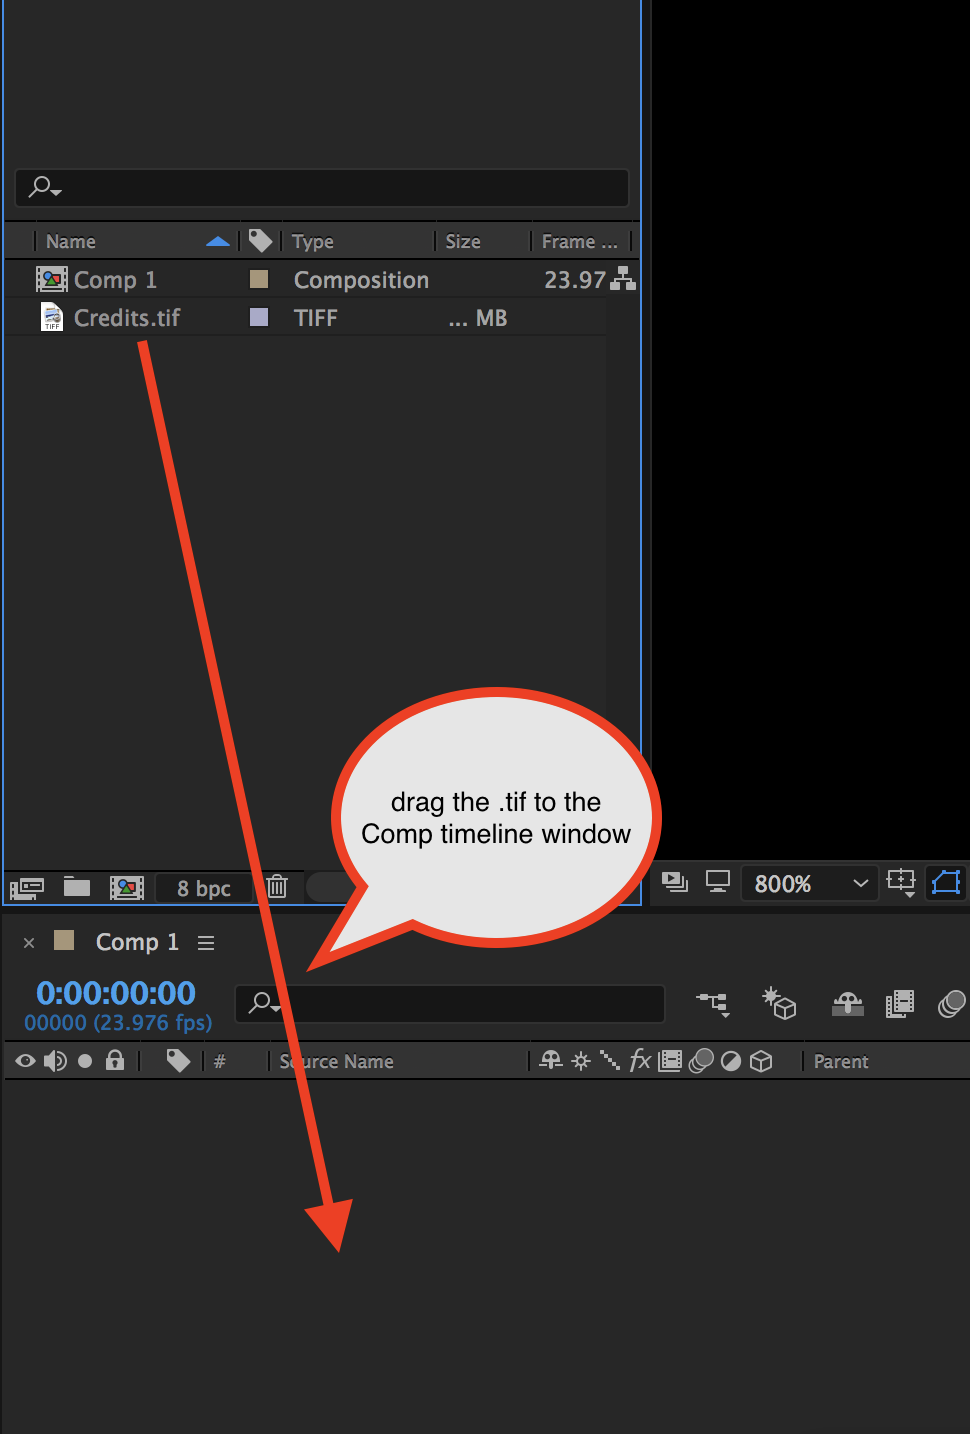 |
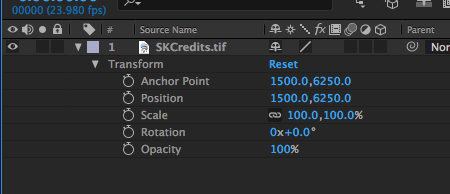
> twirl down the arrow next to the composition> twirl down the arrow next to the Transform option to reveal the sub menus including Position. |
|
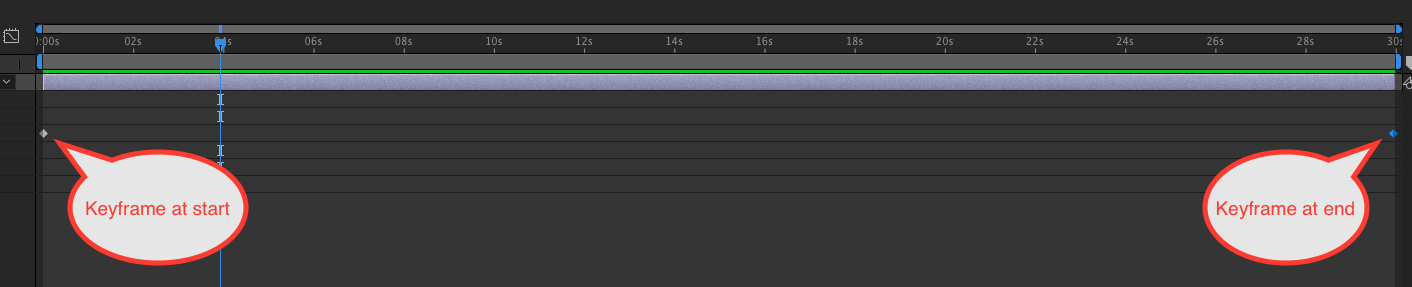
| Put the timeline indicator at the beginning of the composition | 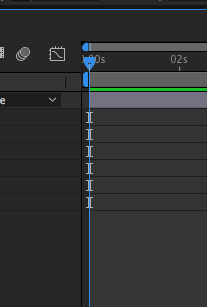 |
| Click the stopwatch next to Position to turn on keyframing. | 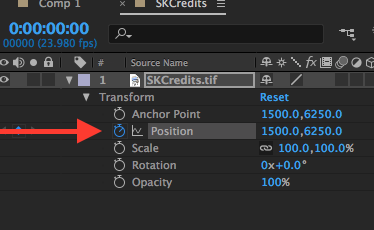 |
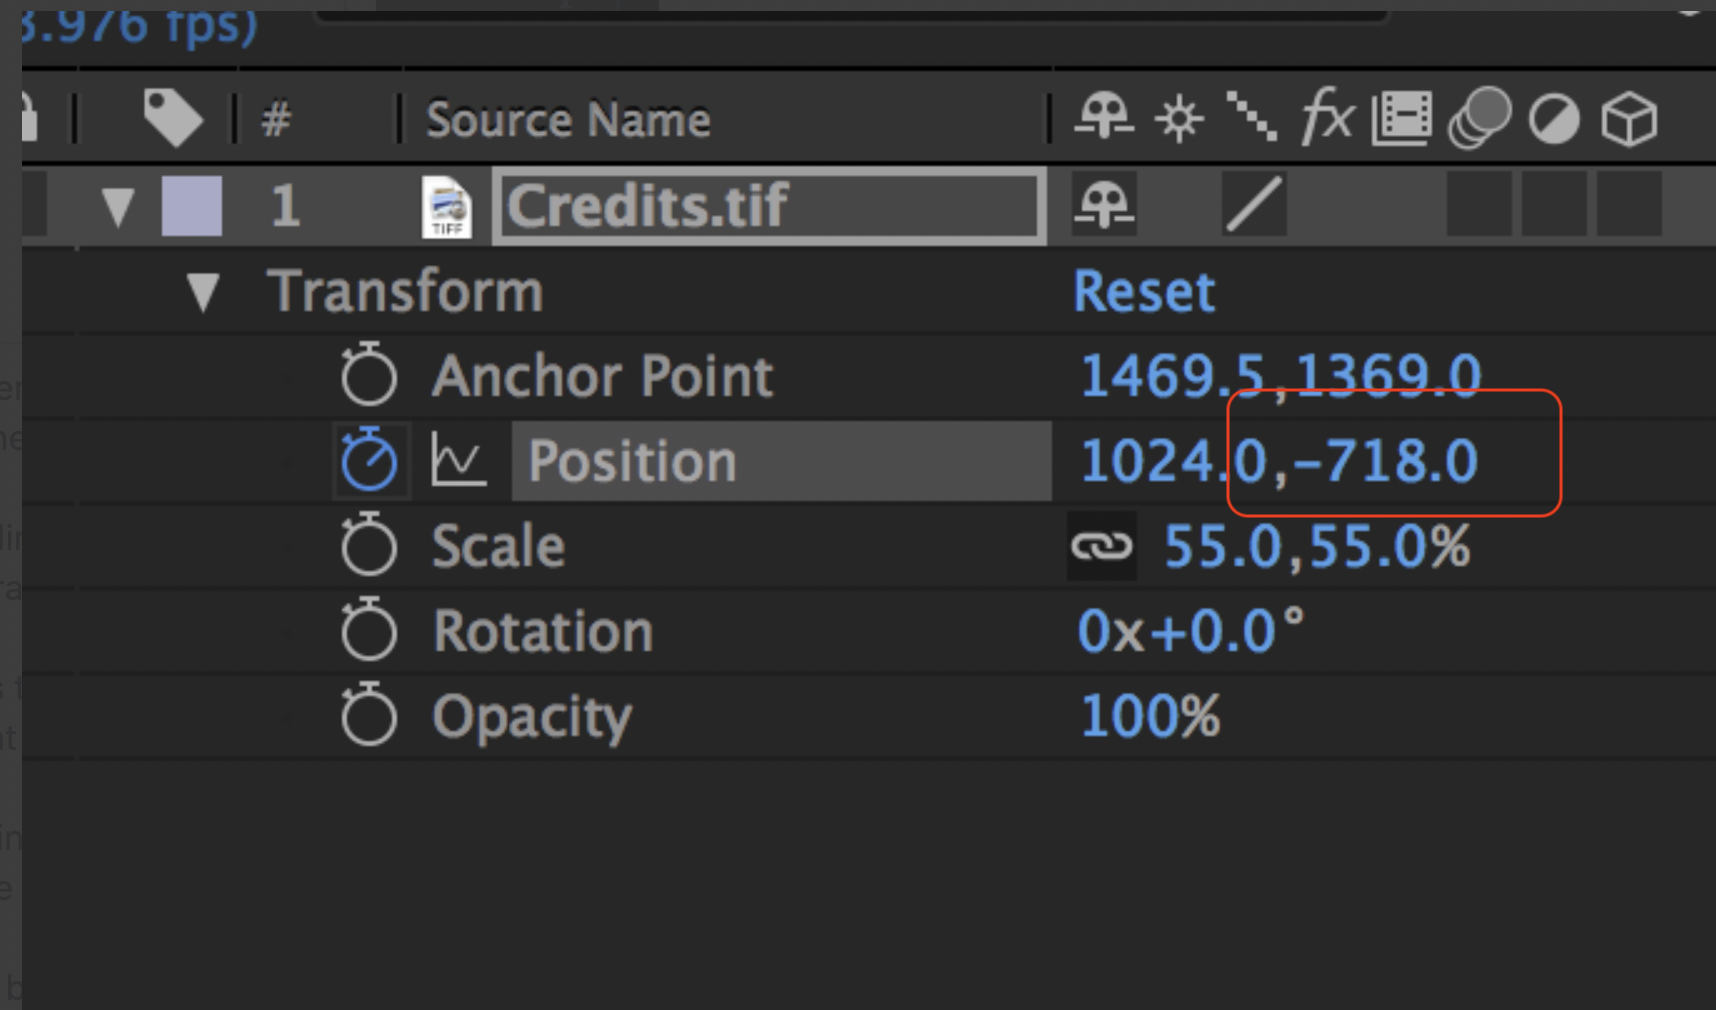
To begin the credit roll - The position of the text must placed all the way down out of the composition window. This will start the credits off screen in the beginning then roll upwards displaying the text rolling by. By holding down the SHIFT key and dragging the mouse pointer over the # upwards to increase the numerical amount higher. The text will roll downward in the composition window. Continue to increase the # until the text until it is barely out of screen. | 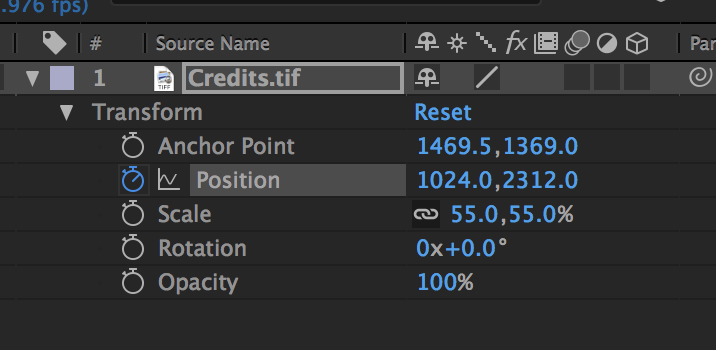 |
To set the last keyframe, click in the composition timeline and then press the END key on the keyboard. This will take you to the end of your comp. |
|
Change the numerical value of the right most # of the position indicator in Effect |
|
If you want the credits to fill the screen Scale up to 177 or so from 100 |
|
The second keyframe at the end of the timeline should appear after you change the position value. Scroll through the timeline to see if the roll effect is working. |
|
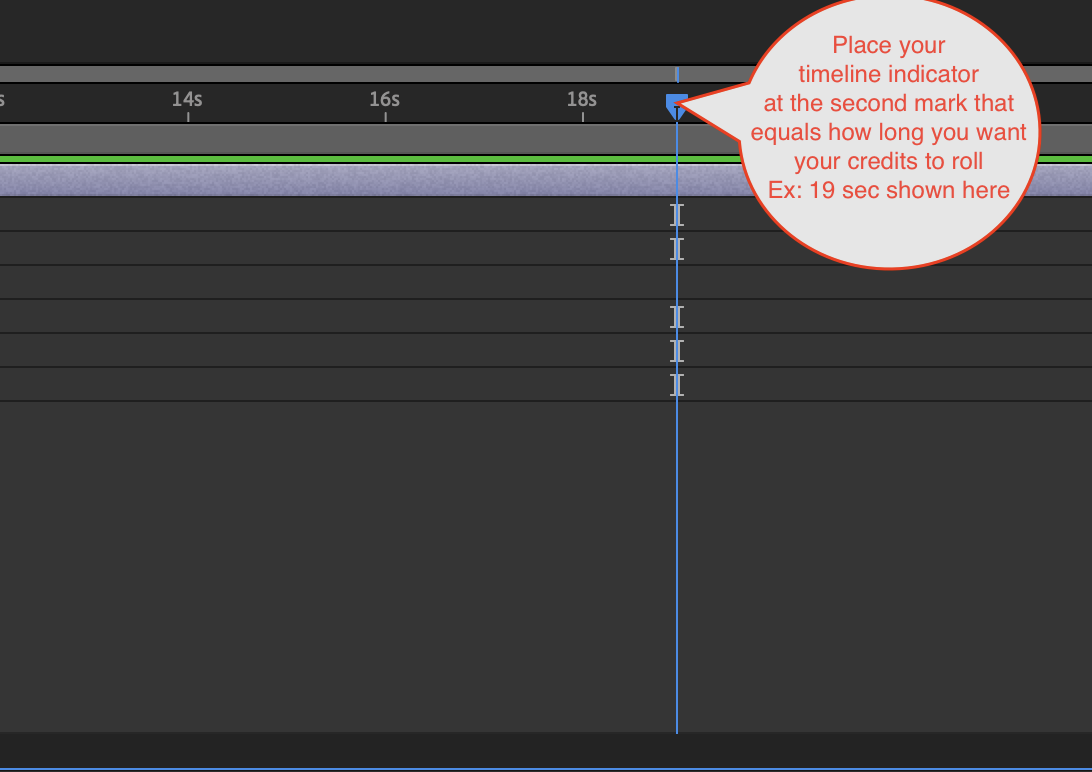
To customize the time of the credit roll Place your timeline indicator Then change that to be your end keyframe |
|
Can move your work area end marker to the 19 second mark to end your timeline earlier |
|
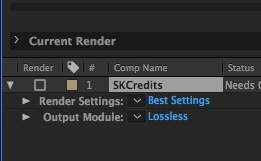
If all looks good render the project. |
|
The Render Queue opens. |
|
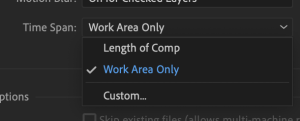
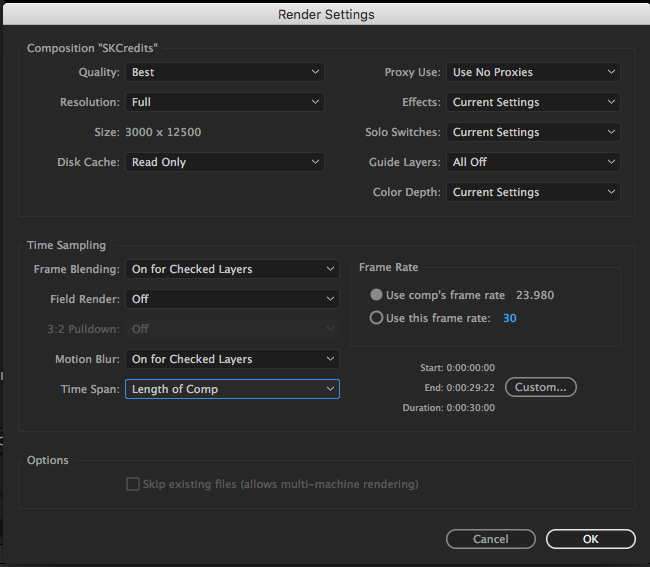
The Render Settings menu will pop open. 2. Change Resolution to Full 3. Change Effects to All On 4. Change Field Render 23.98p video leave field rendering off. Click OK If you are not rendering the entire timeline choose Work Area Only
|
|
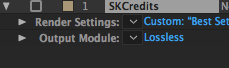
Next click on the words Lossless to change the parameters of the Output Module |
|
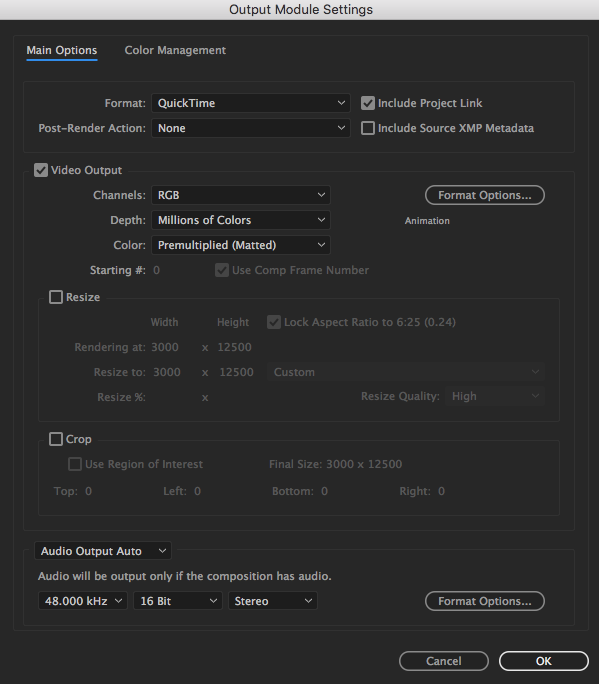
The Output Module Settings menu will pop open.
|
|
Choose DNxHR/DNxHD 8Bit Click OK |  |
| Render Settings | 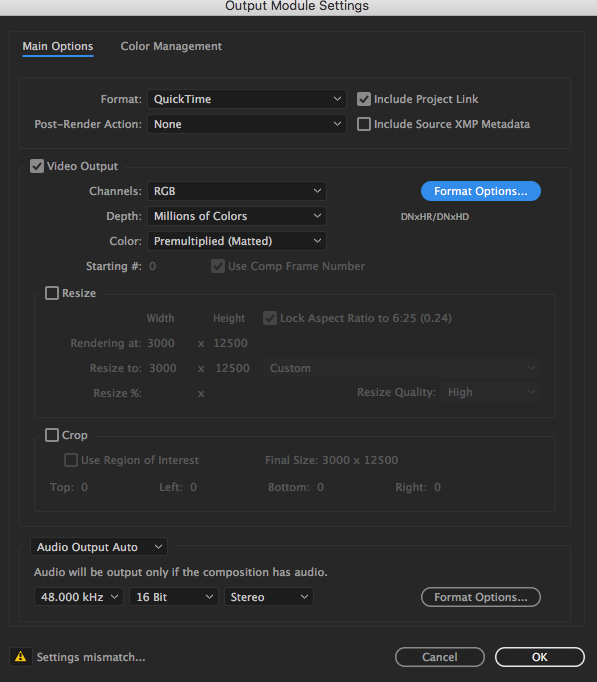 |
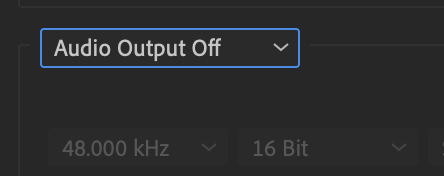
| Turn off audio |
|
Back in the Render Queue click on the blue text next to Output To your chosen destination for the file |
|
| Choose the HD to save the file | 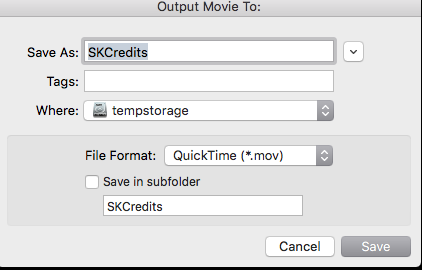 |
|
|
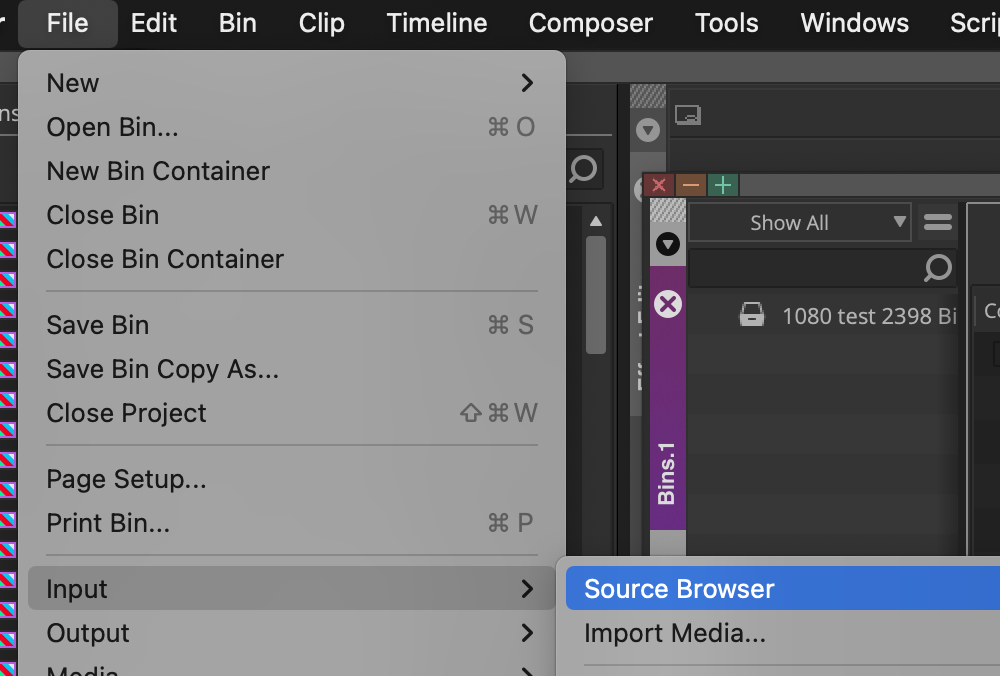
| AVID you will link to the file using Source Browser |
|


...
Overview
Content Tools