Page History
How to make a 4x3 SD DVD
Written by Susanne Kraft, susanne.kraft@austin.utexas.edu
• In Final Cut Pro export a quicktime reference movie

• Save to a local storage drive or personal drive. Don’t save to the Macintosh HD or Desktop
• Launch DVD studio Pro and make a new project • Go to Window>Configuration>Extended to change DVD Studio interface

• Import the Quicktime reference file or Quicktime movie into the Assets window

• Drag the quicktime from the ASSETS tab to the Track timeline. If you
need to make multiple tracks go to  at the top of the DVD
Studio window

• Click on the Outline tab (1) next to the Assets tab then click on the UNTITLED_DISC (2)

• Then click on the Disc Properties Menu then click on First Play>Menu 1 > Track 1 >Chapter1

Launch the Simulator  to check the DVD before burning.
• Set the DVD encoding preferences
• INDVDSTUDIOUSE2PASSVBRANDSETITTO7.1OR7.5
• To access DVD Studio preferences go to DVD Studio Pro>Preferences>Encoding and set to these specs below. Click Apply to apply settings. 
Now build the DVD. Go to  and choose where to save your DVD Video and Audio TS folders. Don’t save to the Macintosh Hard Drive or Desktop. Save to local storage drives.
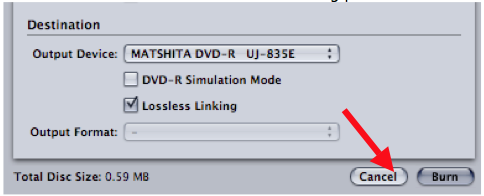
• Once the DVD is built choose Format to burn the DVD • Name the DVD Disc
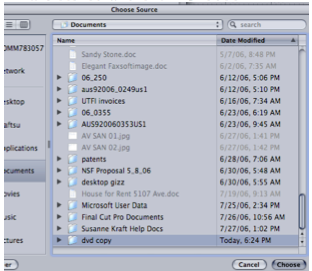
• Click “Choose” to chose the “Current Source” for the DVD

• Navigate to the location that the DVD VIDEO_TS AND AUDIO_TS folders are stored and click “Choose”
• Then click “Burn” to start the DVD burning process
• Put a blank DVD into the burner to burn the DVD material

Overview
Content Tools