Page History
...
Open App Manager.
|
|
| |
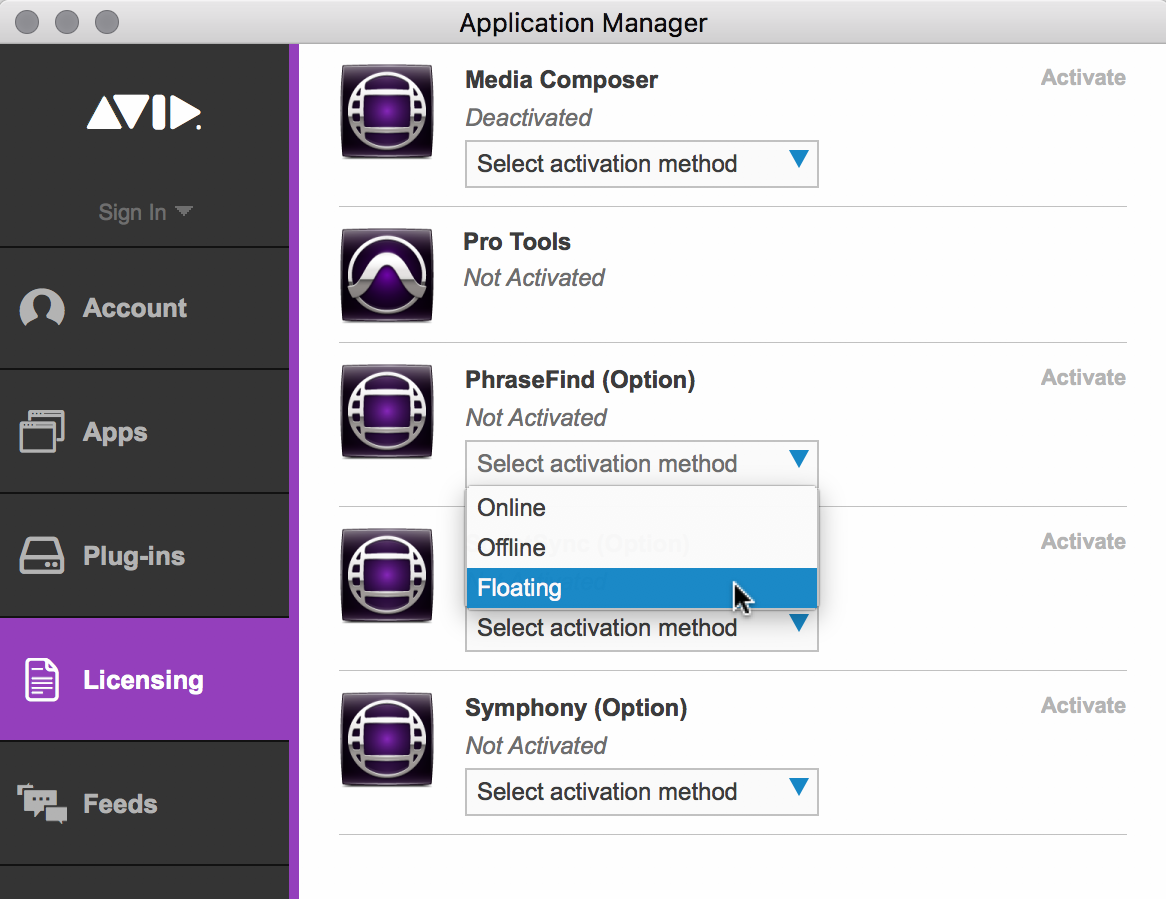
| Click Licensing |
|
| Choose Floating under Script Sync and PhraseFind |
|
Click Activate for each one. |
|
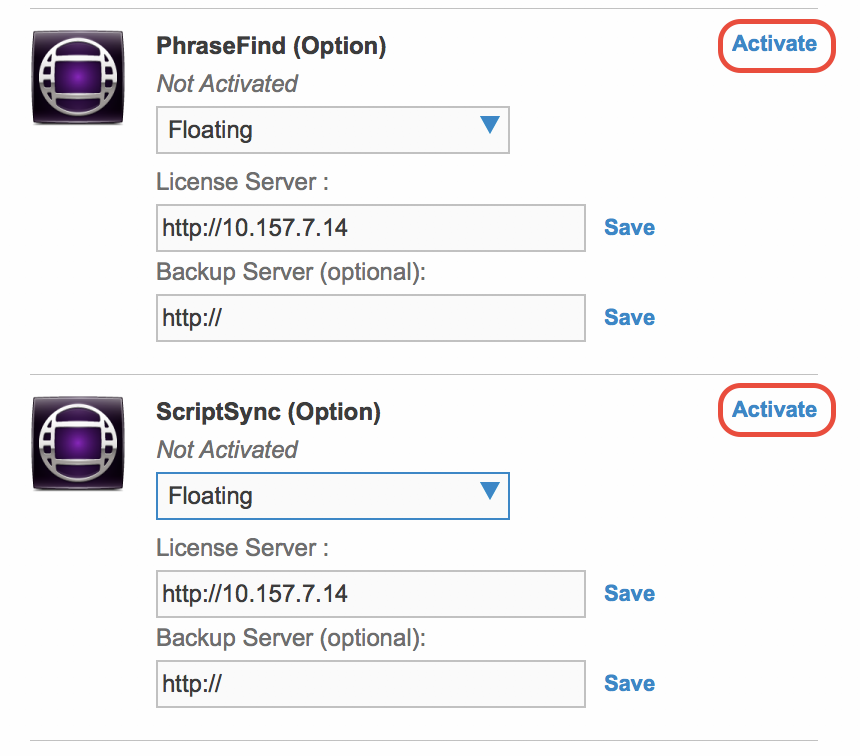
| Now, it should look like this. |
|
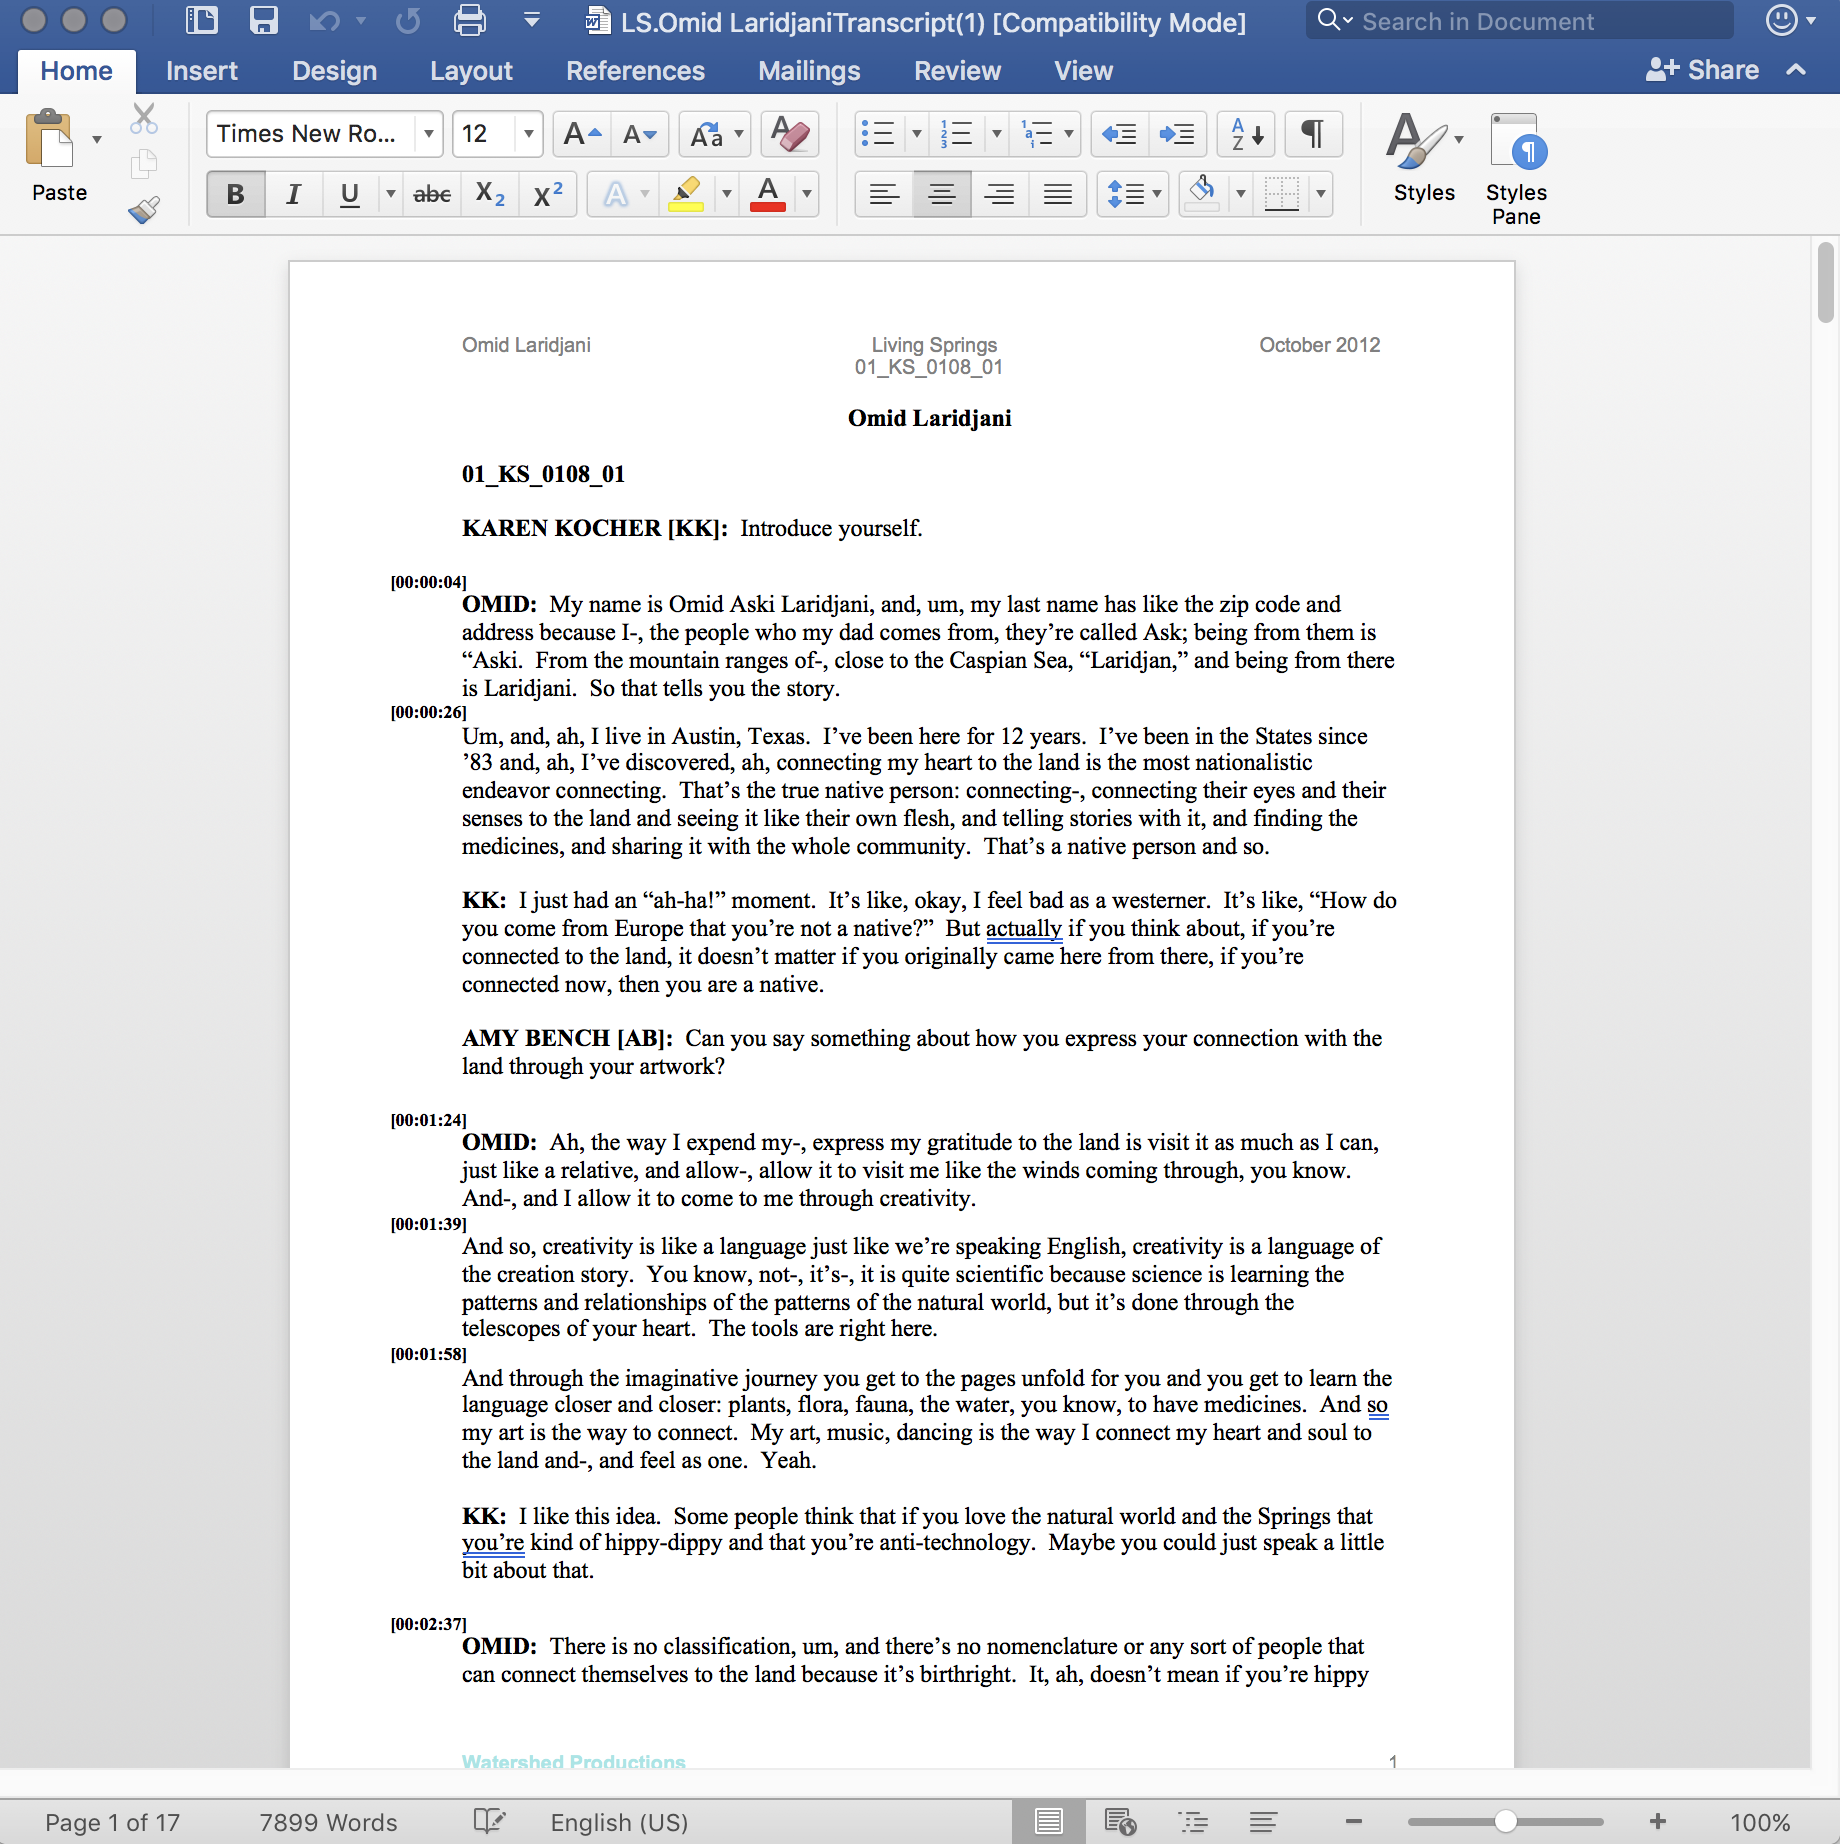
Open your script (here we're using word) |
|
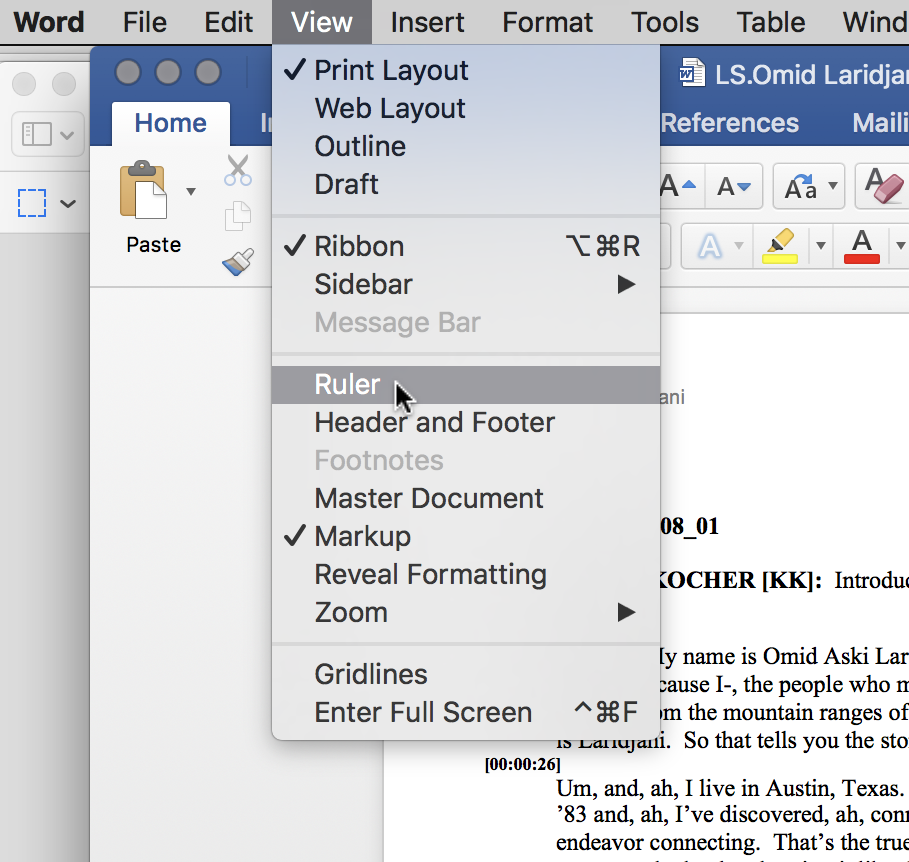
| Choose View > Ruler |
|
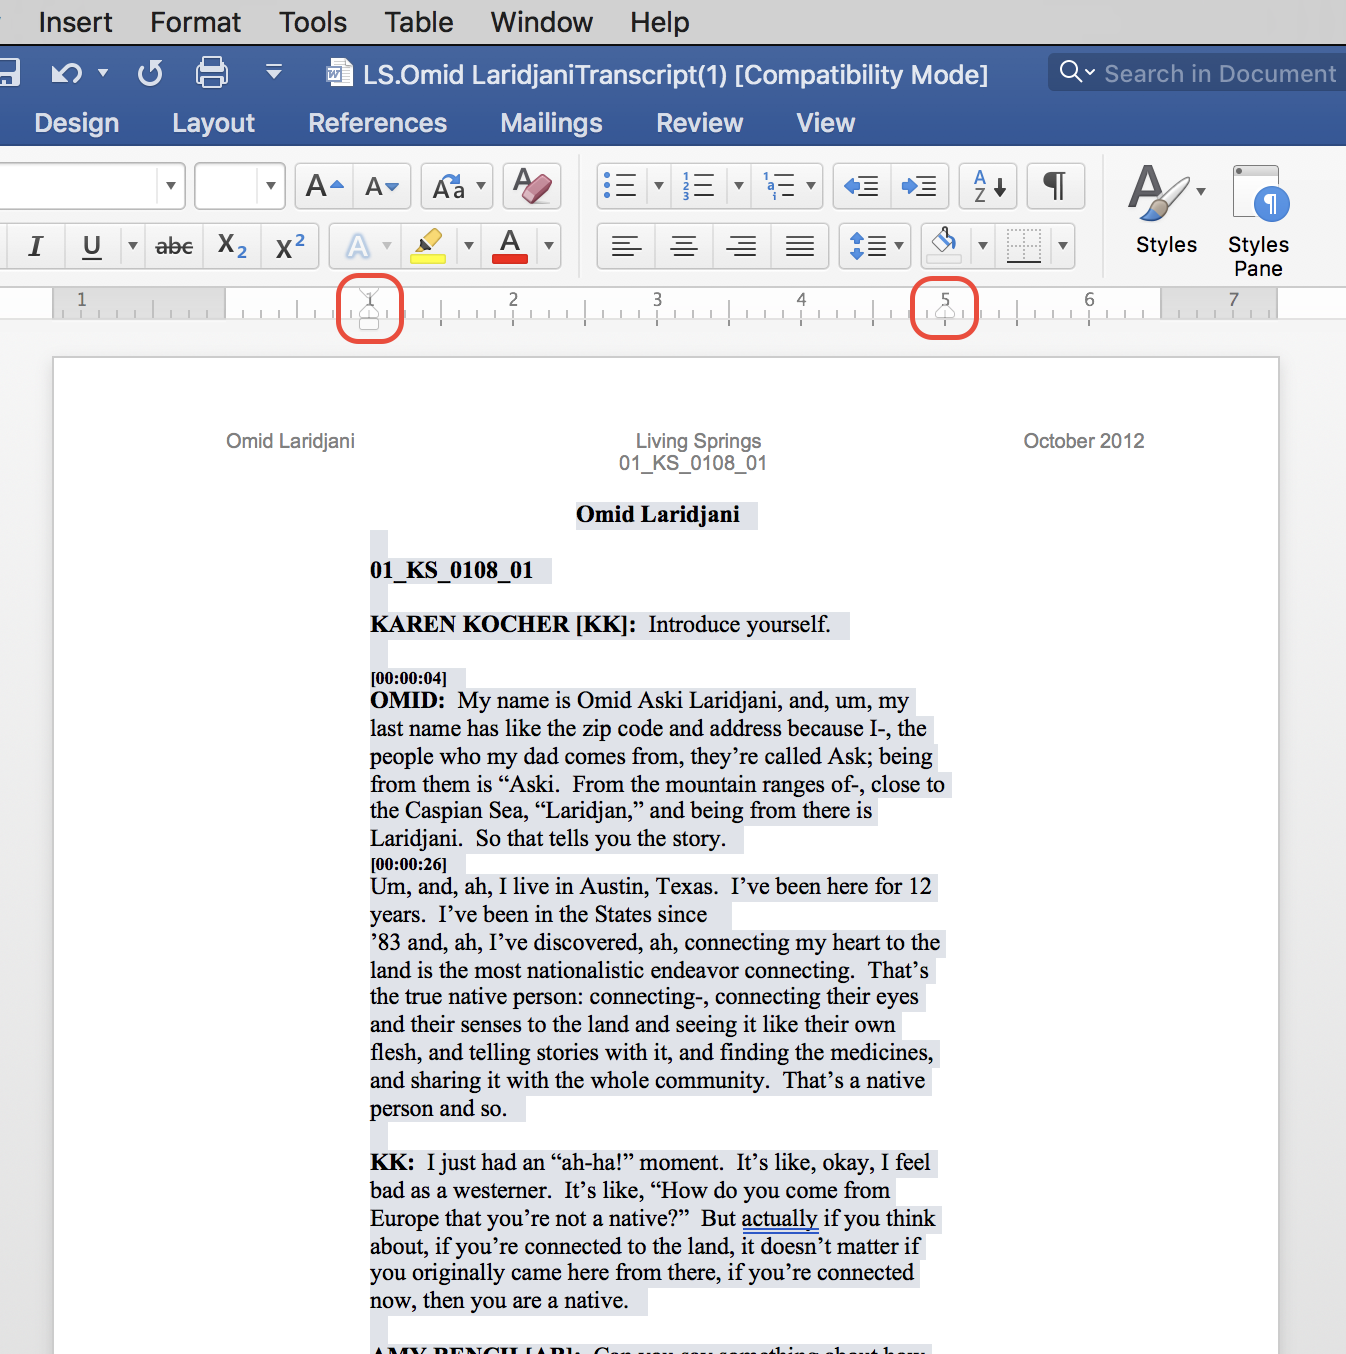
| Select All of your text (Command A) and make the margins wider and the text block skinnier. |
|
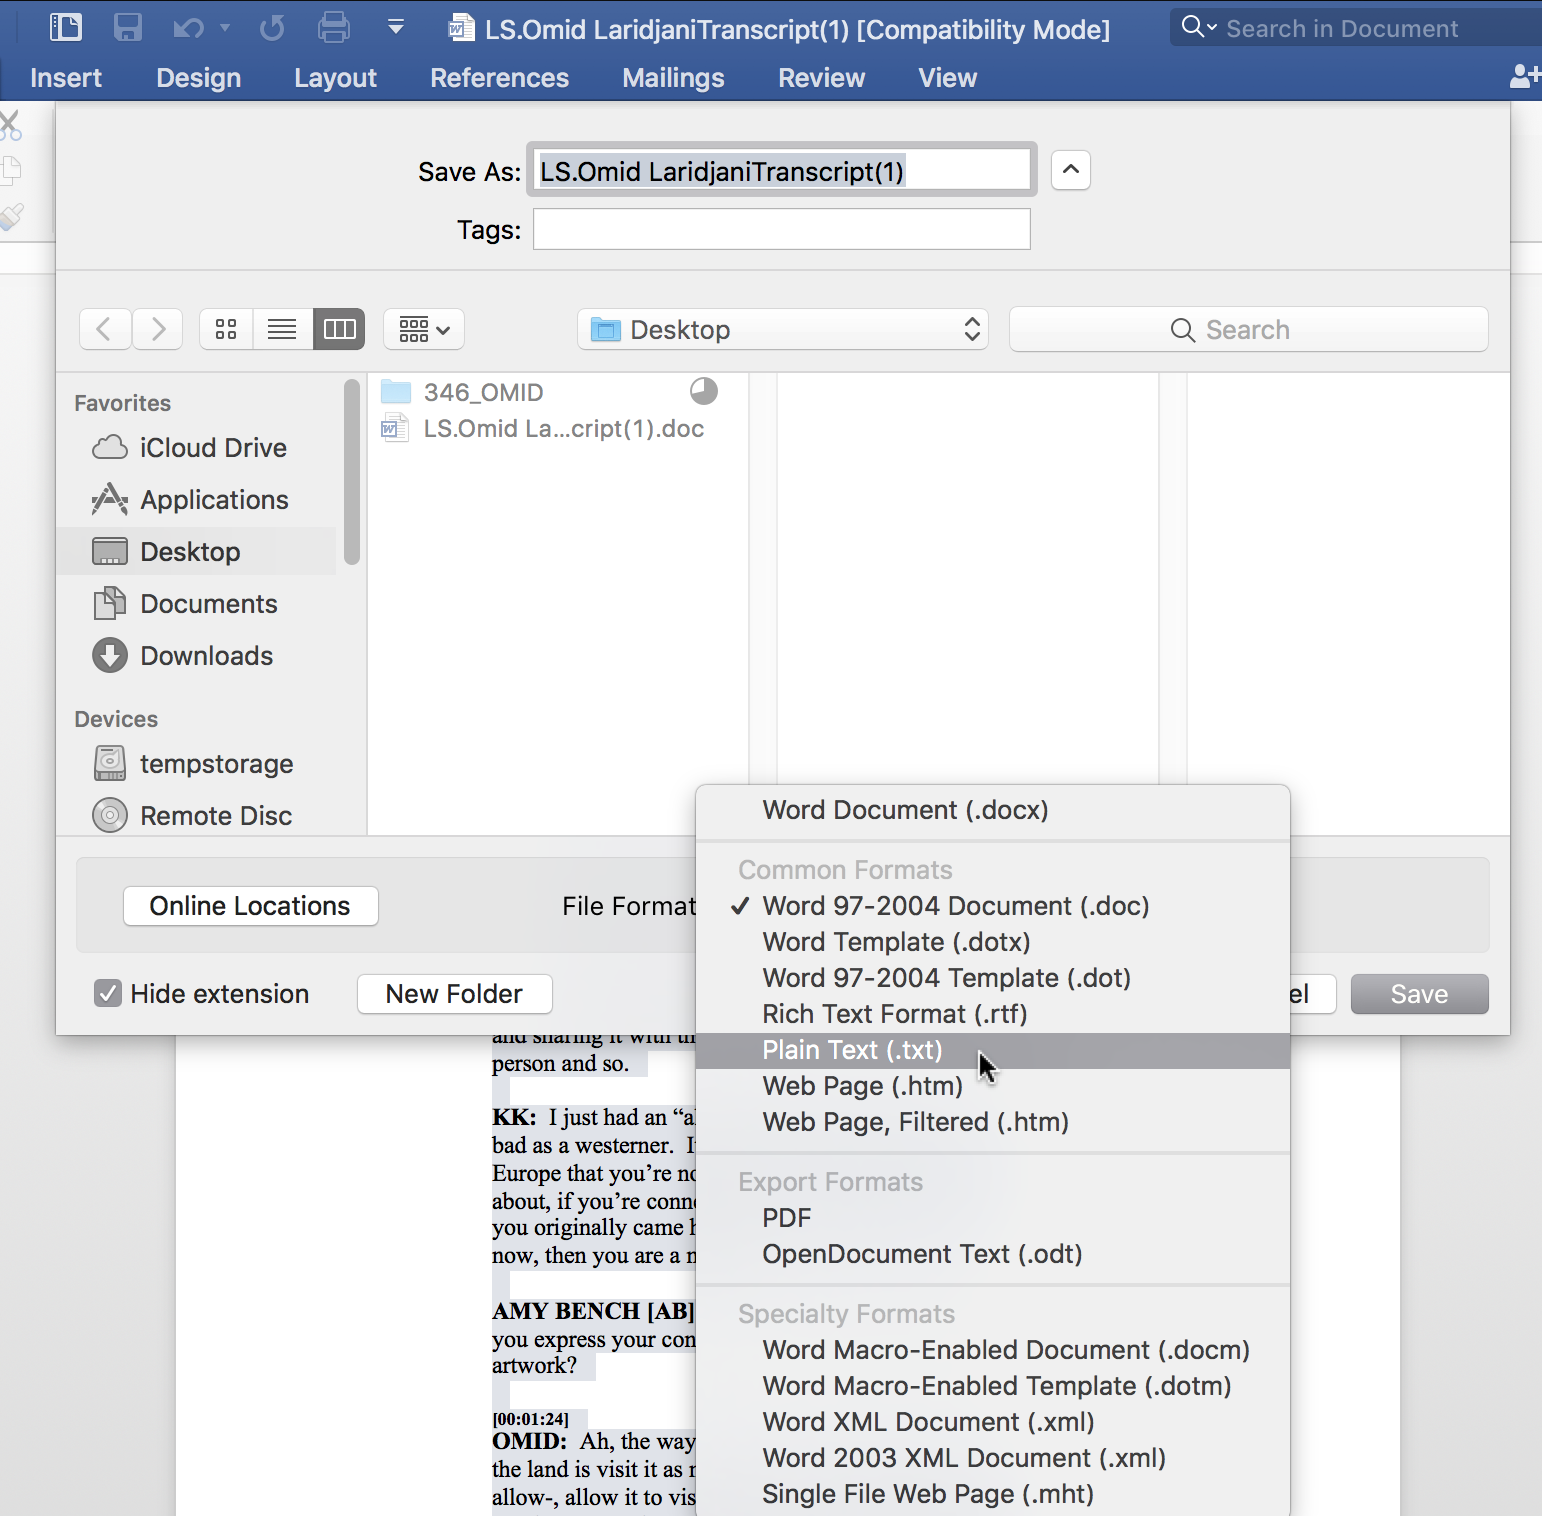
| Choose Plain Text |
|
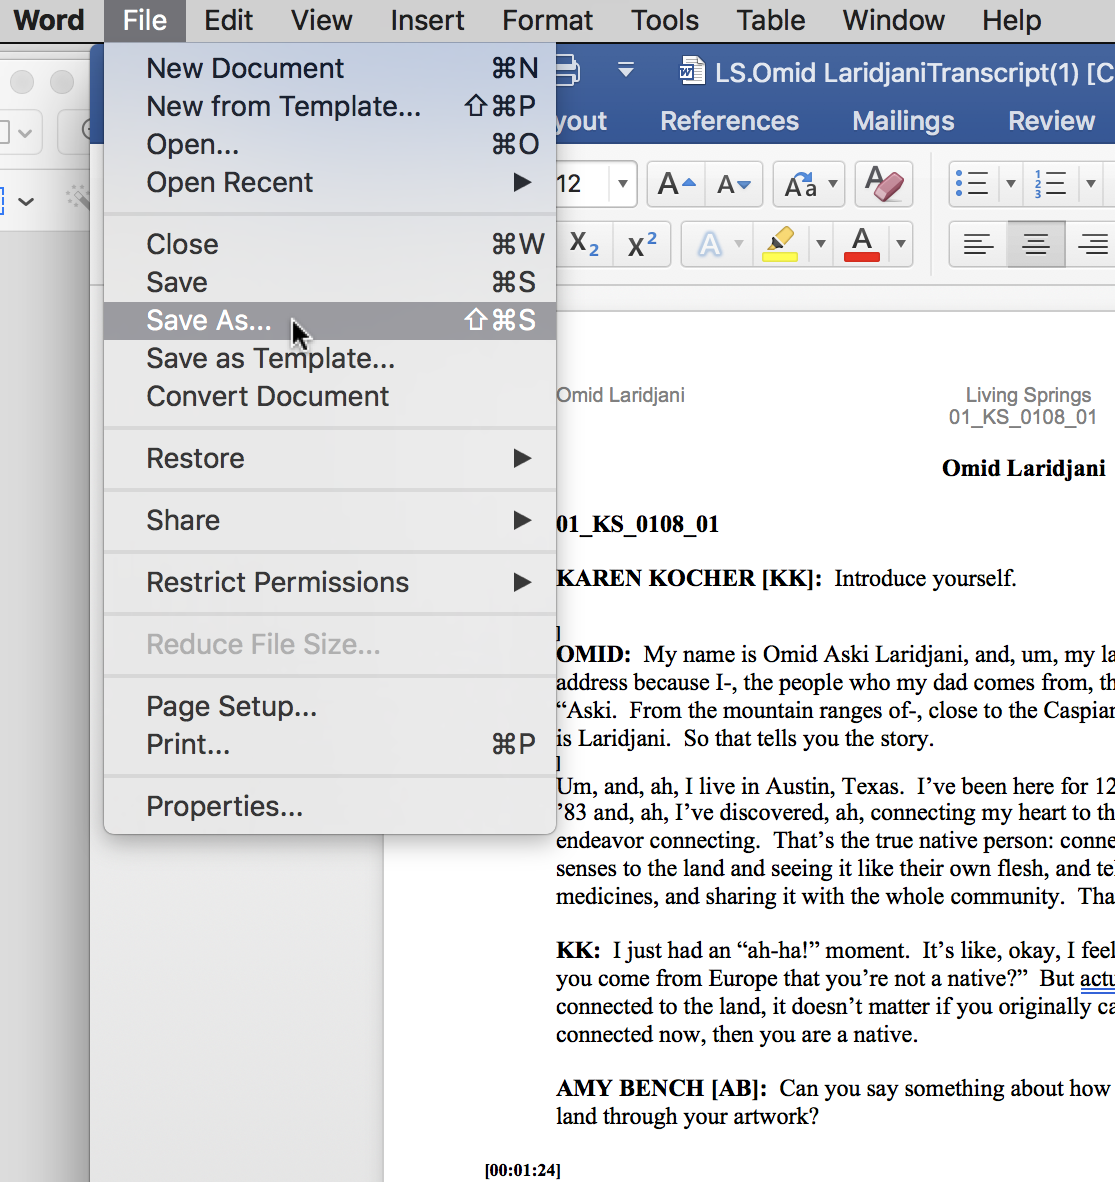
| File > Save As... |
|
Click Save (Make sure your file name is less than 32 characters) |
|
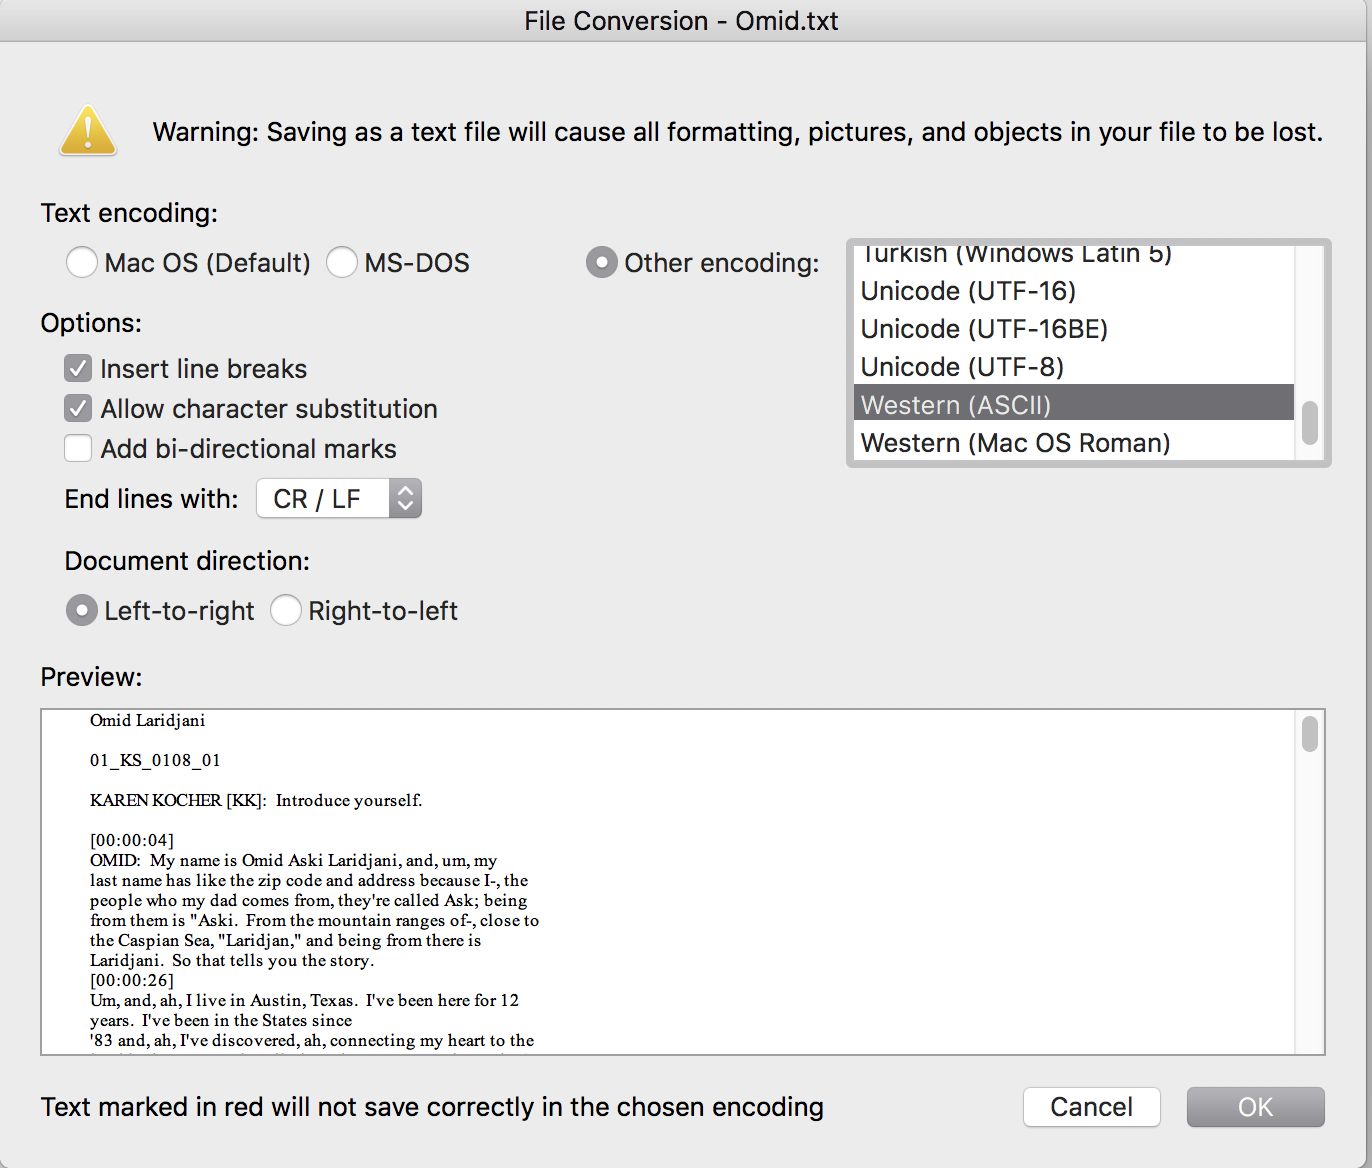
Make sure all these settings are: Other encoding: Western (ASCii) Insert line breaks Allow character substitution End lines with CR/LF Documentation direction: Left-to-right
Click OK |
|
| Open Avid | |
| While it is loading, you should see this. |
|
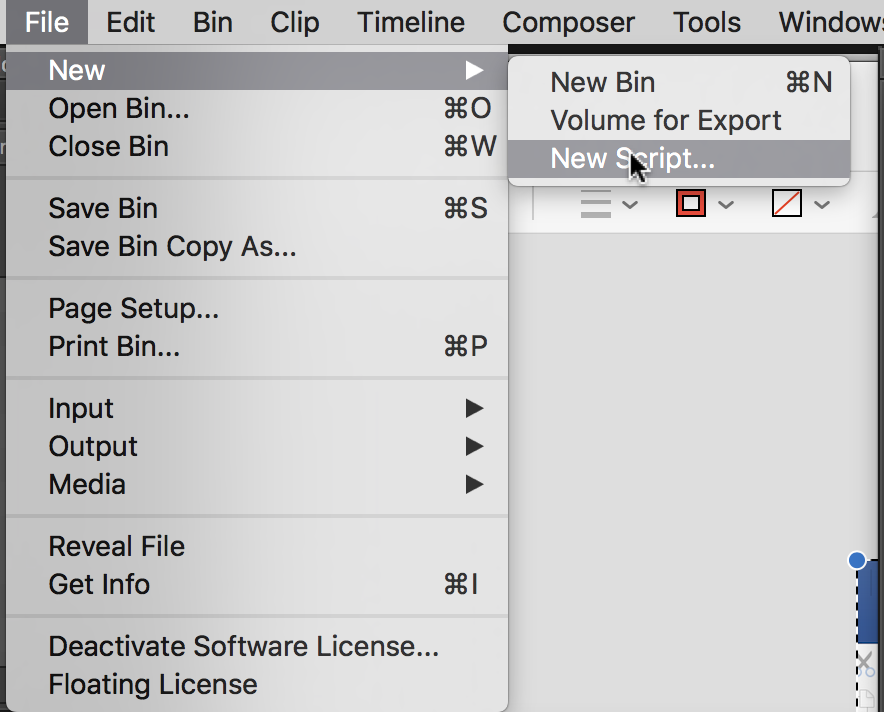
| File > New > New Script... |
|
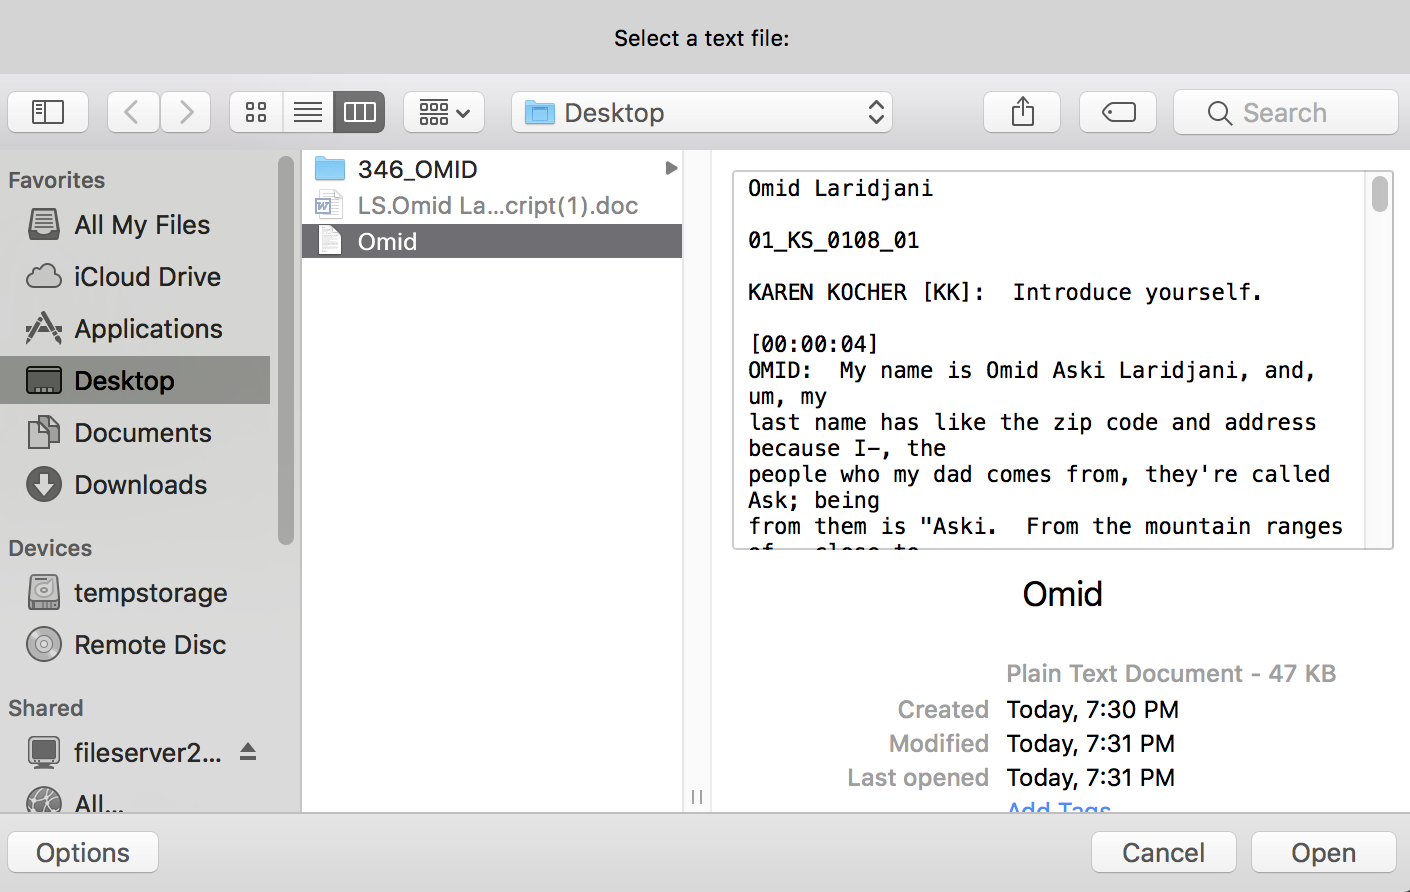
Find the plain text file you saved as.. in word Click Open |
|
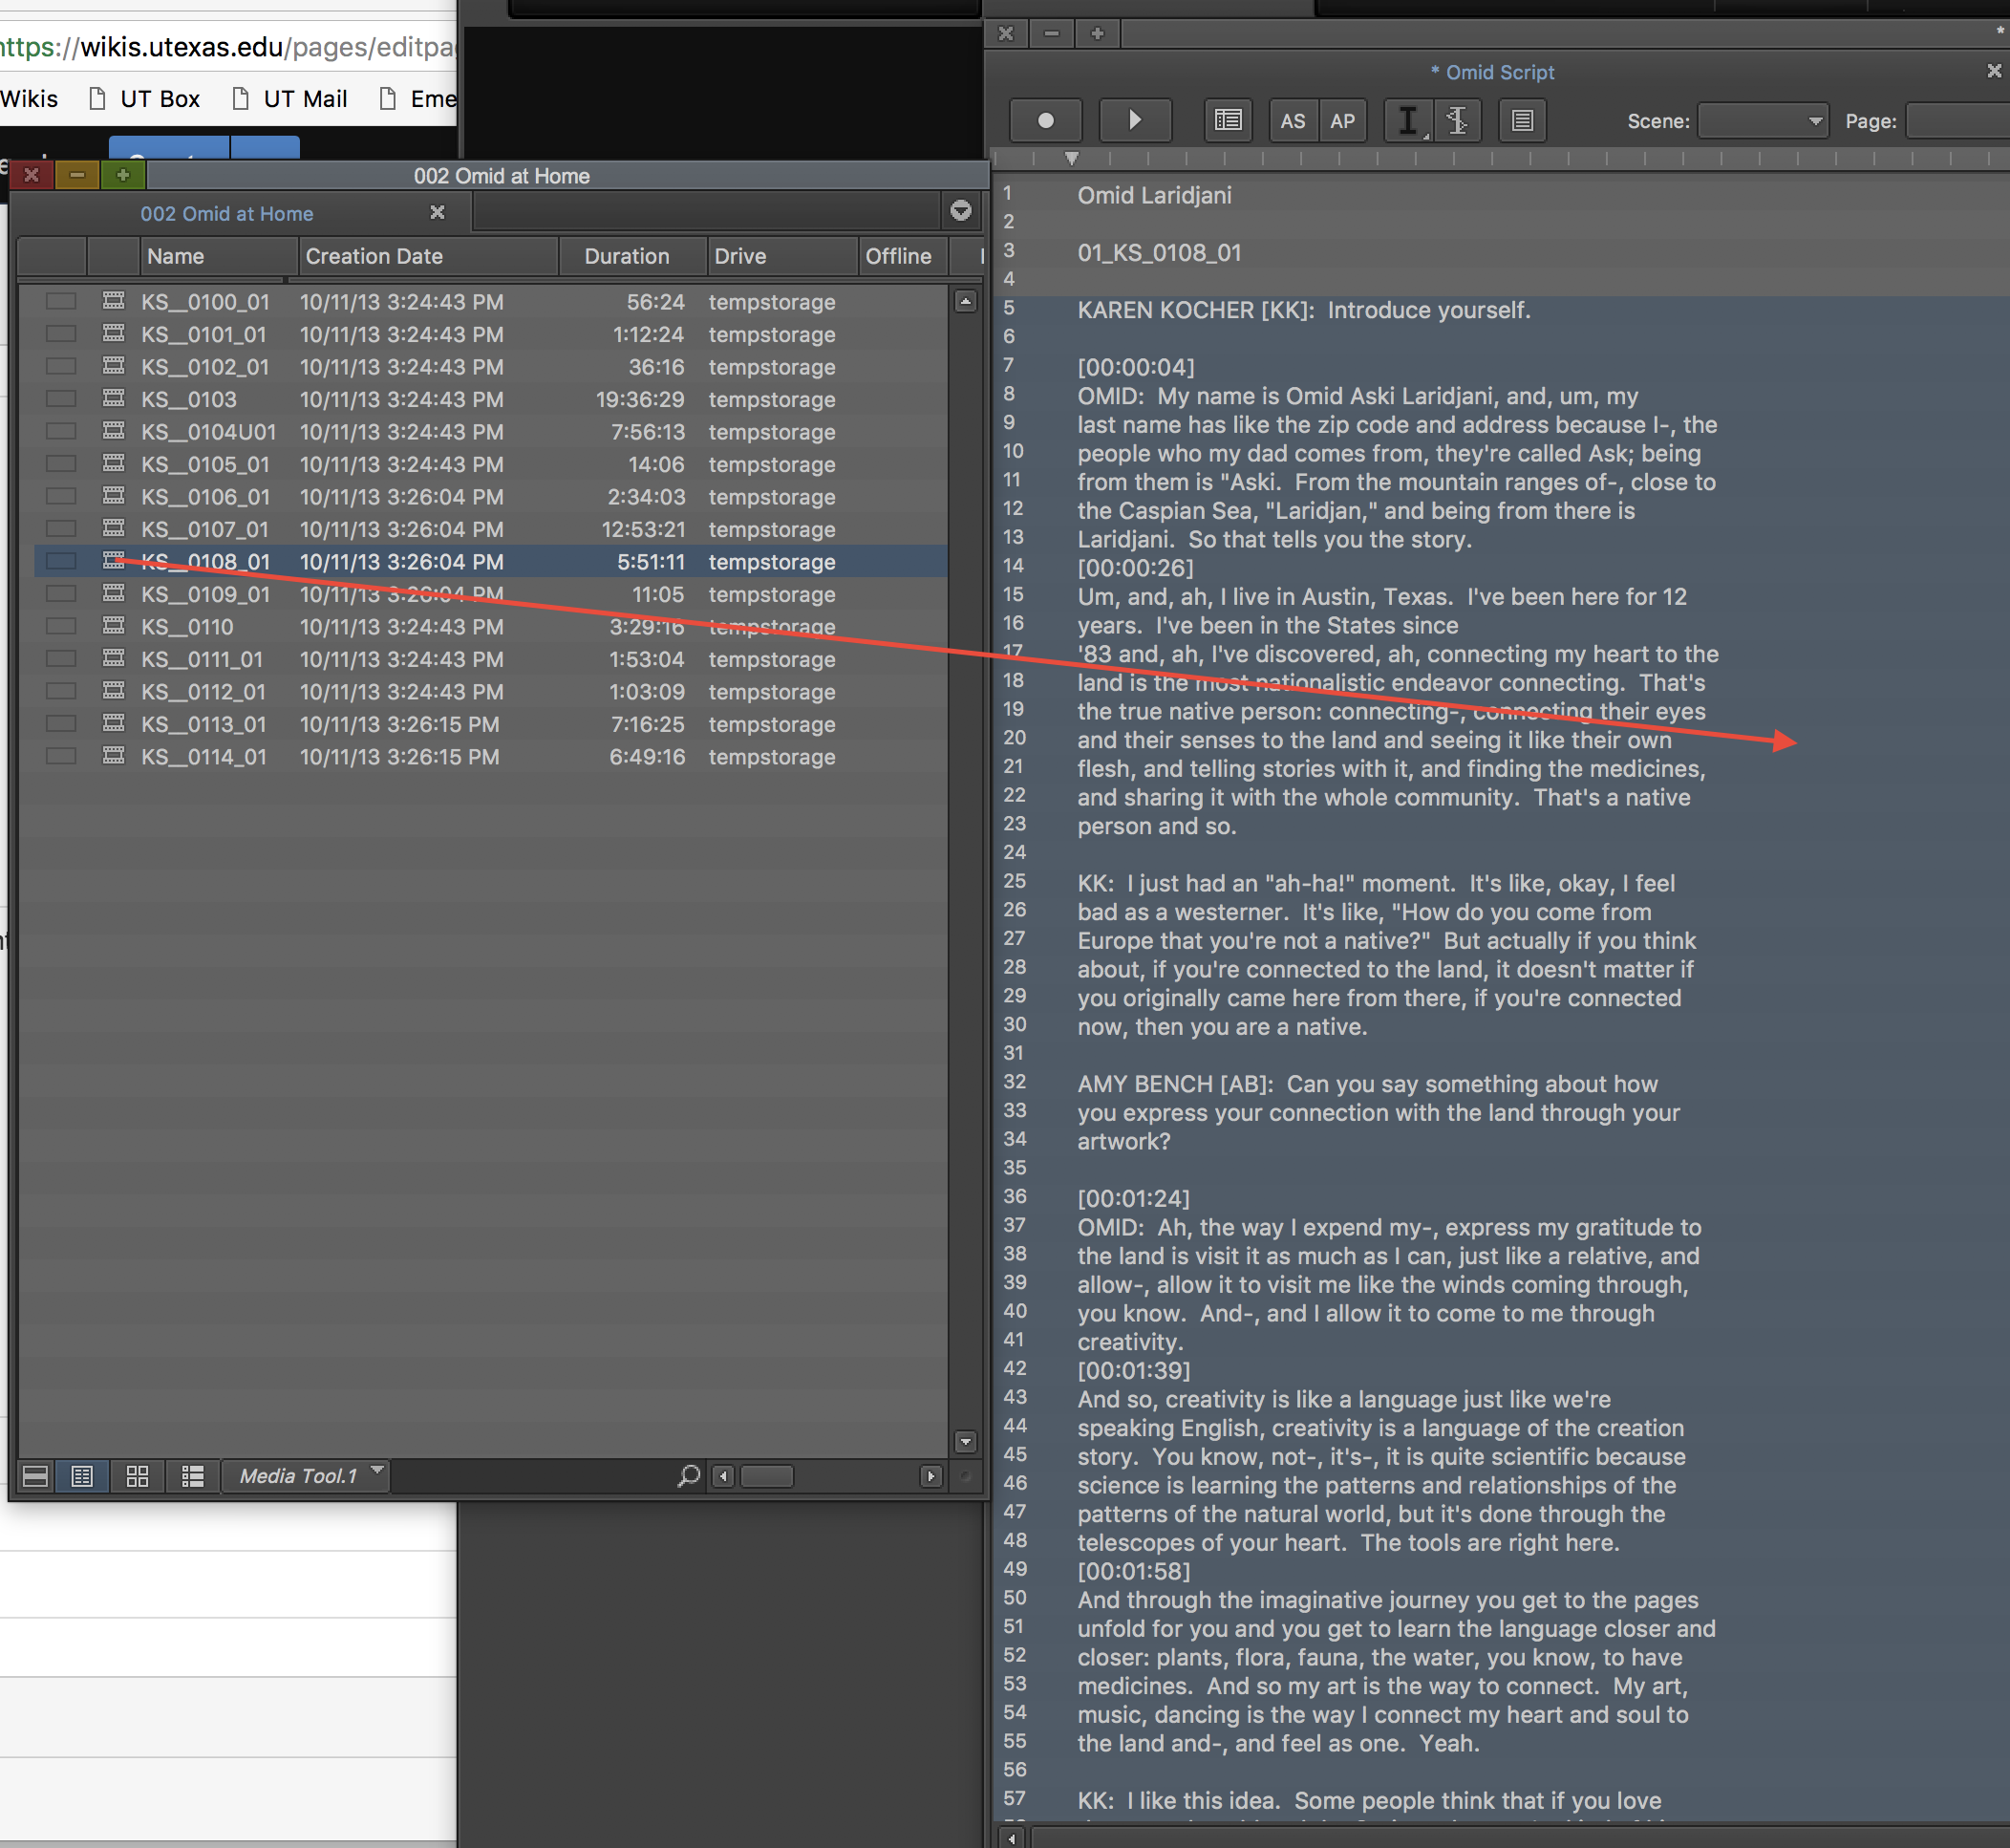
| Click on the first line of dialog. It will highlight. |
|
| Shift click on the last line of audio for the clip you want to associate with that part of the script. |
|
| Drag your clip to the selected area of the script. |
|
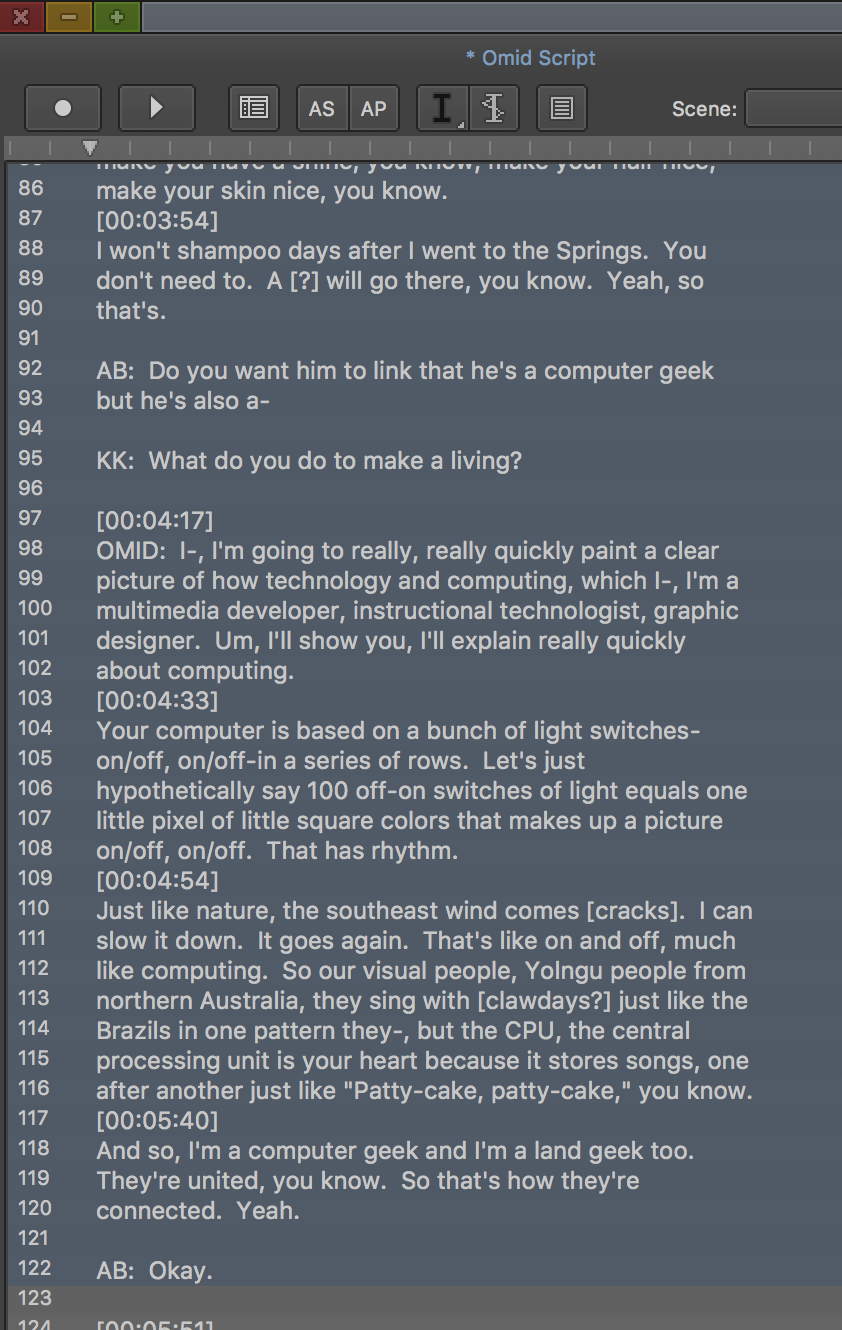
| It is starting to look like a line script. |
|
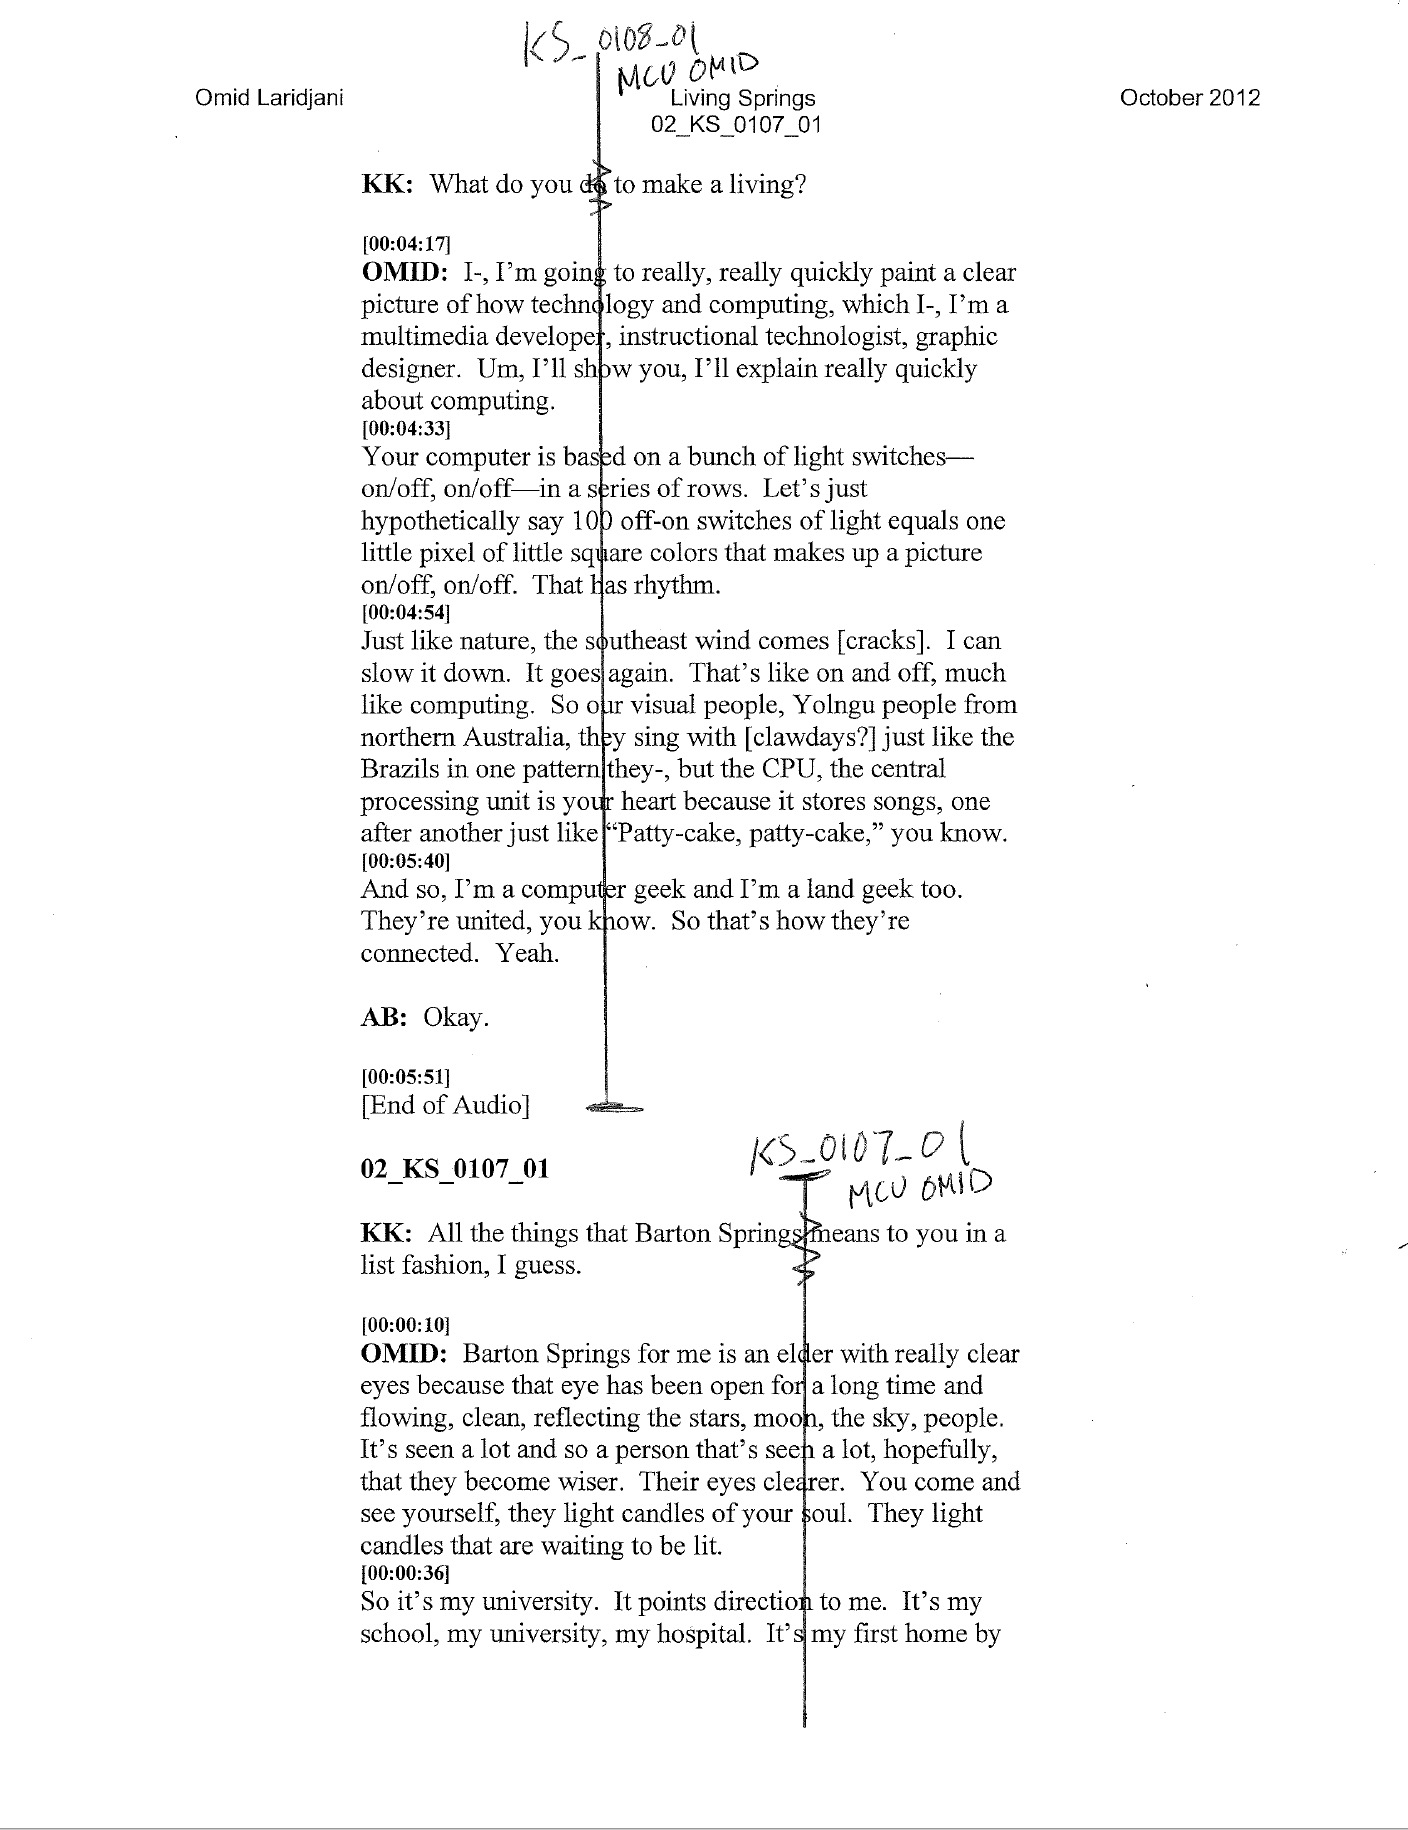
Here's what a traditional line script looks like. It's all about coverage. The squiggles mean off-camera dialogue.
|
|
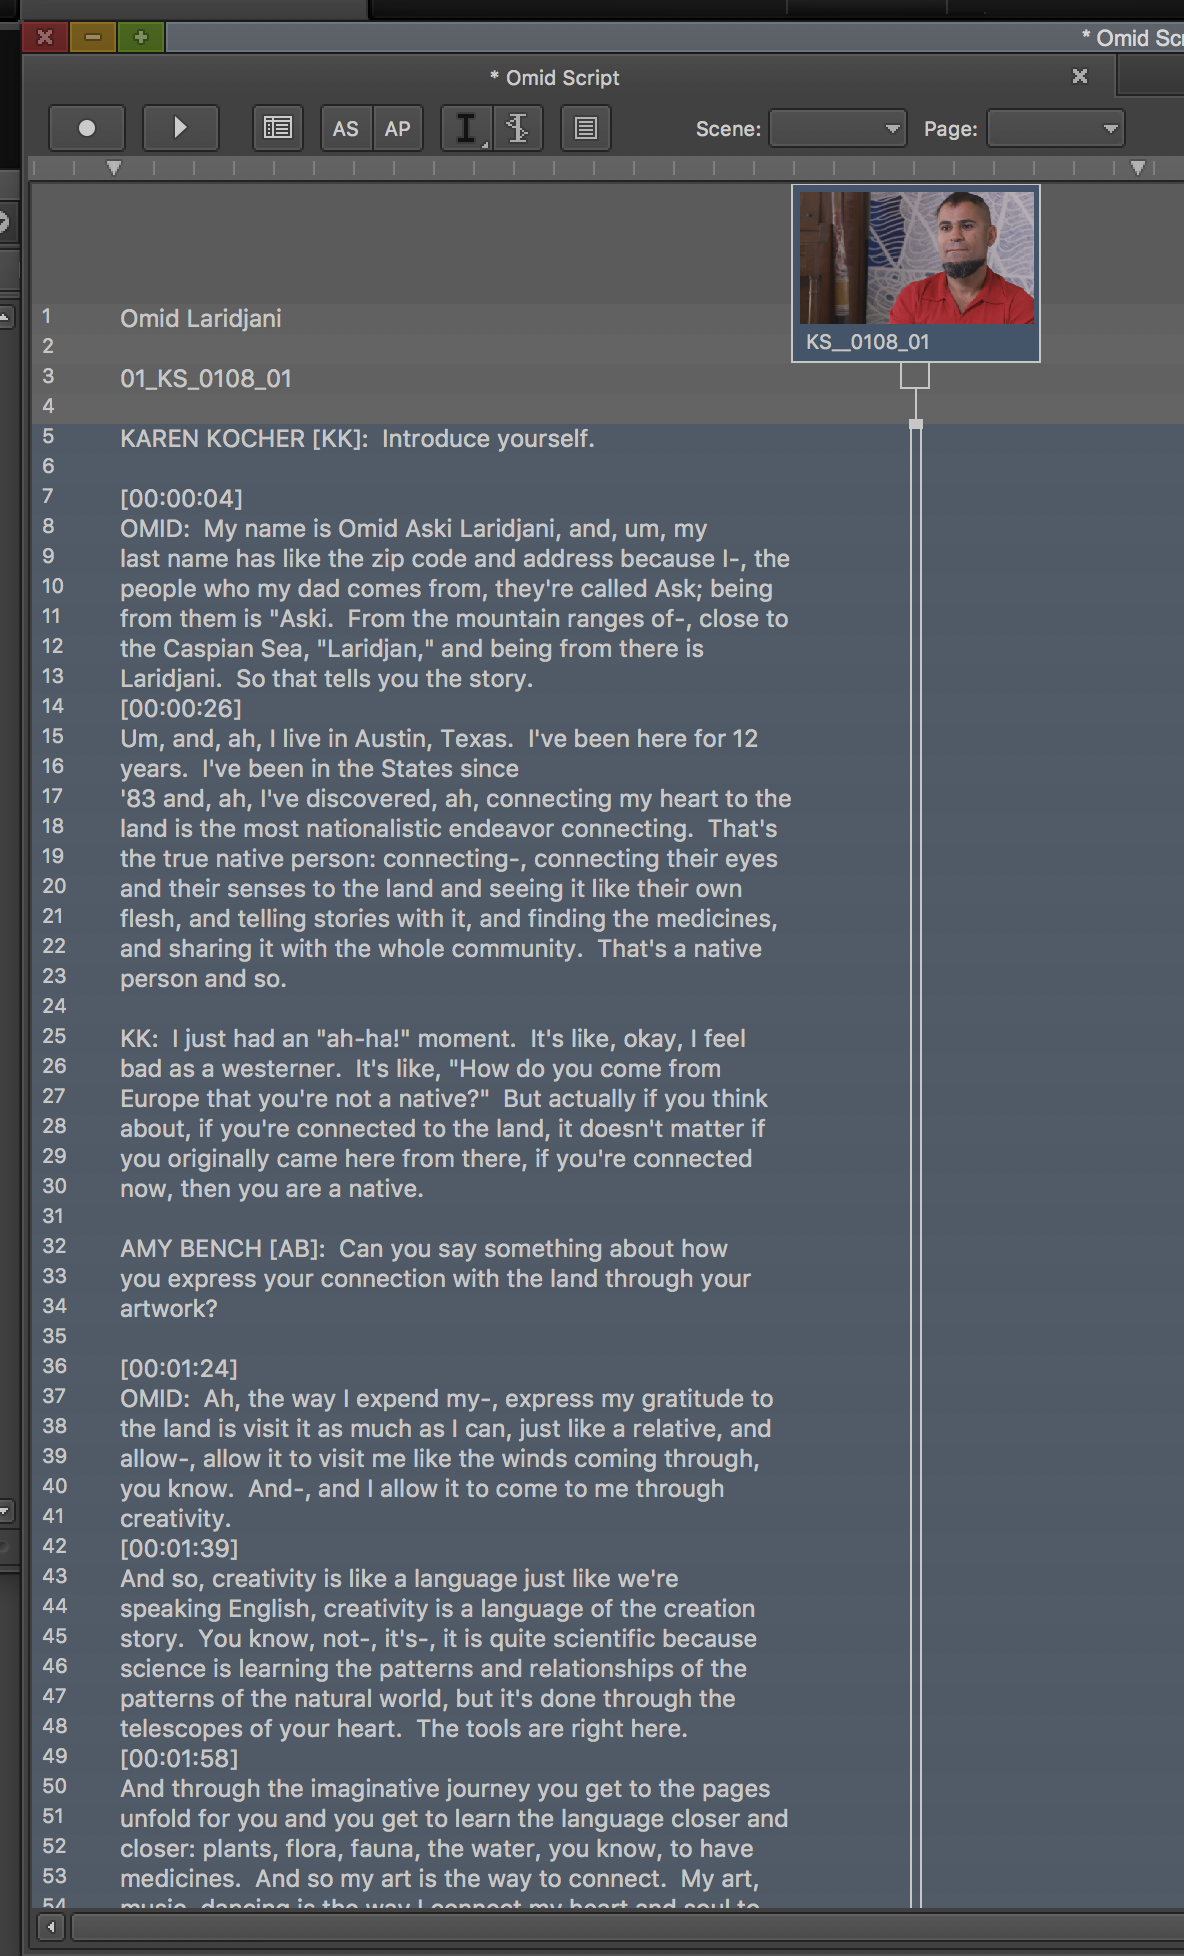
Click here...this picture shows it unclicked...if you don't click here, script sync won't work.
|
|
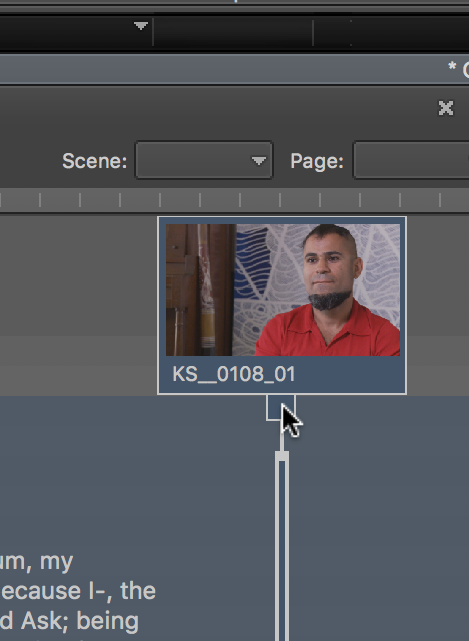
This pic shows it clicked. Notice how the verticle line is fatter and the box below is highlighted. |
|
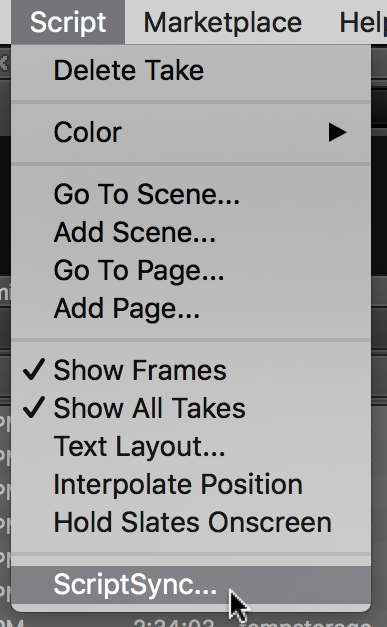
Script > ScriptSync... (you can also sync the script manually without ScriptSync, but it requires more work HERE IS THAT WIKI) |
|
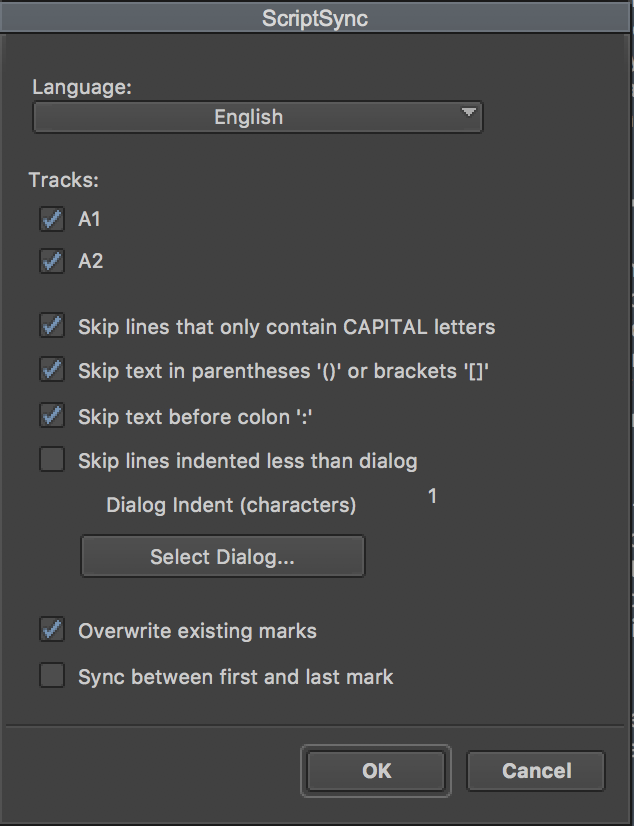
Choose these things... click ok |
|
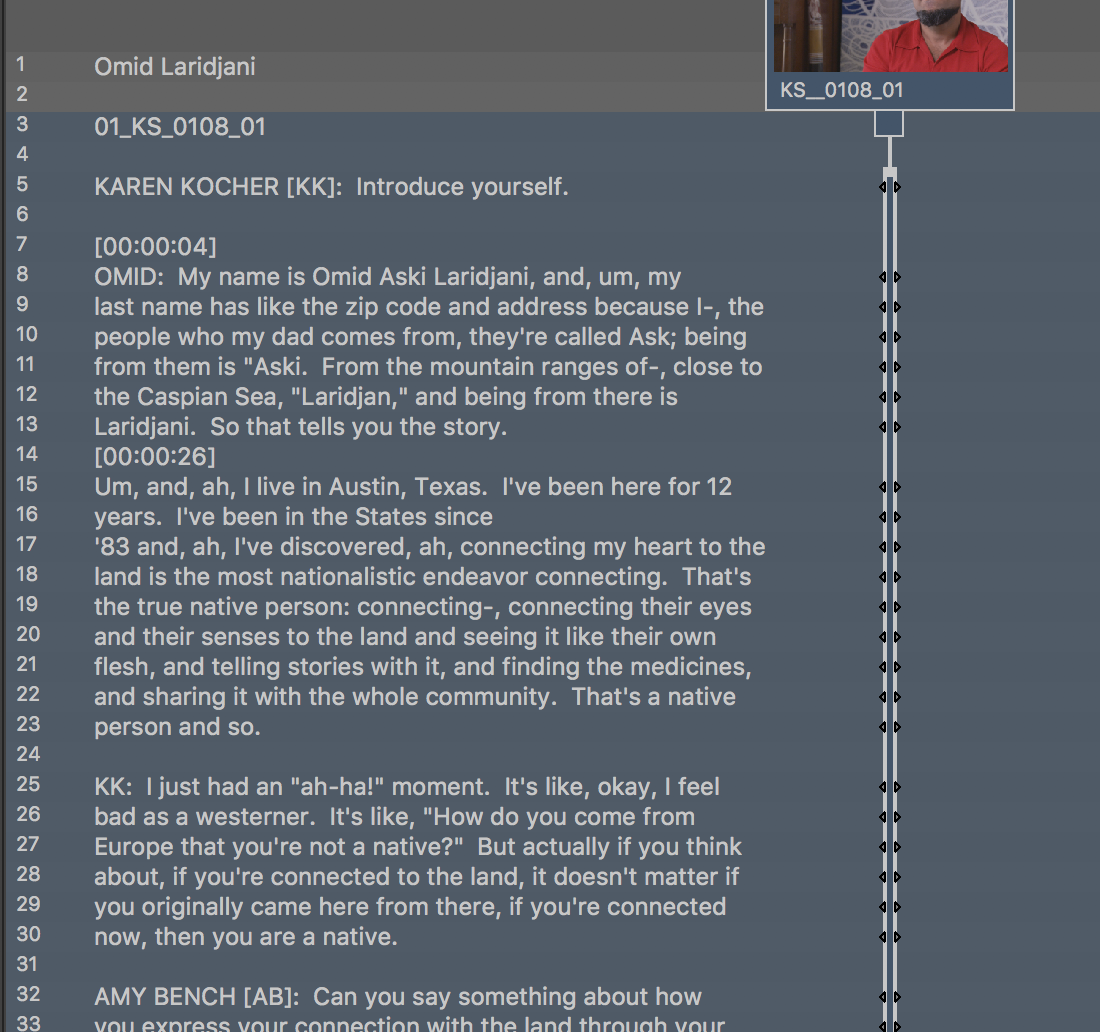
| Now your script will have marks. |
|
| If you're done and you won't need ScriptSync or PhraseFind, please deactivate them. Here's the wiki. | |
| If you want to know WHY to use script integration, click here. |


Overview
Content Tools