Page History
...
* UPDATED NOV-19-2019 * *** GREAT NEWS *** This workflow also works with reverting Adobe CC 2020 (ver 14.0) projects back to Adobe CC 2019 (ver 13.0) software. Some of the information in this wiki will look a bit different, but you'll totally figure it out - just ! Just follow the steps below! | |
So...it happened! The latest and greatest version of Adobe Creative Cloud Suite was released earlier this month (October 15th, 2018.) This new Adobe 2019 Creative Cloud Suite is chalk full of new and exciting features and improvements. For a detailed list of these updates more information can be found at the link below: https://www.adobe.com/products/premiere/features.html?mv=product&mv2=accc# In this instance, we are focusing specifically on Adobe CC 2019 Premiere Pro (ver 13.0) |
|
But....sometimes you'll need to work in other facilities...or collaborate with other professionals. If they are using an older version of the Adobe Creative Cloud Suite (like Adobe CC 2018 Premiere Pro ver 12.1.2) you may have gotten an awful error similar to this one when trying to open your project. |
|
! DON'T PANIC !
| |
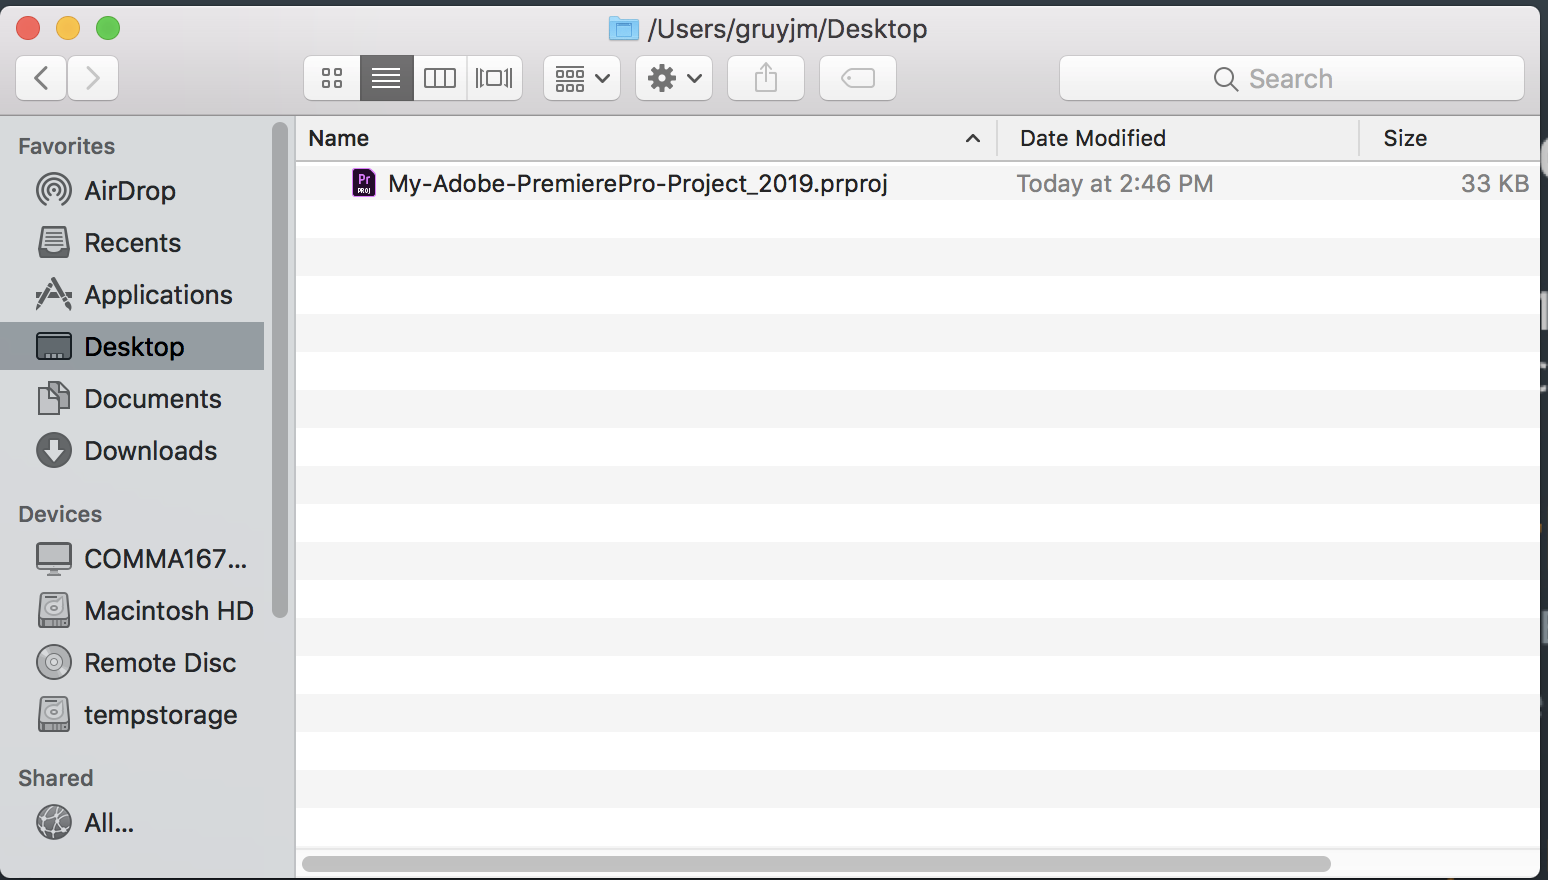
1.) Isolate your Adobe 2019 CC Premiere Pro (ver 13.0) project file. In this instance, I have saved a copy to my Desktop. Note I've given the name a description indicating the software version. Here the file is named My-Adobe-PremierePro-Project_2019 |
|
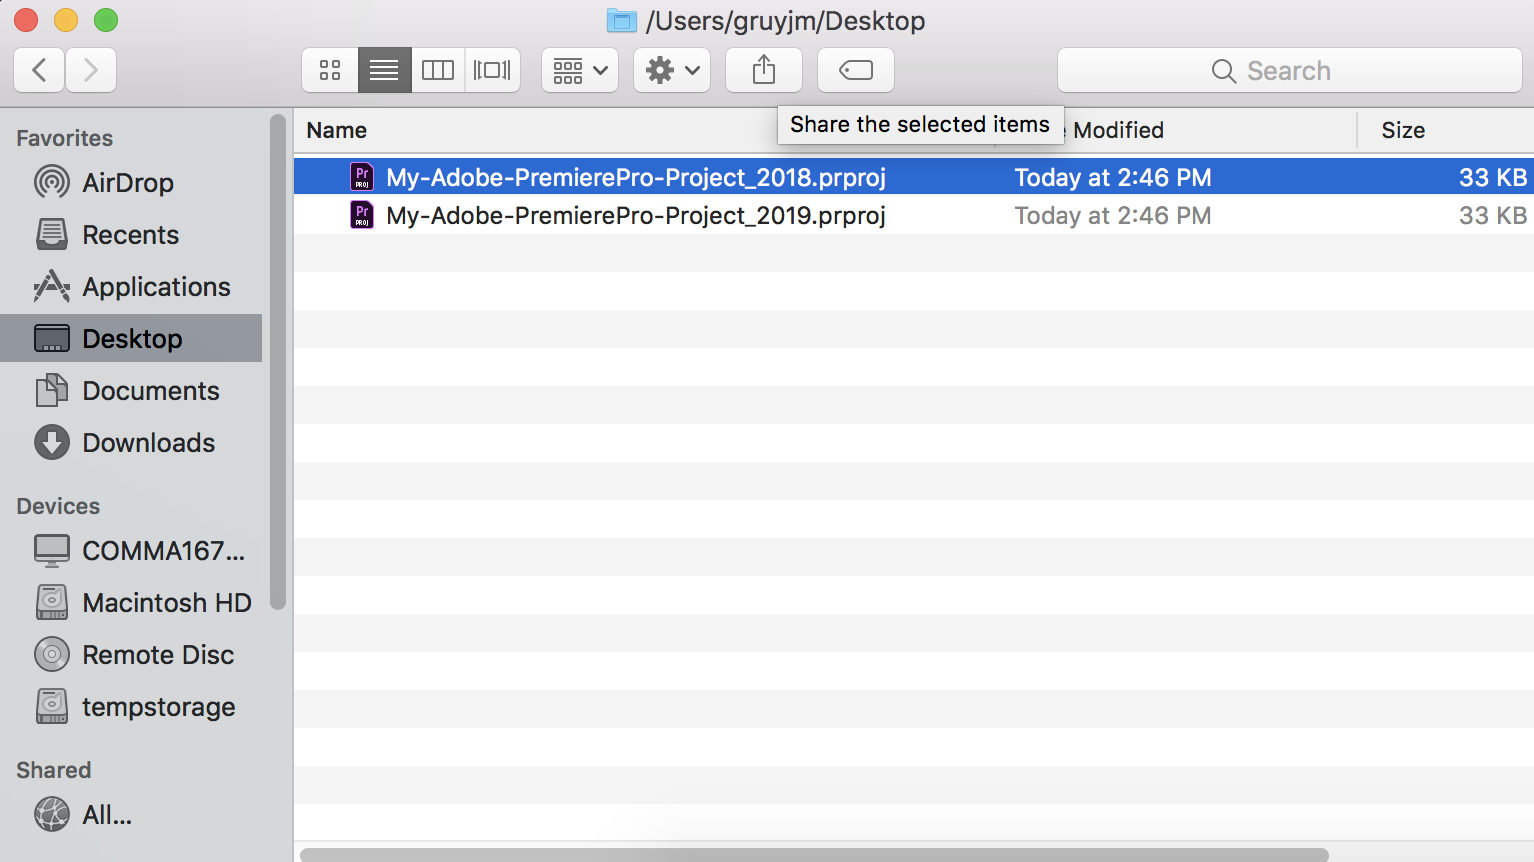
| 2.) We should make another copy of this file...just to be on the safe side. The easiest way to do this is simply right-click on the file and select Duplicate. |
|
3.) Now I have two copies of my Adobe 2019 CC Premiere Pro project file on my Desktop. To avoid confusion, I'll rename one of them to indicate I intend to use this version with an older version of Adobe Creative Cloud...specifically Adobe 2018 CC Premiere Pro (ver 12.1.2) Here I've named one of them My-Adobe-PremierePro-Project_2018 | |
4.) Navigate to the Applications folder located on the Macintosh HD. Scrolling alphabetically through the list, you will find a software called TextWrangler. Double-click the TextWrangler icon to launch the application. If you are working on your own computer, Textwrangler is Freeware and can be downloaded directly from the Developer. The Developer has also incorporated Textwrangler features into their Lite Version of BBEdit. More information can be found on their website. |
|
| If you receive an error message like this one, simply click OK to ignore the error message. |
|
5.) Once the application has loaded, we need to open a pathway to the file. Navigate to the application tool bar in the top of the screen and choose File → Open |
|
6.) In the pop-up window, navigate to the location where you saved/duplicated your Adobe Premiere Pro Project files and click Open. In this instance, I have saved my files on my Desktop so I've selected Desktop in the pop-up window and clicked Open in the pop-up window. |  |
7.) TextWrangler loads the path or folder you opened. I can now see a list of files to preview in the left-hand column of the TextWrangler application Window. I can click on any file in that folder or path to preview its code. Let's select the duplicate project file we renamed to My-Adobe-PremierePro-Project_2018 in the left-hand column of the TextWrangler application window. Look closely at the Header information on the first few lines of the file in the right-hand column of the TextWrangler application window. This information dictates what the file is, where it comes from, and how it should be opened. |
|
More specifically, look at Line 4 This is where Adobe is telling us the project was saved in a newer version. In this case, the version is "36" which indicates the project file is only accessible with Adobe CC 2019 Premiere Pro (ver 13.0) and above. |
|
8.) Simply use your mouse to select the "36" with the cursor and change the number to "35" "35" indicates the project file is accessible with Adobe CC 2018 Premiere Pro (ver 12.1.2) and above. |
|
9.) DON'T FORGET TO SAVE THE CHANGE YOU JUST MADE! Navigate to the application tool bar in the top of the screen and choose File → Save. |
|
10.) VIOLA! Your duplicated, edited, hacked Adobe Premiere project file will now open normally in Adobe CC 2018 Premiere Pro (ver 12.1.2.) Thanks, Adobe! . xoxox . Let either the Proctor or Technical Staff know if you're having difficulty with any of these steps. |
|


Overview
Content Tools