Page History
...
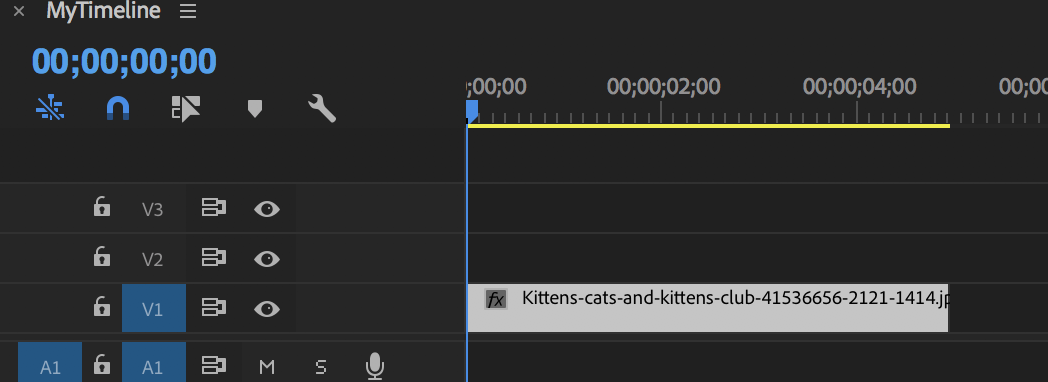
Start by adding image or footage to the timeline. | |
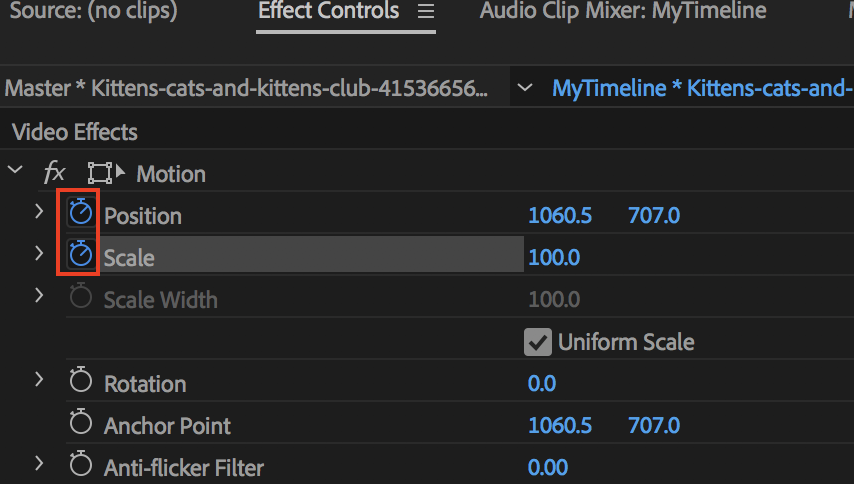
Next, with With the clip selected, navigate to the very FIRST frame of the clip. Click This will be where the FIRST keyframe is placed. In the effects controls window, click the stopwatch icon next to the POSITION and SCALE parameters. You just added your first keyframe for the scale and position of the clip. | |
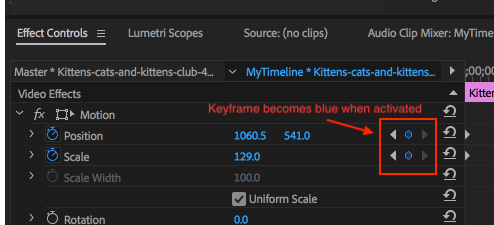
After you click and enable the stopwatch for a parameter. Premiere Pro automatically adds keyframes when a parameter is adjusted. So, all we have to do now is navigate to the LAST frame of the clip and adjust our scale and position parameters. As soon as you adjust the parameter, a new keyframe is automatically added at the current time. | |
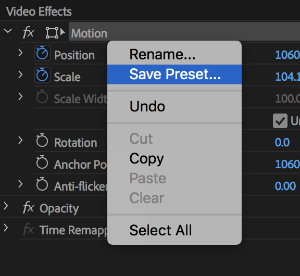
For bonus points, save this Ken Burns animation as a preset to use quickly later. In the “Effect Controls” window, right click on “Motion”. Click “Save Preset.” Make sure that you choose “Scale” as the type of preset. This will rove the animation for the entire duration of the clip. Name the preset something relative, like “Ken Burns effect” or “scale up 100-120%. |
|
Now, whenever you need to achieve the Ken Burns effect again, just look in your presets folder in your effects window. To use it, just drag onto footage or image on your timeline. |
|


Overview
Content Tools