Page History
...
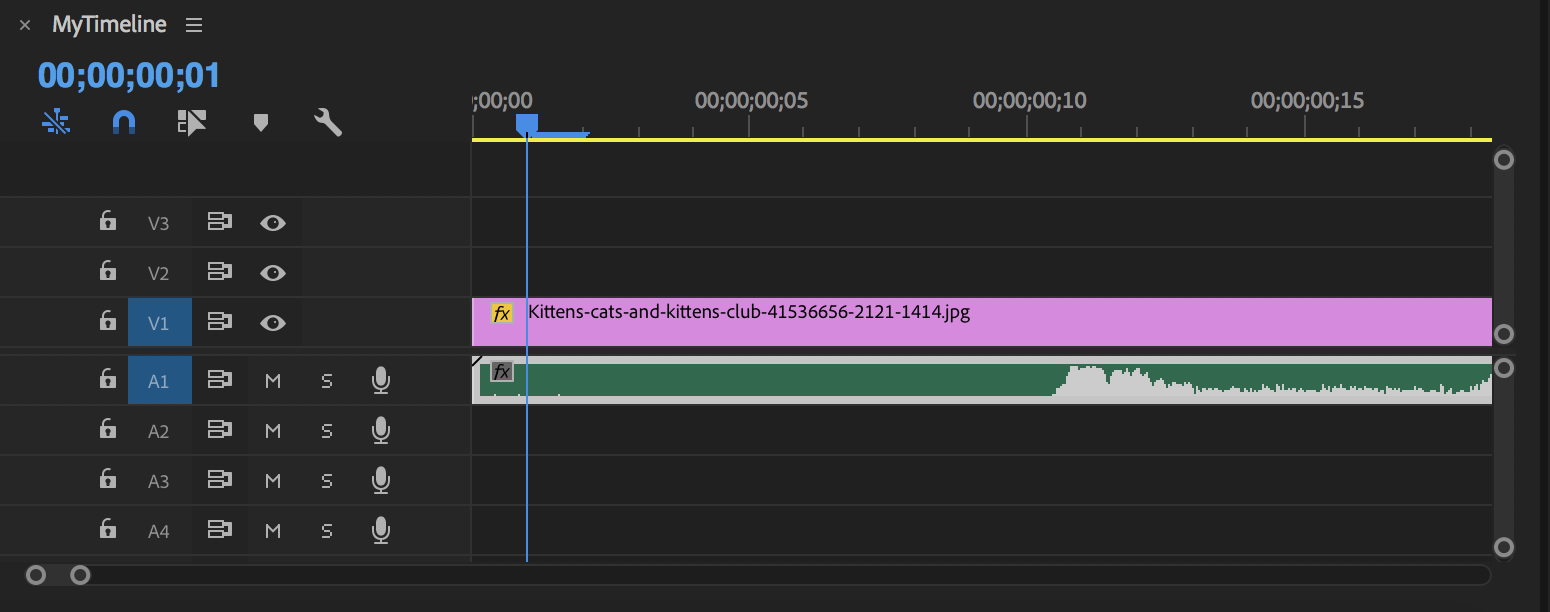
Use the Selection Tool (v) to select track in timeline *If you need to delete the track and replace it, just select the track and press delete on your keyboard |
|
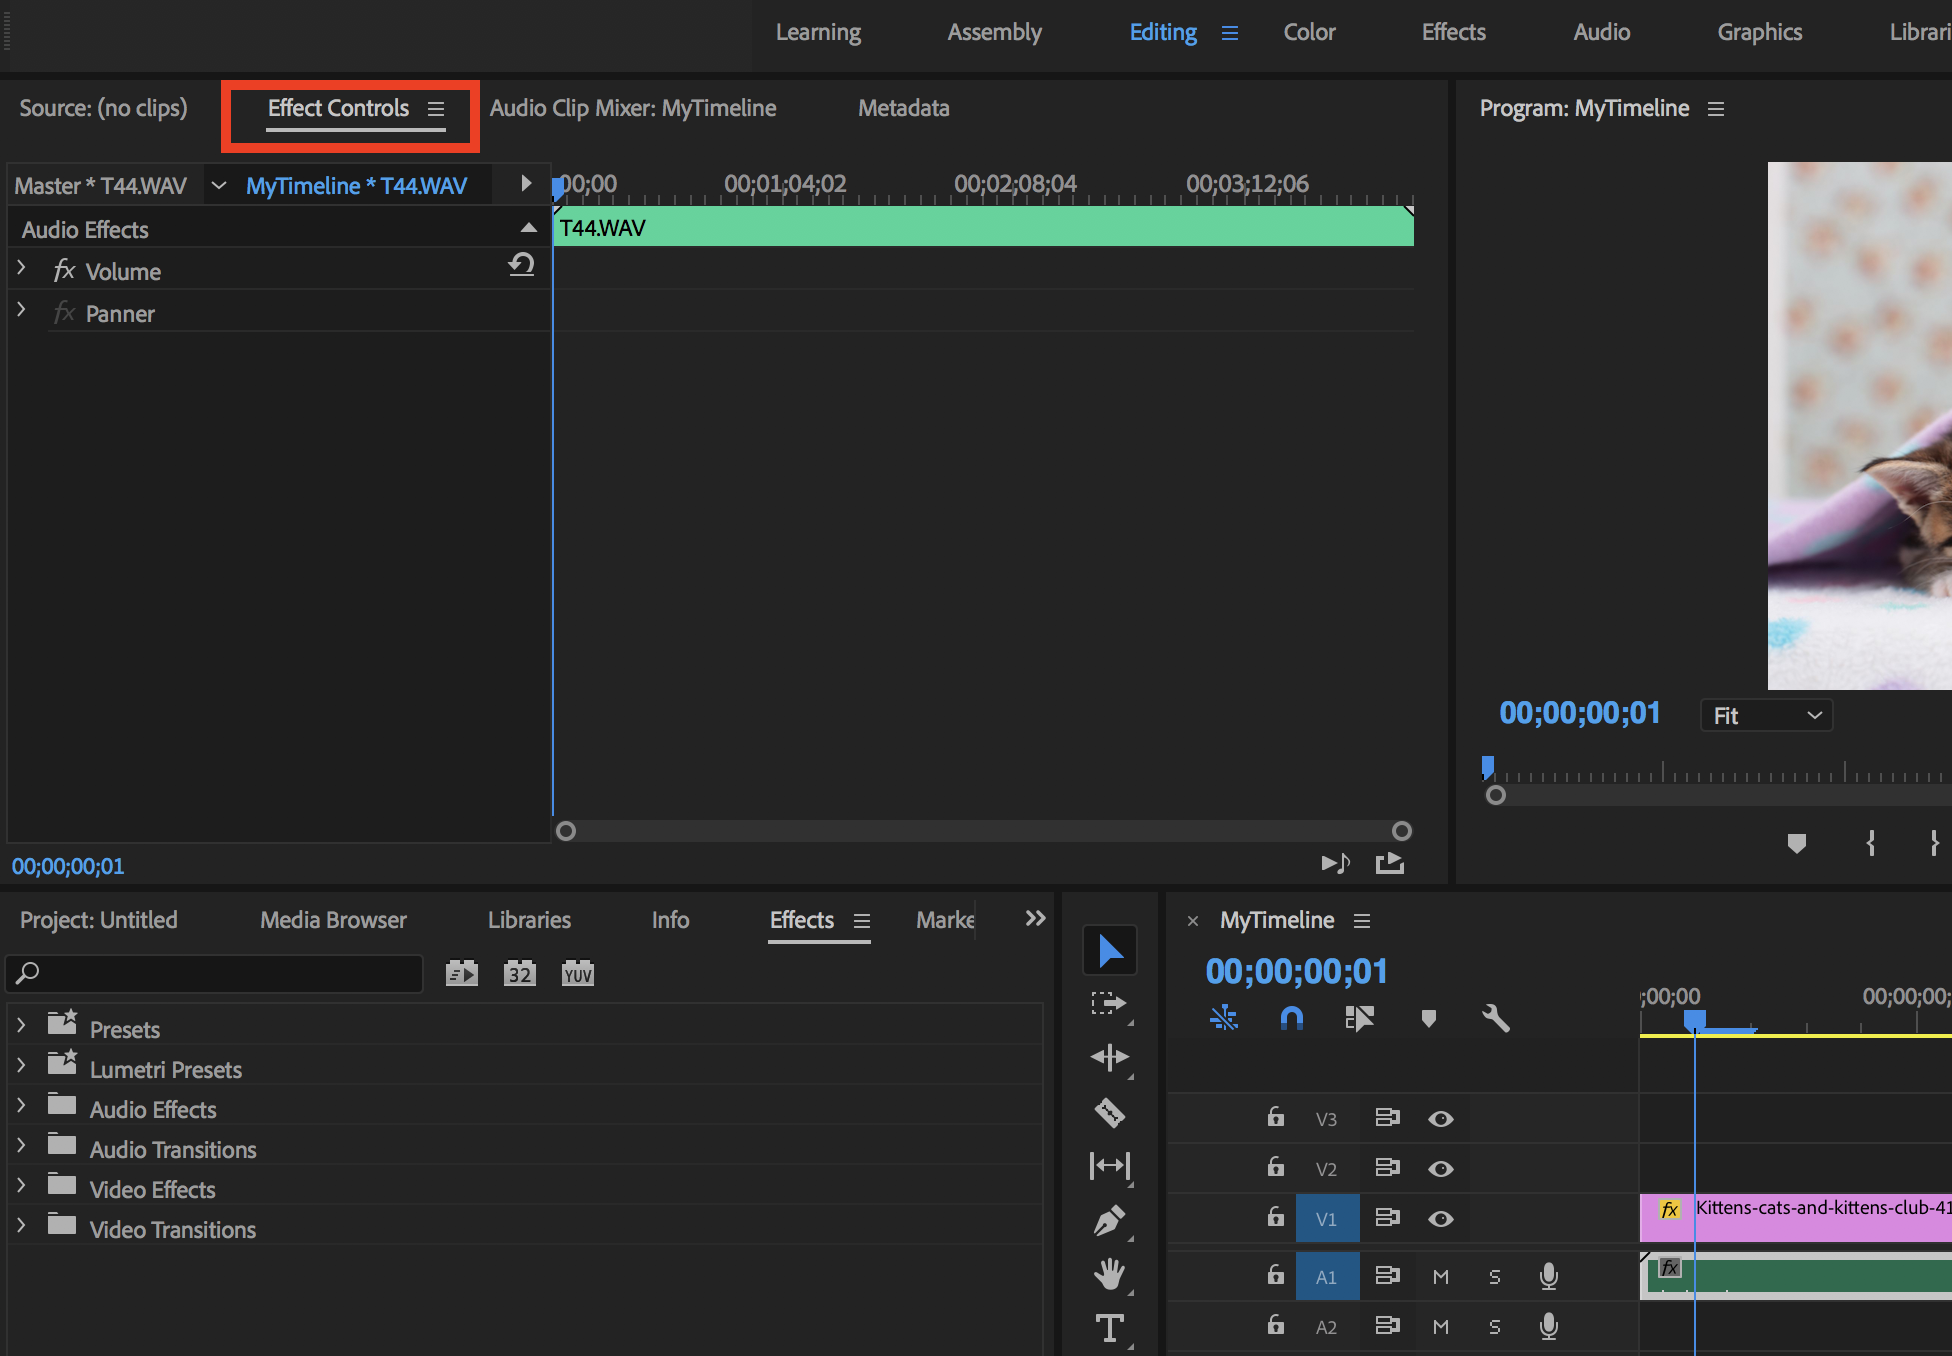
Go to the Effect Controls tab. If you don't see it, click on "Essentials" in the top right Workspaces drop down menu. Effect Controls will show up in the top right window. |
|
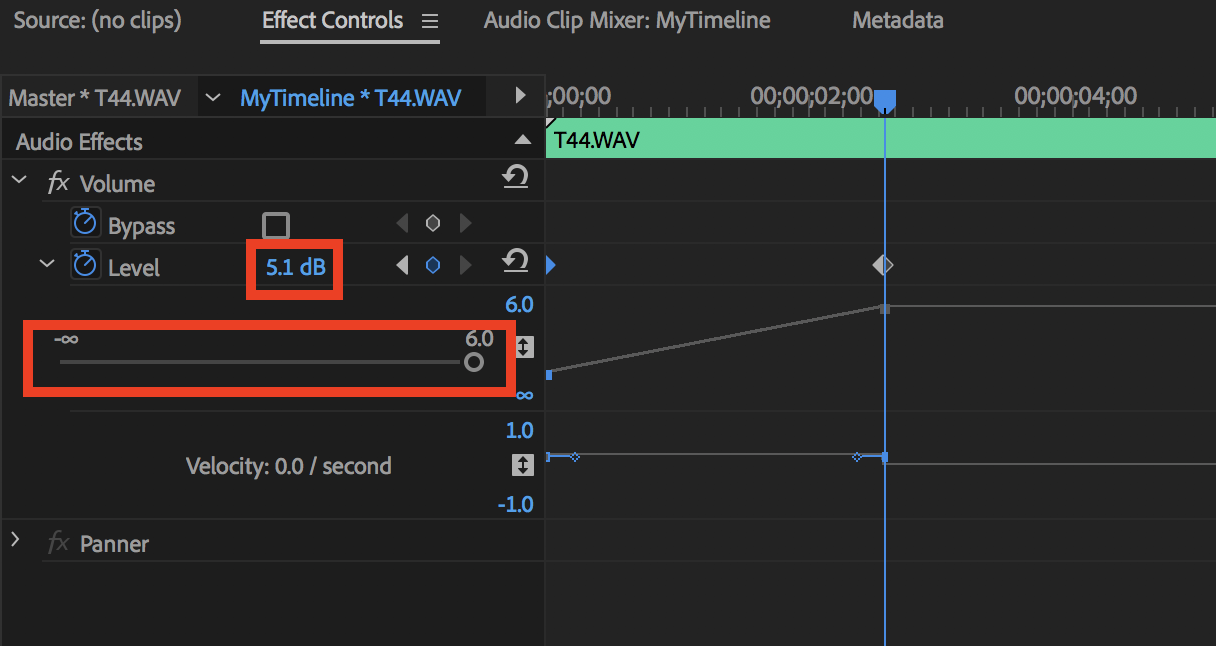
Click on the Level drop down to change volume |
|
You can control the volume over time in a clip. In other words, you can have the volume increase and decrease as the clip plays. Do any of the following:
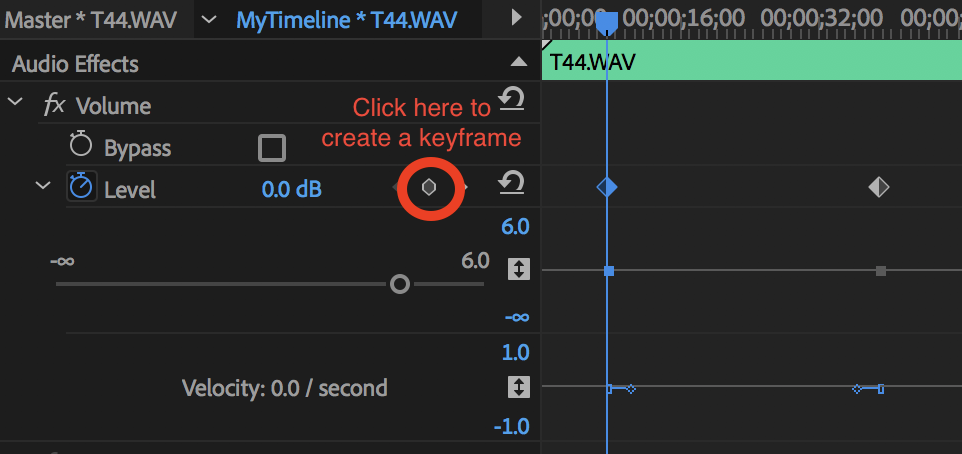
A keyframe is automatically created at the beginning of the clip’s timeline in the Effect Controls panel. |
|
To use keyframes to fade the sound in, create two keyframes: one for the start and one for the peak volume you want the fade to reach to. Then, in the timeline, select the first data value with your cursor and move it down. To change the timing, you can grab the keyframe above and move left or right on the timeline. |
|
To change the volume for the entire track globally, make sure the stopwatch to the left of Level is deselected (not blue). Then alter the value. Beware if you have already created keyframes, selecting the stopwatch would erase all this previous information |
|
To change the pan, in the Effect Controls tab, click the drop down arrow to the left of Panner. Here you can alter the values and add keyframes similarly to the Levels tab. |
|


...
Overview
Content Tools