Page History
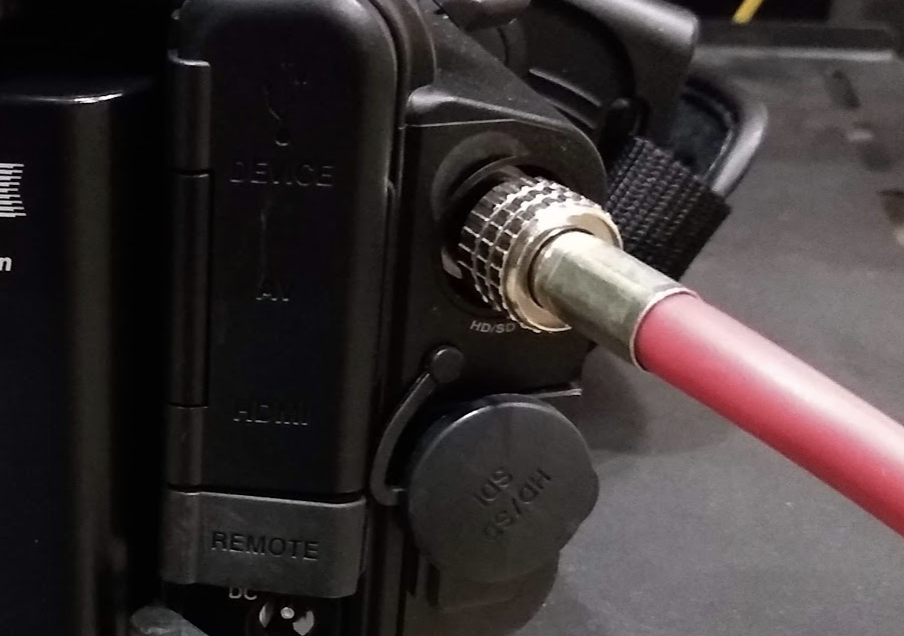
| First you need a camera that has SDI Output |
|
Plug one end into the camera and the other end of the SDI to the CER Tie (Control Room Tie Line) for the studio you are in 4B is in this example |
|
Go into the Control Room on CMB4 behind the Proctor Desk and look for the Lab Tie line in our case we are using Lab B Tie 1 patch out of that and into |  |
4E JVC Remote Cam Input This will now be the Remote Cam input on the switcher in 4E |  |
Next we need to setup the JVC camera Click on the Menu/Thumb button |
|
On the LCD Main Menu will appear Go to A/V Set |
|
| Choose Video Set |
|
Choose Display on TV - Make sure it's off so you don't see the overlays on screen |
|
| Go back to the Main Menu and go to System |
|
Choose the Network and make sure that Network is on and HDMI is Off Needs to look just like this frame grab |
|
Go back to Main Menu Go to A/V Set |
|
| Choose Video Set |
|
| Nest choose HDMI / SDI Out make sure it is on SDI |
|
| Go back to the Main Menu and go to System |
|
Choose the Network and make sure that Network is on and HDMI is Off Needs to look just like this frame grab Click Menu to exit |
|
Route the 4B Salvo Next On the Router Press Salvo |
|
Choose RTF/4B |
|
| Then hit the Back Button to get to more routable buttons |
|
| Press Src/Dest |
|
Choose TEST/SRC DA04 Wrong route here we have Test routed to DA04 and we need remote cam so we need to fix it |
|
| Click on the blank button to get to the sources to route to DA04 |
|
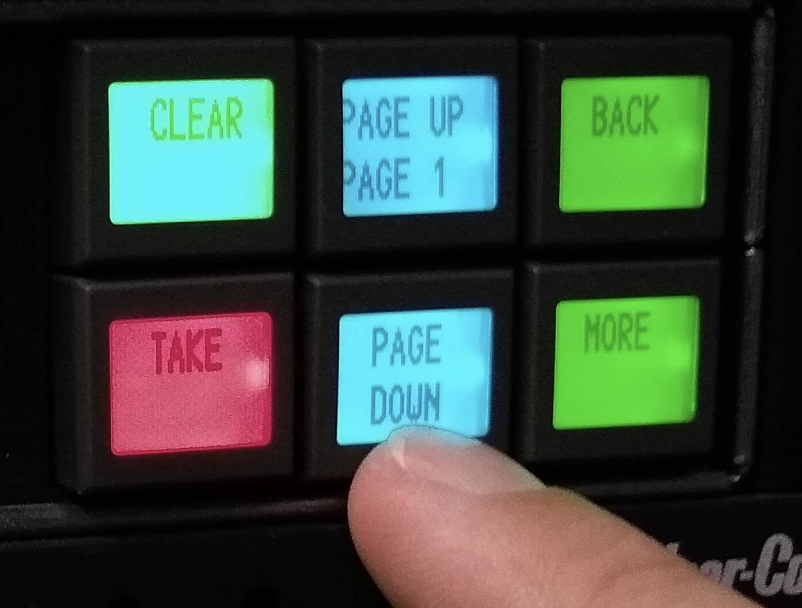
| Click Page Down till you find the REMCAM choice as a souce |
|
| Press REMCAM |
|
| Press Take |
|
Now we have REMCAM routed to SRC DA04 |
|


Overview
Content Tools