Page History
...
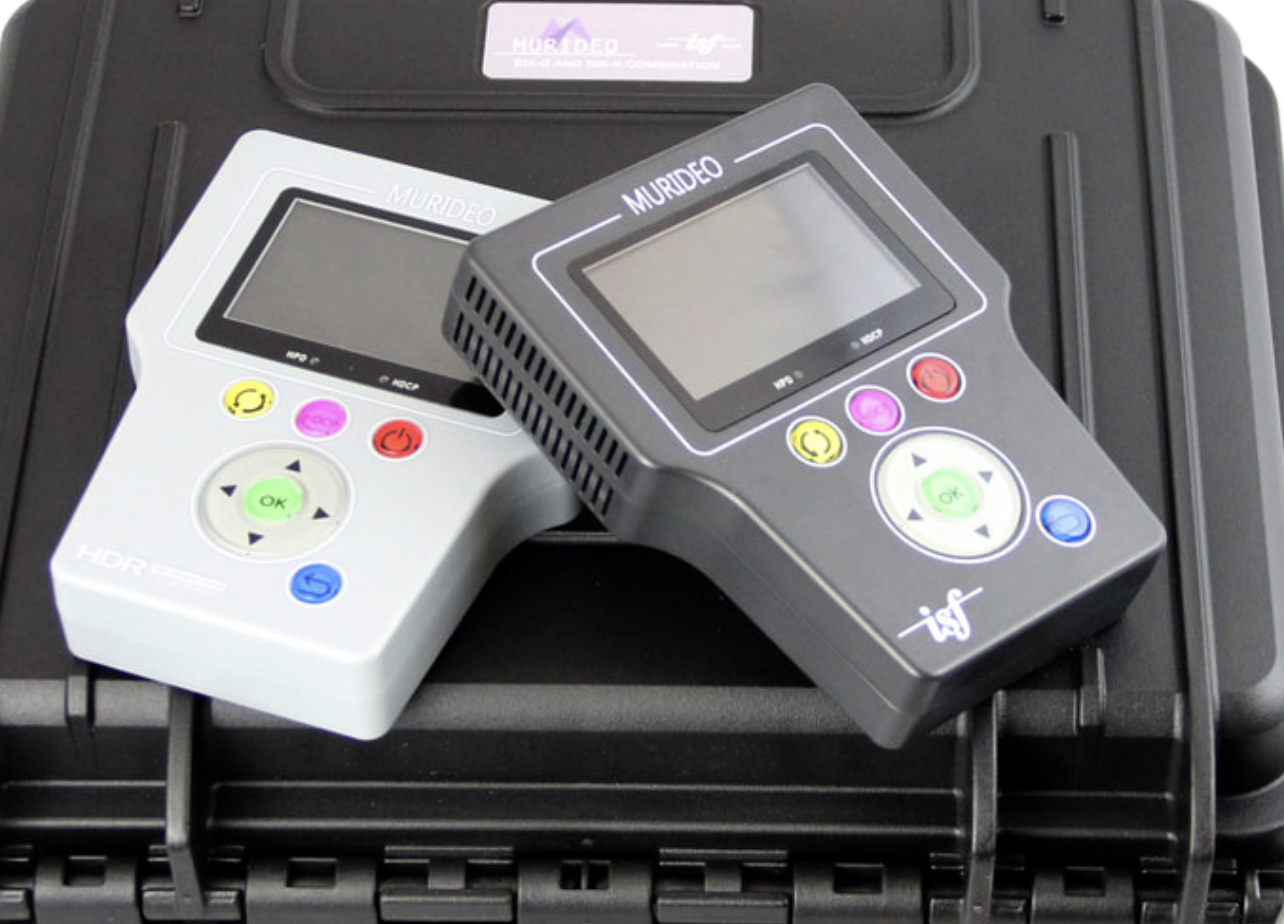
You will need the Dell Laptop with the Calman Software installed and the Klien Colorimeter and the Murido signal generator | This is stored in a case in the back of the helpdesk in CMA 3.104 | |
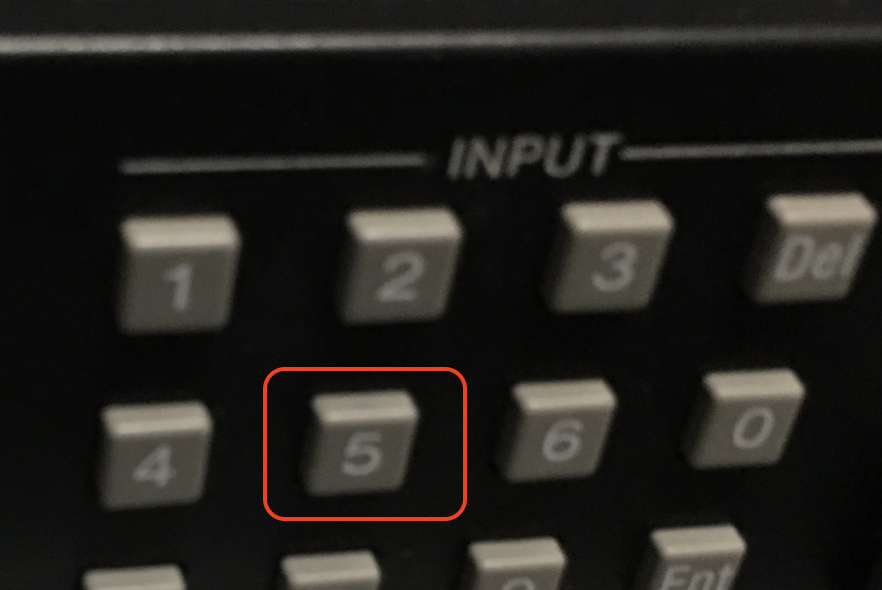
Turn on Monitor so it warms up Press #5 on the Sony to set it to HDMI | ||
| On the Klien Camera remove the lens cap | ||
and put on the Lens Hood | ||
Tripod setup to put the lens plate on Turn knobs to tighten and loosen Press the button on the side of the tripod to remove the mounting plate to attach to the colorimeter. | ||
Put the Klien on a tripod | ||
| Another example of the camera pressed up against the monitor | ||
Log into laptop with commpower password | .\commpower to local account on laptop | |
Connect Murido signal generator via USB to laptop. Make sure the Murido drivers are installed | ||
Klein camera should be plugged into the computer and the Murido Signal Generator connected via USB - Use USB to Serial Port 4 on Laptop for the Murido Signal Generator | ||
Plug in the HDMI out of the Murido Signal Generator output to the TV you want to calibrate | ||
Now you should see the images from the murido on the TV | ||
Turn off the lights in the room put in the CC environment | ||
Open Calman software on the laptop using the desktop shortcut | ||
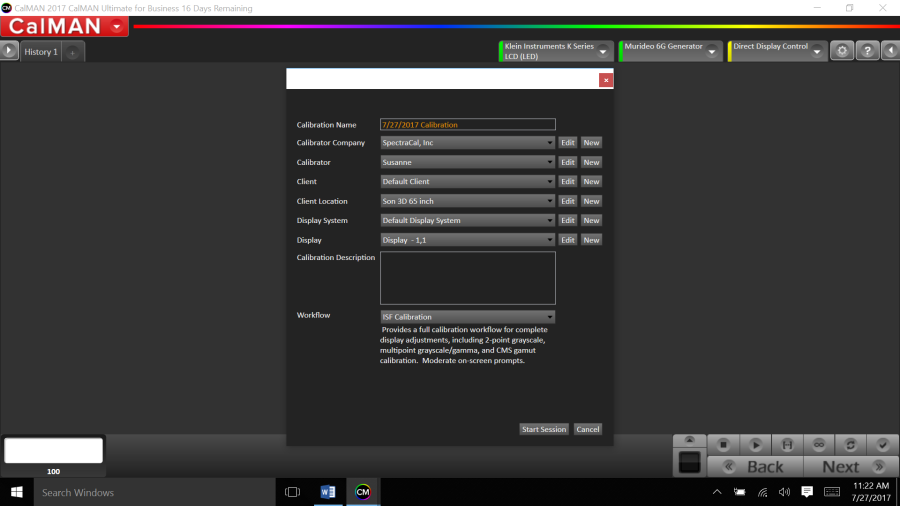
Enter in the details and click Start Session (Sony TriMaster ex:) Display Model is PVMX-550 Choose Start Session | ||
Remember under Workflow choose | ||
Hit Next Here | ||
Click Next Again | ||
Pick the Resolution 3840 x 2160 24P Or if you are doing the Sony TriMaster choose 4096 x 2160 but it should automatically be set from a step before. ?????? | ||
Step 1 pick the port and put a checkbox on the kind of instrument you are using Klein > Search May have to choose com ports to find the right one May already be set to this usually the software auto-detects | ||
On step 1 make sure you choose OLED or LED or Plasma or Projector etc Suite H Sony choose OLED for example | ||
Tab one find meter Add the Klien Meter find the Select it from the checklist | ||
Also pick the target display – Choose LCD (LED) or OLED This was set automatically when we turned on the computer BTW! | ||
Find your source generator next tab source will depend on how it affects the light output so use a light meter to see if the light is diminished by going to 100% Jeremy always chooses 18% FYI | ||
Windows Size This is where you choose the size of the image that the Murido will be displaying on the screen while calibrating. Recommended to use 18% | ||
WE Don't usually do this step but may work with newer TVs If you want to connect the computer to the TV you can hook up the Ethernet or Serial Port and click "Next" | ||
In Calman Software choose Murido 6G Genrator tab Resolution 4096 x 2160 Choose Color Format to be YC444 Leave HDR off Uncheck BT2020 | ||
| Click on Next | ||
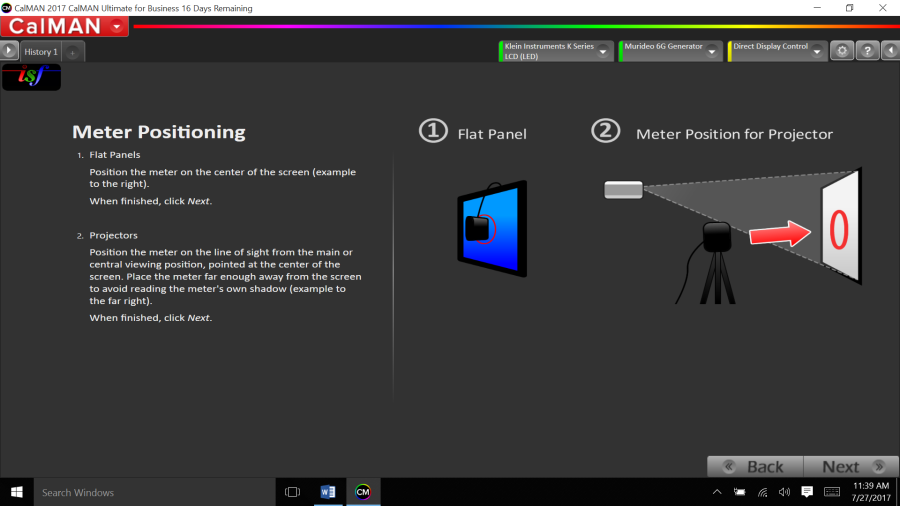
Setup the meter position | ||
Click on the little "Gear" mark in the Upper Right hand corner | Pick the Resolution 3840 x 2160 24P Or if you are doing the Sony TriMaster choose 4096 x 2160 but it should automatically be set from a step before | |
Colorspace target D65HDBT 709 | ||
Next > Next >Pre-Calibration Settings. (may not need to do this) Replace this with PC picture 2 ?? | ||
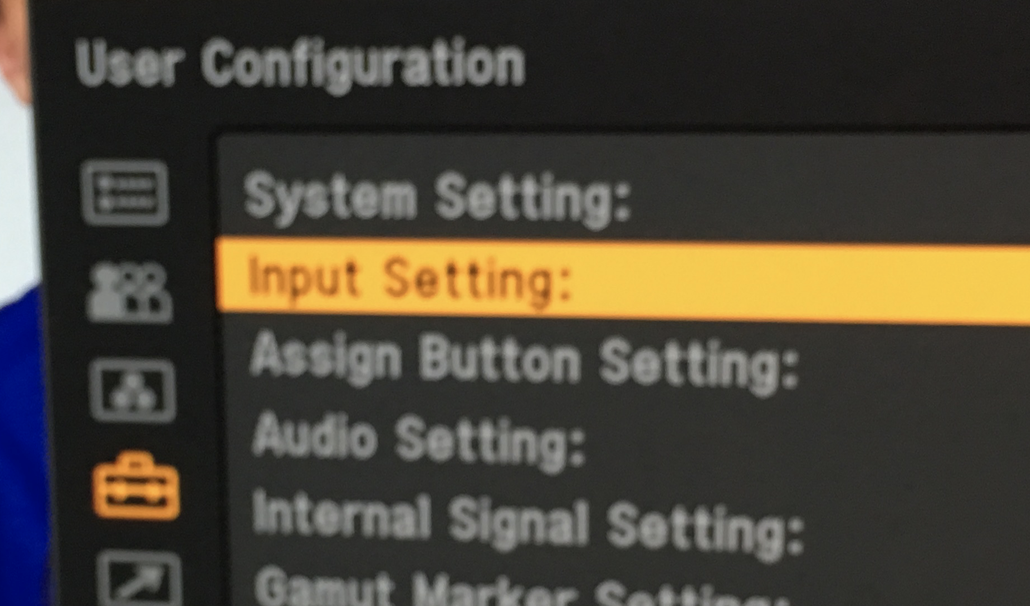
On the Sony TV in Suite press Menu and put in the following | ||
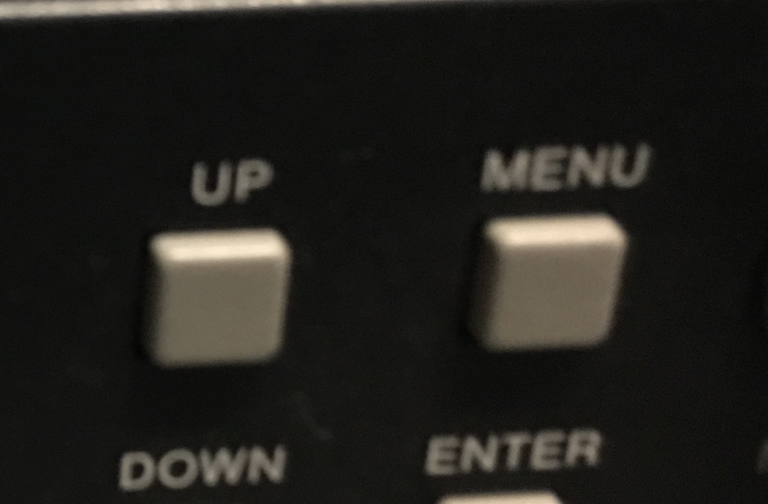
Use the Up and Down Buttons to change Menus | ||
Password is on Stache | ||
| EQTF is Gamma | ||
| Close up of Gamma setting | ||
Right click on HISTORY 1 (optional)
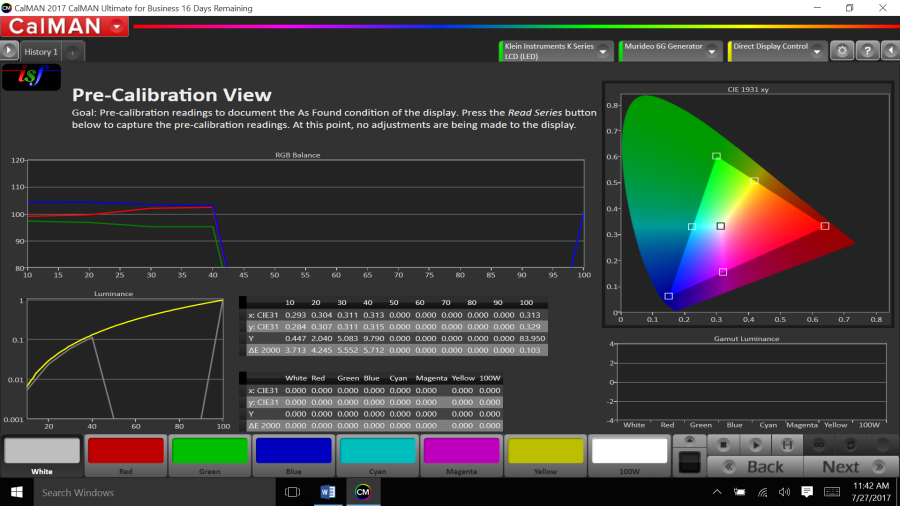
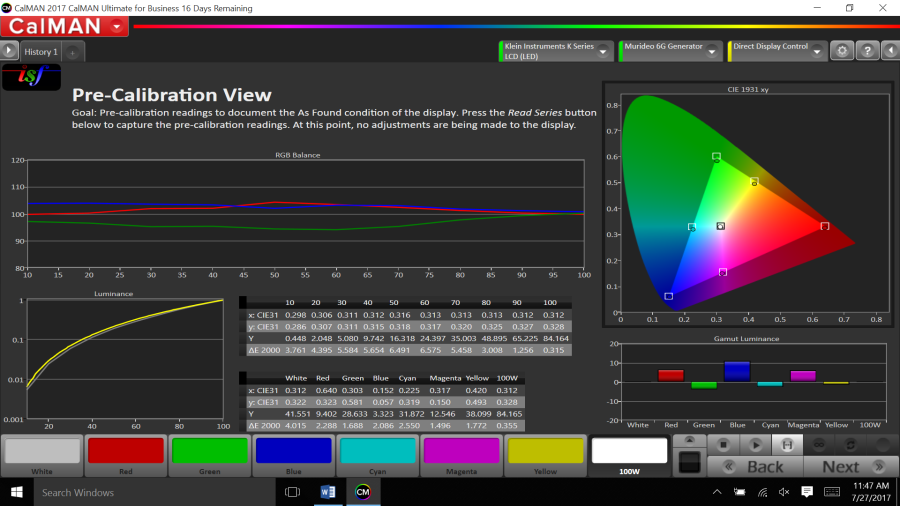
Click on Read Series "Goal Posts". button in the lower right of the screen Might wanna do this 3 times to make sure you have a good reading | ||
Pre Calibration View to document the as found condition of the display | ||
Here is the Sony Pre Cal Example | ||
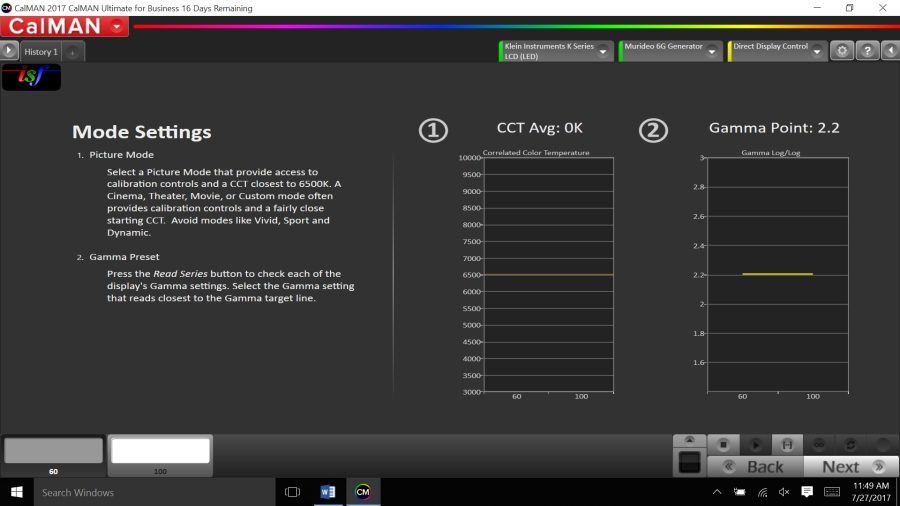
Mode Settings | ||
To get the mode to be read press>Gamma Preset – Press Read Series or "Goal Post" | ||
Now go into each of the Gamma Settings on the Sony or whatever TV to test each of them (2.2, 2.4. 2.6 CRT etc.. .) to find the right one that reads closest to the target line 6500. | ||
Rename the history tab to put in the Gamma Setting Error on the side of darker then over shooting 2.4 | ||
Here is what the 2 point Gamma reading at should look like | ||
To set the "white point BLOCK" and color space click on the "Infinity button" and while it is running toggle through all the color temp settings that the TV has | ||
SONY PVMX550 and the LG OLED55C7P doesn't seem to have this either
| ||
Click on Read Series "Goal Posts" Shows you where the chromacity diagram or CIE Chart Shows what the TV is displaying in reference to the white boxes. White Boxes = Optimum Color or Legal Range If the points of color are outside the boxes the colors need to be adjusted. | ||
Notice here the dot is way out of the Green White box so the goal is to get the dot in the white box to set the Green Correctly | ||
| ||
Adjust Luminance and adjust the Backlight setting | ||
adjust the Backlight setting - Sony TriMaster doesn't have this | ||
30-40 for a dark room | ||
The max reading is 24.4 | ||
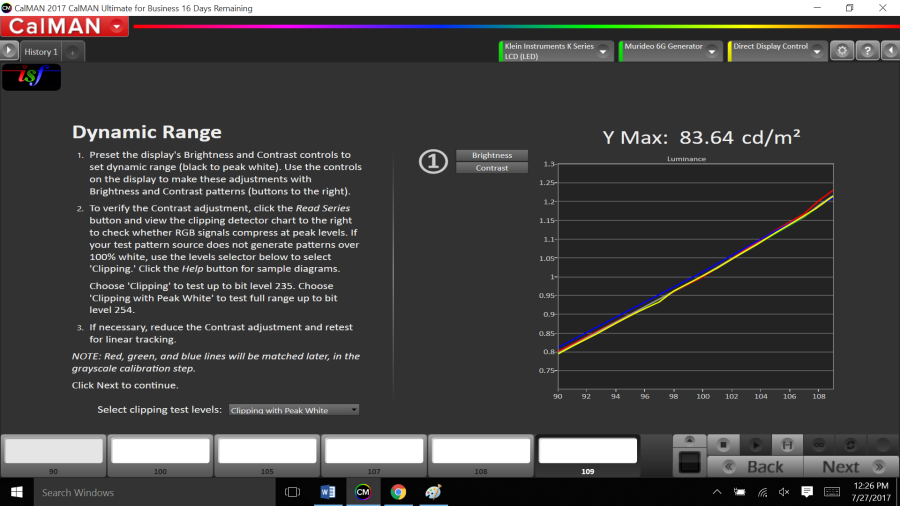
Next click on the Dynamic Range | ||
This is the result of the Read | ||
Not Bad but can adjust | ||
Press Brightness and will get the controls to adjust for the Black PLUGE test pattern – You want to barely see 16 and 17 but should not see any squares below 16 those should be invisible. | ||
| On some TV's you can get to the brightness controls by pressing "Picture" | ||
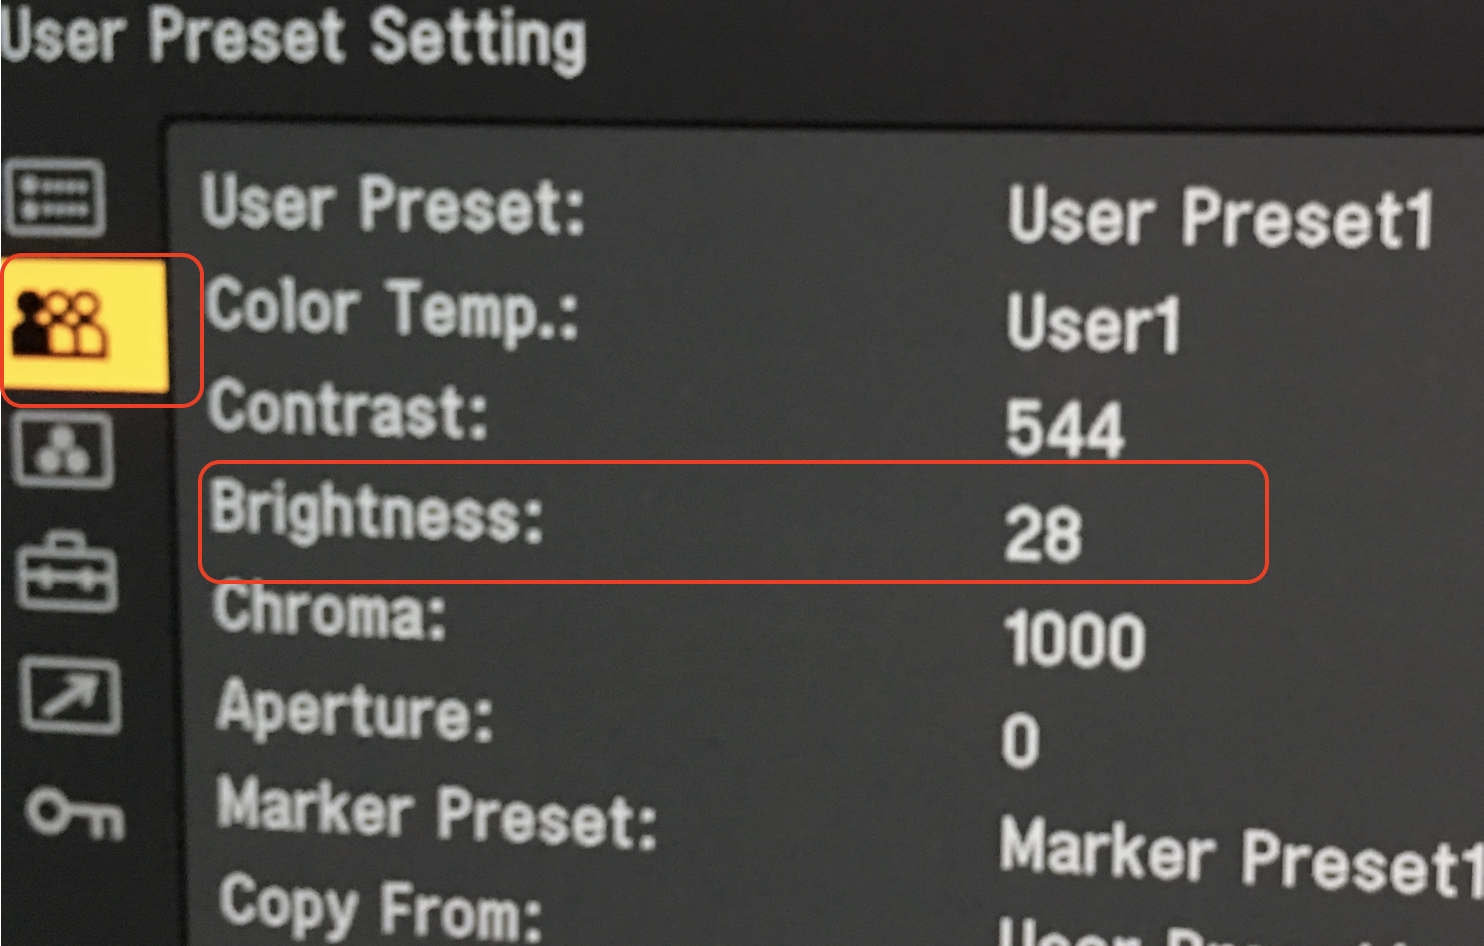
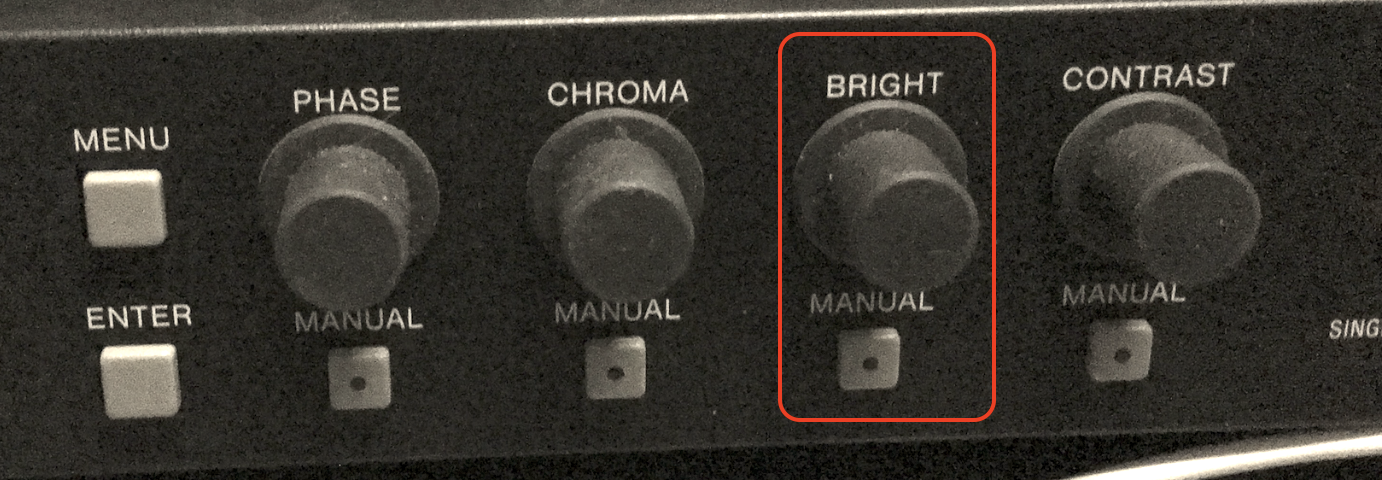
Sony Tri-Master use the controls on the desk external controller Press Menu>Up and Down button till | ||
Press Menu>Up and Down button till you get to the icon that looks like people then choose Brightness | ||
Adjust the Bright Knob to adjust the brightness so you barely see 16 and 17 but should not see any squares below 16 those should be invisible. | ||
| Press Contrast Menu in Calman Software - | ||
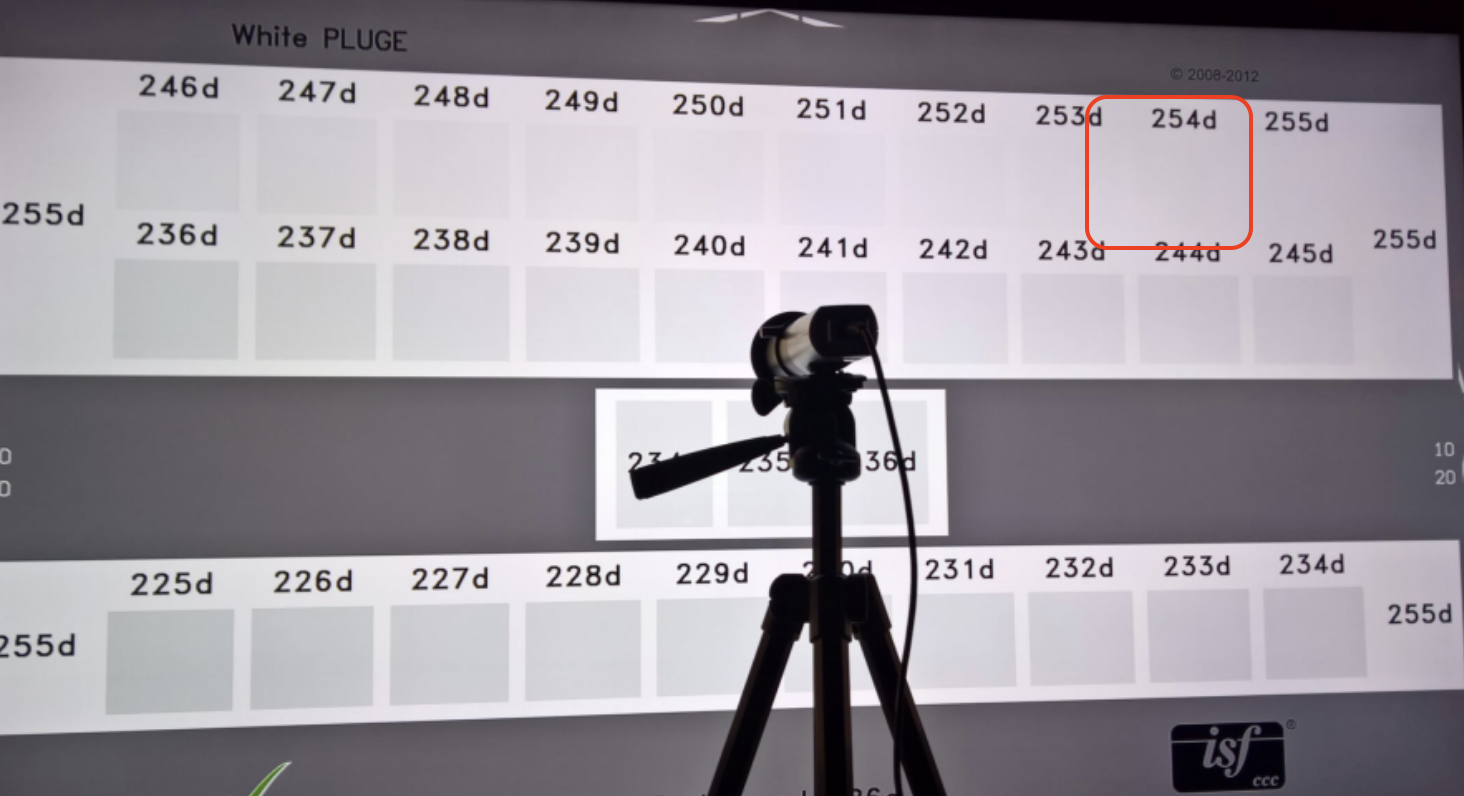
| to put up the White Pludge you want to see up to 254 and don't want to see any pink tones or noise? | ||
| Some TVs - Press Picture and will get the controls to adjust for the "Contrast" all these terms are different | ||
On our Sony Tri-Master the Gamma is the contrast To check the contrast press Menu >Input Setting | ||
| >Press HDMI Input Setting | ||
| EQTF is GammaClose up of Gamma setting | ||
| Change the 2.4 to 2.6 and others but 2.4 usually is the best | ||
| Gamma Settings control | ||
| Press the "Goal Post" again to take a reading of the Gamma Settings | ||
| Make sure the White Line is Close to the Yellow Line - less expensive TV's you will see fall off in the Low areas | ||
?????Not sure what we did here notes from other session back in 2017 here We went to lower the Gamma to make it work better | ||
?????Not sure what we did here notes from other session back in 2017 here We ended up turning on Local Area Dimming by turning on | ||
| Color Decoder - Skip this Step on the Sony Trinitron in Grad Suite H | ||
| This Sony 65 does not have blue only mode. But click on Color and Tint to see the Color Bars on the Monitor if the TV has that | ||
| Turn the "Color and Tint" settings to get these to stripes like this | ||
| Click on Next | ||
| Resolution/Bit-Accuracy | ||
| You can click on the test patterns here | ||
Pull up ISF Geometry to check for OverScan Check for the white lines at the edges to make sure you are seeing everything - Not a crucial step so it's Optional | ||
| Click Next! | ||
Greyscale Two Point Adjust | ||
...
