Page History
...
Make sure your batteries are charged |
|
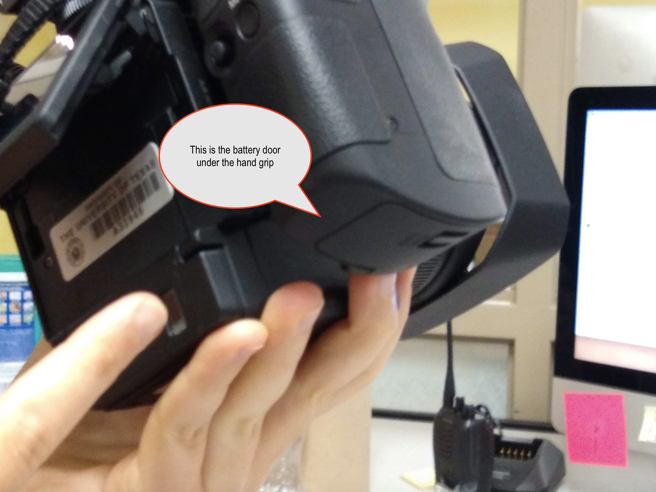
Battery release is under the hand grip |
|
| Slide the battery in and out the door that opens under the hand grip |
|
Next we need to insert the SD cards in the card slot The SD card is located behind a door under the camera LCD Touch Screen yes it is a touch screen!!Push the card open lever to open the flap to insert the SD card YOU will not be using the CF Fast card slot!! | |
| Put in the SD Card into the SD card slot |
|
| Turn on the Camera by pressing the ON/OFF button |
|
Make sure to the camera is set to the right setting for your project. If you are shooting photos (RTF318 Project #1) set the dial to the photo camera setting. If you are shooting video (RTF318 Projects #2 and #3) set the dial to the video camera setting. |
|
| After selecting the proper setting, ensure that the camera is also set to M for Manual. NOT AUTOMATIC. This dial is located directly below the ON/OFF button. | 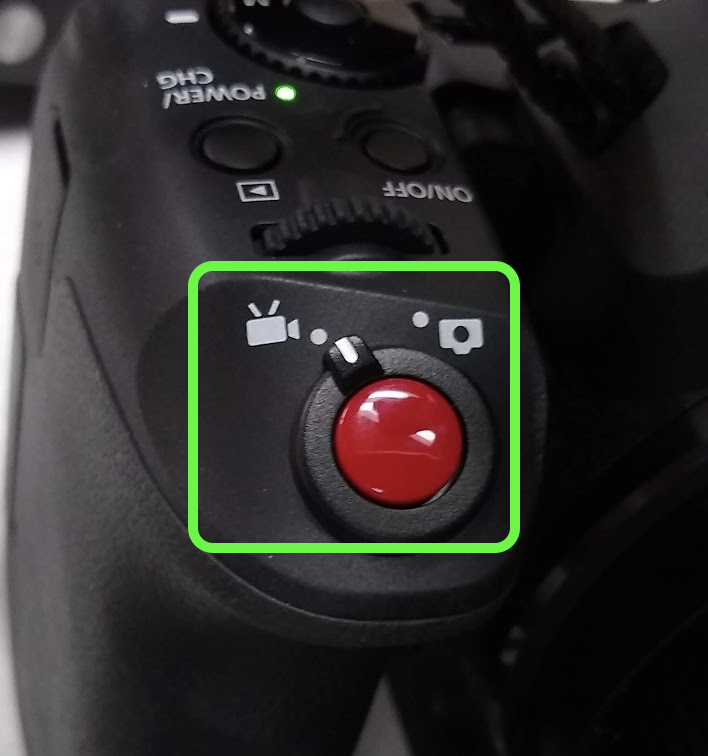 |
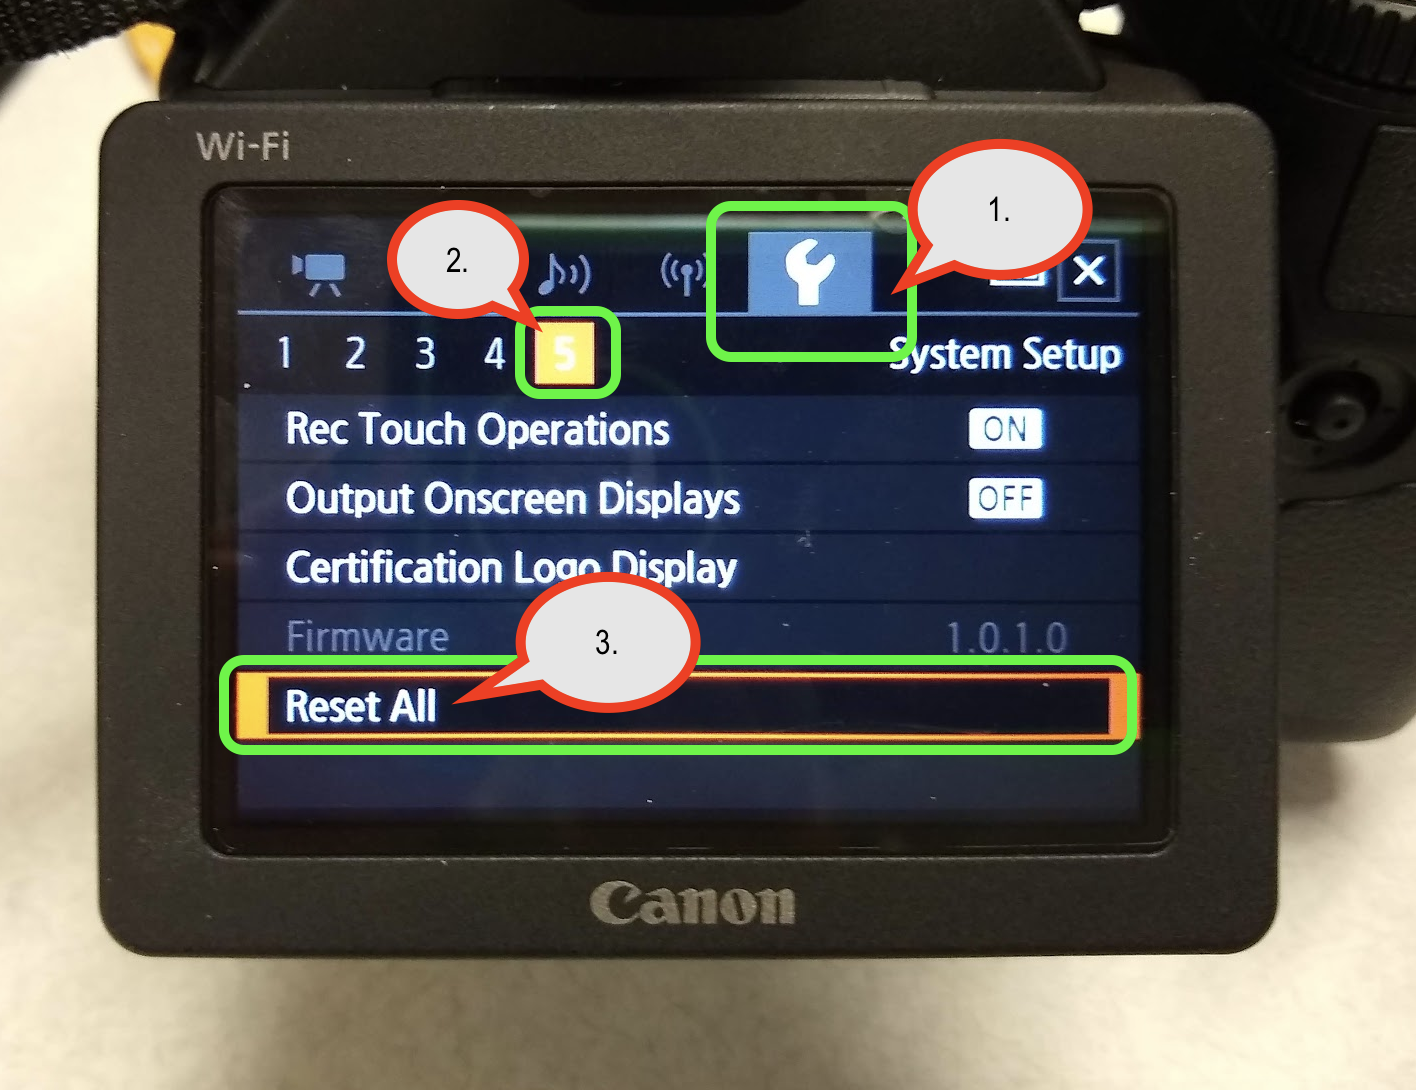
Reset the Camera to Default settingsRemove custom settings from the previous user Click on Menu on the handgrip |
|
Next use the touchscreen to press on the Wrench icon then press on the 5 icon then press on the Reset All option |
|
Reset All Choose Yes |
|
| Set the date/time here > Press OK |
|
| Click on Menu again |
|
Setup the Recording Mode
|
|
Choose 23.98 / 35 Mbps then after the camera sets press the return arrow to get back to the menus |
|
Next we need to format the SD card
NOTE: Make sure that the first thing you do when getting the camera from checkout or a group partner is format the SD card. This ensures that you don’t transfer over any unnecessary footage. HOWEVER, REMEMBER that formatting will erase EVERYTHING. Always ensure that you have everything properly backed up off the SD card before formatting it, returning the camera, or passing the camera off to a group partner. |
|
| Choose Memory Card |
|
| Press on Initialize |
|
| Press Yes to start erasing the card |
|
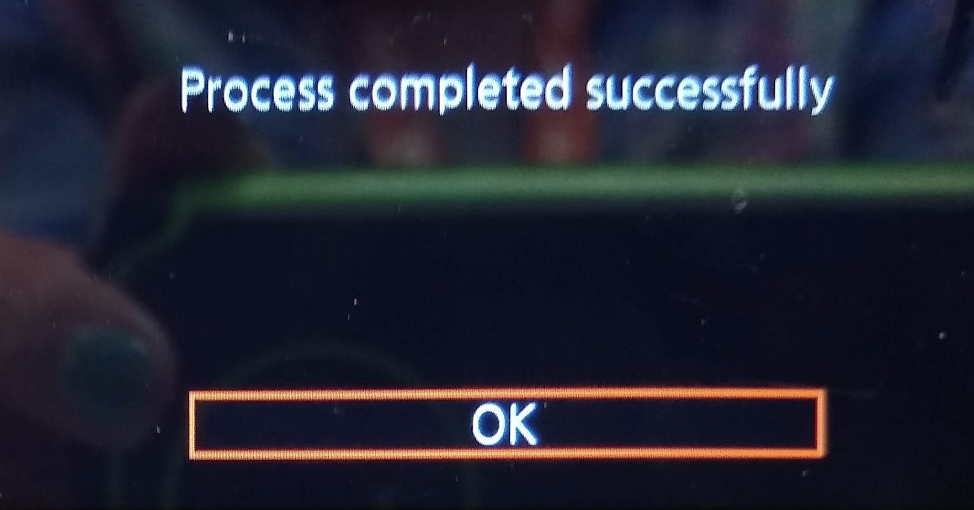
| Press OK when the card is erased successfully |
|
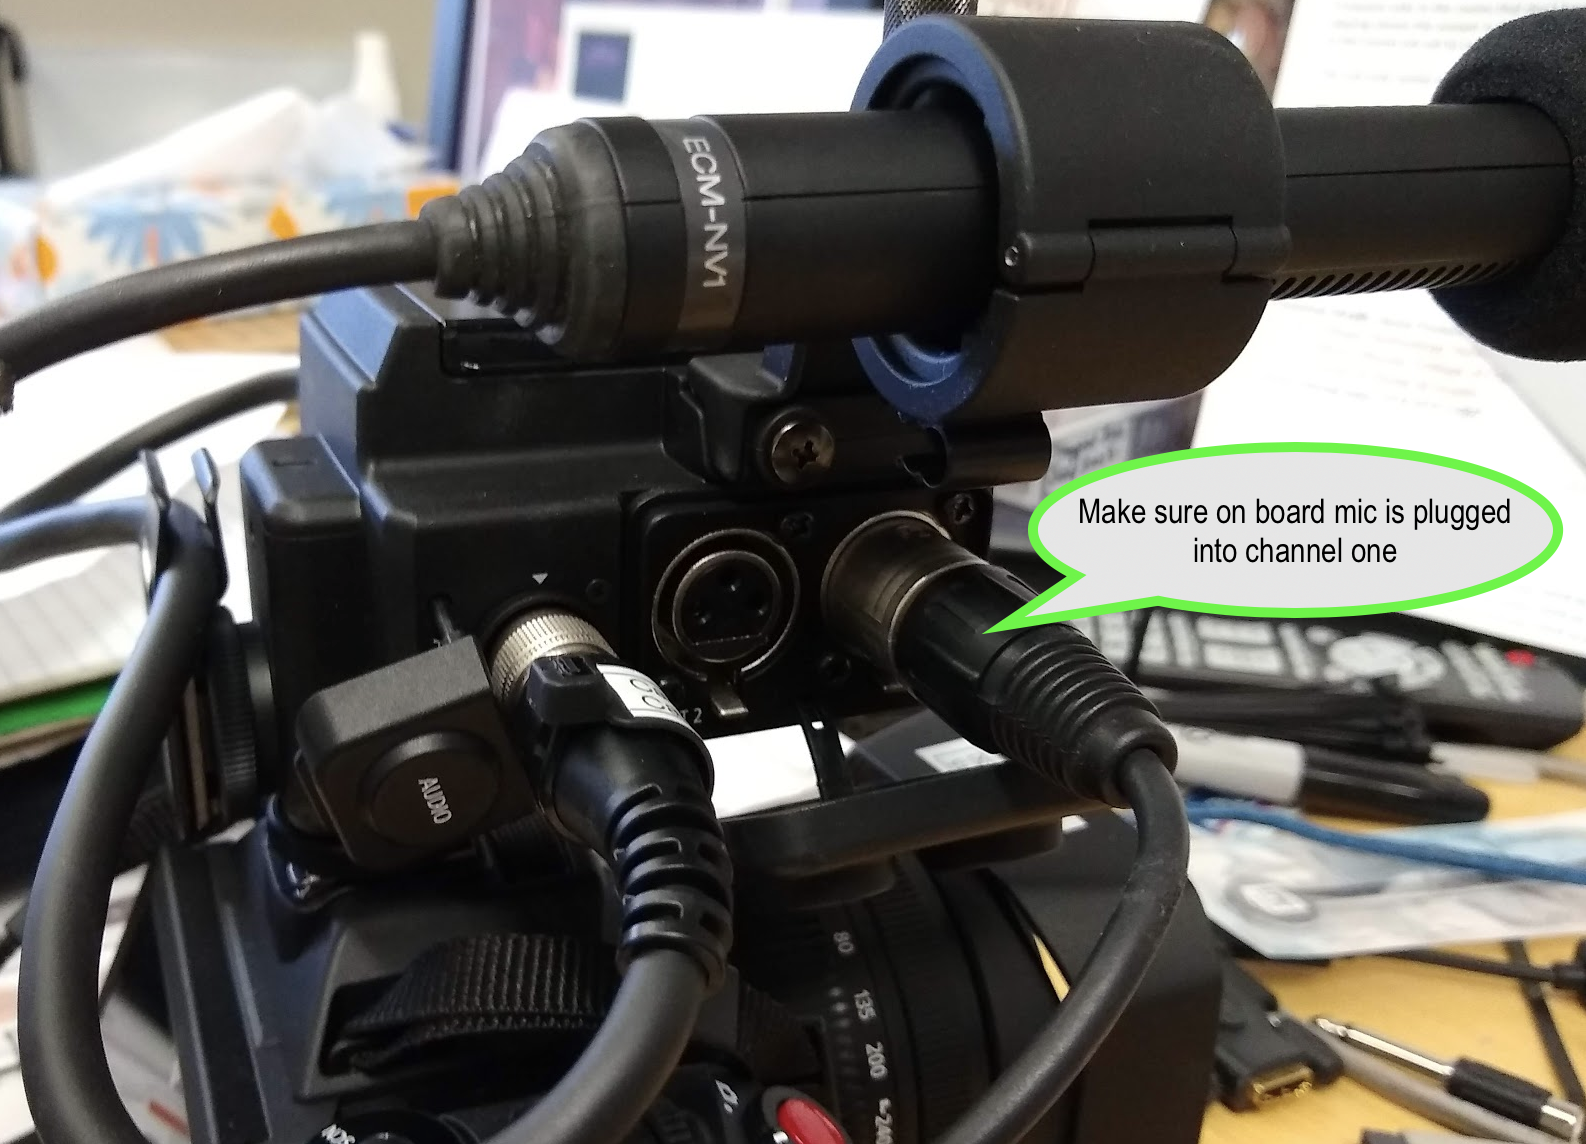
How to setup the Microphone and Audio InputThe mic included in the case plug into Ch. 1 or Input 1 |
|
On top of the camera Lift the plastic lid over the audio controls Set input 1 to M for manual Leave in Mic +48V Use the Dial to adjust audio input levels |
|
More functions to checkFocus leave on M for manual Disp - will turn overlays on and off on the viewfinder Push AF this will auto focus the lens | |
To magnify the image to check focus press MAGN. |
|
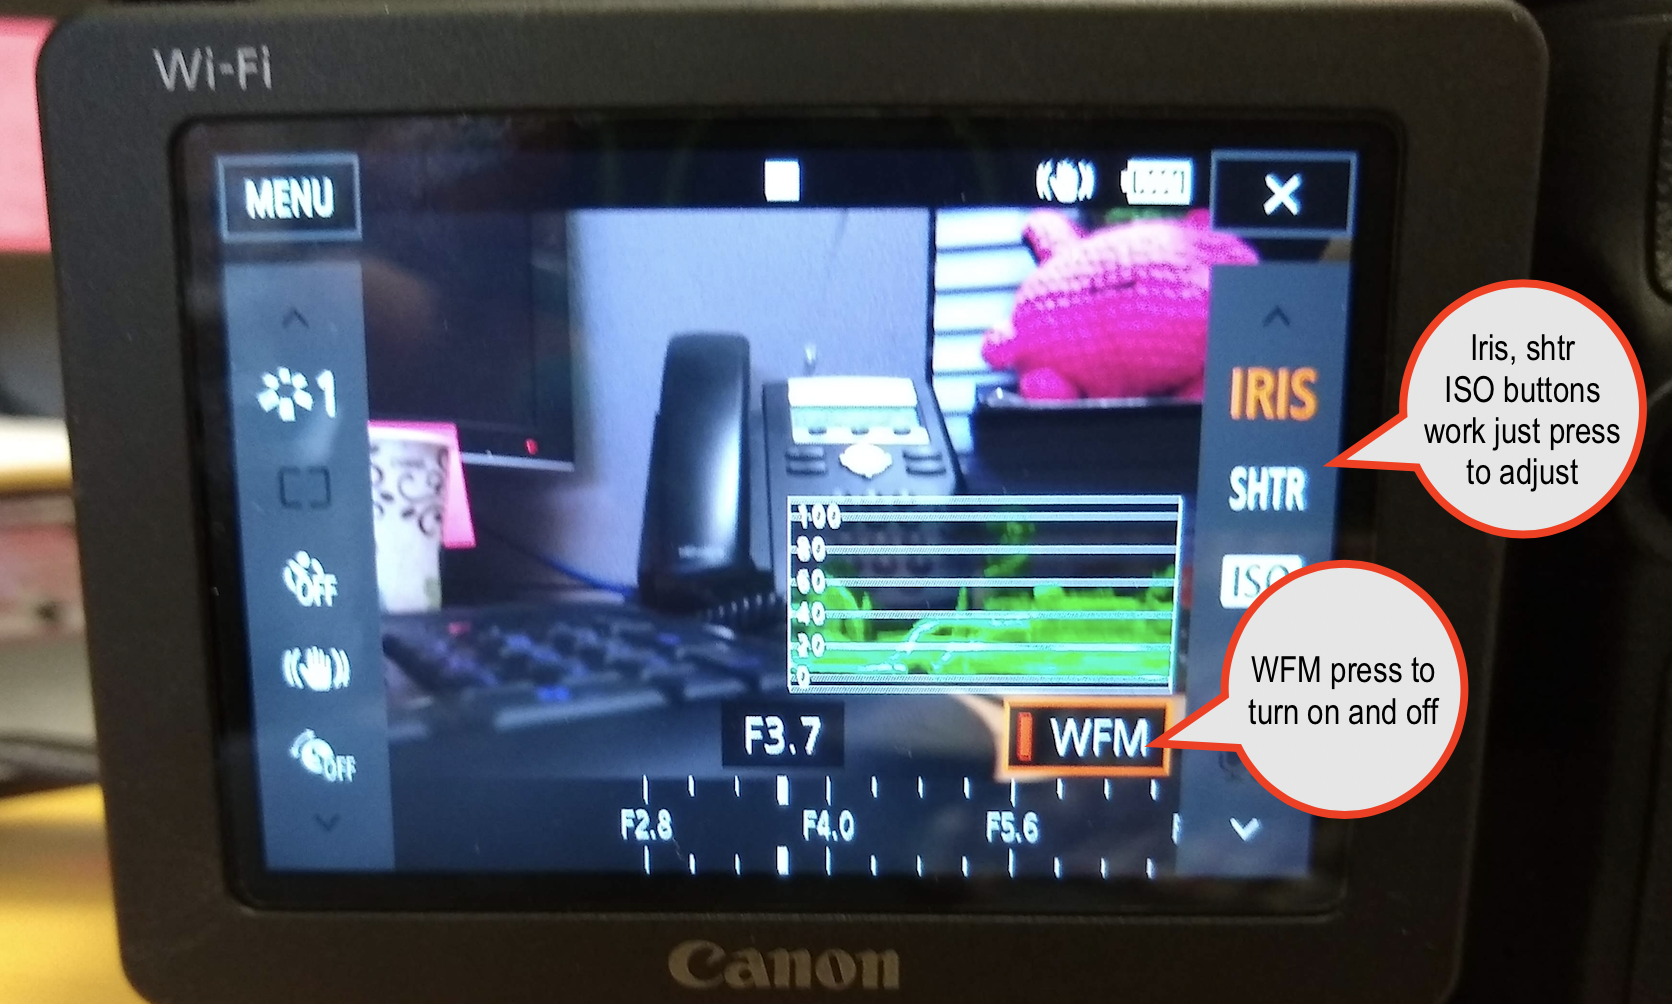
On the touch screen press the FUNC button to access IRIS, Shutter and ISO |
|
Iris, Shutter, ISO press to adjust and then adjust the scale Press WFM to toggle Waveform on and off |
|
This dial will increase the IRIS manually while you are recording |
|
| Remove the lens cap |
|
Press the record button to start recording |
|
| When finished recording power off the camera |
|
| Eject the SD card | |
Every IMac in the lab has an SD Card Slot so you can use that or the Card Reader that is in your camera kit the card will mount on the desktop |
|
Copy the files off the card exactly as they are Both folders and paste them in a folder that is labeled describing the contents of your card Card_001 Card_002 Card_003 and so on The contents of the cards all have the same folder names so if you can't put them all in the same folder or else you will overwrite the previous card |
|
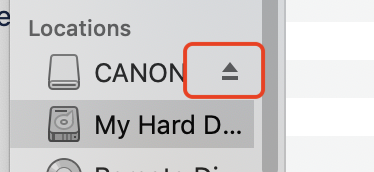
Once all the files are copied off the card Eject it |
|
Next Load Files into a new AVID project. |
|
The Initial Project Screen will open. Here is where you choose where you create and save new projects. Click on the "Folder" to select where to save your new projects also how to navigate to already existing projects. |
|
Navigate to the hard drive and folder that you want AVID to access and save new projects |
|
You can look at the path where AVID will be accessing projects once you select the folder |
|
Now click on the "New Project" button |
|
The New Project Dialog will come up. Select the project parameters
|
|
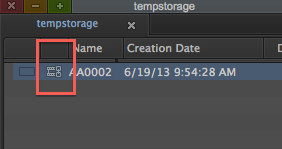
Select the newly created project and Click OK at the Select Project Screen |
|
When the project opens the next step will be to link to the CANON raw files that were backed up in their native file structure. You will need to open the Source Browser if it isn't open already. In the Menu Bar>Go To >Tools>Source Browser |  |
In the Source Browser window go to the "Explore" tab and navigate to your storage drive the Card Backup is located. Click on it to open the folder and then select the folder that contains the files. When you select the folder and or folders that contains video media the "Link" button in the lower right hand corner will become selectable. Also make sure that "Link" is selected in the Lower Left corner. Don't select "Import." You can choose to create a "New Bin" or select an already open bin in your project. It's fine to create a New Bin. Then select the "Link" button in the lower right hand corner to link the selected files. Continue this process until you have all the cards that you shot content on to loaded into AVID |
|
This is what a linked linked Master Clip looks like. Notice the chain link on the master clip icon? ONE IMPORTANT NOTE ABOUT WORKING WITH LINKED FILES!!IF YOU MOVE THE ORIGINAL FOOTAGE ON YOUR HARD DRIVE YOUR CLIPS WILL BE OFFLINE AND YOU WILL HAVE TO RELINK SO DO NOT MOVE ORIGINALS AFTER YOU LINK!! Now you are ready to edit. |
|


...
Overview
Content Tools