Page History
...
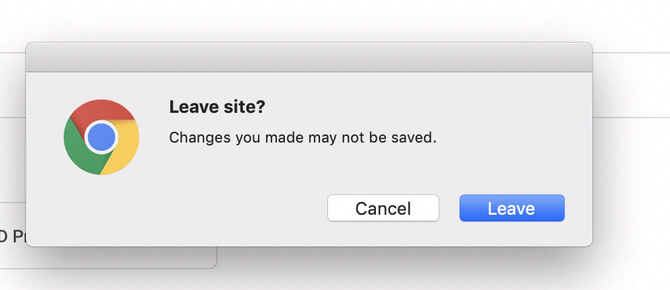
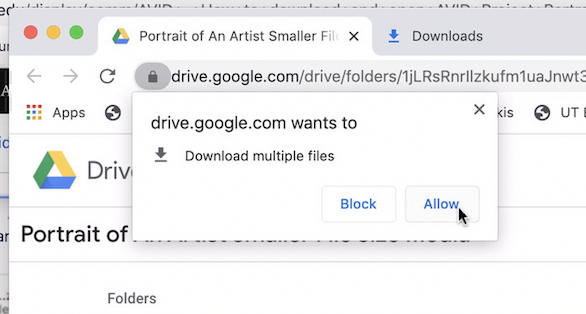
The files will zip for a while and then you will be prompted to Allow the download so click Allow You may also get a "Leave Site" click on Leave
|
| ||
When they are finished the progress circle will complete and there will be a zipped folder in your downloads folder Open the zipped folders You don't need the zipped files anymore you can trash them but wait till we're done setting up the AVID Project |
| ||
Then open Media Composer click on "New Project" then click on the folder icon to navigate to where you want to save your project then |
| ||
Name the Project "Tomato" - YOUR Name |
| ||
Set the Format 30i Aspect Ratio 4:3 Color Space YCbCr 601 |
| ||
Choose Create |
| ||
Now import the files into AVID In the open BIN right click in the bin and go to >Input>Import Media>Input>Source Browser |
| ||
| Then Click on Options |
| ||
| Then Click on Options again |
| ||
| |||
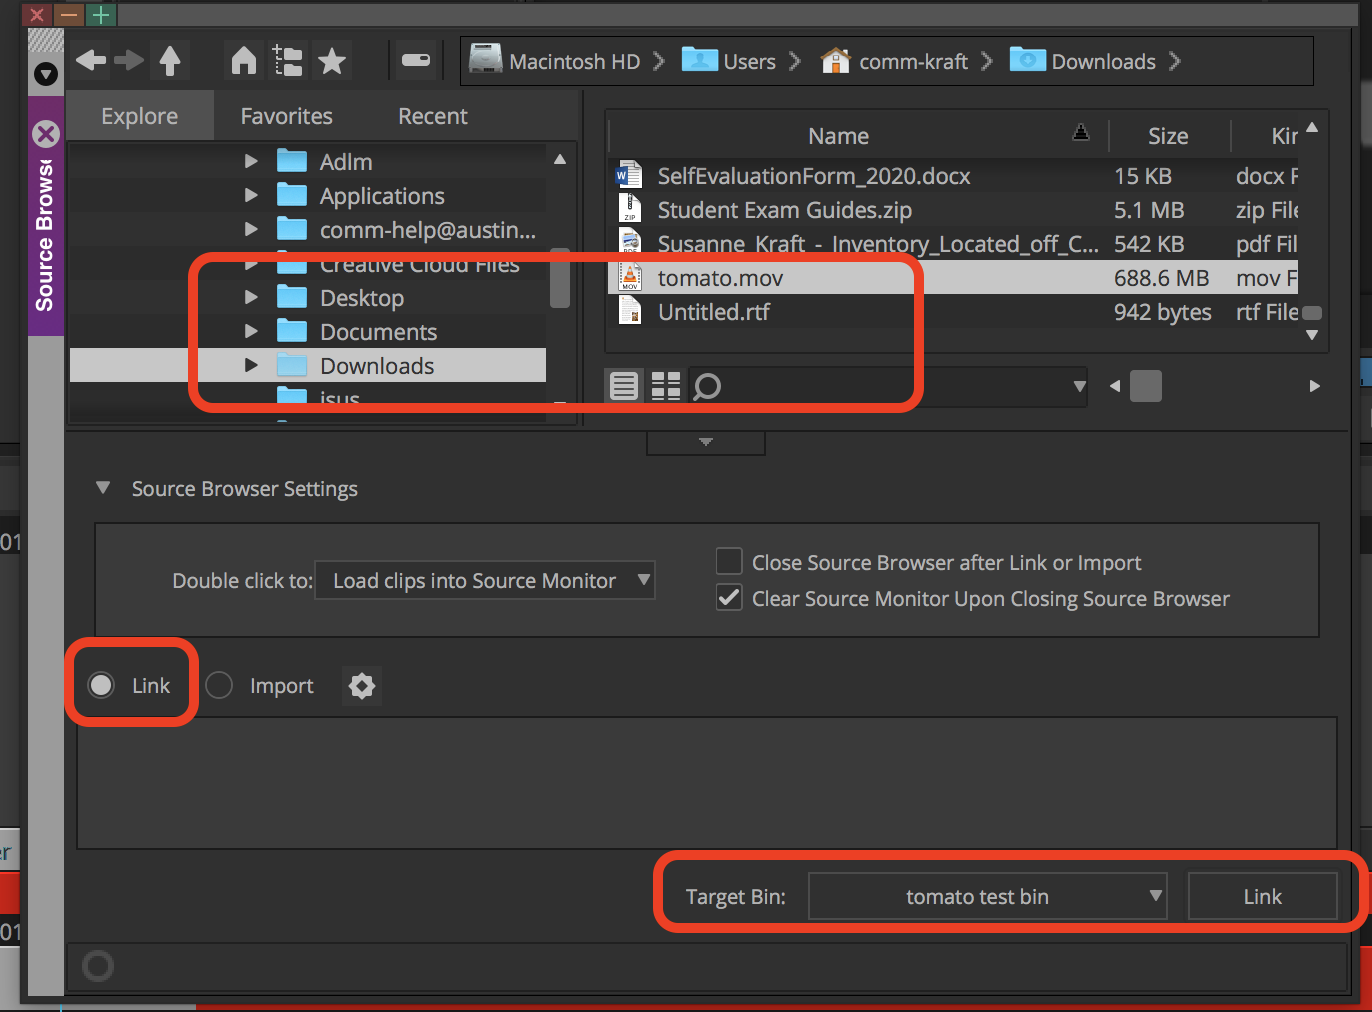
Navigate to your file where you downloaded it (probably in downloads folder) Choose Link NOT Import Select your target Bin and choose LINK again |
| ||
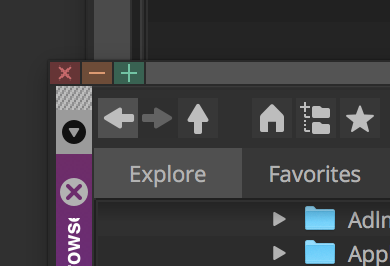
| Click on the Red X to close the source browser |
| ||
The clip will have a little "chain" link icon on it to show it's linked |
| ||
With the file selected in the bin >Go to >Clip >Consolidate/Transcode |
| ||
Choose Transcode Choose your Hard Drive as the Target Drive Choose the Target Video Resolution as Apple ProRes (Proxy) Choose to convert the audio to 48 KHz and 24 Bit Then choose to Transcode to get the process going |
|
| Navigate to your downloads folder and select the >exercise 1 > tomato.mov file you downloaded Next Choose the Resolution as Apple ProRes 422 Proxy Choose your storage drive as the file destination for import and then Select the "tomato" file to import
|
The files will take a while to transcode but after that you can start editing with the transcoded file (it will have.new.) As the files complete importing they will load into the bin. You can then delete the clip with the chainlink icon. Select the clip and press the delete key on your keyboard and choose to delete master clip
|
|


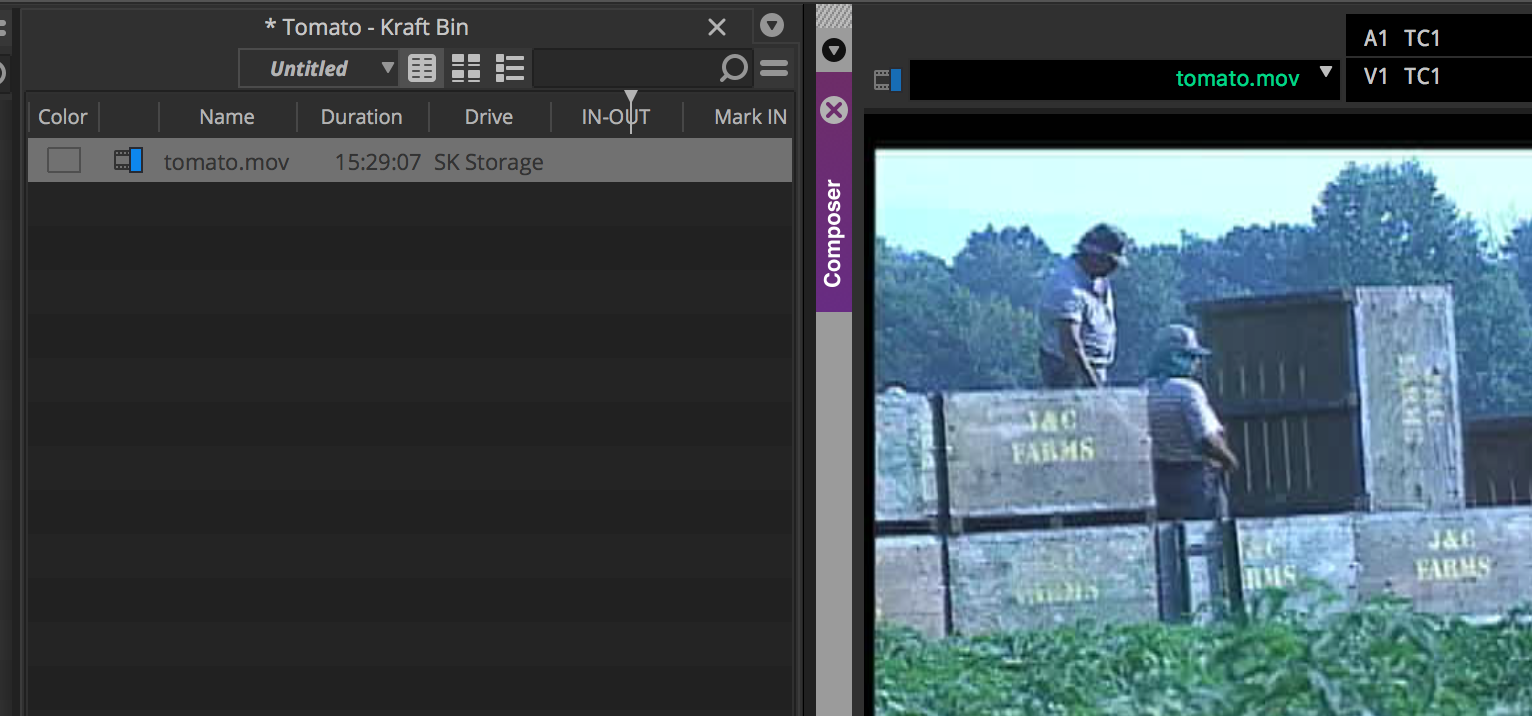
That is it your media should open in the project and you can edit.
Overview
Content Tools