Overview
To add items to AGOL navigate to My Content located in the sixth User Menu tab titled Content. Items can not exceed 500 GB. A list of supported files can be found here.
Once you've added your file, it appears in your content and you can edit the item details and sharing levels. For supported files such as zipped shapefiles and Microsoft Excel spreadsheets users with the role of Publisher can publish the item as a Feature Layer (hosted). For more information on roles, sharing levels, and Feature Layer (hosted) visit What are Roles?, What are Sharing Levels?, or What are the Types of AGOL Content? under the FAQs.
Adding an item from an Application or from a Cloud Drive is also possible but is currently not used within our organization.
Step-by-step Guide: Add Item From Your Computer
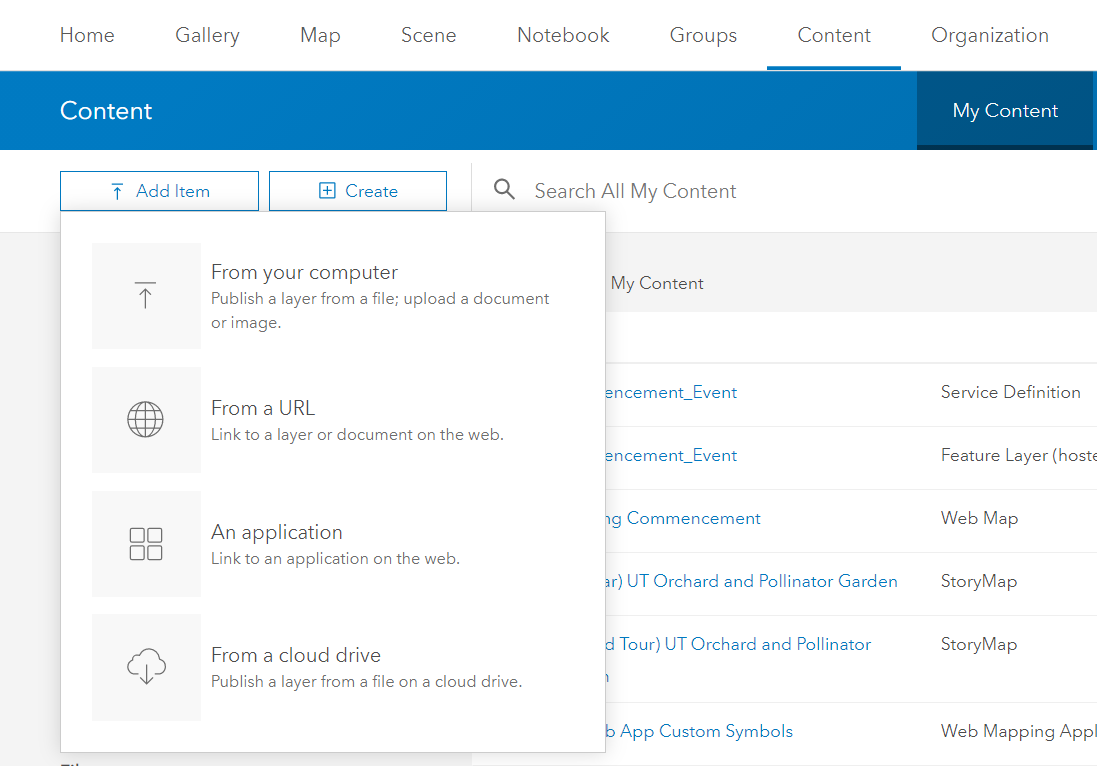
- Click Add Item located on the top left side of the My Content Page.

2. Select From Your Computer.
3. Click Choose File. ![]()
4. Navigate and Select the desired file to add to AGOL.
5. Type a Title for the item.
6. Type the Tag or Tags for the Item
7. Click Add Item. ![]()
Step-by-step Guide: Add Item From a URL
- Click Add Item located on the top left side of the My Content Page.
2. Select From a URL.
3. Select the type of item from the web. Options include ArcGIS Server web service, KML, WFS, WMS, WMT, and Document (spreadsheets, presentations, tables, and images)
4. Type URL of the item.
5. Type a Title for the item.
6. Type the Tag or Tags for the Item
7. Click Add Item. ![]()