Page History
This document will walk you through how to record a video using Quicktime Player on a Mac OS computer. Use computer station #5 in CMA 4.138. It's all setup and connected to the dub rack that contains the legacy tape and disc playback units. |
| ||
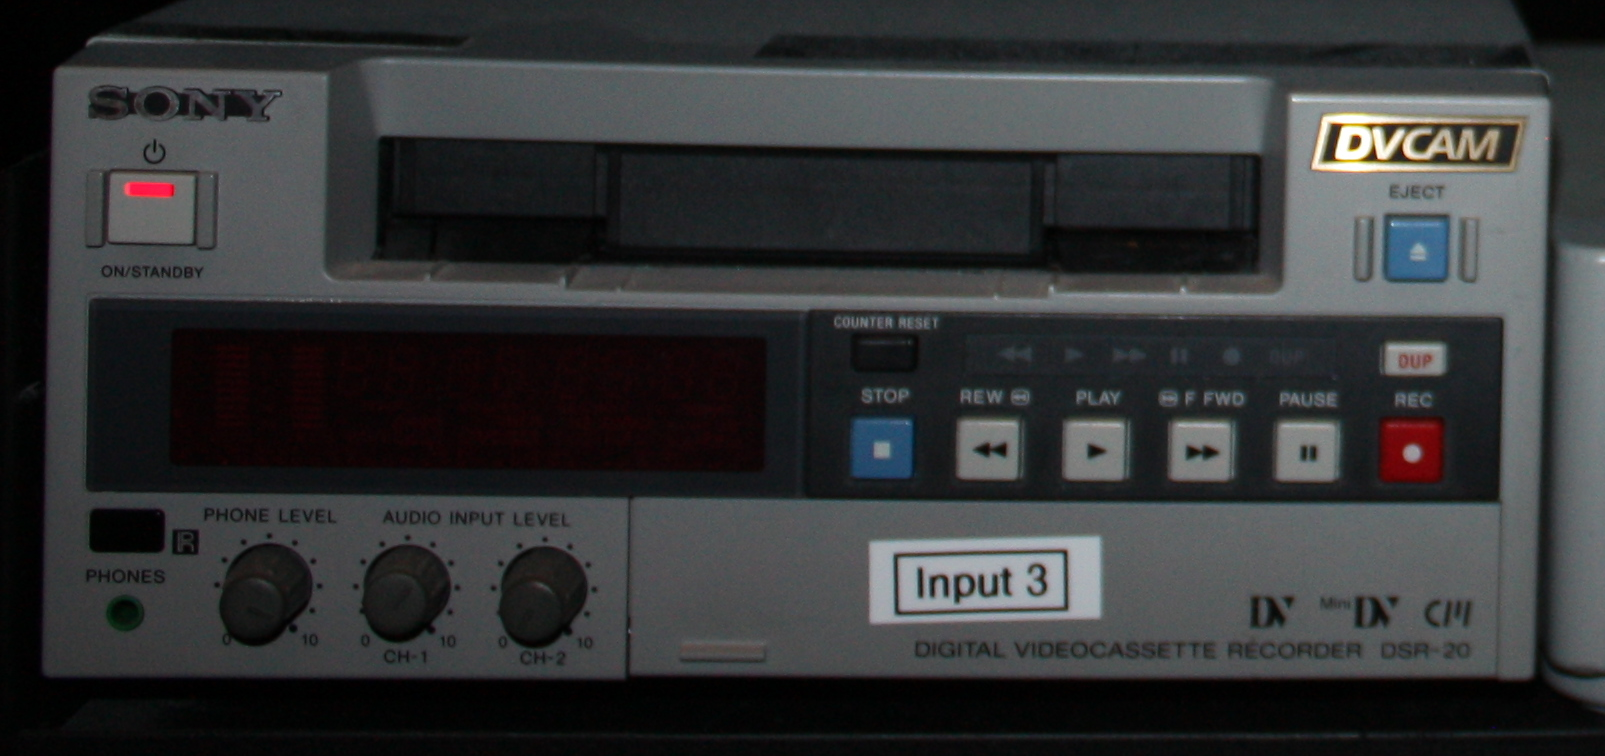
| Make sure the DVCAM deck on the top rack of the dub rack is on - Light is green not red. |  | ||
| Make sure the same DVCAM deck is set to Video Input on the Input Select |  | ||
The machines on the top 2 shelves are labeled DV RECORDER and OCEAN/MATRIX switcher. These 2 machines should be on with their power-button lit green. Turn them on if they are not already on. |
| ||
The monitor on top of the rack should be on as well (green light). If it is off, turn it on. |
| ||
Locate your Source media player. Make sure the device is on (green light). Available media players are: |
| ||
Input 1: DVD |
| ||
Input 2: VHS |
| ||
Input 3: DVCam |
| ||
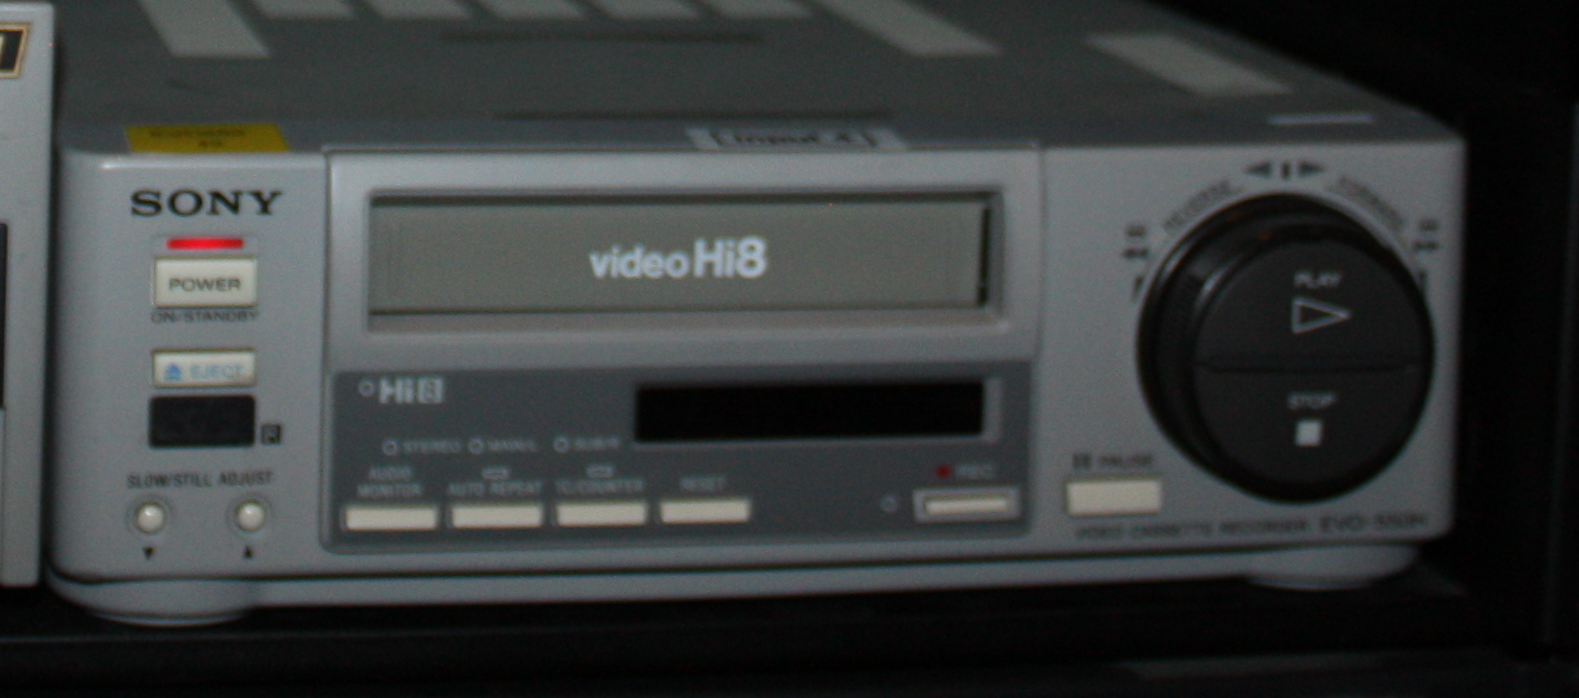
Input 4: Hi8 |
| ||
Put your Source media into your Source device and press Play. |
| ||
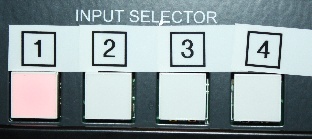
On the OCEAN/MATRIX Input Selector, press the corresponding input button (for DVDs, this would be 1). |
| ||
Your media should appear on the TV monitor at the top of the rack. | |||
| Make sure the Thunderbolt Cable is plugged into the back of the IMac |  | ||
Open the Quicktime Player application under Macintosh HD > Applications > Quicktime Player. Use QuickTime Player not QuickTIme Player 7. |
| ||
From the top left of the screen, select File > New Movie Recording (Command + Option + N). |
| ||
Quicktime will open a new window. The default input is the computer's camera. You will need to change this!! |
| ||
| Change the input by clicking the disclosure triangle (in picture at right) |  | ||
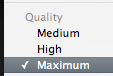
Select the name of your device under the 'Camera' portion of the menu. Choose DV-VCR on the Camera and the Microphone Quality should be set to High - You can try Maximum if you would like but can cause dropped frames. |  | ||
If you do not have any options other than the built-in camera:
|
| ||
If your new recording window may appear blank. Make sure you are outputting a signal to Quicktime Player through your playback machine. Press play on your device. |
| ||
Make sure your source material is queued if necessary. Play, fast forward or rewind to find where you would like to start digitizing your media. |
| ||
If the intended use on the internet or for a presentation, leave the Quality at High. This is the default setting. |
| ||
Press the red record button and the play button on your source device when you are ready to begin recording. |
|
|
|
The recording is real-time only. Wait until you have recorded all of your material. |
| ||
Press the black stop button after your recording has completed. |
| ||
Repeat this process if you have more recordings. |
| ||
To access your movie, select the Finder, and open File > New Finder Window (Command + N). |
| ||
Navigate to [Your user name] > Movies. Your movie has been saved under the name Movie Recording.mov. |
| ||
Save your Recording. The current title of the file is "Untitled"
|  | ||
 | Go to >File>Save and navigate to a location to save your QuickTime | ||
Put the file name in the "Export as"
Then navigate to your hard drive and save the file by clicking "Save" |  | ||
Check your file for Audio and Video quality | Double-click the words 'Movie Recording' to change the title. |
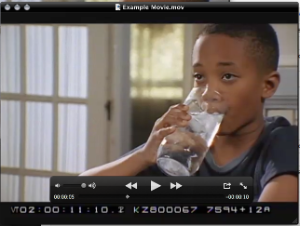
Double-click the icon to open up the recording in Quicktime Player and play it to verify that your recording worked properly. |
|
Now you can move the recording to a different device if necessary such as an external hard drive, USB stick, or network share. |
| ||
This movie is ready to import into an editing program, including in a presentation, or uploading to youtube. |
|


Overview
Content Tools