Download UTM from: https://mac.getutm.app/
Download the Windows 11.vhdx and spicetools.iso from: https://utexas.app.box.com/v/msb-student-vms/folder/155387066564
Install the UTM app
Open UTM from the Applications Folder and click the “+” button to open the VM creation wizard.
Select “Virtualize”.
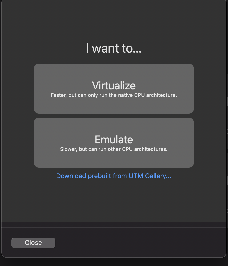
Select “Windows”.
Click “Browse” and select the Windows VHDX downloaded above. Press “Next” to continue.

Pick the amount of RAM and CPU cores you wish to give access to the VM(the Defaults is fine). Press “Next” to continue.

If you have a directory you want to mount in the VM, you can select it here. Alternatively, you can skip this and select the directory later from the VM window’s toolbar. The shared directory will be available after installing SPICE tools (see below). Press “Next” to continue.
Check Open VM Settings

Press “Save” to create the VM
Once the settings open select the System tab on the left-hand side. Make sure your Architecture and System are set to ARM64(aarch64) and QEMU 6.2 ARM Virtual Machine (virt-6.2) respectively.

Check the box that says Show Advanced Settings
Check the box that says Force Multicore
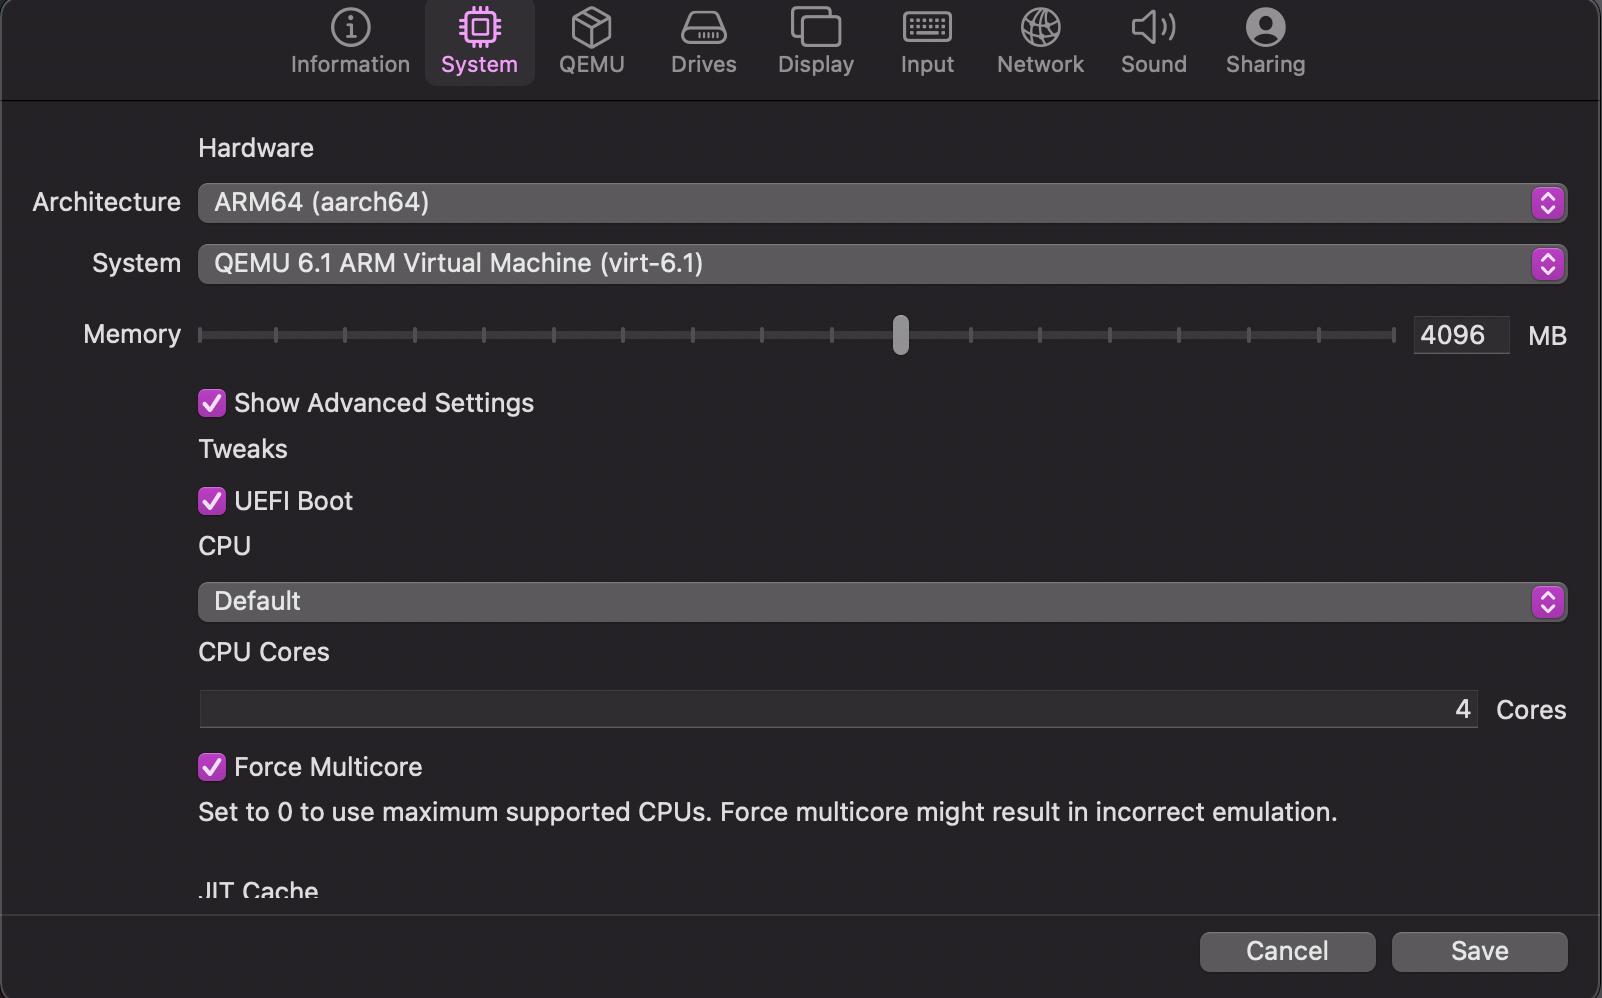
At the bottom of the advanced settings you will see something called QEMU Machine Properties make sure it has the following parameters listed: highmem=off,virtualization=on

*Note there is no space after the comma
Click the Display tab on the left
Set Emulated Display Card to virtio-ramfb
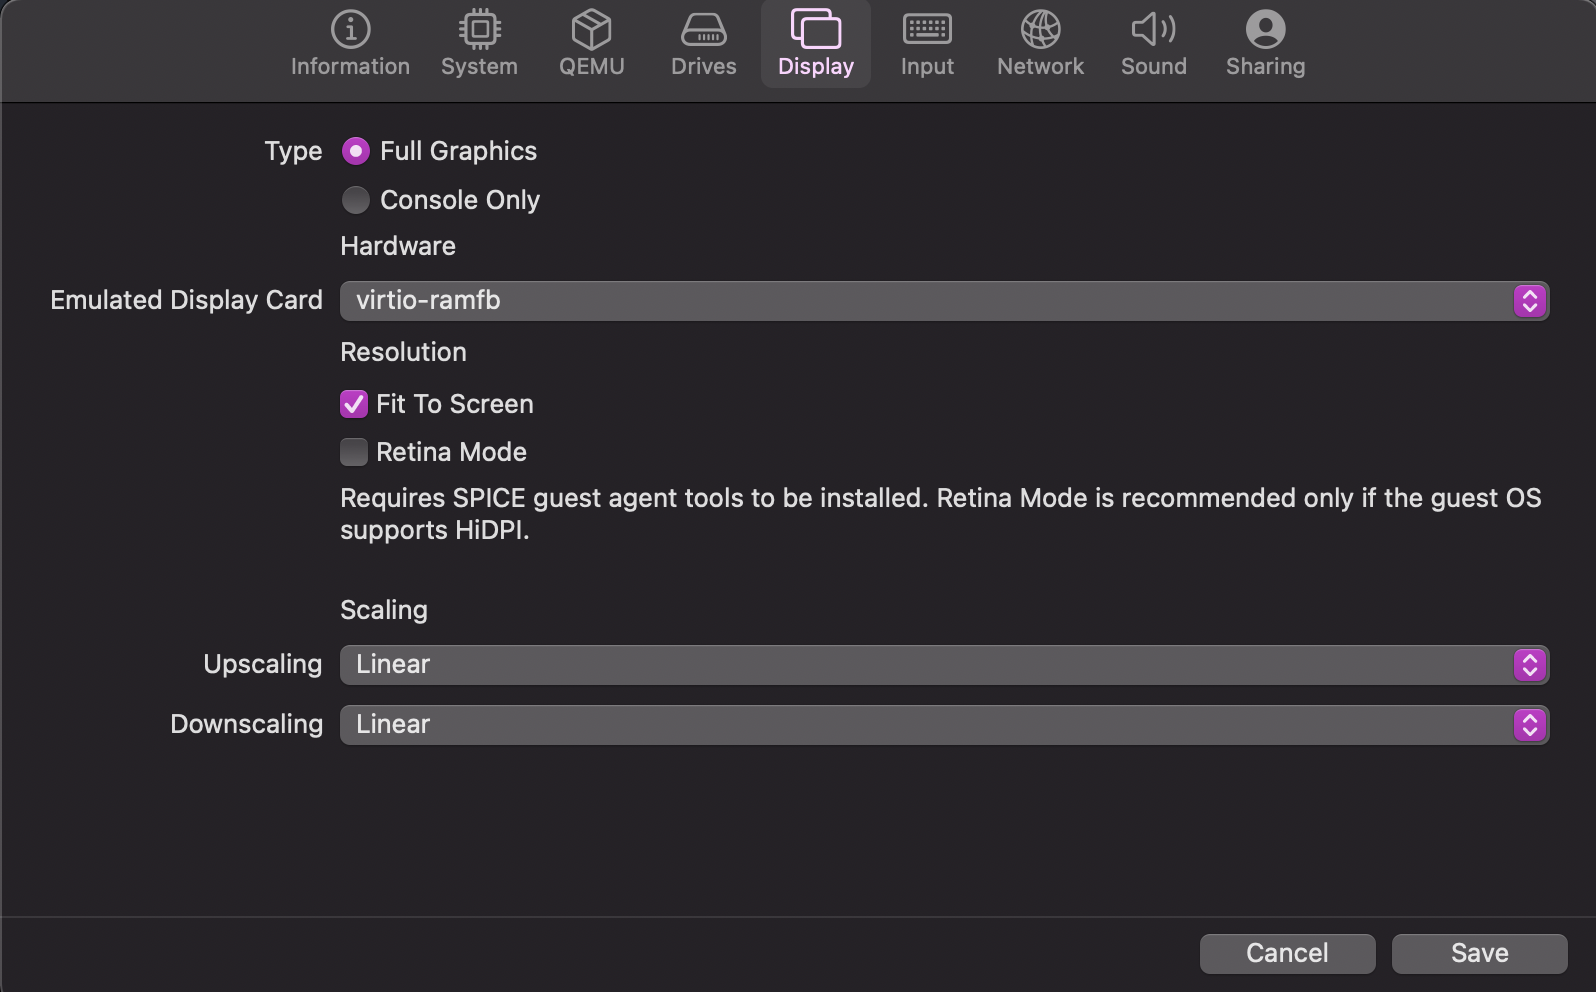
Click save
Scroll to the bottom of you vm page until you see a dropdown list labeled CD/DVD, click the list and then select browse

Navigate to where you downloaded the Spicetools.iso file and select it
Click the big “Play” Button to launch the VM
NOTE for Windows install:
You do not need set a password for the VM
Make sure you turn off all of the tracking switches from Microsoft (ie Find my computer, Personalized Ads, etc).
Follow the Windows installer. If you have issues with the mouse, press the mouse capture button in the toolbar to send mouse input directly. Press Control+Option together to exit mouse capture mode. Sometimes, due to driver issues, you can enter and exit capture mode and the mouse cursor works normally again.
Once installation is complete and you’ve logged in, we can proceed to install the guest tools. With the ISO mounted in the D: drive, open Windows Explorer and browse to D:\. Run spice-guest-tools-xxx.exe which should install all drivers along with QEMU agent, SPICE agent (for copy/paste and dynamic resolution), and shared directory.
If you have any difficulties please visit the 3rd floor Help Desk in McCombs.