Page History
...
Make .mxf exports of the reels or sequences using this wiki AVID - How to export a timeline as a MXF OP1a .mxf file Send files off to get captioned to FOR use in AVID Media Composer REQUEST A .stl file |
|
Once the request is full-filled you will get an .stl file Or if you do not get an .stl file you can convert it to .stl using this wiki |
|
Open your project in AVID and make sequences for the reels and or Duplicate your timeline that you already exported and load the timeline by double clicking it to load |
|
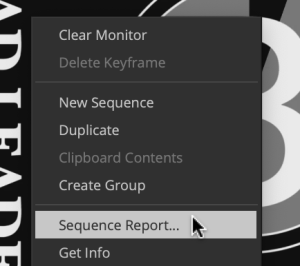
Then right click in the record side of the composer window. Choose Sequence Report. |
|
| Change the Starting TC: to 00:00:00:00 Click Apply Changes> Then click on "Cancel" to close the window. |
|
Make a new video track >Timeline>New>Video Track |
|
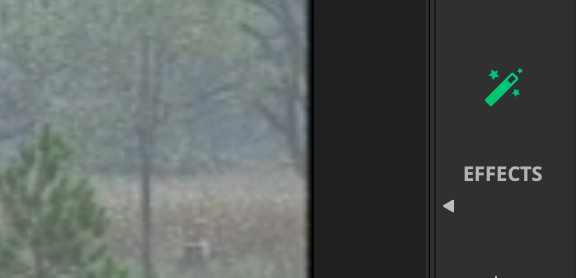
Go into "Effects" mode by clicking on the left hand tabs and choose "Effects" |
|
The Filters tab will open on the left hand side of the interface >Choose Generator>Subcap and drag the effect down to the new video track |
|
| When the effect is applied the "Effect Editor" will open and you will see |
|
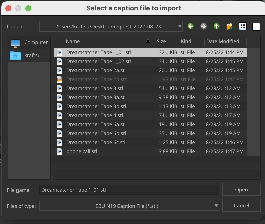
The SubCap Effect parameters Choose >Caption Files and expand the choices the sub menu will have "Import Caption Data. . . Click that and navigate to where you saved the caption file |
|
In our case we saved it to "desktop" Then choose Open |
|
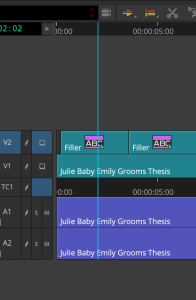
| The captions will load on the timeline on V2 or the topmost video track you added the "subcap" effect |
|
To modify all the captions looks and placement follow these steps: Put the timeline indicator on the first caption in the timeline |
|
When you place the timeline indicator on the timeline you can then select the "effect editor" That will load the caption effect parameters |
|
Under Text Appearance >Choose Arial as the Font >Font Size choose 22-25 100 >Double click on the Color Box to get the Select Color dialog |  |
Choose the light yellow as shown here (optional) you can leave the captions white Then click OK |
|
Choose > Basic Shadow >Center Align |
|
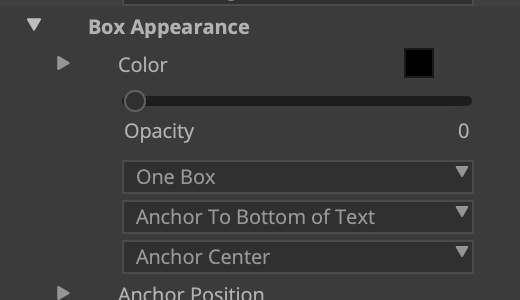
Next set Box Appearance Turn Opacity to 0 Anchor to Bottom of Text Anchor Center |
|
| Also might want to add an Outline Weight and set that to 300 | |
Next Set Anchor Position >X = 0 >Y = 400 Fixed Width Wrap setting is default but leave it |
|
| Choose Edit Global Properties |
|
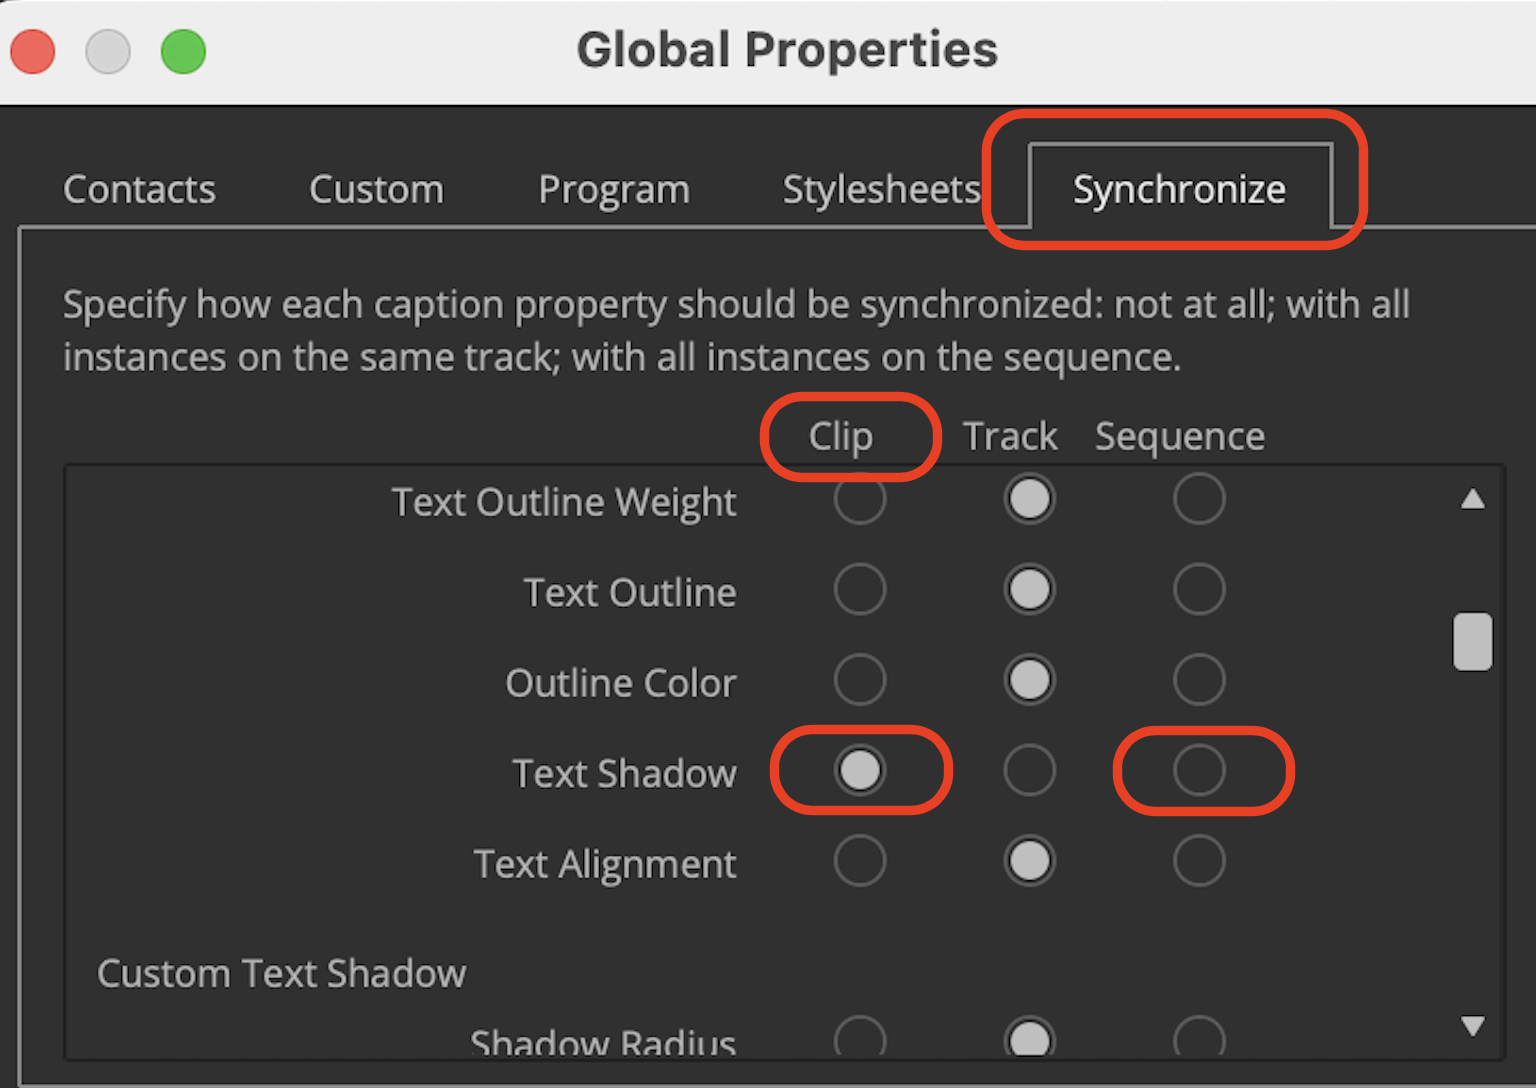
Then choose the Synchronize tab and on the >Sequence column select all the dots that apply to all the parameters that were changed on the clip and apply to the Sequence - Use the slider to navigate down the list. Then once every parameter that you changed on the clip is applied to the Sequence click OK The caption style will be applied to the entire timeline now |
|
The next step is to watch the timeline and edit the captions so they are accurate and make any modifications to characters like music notes or parenthesis that look like this example - music notes are displayed as boxes we need to fix this |
|
To modify the text click on Caption Text and modify here The music notes show up in the text but they do not display correctly |
|
| Change to something like this |
|
Displayed like this is better Go through the entire timeline and fix the captions The captions become master clips that you can move on the timeline just like any other video clip in AVID |
|
This next part is optional but useful to knowThen go to Stylesheets tab |
|
| Click on Create to save the currently selected caption style to the list of style sheets |
|
| Title the stylesheet and click OK |
|
Then to apply to other timelines in the same project apply captions to the timeline Choose Edit Global Properties |
|
| Then go to Stylesheets tab |
|
You will see the Style Sheet that was saved Click Apply to apply it to the timeline |
|
Then choose the Synchronize tab and on the >Sequence column select all the dots that apply to all the parameters that were changed on the clip and apply to the Sequence - Use the slider to navigate down the list. Then once every parameter that you changed on the clip is applied to the Sequence click OK Now the caption style is applied to the new timeline |
|


...
Overview
Content Tools