Page History
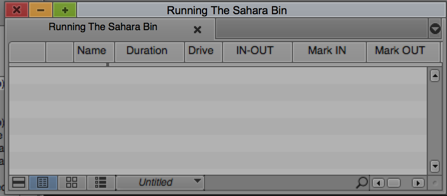
Select a BIN in your AVID Project that you would like to import stills into
|  |
| Next go to >File>Input>Import Media |  |
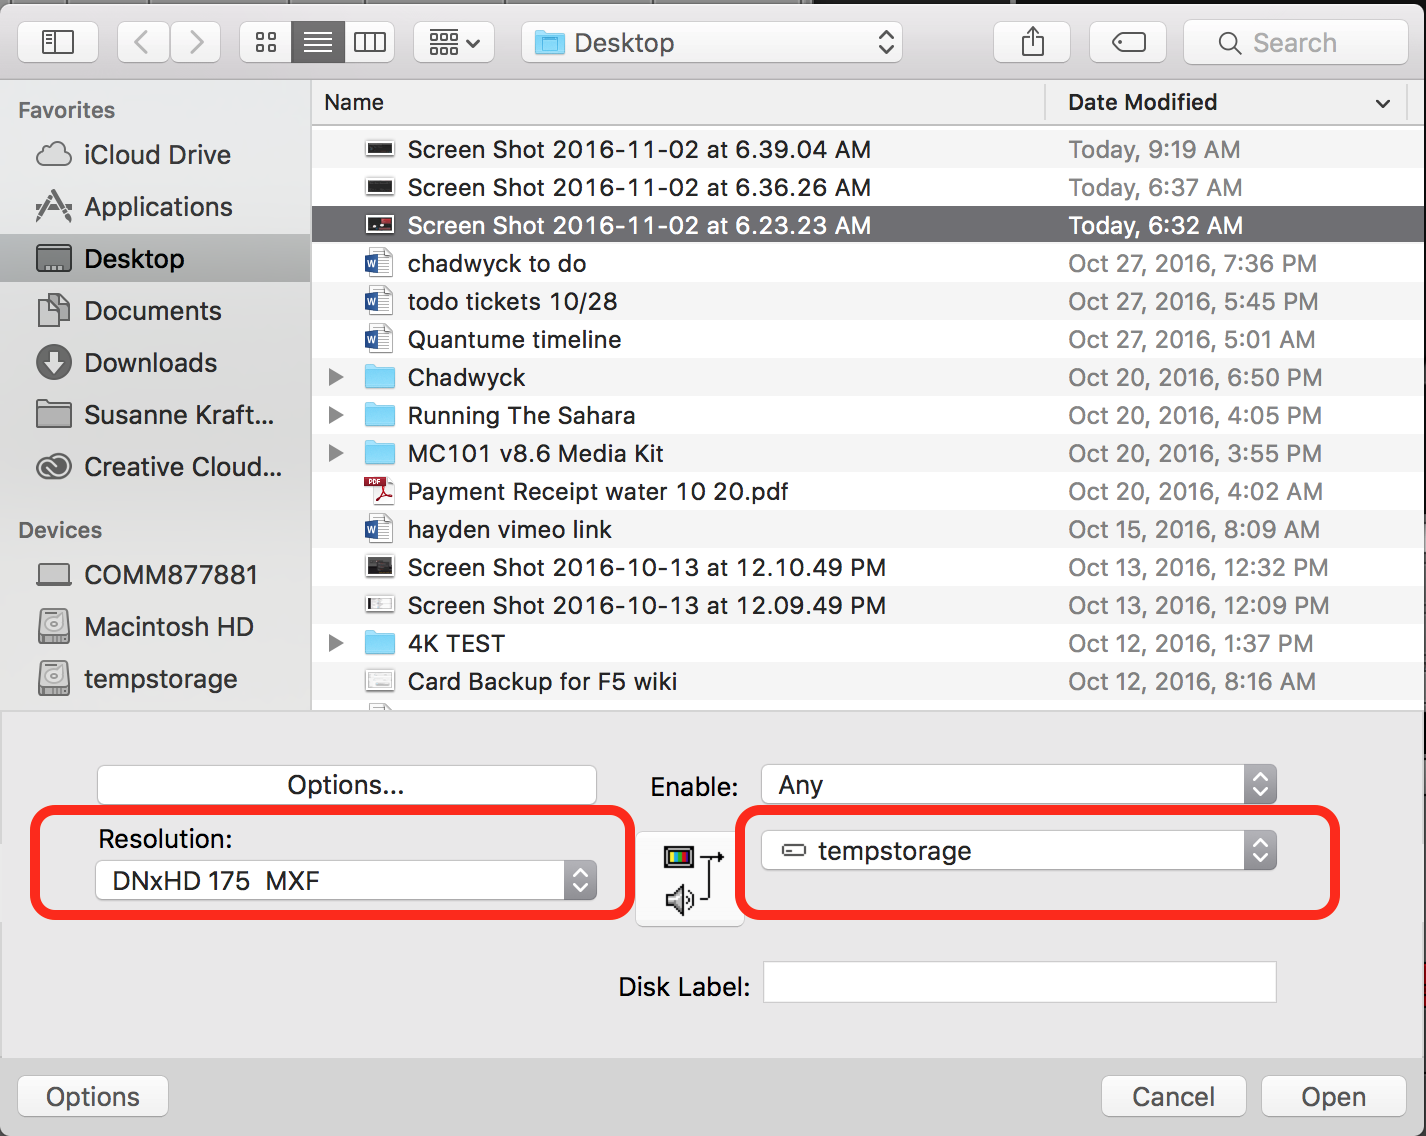
Choose the file VERY IMPORTANT - Choose Options
|  |
Choose the Resolution = DNxHD 175
Storage drive = your drive or server or tempstorage (this is the local hard drive of the computer you are working on in the lab)
Next Choose Options so you can tell AVID how to correctly deal with the Aspect Ratio of the Still Image.
|  |
Choose the following settings
Click OK to apply these settings | 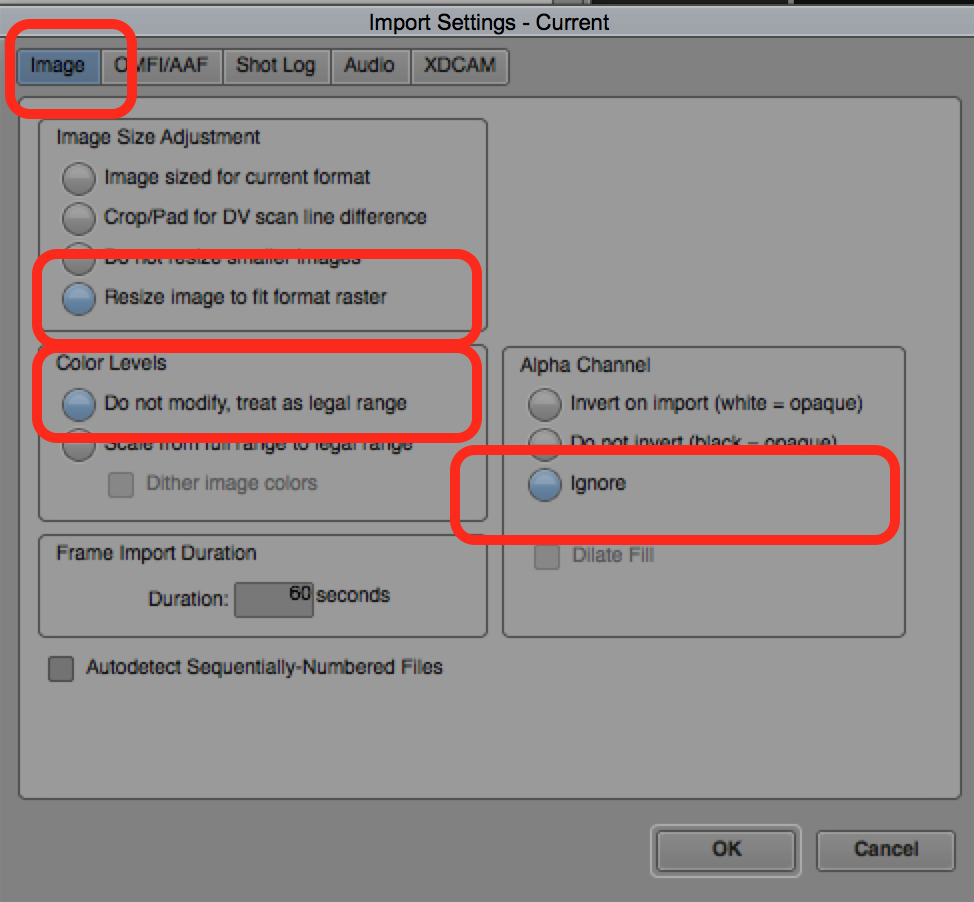 |
| You will return to this menu and select the files or file you want to import and click OK |  |
The images will turn into Master Clips in your bin. Edit with them as you would any other Master Clip in AVID | 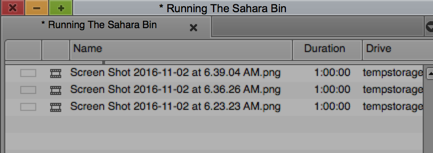 |
If you shot on 35MM then your files will come into AVID this way. The files are 4:3 in a 16:9 project. The way to adjust the files to fill the 16:9 space is to use these two tools. AVID - Easy Image Resizing also called Pan and Scan Effect
or use this wiki that is a more dificult workflow but will render in a higher quality |
|

Overview
Content Tools