| Expand | ||||||
|---|---|---|---|---|---|---|
| ||||||
1 . Batch copy filename to its Metadata TitleIf you don't already have the script set up in Adobe Bridge: a. Obtain a copy of the script: fileNameToTitle.jsx - currently located here: \\austin\disk\jsg-npl\DocLib\code_and_scripts\PhotoshopScripting\Specify Image Scripts b. Install script: Bridge does not have an application scripts folder, only a user scripts folder, Startup Scripts. The folder can be difficult to locate because it is under user preferences, which are typically hidden from view and require special steps to make visible. Fortunately, Bridge offers a convenient means to open the folder directly from the application. To access the Startup Scripts folder on any platform, open Preferences in Bridge and in the list on the left, select Startup Scripts. Click the button Reveal My Startup Scripts and the folder will open. Once the Startup Scripts folder is open, copy script files to it, close the folder, and restart Bridge. An alert will appear on screen to indicate an extension has been added to Bridge and to ask whether it should be enabled. Respond Yes and the script will be activated. For the sake of completeness, the details for locating the Startup Scripts folder follows. Bridge Startup Scripts Macintosh HD:Users:UserName:Library:Application Support:Adobe:Bridge 2020:Startup Scripts Windows example C:\Users\UserName\AppData\Roaming\Adobe\Bridge 2020\Startup Scripts Portions of the path may vary: UserName will be the user name of the account currently logged on. Bridge 2020 may vary depending on the particular version of Bridge installed. c. Restart Adobe Bridge. A window should pop-up that asks you to "Accept the new script." If Adobe Bridge is already running, you will need to close the program, and re-open it in order to get the pop-up. To Use Script:
|

| Expand | ||
|---|---|---|
| ||
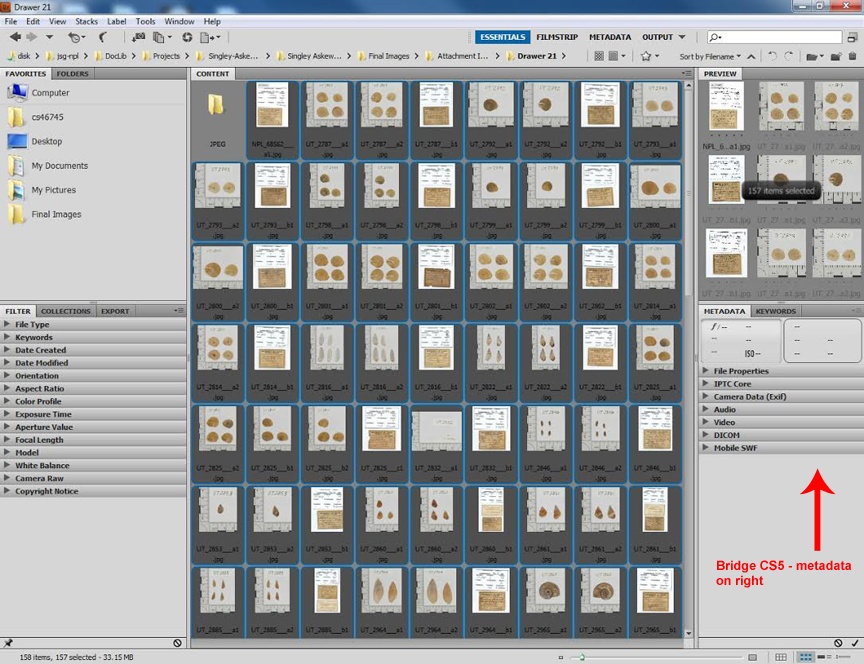
Once your "AddFileName to Title" script has finished, look for the metadata section of the Bridge window to find all the metadata associated with the images. Depending on the your version of Bridge, the data will be entered either on the left or the right side of the screen. Either way, you will be able to batch edit metadata here by selecting all of the images and entering the data you need. For details on what metadata to use see Metadata Standards at NPL
|

| Expand | ||||||
|---|---|---|---|---|---|---|
| ||||||
Anchor |
|


| Expand | ||
|---|---|---|
| ||
Before you attach anything to Specify, you first have to point the program to the correct attachments location. This is done in the preferences section of Specify, and must be done at each workstation that you use. This must be done EVERY time you work at a new desktop. It is a good idea to always check these settings before doing any attachments. See the page on Setting up Specify Preferences for instructions on how to do this. see Attaching Images to Specify |