Page History
EXPORT a self contained 23.98 quicktime of your current timeline | You will need a 1920 x 1080 or larger file exported from your Digital Non Linear Editor of your choice. Don't use an editing timeline use a self contained quicktime!! |
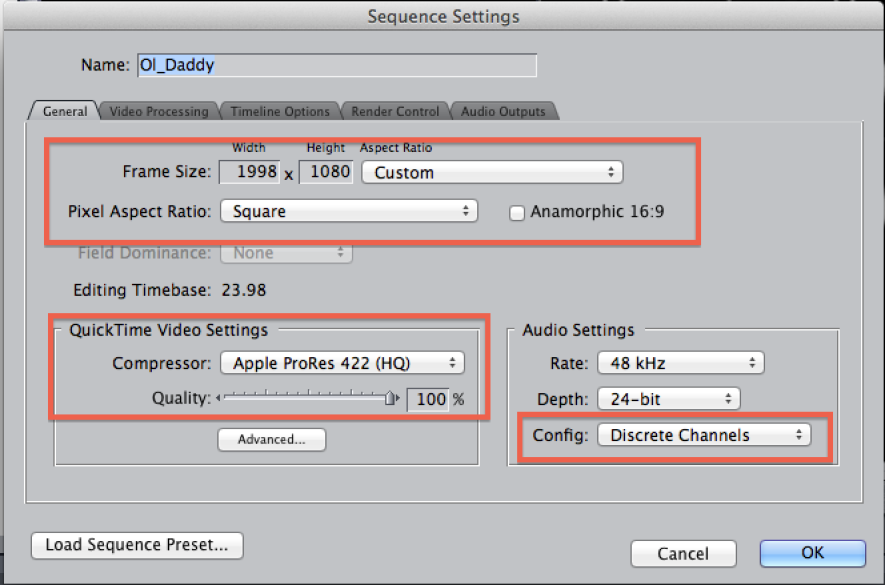
Make a new sequence at 2048 x 858(scope) Prores 422 or HQ |
|
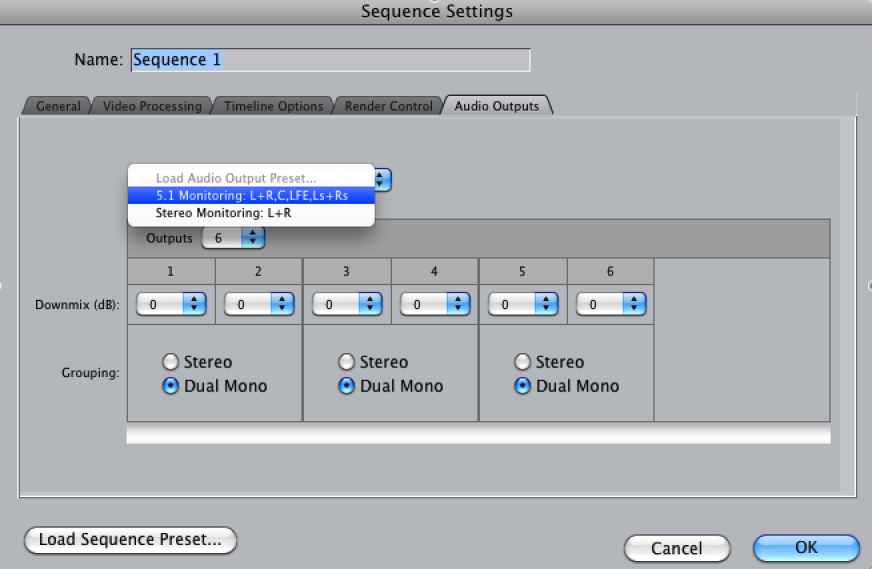
Next Change the audio output settings for the sequence. Go to >Sequence>Settings |
|
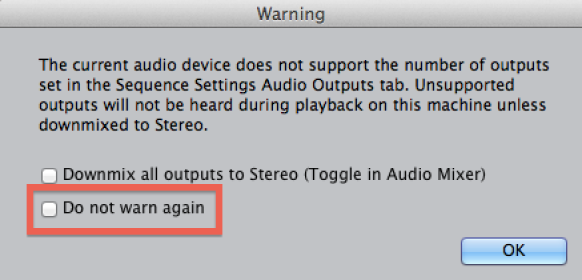
Ignore Warning Error |
|
If you get an encapsulated |
|
Add two audio tracks to your timeline so you have 6 tracks of audio | If you don't have an encapsulated .wave then will need to add two more tracks to your timeline. |
Then on right click each Final Cut Pro Timeline track change the Audio Outputs to match the track |
|
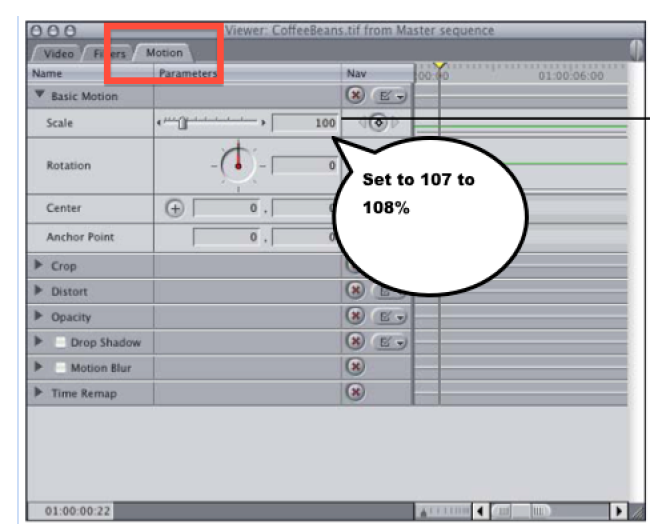
Add in the 1920 x 1080 movie into the 2K Scope timeline |
|
In Motion Tab change scale to 107 % then look at the left and right edge to make sure that you see no black on the sides usually 107% to 108% scale will work. |
|
Check Distort setting too just to be sure that it stayed at zero |
|
Trash Audio off Quicktime if it has any. |
|
In Final Cut Pro line up the following: |
|
Make sure the end of each clip lines up exactly the same length. Check that the audio and video are in sync on all tracks |
|
If your timeline is longer than 90ish minutes you will have to break into segments or (reels.) |
|
Notice that clicking the "X" will mark clip. |
|
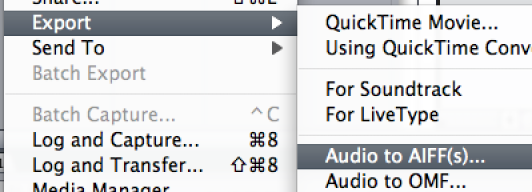
Next step is to export Audio to AIFF |
|
Choose 48KHz and 24bit audio |
|
Export the Reels using in and outpoints to export the separate reels |
|
Choose self contained QuickTime |
|


The next step will be to convert the exported aiff audio files in protools
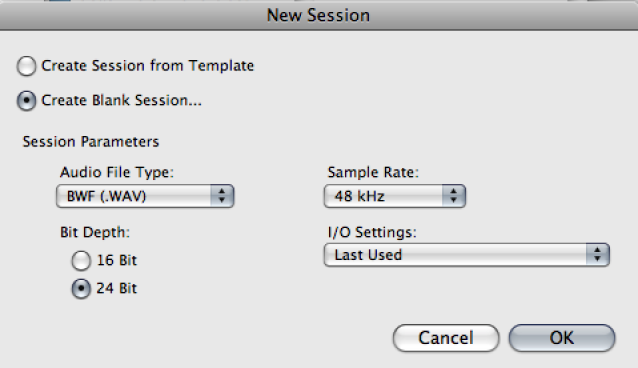
Open a new ProTools session |
|
Save the session to a hard drive |
|
When the session opens go to >Import>Audio |
|
Navigate to the AIFF files to import. |
|

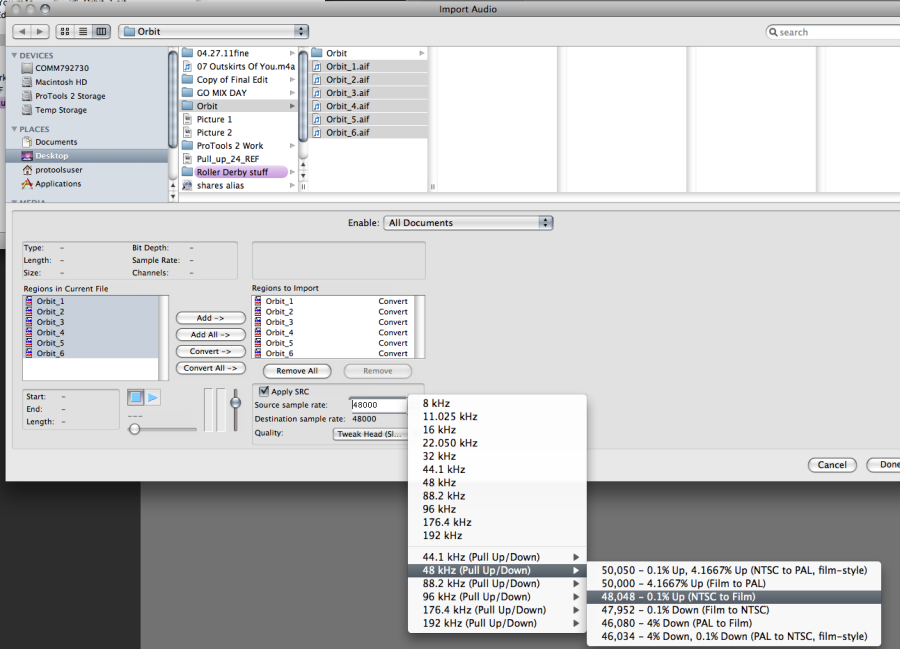

Choose a folder to save the converted files and click "Done"
The files will begin converting (adding pulldown to the audio tracks) and will be saved to the destination folder
Choose to add to New Track when prompted. |
|
Make sure there is audio in all the tracks |
|


Now move all the Quicktimes and the pulled down audio to the DCP computer in the Grad Suite H CMB 4.112H.
Below is an example of the files needed to make the DCP

Move to the Color Correction Suite Grad Suite H CMB 4.112H – This is the only suite that has the Easy DCP software.
This is the DCP Naming Convention |
| ||||||
Example |
| ||||||
Example of DCP naming |
| ||||||
|
| ||||||
Open "Easy DCP" |
| ||||||
Example of correct DCP name |
| ||||||
Choose the naming conventions shown here (change all the settings with arrows pointing to them) but set to apply to your particular DCP |
| ||||||
|
| ||||||
In the open project choose to Add Picture Track |
| ||||||
Navigate to the Self Contained QuickTime and choose the 1st file of the sequence or the only QT needed |
| ||||||
This is how the "Video" Track looks when loaded |
| ||||||
You will get an error for the frame rate conversion. Chose to ignore it | 23.98 to 24 will throw an error | ||||||
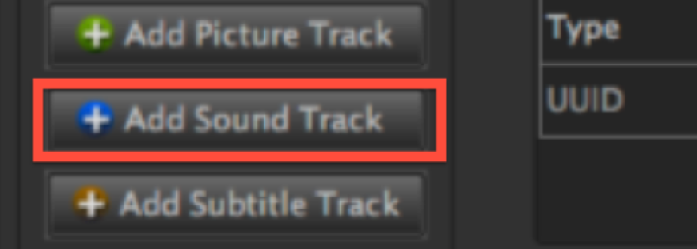
Next choose to Add Sound Track |
| ||||||
Choose 5.1 Speaker Setup |
| ||||||
Project with Track Files added |
| ||||||
Drag Image and sound reels over to the DCP Content "New Reel" window to create the reels (in this example creating 2 reels) Note that once you create one reel with image and sound a "New Reel" is automatically created |
| ||||||
Notice that there are two reels here. Both have one image file and a 6 channel audio file. |
| ||||||
|
| ||||||
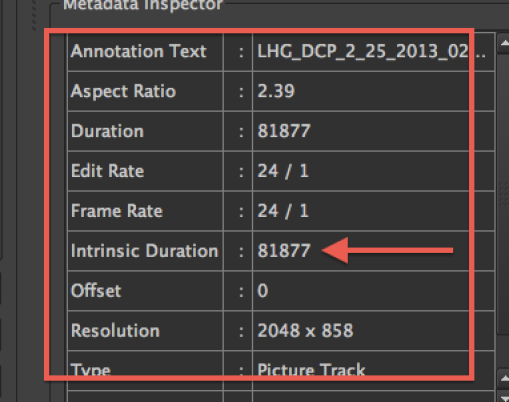
Make sure the "Intrinsic Duration" matches for both the audio channels and the video track |
| ||||||
Example of the audio track intrinsic duration 81877. In all cases the Audio and Video should match or it won't work with the software |
| ||||||
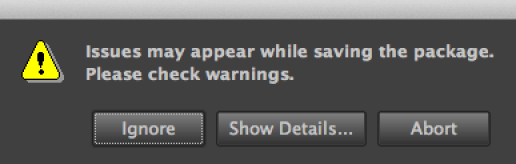
Make sure there is not a "Warning" triangle |
| ||||||
Make a folder on the external HD or internal raid drive on DCP computer using the |
| ||||||
Change the Content Kind to a short if you are making a DCP of a Short. |
| ||||||
Then choose to "Save DCP" if you have opened a previously made DCP to change the content type. If not just save the Project |
| ||||||
Click Generate DCP! |
| ||||||
If you get this error it is okay to ignore it
|
| ||||||
If you get a certificate error |
| ||||||
Go to >Options>Signature Setup. |
| ||||||
Click Ignore on this error message. It doesn't mean anything important. |
| ||||||
Choose where to save the files at this menu. Choose the folder you created named the same way as the DCP Naming Convention |
| ||||||
When finished the DCP software will state that the process was successful |
| ||||||
Save Project again |
| ||||||
This is the completed DCP folder example. All these files should be present. |
| ||||||
Launch Easy DCP Player |
| ||||||
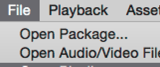
In Easy DCP Player choose >Open>Open Package |
| ||||||
Navigate to the newly created Folder containing the DCP files Click Choose |
| ||||||
The DCP will load. This might take a few minutes. You can get info in the lower left corner displaying the process of the file loading. |  | ||||||
| Double click on the file to load it into the player |  | ||||||
Then hit Play button on the player to play |
| ||||||
DCP player window playing the DCP file |
| ||||||
Look at the audio Waveforms to double check the file. Go to Asset>Waveform Visualizer |
| ||||||
Make sure that the waveforms look right. Notice that Chanel 3 has all the dialog audio. Generally That is the case. You can watch the waveforms follow the image file when you play the file in Easy DCP. Make sure the audio files appear correctly. |  | ||||||
Go to View >Color Transforms> |
| ||||||
Play the entire DCP to check the quality of the image and sound. Make sure the tracks are correct and looks and sound good. | |||||||
IF THE FILE IS GOOD THEY WILL NEED TO BE COPIED TO A NTFS DRIVE TO COPY TO OUR DCP SERVER. OR MOST FESTIVALS REQUIRE A LINUX EXT3 DRIVE More info can be found here. CLICK HERE
To open a DCP to edit it you can open the Application Easy DCP and go to "Load/Open Project" and Navigate to Assetmap |
| ||||||
Some things can be changed in a DCP open EZ DCP and click Load Project |
| ||||||
Navigate to the AssetMap |
| ||||||
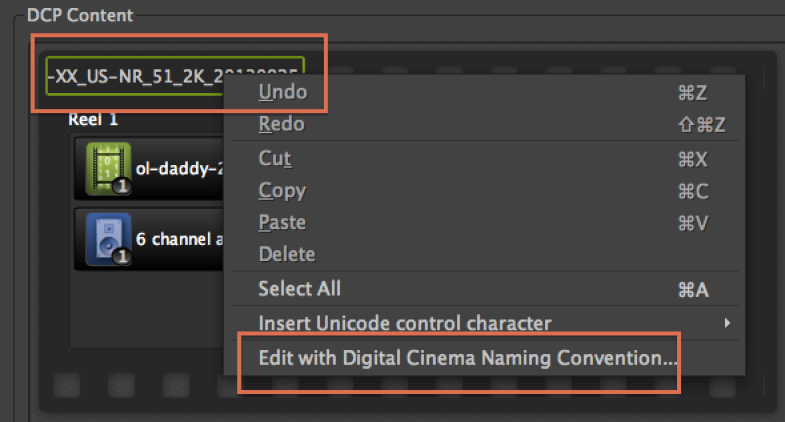
Right click on the dcp name and choose to rename using Digital Cinema Naming Conventions |
| ||||||
You can also change the type of track if you didn't do this correctly.
Change the Content Kind to a short if you are making a DCP of a Short. |
| ||||||
| change the content to trailer or short or etc. |  | ||||||
| Choose >File>Save DCP |  | ||||||
| Choose to Ignore this error |  | ||||||
| Ignore this too and choose Yes |  | ||||||
| Saving fixes the change |  |


Overview
Content Tools