Go to Menu>Project>Project frame rate and make sure it is set to 23.976 |
|
Click the "Home" button and notice the home screen shows FPS as 24.00. This also needs to be changed. |
|
Click the grey Button above the FPS and change the Sensor FPS to 23.976 as well. |
|
Notice now the FPS say 23.976 on the home screen. |
|
Next change the SXS card recording resolution to 2K. Go to Menu>Recording>Internal > |
|
Next change the SXS card recording resolution to 2K. Go to Menu>Recording>SXS Cards > Change to 2K (2048x1152) |
|
ERASE SXS CARD 1 AND 2 |
|
Press TC to set the Timecode |
|
Press Options button and make sure timecode is in record run |
|
Press Reset to set the TimeCode to Zero |
|
This is the default settings for the camera but the Shutter ASA or ISO and the white balance have to be set to the lighting conditions. |
|
Once you have shot footage on the Alexa you need to bring that into AVID. Launch AVID |
|
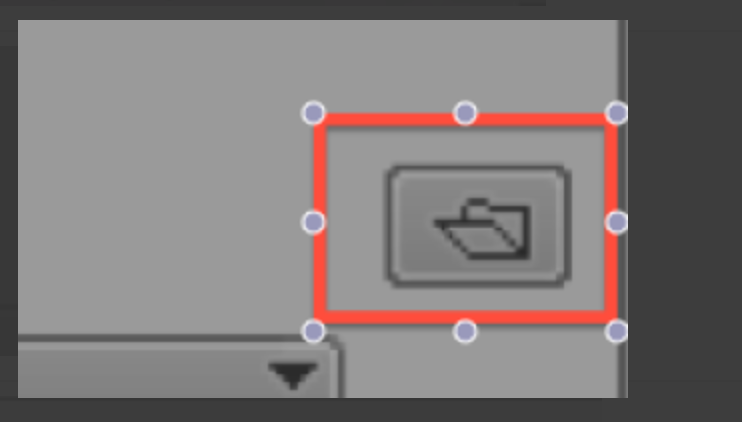
The Initial Project Screen will open. Here is where you choose where you create and save new projects. Click on the "Folder" to select where to save your new projects also how to navigate to already existing projects. |
|
Navigate to the hard drive and folder that you want AVID to access and save new projects |
|
You can look at the path where AVID will be accessing projects once you select the folder |
|
Now click on the "New Project" button |
|
The New Project Dialog will come up. Select the project parameters
|
|
Open the Source Browser if you haven't already |
|
Choose to "Link" |
|
The files will load into the open bin |
|
Select the files in the bin and choose >clip>Consolidate/Transcode |
|
Then select where you want to save the consolidated files and choose the "Target Video Resolution" |
|
Edit with the master clip not the linked file |
|


Overview
Content Tools