This wiki explains how to setup and record a lecture using the screen capture function within QuickTime with audio from the webcam.
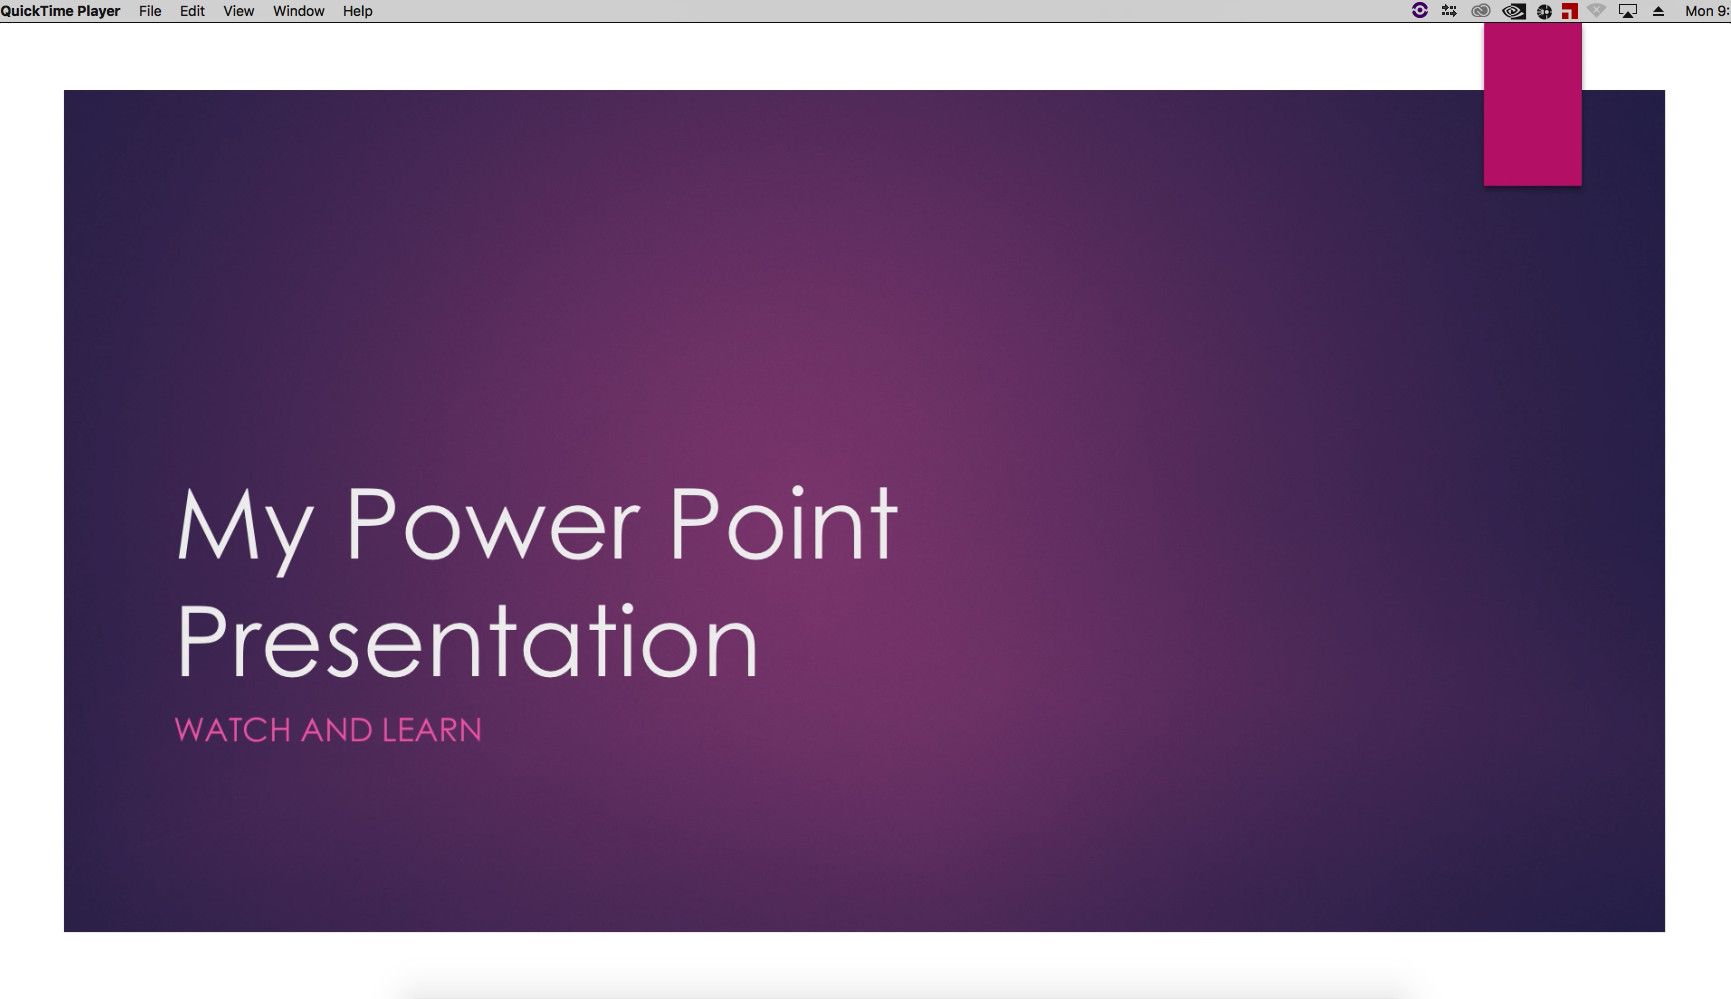
Prepare your presentation. Example: Load/Open your power point presentation |
|
Launch QuickTime Player |
|
| Choose "New Screen Recording" from the QuickTime Player File menu. |
|
| Choose "HD Pro Webcam C920" from the dropdown next to the round Record button |
|
When you speak, these meters should move. (The closer you are to the webcam, the clearer the audio will come through) |
|
Click the record button (running through a short test recording is recommended) |
|
This notice will pop up. To start recording full screen, click anywhere on the screen. If you want to just record a specific part of the screen OR Click and drag out a rectangle to define that area and then recording will start. |
|
| Now switch over to your power point presentation and begin the slideshow |
|
| |
| When you're done... |
|
| ...switch back over to QuickTime and click the stop button in the upper left |
|
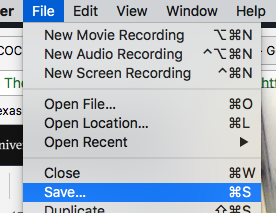
Choose "Save..." from the File menu in QuickTime. |
|
Navigate to the location where you would like to save this file. Name the file in the "Export As:" box. Click Save |
|
| Check your saved screen recording by playing it back |
|
OR if you want to record just the audience and audio from class Open Quicktime Player 10 not 7 |
|
| >File >New Movie Recording |
|
Click on the Red Record drop down arrow and choose these settings If you don't see the microphone option to set to HD Pro Webcam close and re-open the quicktime player app |
|
Click on the red record button and record. When finished click the same button to stop recording. |
|
Next save the quicktime Choose >File>Save title the file and where to save it. Done!! |
|


Overview
Content Tools