One on One Office Hours with Canvas Messaging
For Office Hours and meetings with individual students, you can use Zoom's meeting scheduler directly
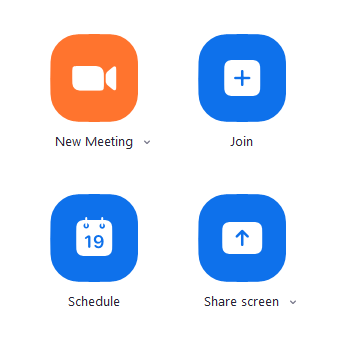
- Open the Zoom desktop application on your computer
- Click "Schedule" to schedule a meeting with an individual student
- Choose the date and time and adjust the settings to your preferences

- Select "Other Calendars" and then "Schedule"
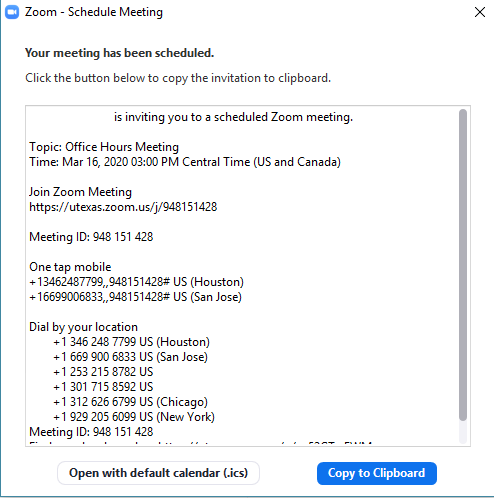
- A dialogue box with all the information your student needs to join your meeting at the scheduled time will appear, click "Copy to Clipboard" so you can share it in Canvas
- A dialogue box with all the information your student needs to join your meeting at the scheduled time will appear, click "Copy to Clipboard" so you can share it in Canvas
- Go to your course in Canvas and select "People" on the lefthand panel
- After finding and selecting your student, their profile box will pop up on the right with a Messaging icon

- Select the messaging icon and in the message fill in the Subject and paste the Zoom Meeting information into the body of the message

- Once sent, the student now has the meeting information and can use the Meeting ID or the link provided at the scheduled time to join your meeting within Zoom.
- After finding and selecting your student, their profile box will pop up on the right with a Messaging icon
Open Meeting Office Hours
Office Hours in Zoom follow the same structure as hosting a lecture
Open your course in Canvas
- From the sidebar, click "Zoom"
- Click the blue "Schedule a New Meeting" button
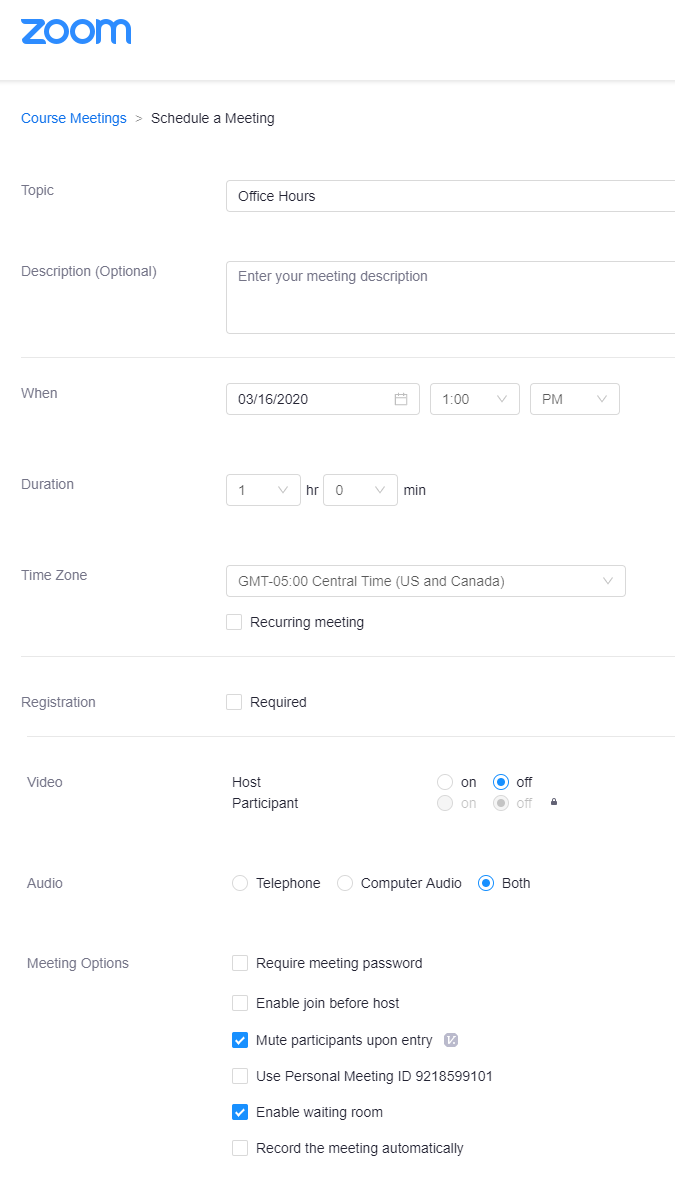
- Fill out the settings for your lecture as desired. You can provide a topic, description, decide the time and duration, and more.
- Your meeting time and duration should be set to that of your Office Hours. In our below example, the class meets for an hour at 1pm.
- By selecting "Recurring meeting", you can automatically schedule your Office Hours to repeat each week. Use the "Weekly" option and select the days on which your Office Hours occur.
- Be sure to uncheck "Require meeting password". This option is not necessary and may complicate the process of joining for your students.
- Be sure to check the "Mute participants upon entry" option. This will prevent background noise from students or other participants from being immediately broadcast when they enter the meeting.
Use the "Enable waiting room" option to allow the students to join the meeting before the planned start. This will allow you to admit all students to the meeting once the instructor is ready for Office Hours to begin. You can read more about the Waiting Room here.
- When configured to your liking, click "Save" to save your meeting. It will automatically be added to your Canvas calendar, as well as to your students' calendars.
Overview
Content Tools