| The following steps will guide you through installing a Konica Minolta multi-function printer | |
|---|---|
Download the appropriate drivers for the Konica Minolta you are installing Konica Minolta Bizhub 364e - CMA 5.184 | |
Click on the Apple menu and select System Preferences Click the Print & Fax icon |  |
| Click on the + and select add printer |  |
Click on the IP tab at the top In the address field put in the URL of the printer. Those are available on the Multifunctioning Devices and Printers page. Give the printer a name that makes it easy to identify. I suggest the department name then Konica Minolta Click the Use drop down and choose "Select Printer Software" |  |
In the search field type in "Konica" Select the proper driver for the device that you are installing. In this case it is for the C654e. |  |
| Select the appropriate configuration options for the printer you are installing. That information is available on the Multifunctioning Devices and Printers page. |  |
Open a Word document and bring up the print menu. Chose the Konica Minolta printer that you installed above. Select "Output Method" in the dropdown menu. Check the box next to "User Authentication" |  |
Put in the constituent's EID and password. Check the box for "Save Settings" |  |
| The Authentication Settings should look like the image to the left. |  |
| In the Presets drop down menu select "Save Current Settings as a Preset" |  |
Give the preset an easy to remember name then click OK. Now the constituent is ready to print to the Konica Minolta Multi-Function printer. | 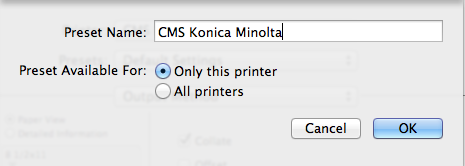 |
Overview
Content Tools