Duplicate your Timeline that you will be prepping for export to ProTools
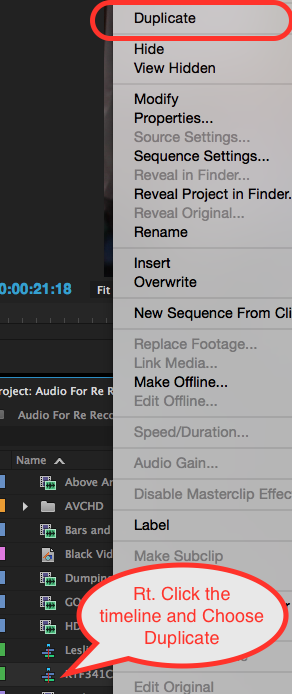
Select the timeline>Right Click it and choose > Duplicate


Navigate to the Countdown and Universal Tail Leader files that were downloaded
In this instance they are in Macintosh HD>Users>(your user account)>Downloads>


Mark the entire clip. Go to the head of the clip and mark an inpoint and go to the end of the clip and mark and outpoint.
The duration should be 8:00 seconds


Make sure there are not any other in our out points in the timeline.
Right click on the timeline on the ruler and choose Clear In and Out

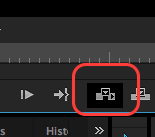
On the source side click the Insert icon or the "comma" key on the keyboard to insert the
Countdown and 2 Pop at the head of the timeline

Once the countdown is inserted into the timeline double click on the clip to load it
into the source side monitor

Select the timeline to modify in the "Timeline" window
click on the 3 dashed lines next to the name


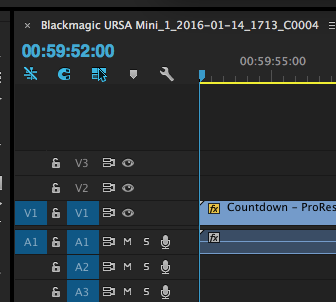
type in 59:52:00 and select OK
you don't have to type in the decimals they will be added automatically
Click OK


Mark the entire clip. Go to the head of the clip and mark an inpoint and go to the end of the clip and mark and outpoint.
The duration should be 8:00 seconds


Make sure there are not any other in our out points in the timeline.
Right click on the timeline on the ruler and choose Clear In and Out

Click the Overwrite or "period" shortcut key on the keyboard to place the tail leader
at the end of the timeline.

Now that the Universal Tail Leader is at the end of the timeline double click on the clip to load it into the source side monitor

Finished timeline loaded>go to File>Export>OMF

TITLE YOUR .OMF
Sample rate 48 and 24 Bits
Choose to Embed Audio
Render - Trim Audio Files
Handles 196 Frame
Click OK

Choose a place to save the file.
Click Save

Next Export the QuickTime "Chase" Movie
Go to >File>Export>Media

Choose Format DNxHR/DNxHD MXF OP1a
Video Codec 1080p DNxHD LB 8-bit
Click on Location - and choose where you want to save the file.
Frame Rate 23.976

Choose to Export Audio
2 channel
24 bit Sample Rate

Navigate to your hard drive to choose where to save the file
Click Choose

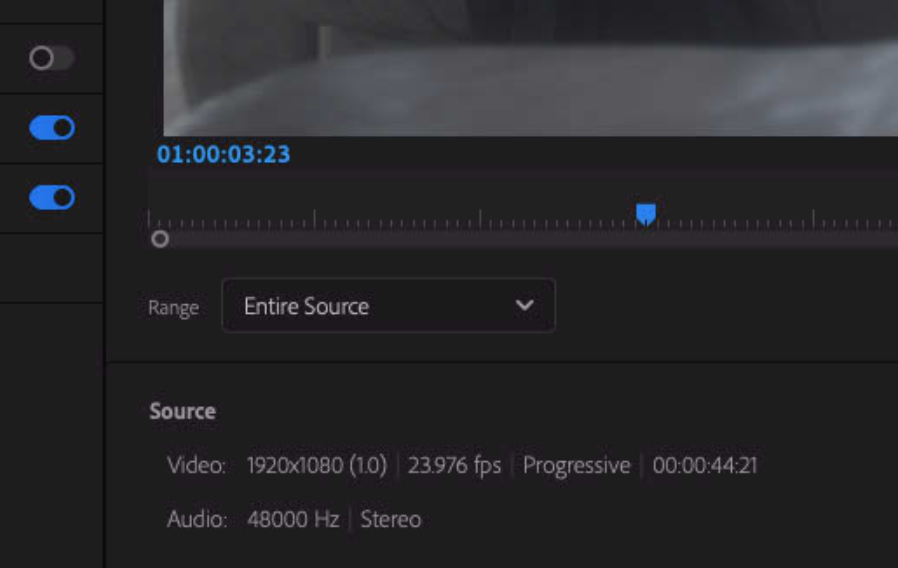
Check to make sure that the Source Range is set to
Entire Source

