RODECaster Pro - RODE Broadcaster Mic
Turn up the sliders on the board and talk into the mic(s) you want to use

Have each guest and interviewer speak directly into the front of the mic, and not from the sides

Set the levels by watching the meters as you speak. You'll be at a good level to record when the color of the level bars peak at green going into yellow (see picture →)
You should never hit red!

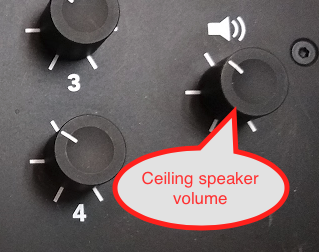
You can adjust headphone volume with these knobs

Make sure the Ceiling Speaker Volume is all the way down before
recording!!

On the Mac you can open Zoom, facetime, skype or whatever
Our example is Zoom

Go to >Zoom.us
>Preferences

Choose Video
Choose Logitech Webcam C925e

Choose Audio
Choose Speaker
RODECaster Pro
Microphone
RODECaster Pro Stereo

You can also check the Audio Preferences once you open Zoom
Choose the Microphone up arrow and choose
Microphone>RODECaster Pro Stereo
Speaker > RODECaster Pro

Next turn up the computer input to the RODEcaster
That is the sliider that has the USB icon on it shown here
Set a good level on the audio coming into the board.
Meter should be at green going into yellow but not RED.

Once the Zoom session is setup
Start Recording
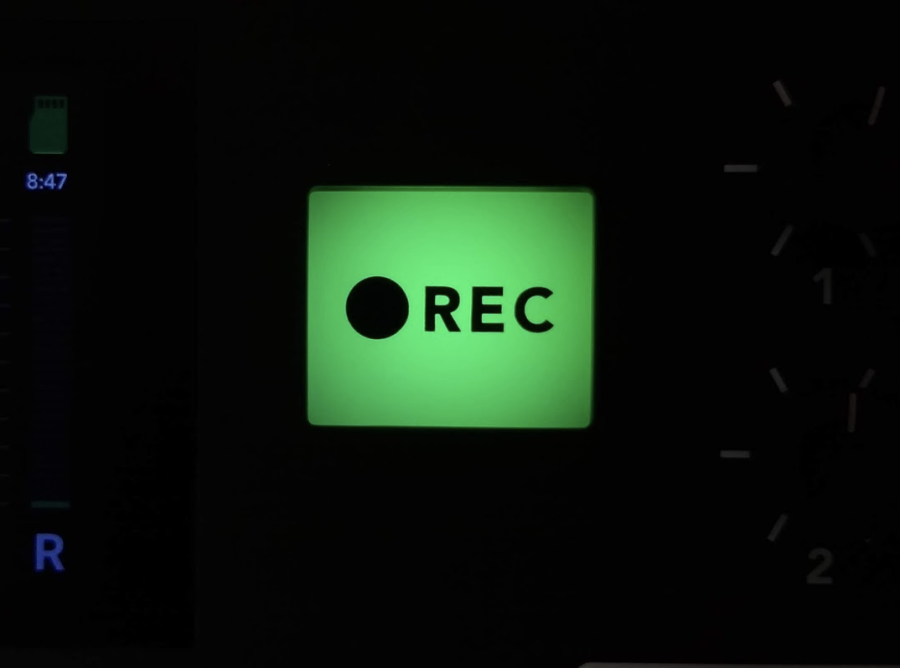
Click on the Green REC button to start recording to the SD card

When recording the button will be RED
Conduct the narration, interview or podcast and when finished press REC button to stop recording

To hear what you did press the Settings Icon

Click on Podcasts

You can click on the top left and right arrows to navigate through the podcasts and click on the green play button to play the selection
Click the Home Button to exit this menu.

Turn up the ceiling speaker volume to hear playback in the room
Turn up the headphone volume for playback in headphones
