In the Applications folder, open Adobe Premiere.


Name your project under Project Name

Then choose where you are going to save your project


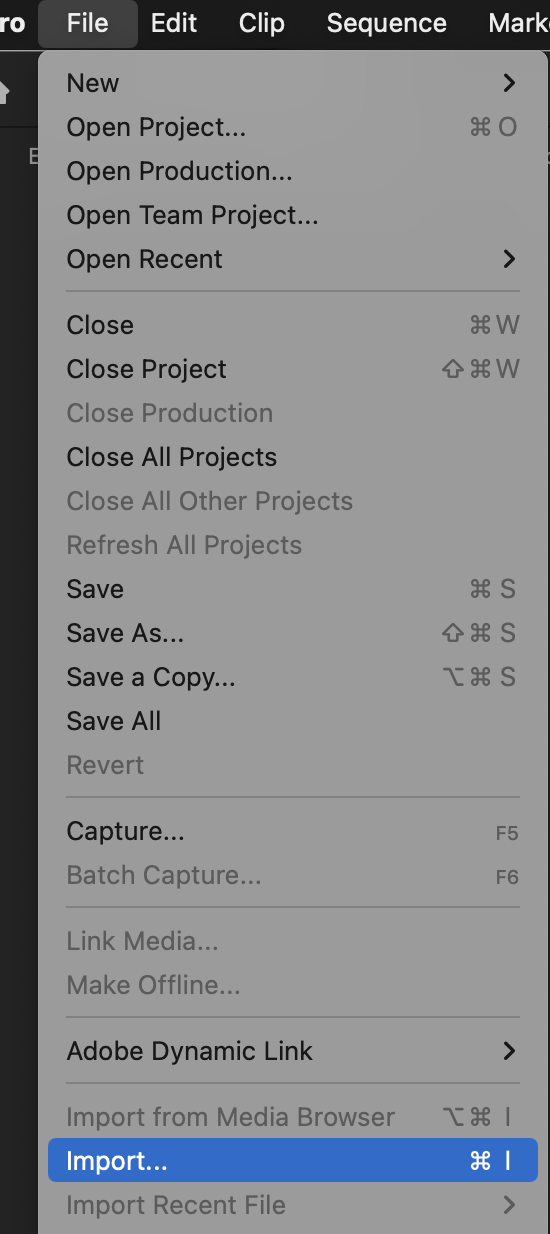
To bring in Media to your project go to >File>Import


The file folder will load and your media files will be inside.

When you are bringing in footage and it does not look the same as you thought it would when you shot it
Check a few settings >
we need to make sure no LUTS are applied
Once the clips are imported into Premiere
Select all the clips and Right click
>Choose Modify>Interpret Footage

Make sure Color Management is set to 709 and LUT is set to None
click OK
If Color Management is greyed out then you are okay to proceed there is no LUT being applied

If you have IPhone or Phone footage that looks blown out do the following steps
Select all of your HDR clips > Right Click (windows) > Interpret Footage > Color Space Override > Choose Rec 2020

