Once there, mark an in point (default key is "i")


Go to the end of your timeline or wherever the end of your edit is
Mark an out point (default key is "o")


Go to Sequence > Render Effects In to Out (default key is "enter / return")

The sequence will render any effects that have been applied

Choose File > Export > Media (default key is "Ctrl + m")

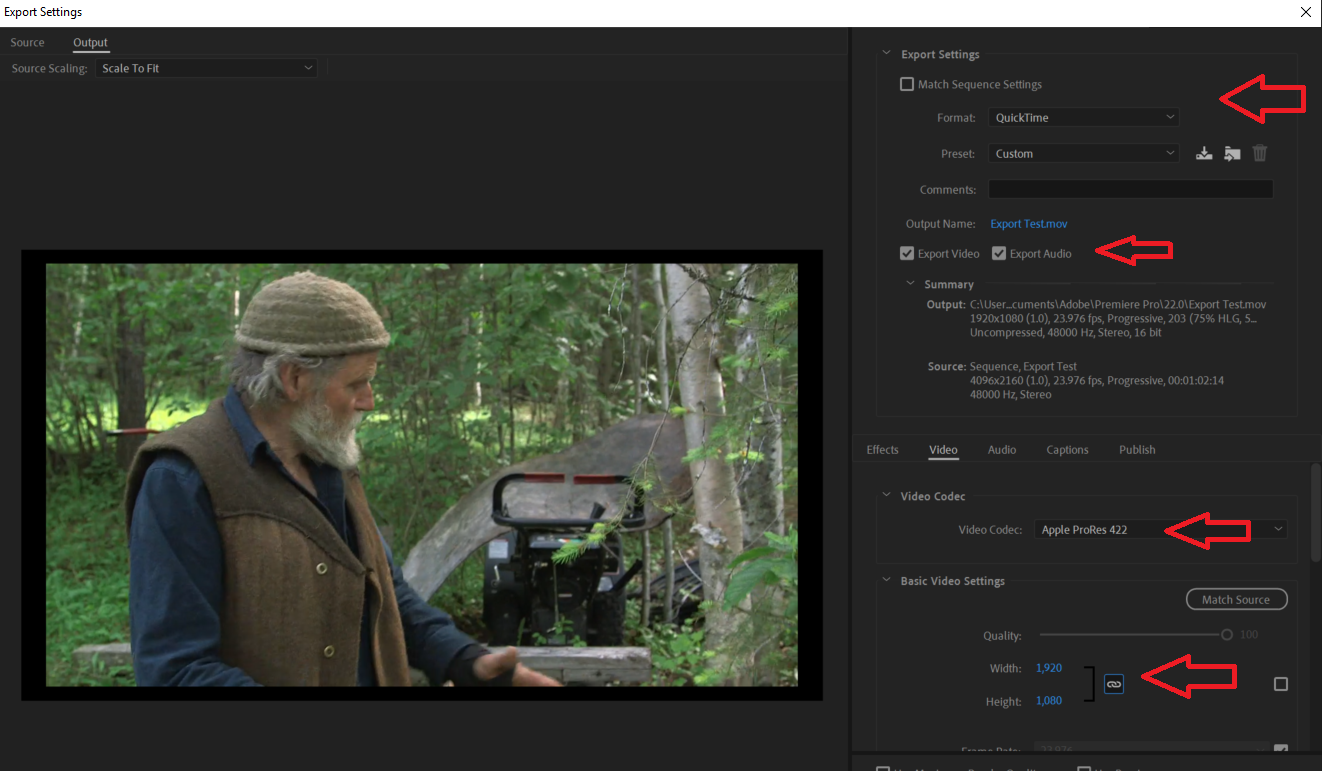
Match the following settings:
Format: QuickTime
Make sure Export Video & Audio are ticked
Make sure Video Codec is set to Apple ProRes 422
Width: 1920
Height: 1080
(if your width & height are different, untick the box next to them and you can manually enter)
Frame Rate: 23.976
(if your frame rate is different, you can untick the box and manually set it)
Make sure your Field Order is set to progressive
(if it is not, you can untick the box to set it manually)


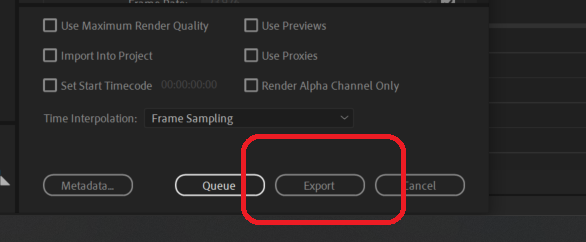
A progress bar will appear, showing you the progress and estimated time to finish
