This article will cover the installation of VMWare on both Intel and Apple Silicon Macs.
Prior to installing, make sure you have:
- ~30 GB of free space
- ~45 minutes for complete installation
Download and Install VMWare:
Using the VMWare Academic Software Licensing Program hosted at DTL Brightspace.com, faculty and students at the McCombs School of Business can download VMWare Fusion at to run a Windows VM on a Macintosh computer. There is no cost to download and use this software, but it's license must be renewed by you each year. You will not be able to renew your license once you are no longer a student or faculty member.
To request access to this program please follow the steps below
- Submit a ticket at https://www.mccombs.utexas.edu/tech requesting access. Please tell us the university email address you wish to use as your logon for the program.
- Once we register your email address, you will receive an email message from info@itacademy.brightspace.com similar to the one below that invites you to the program.
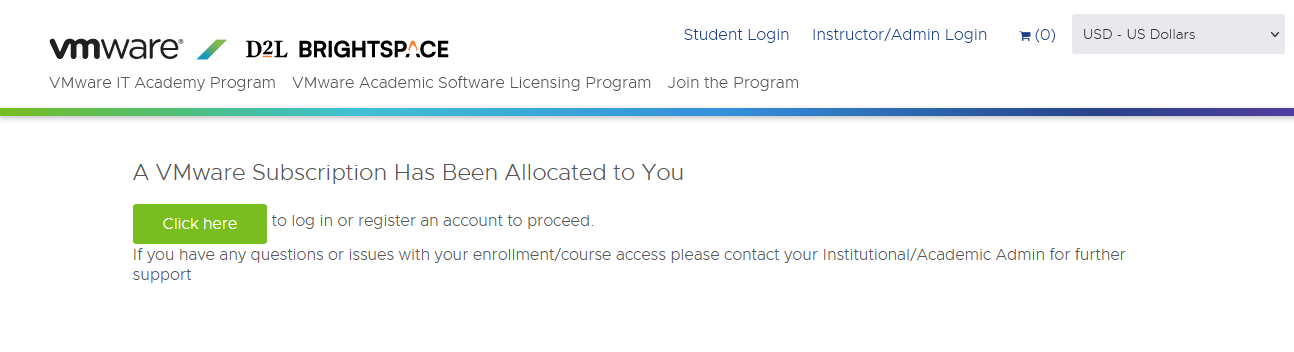
- Click the link in the email to register for the program. This will take you to the main login page. Click the "Click here" button to register
- At the next page, since this is your first time accessing the program click the "Register" button. (In the future after registering you can use the "Log In" button)
- The next page will ask you to confirm your email address, set a password, and create your account.
- Once the registration is completed, you will then be allowed to access the program web pages. Click the link provided to access the program.
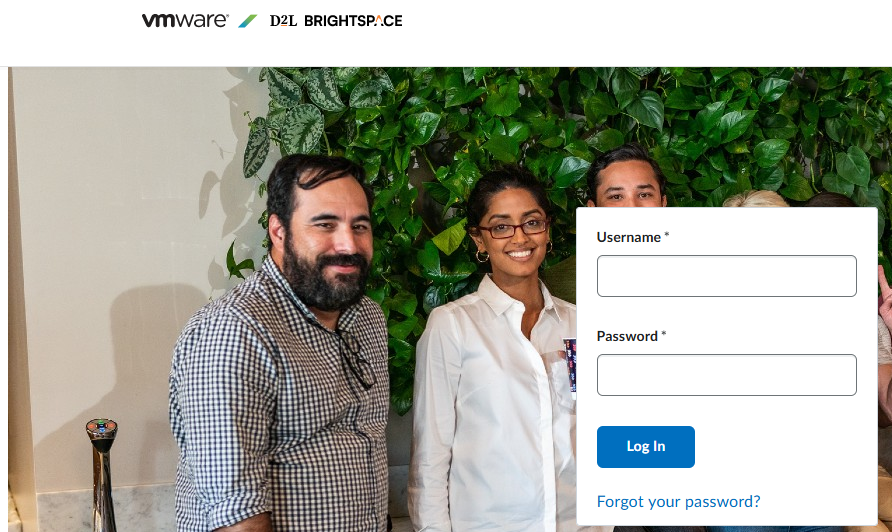
- In the future, anytime you need to access the program just go directly to https://itacademy.vmware.com to login with the email and password you registered with the program. McCombs IT staff do not have the ability to access or reset your password. If you forget your password, please use the "Forgot your password?" link on the login page.
- The DTL Brightspace main dashboard shows the "courses" you are enrolled in. You should only see one course called "Software Product & License" keys.
- When you access the "Software Product & License" course page, you will see instructions for downloading software and requesting one-year license keys for this software. You should request software keys before downloading any software since it can take anywhere from fifteen minutes to several hours for VMWare to email you your requested license key.
- Open your Finder and navigate to the downloads folder
- Double click the VMWare-fusion.dmg
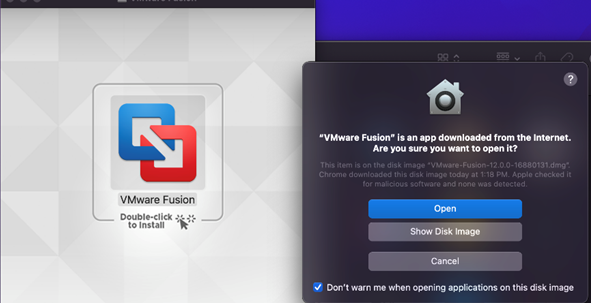
- Double click the VMWare icon that pops up
- You will get a warning click open


15.You will then be presented with a box to paste the License Key that you were sent
16.Click continue

17. Click through the install and you will be presented with an Accessibility Error
18. Click ok then click Open System Preferences


Your Security and Privacy Settings will pop up.
19.Click the lock in the bottom left. Enter your credentials
20.Put a check mark next to VMware Fusion
21.Close the window

If you get a popup about updating VMware fusion click Skip this version
How to know whether your Mac is using an Apple Silicon or Intel processor
- Go to the menu bar and select the Apple icon
- Select “About this Mac” from the drop-down menu
- Select “More info…”
Once there, you will find your Mac’s specifications.
Windows download for Apple Silicon Macs
1.Navigate to https://utexas.app.box.com/v/msb-student-vms and download the windowsARM.vmdk
2.Open VMware
3.Create a custom virtual machine

4.Choose Windows 11 64-bit ARM

5.Auto-generate a password or enter one that you will remember and press continue

6.Click on Choose virtual disk

7.Locate and select the file you just downloaded

8.Select finish
Windows should now be setting up
As we cannot continue without a network connection, we need to install the network drivers
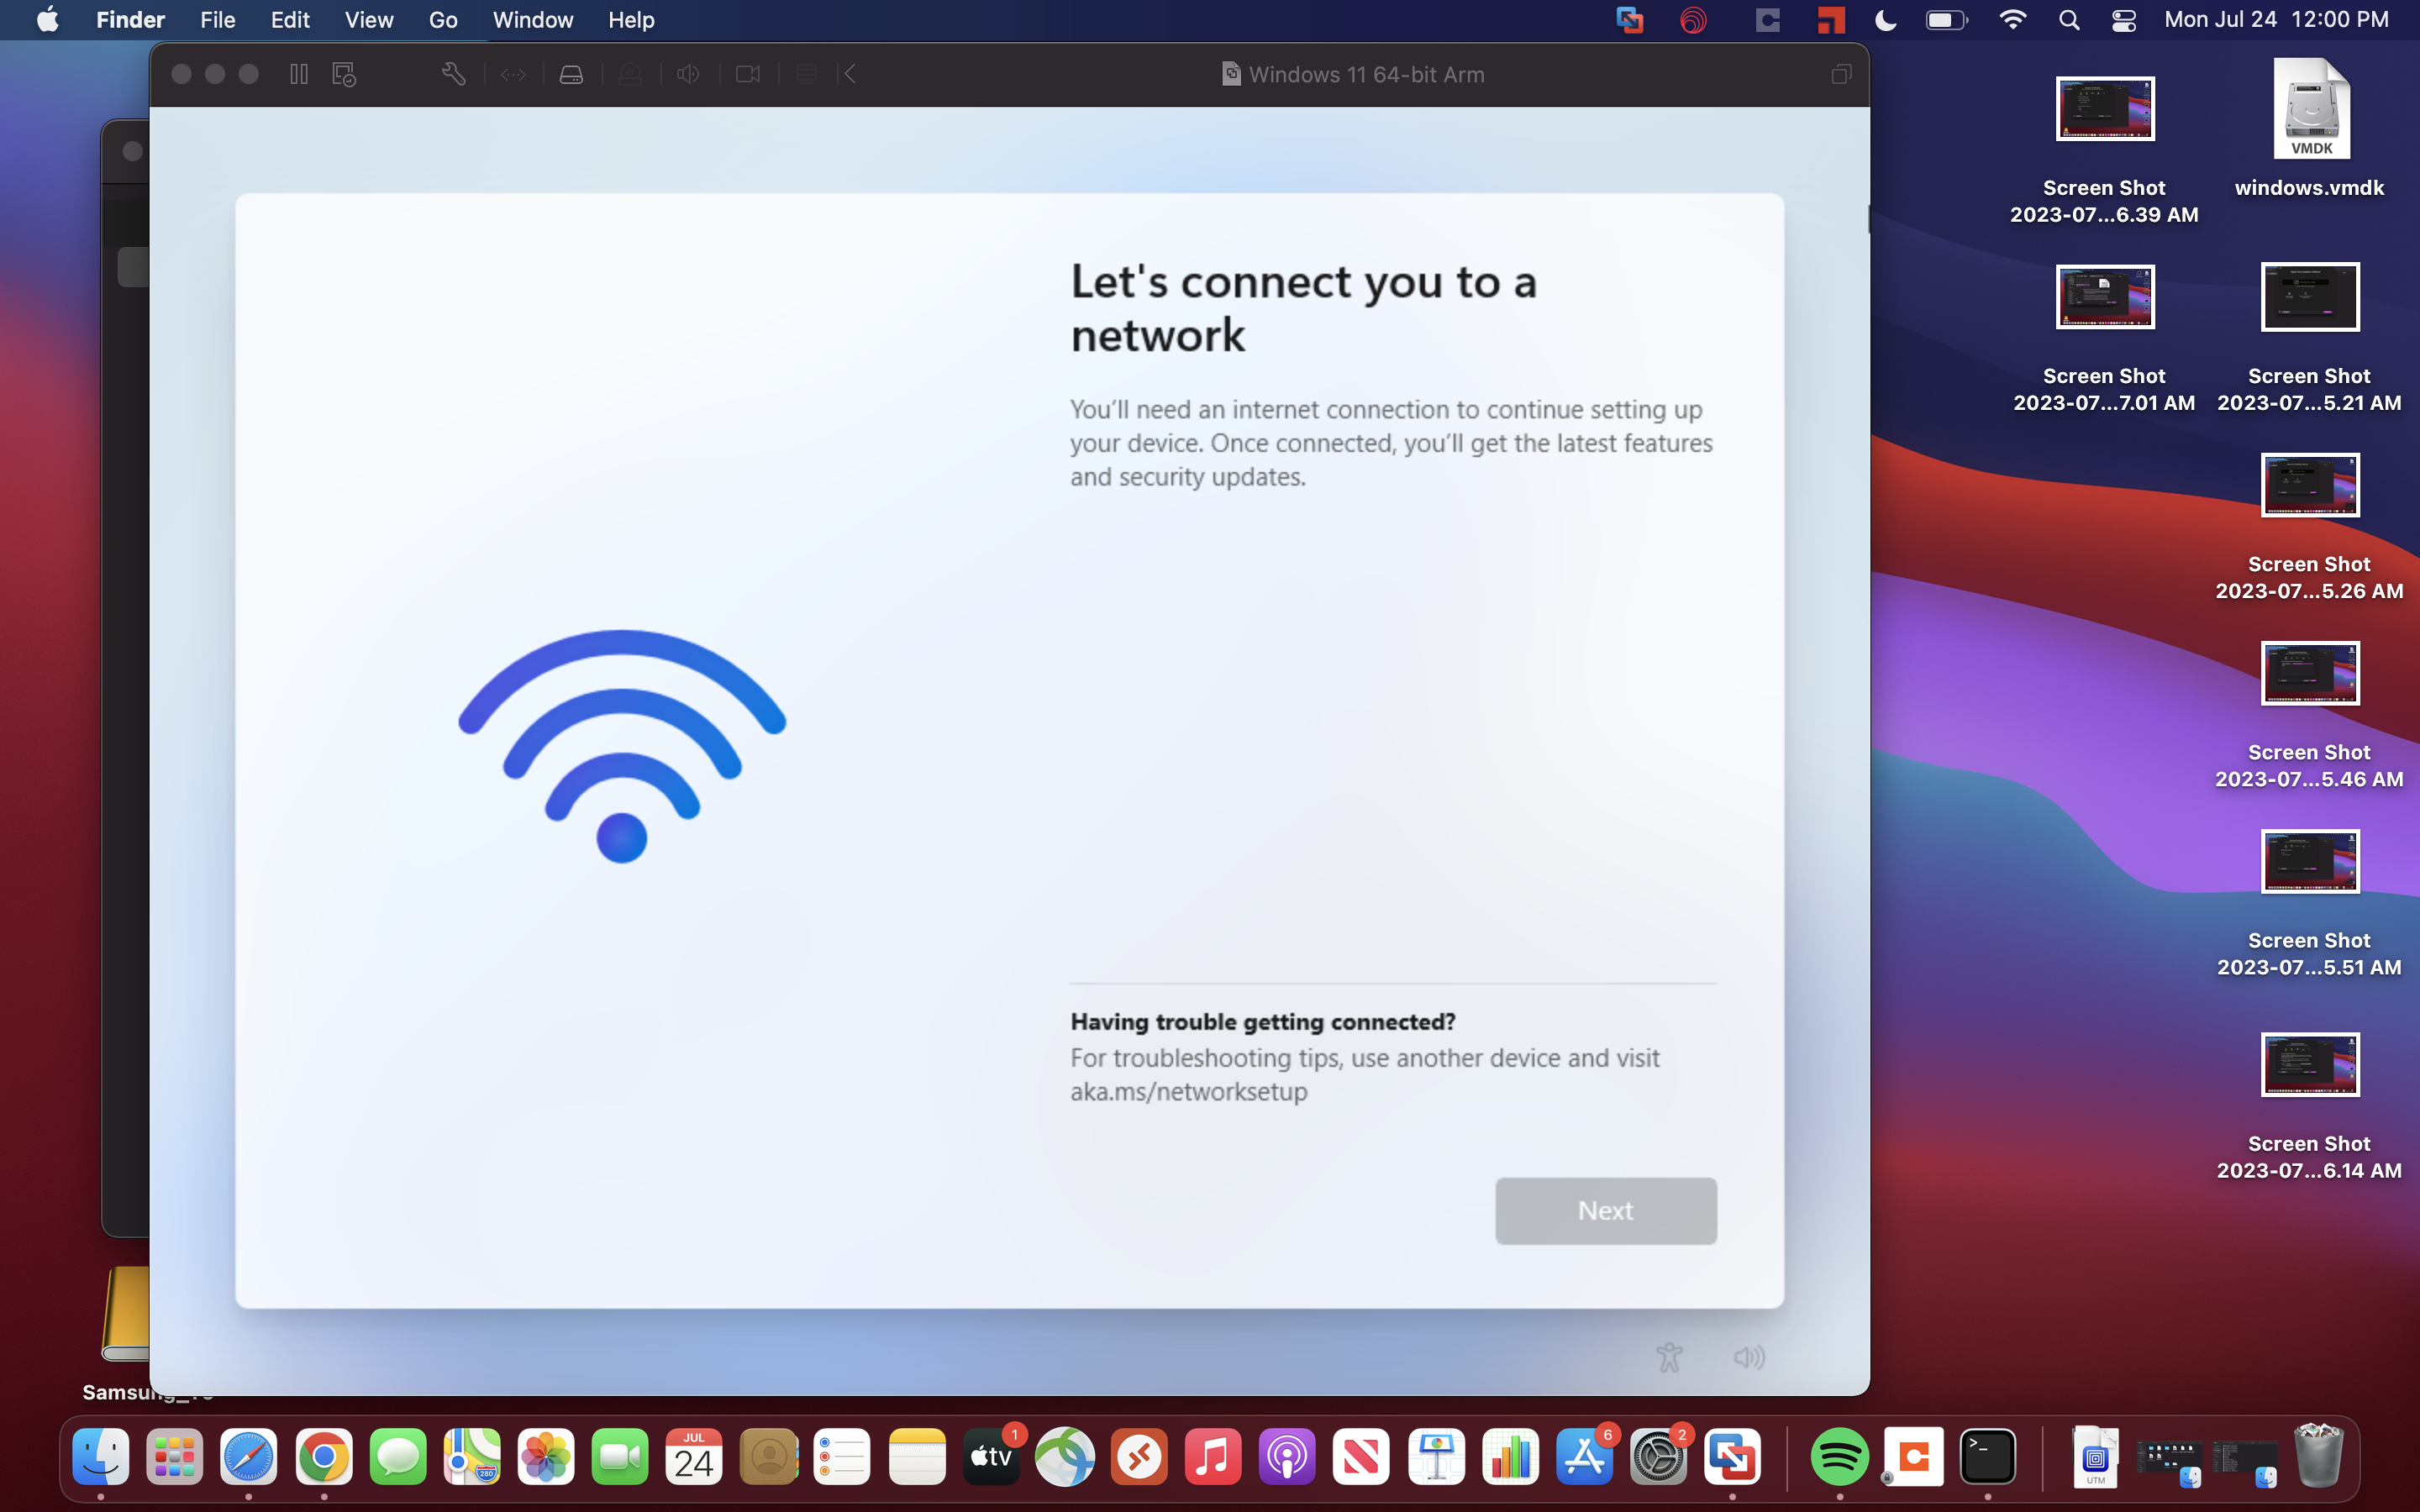
9.Restart the VM by selecting the button 'Virtual machine' at the top of your screen
10.Select 'Restart'
11.Once it has restarted, we need to open command prompt: hold 'shift' + 'FN' + 'F10'
If the above key combination doesn't work please try:

12.Type OOBE\bypassnro
Press Enter
13.Once the Virtual Machine (VM) restarts, you should now have an option to select 'I don't have internet'. You can now continue the setup process
Once you are in Windows:
14.Open the start menu
15.Open 'Powershell' as administrator. To run as administrator, please: right-click of your mouse, then choose "Run as administrator".

16.Type 'Set-ExecutionPolicy RemoteSigned' then press enter
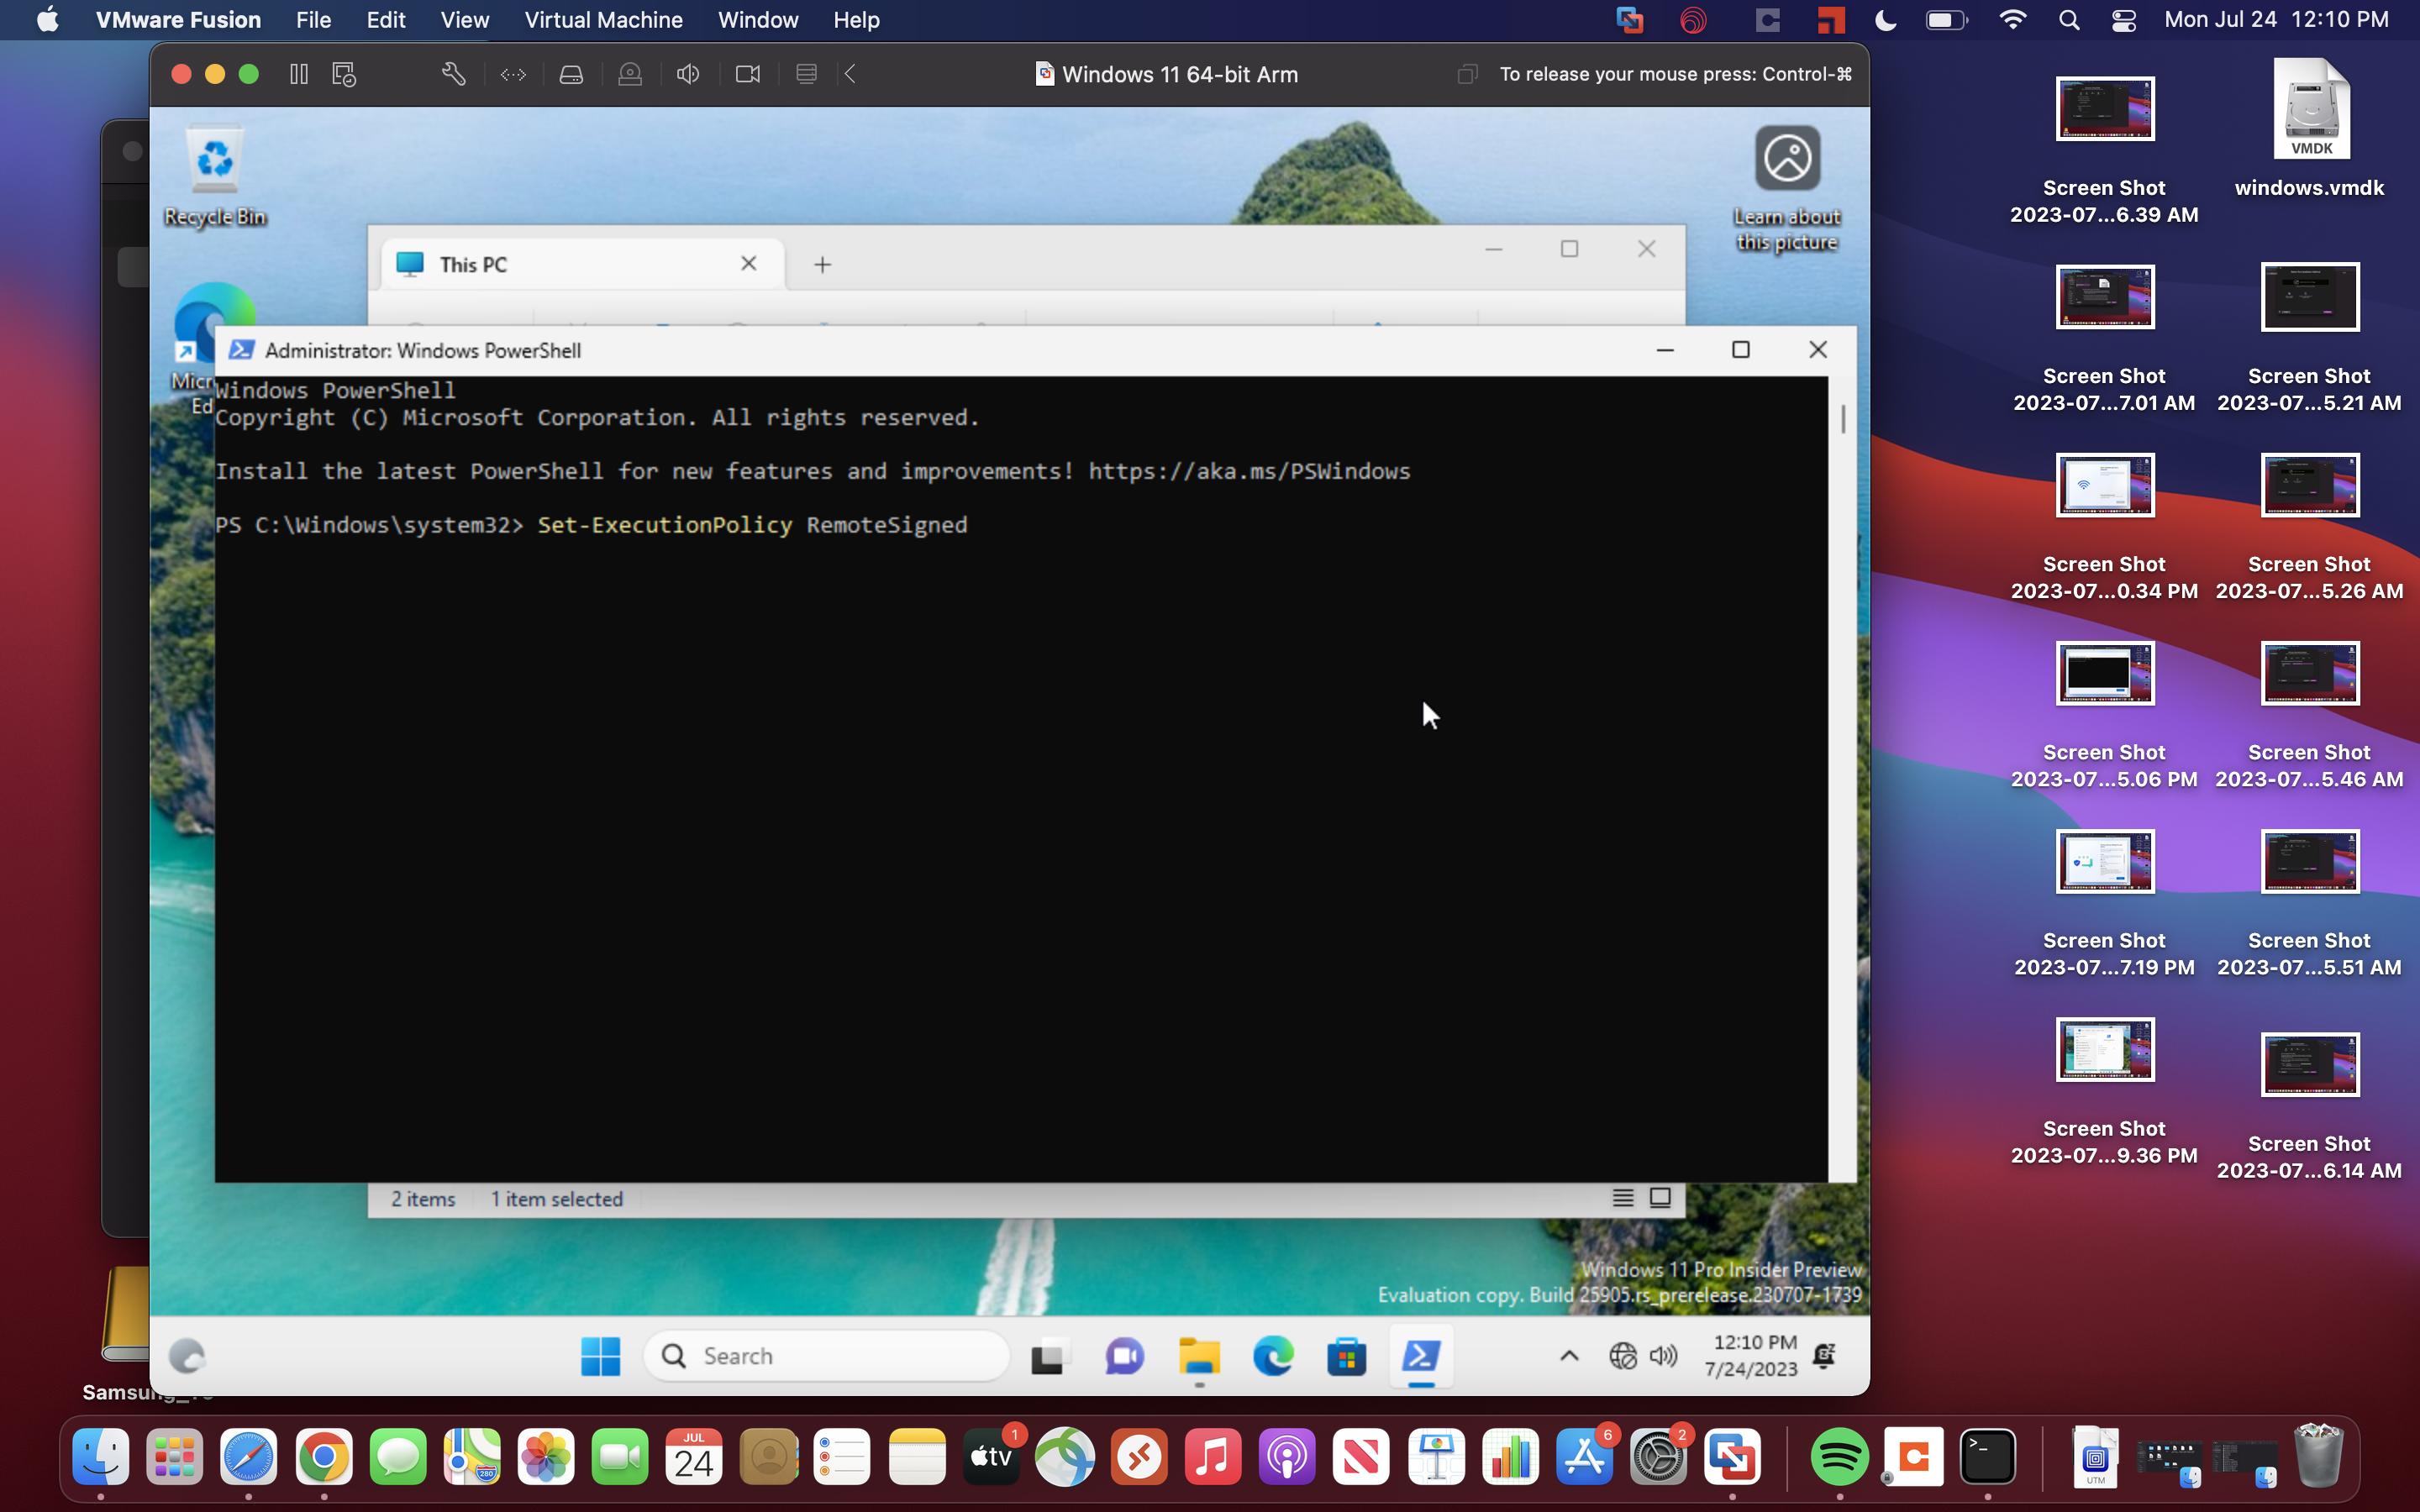
17.Press the 'A' key, then Enter
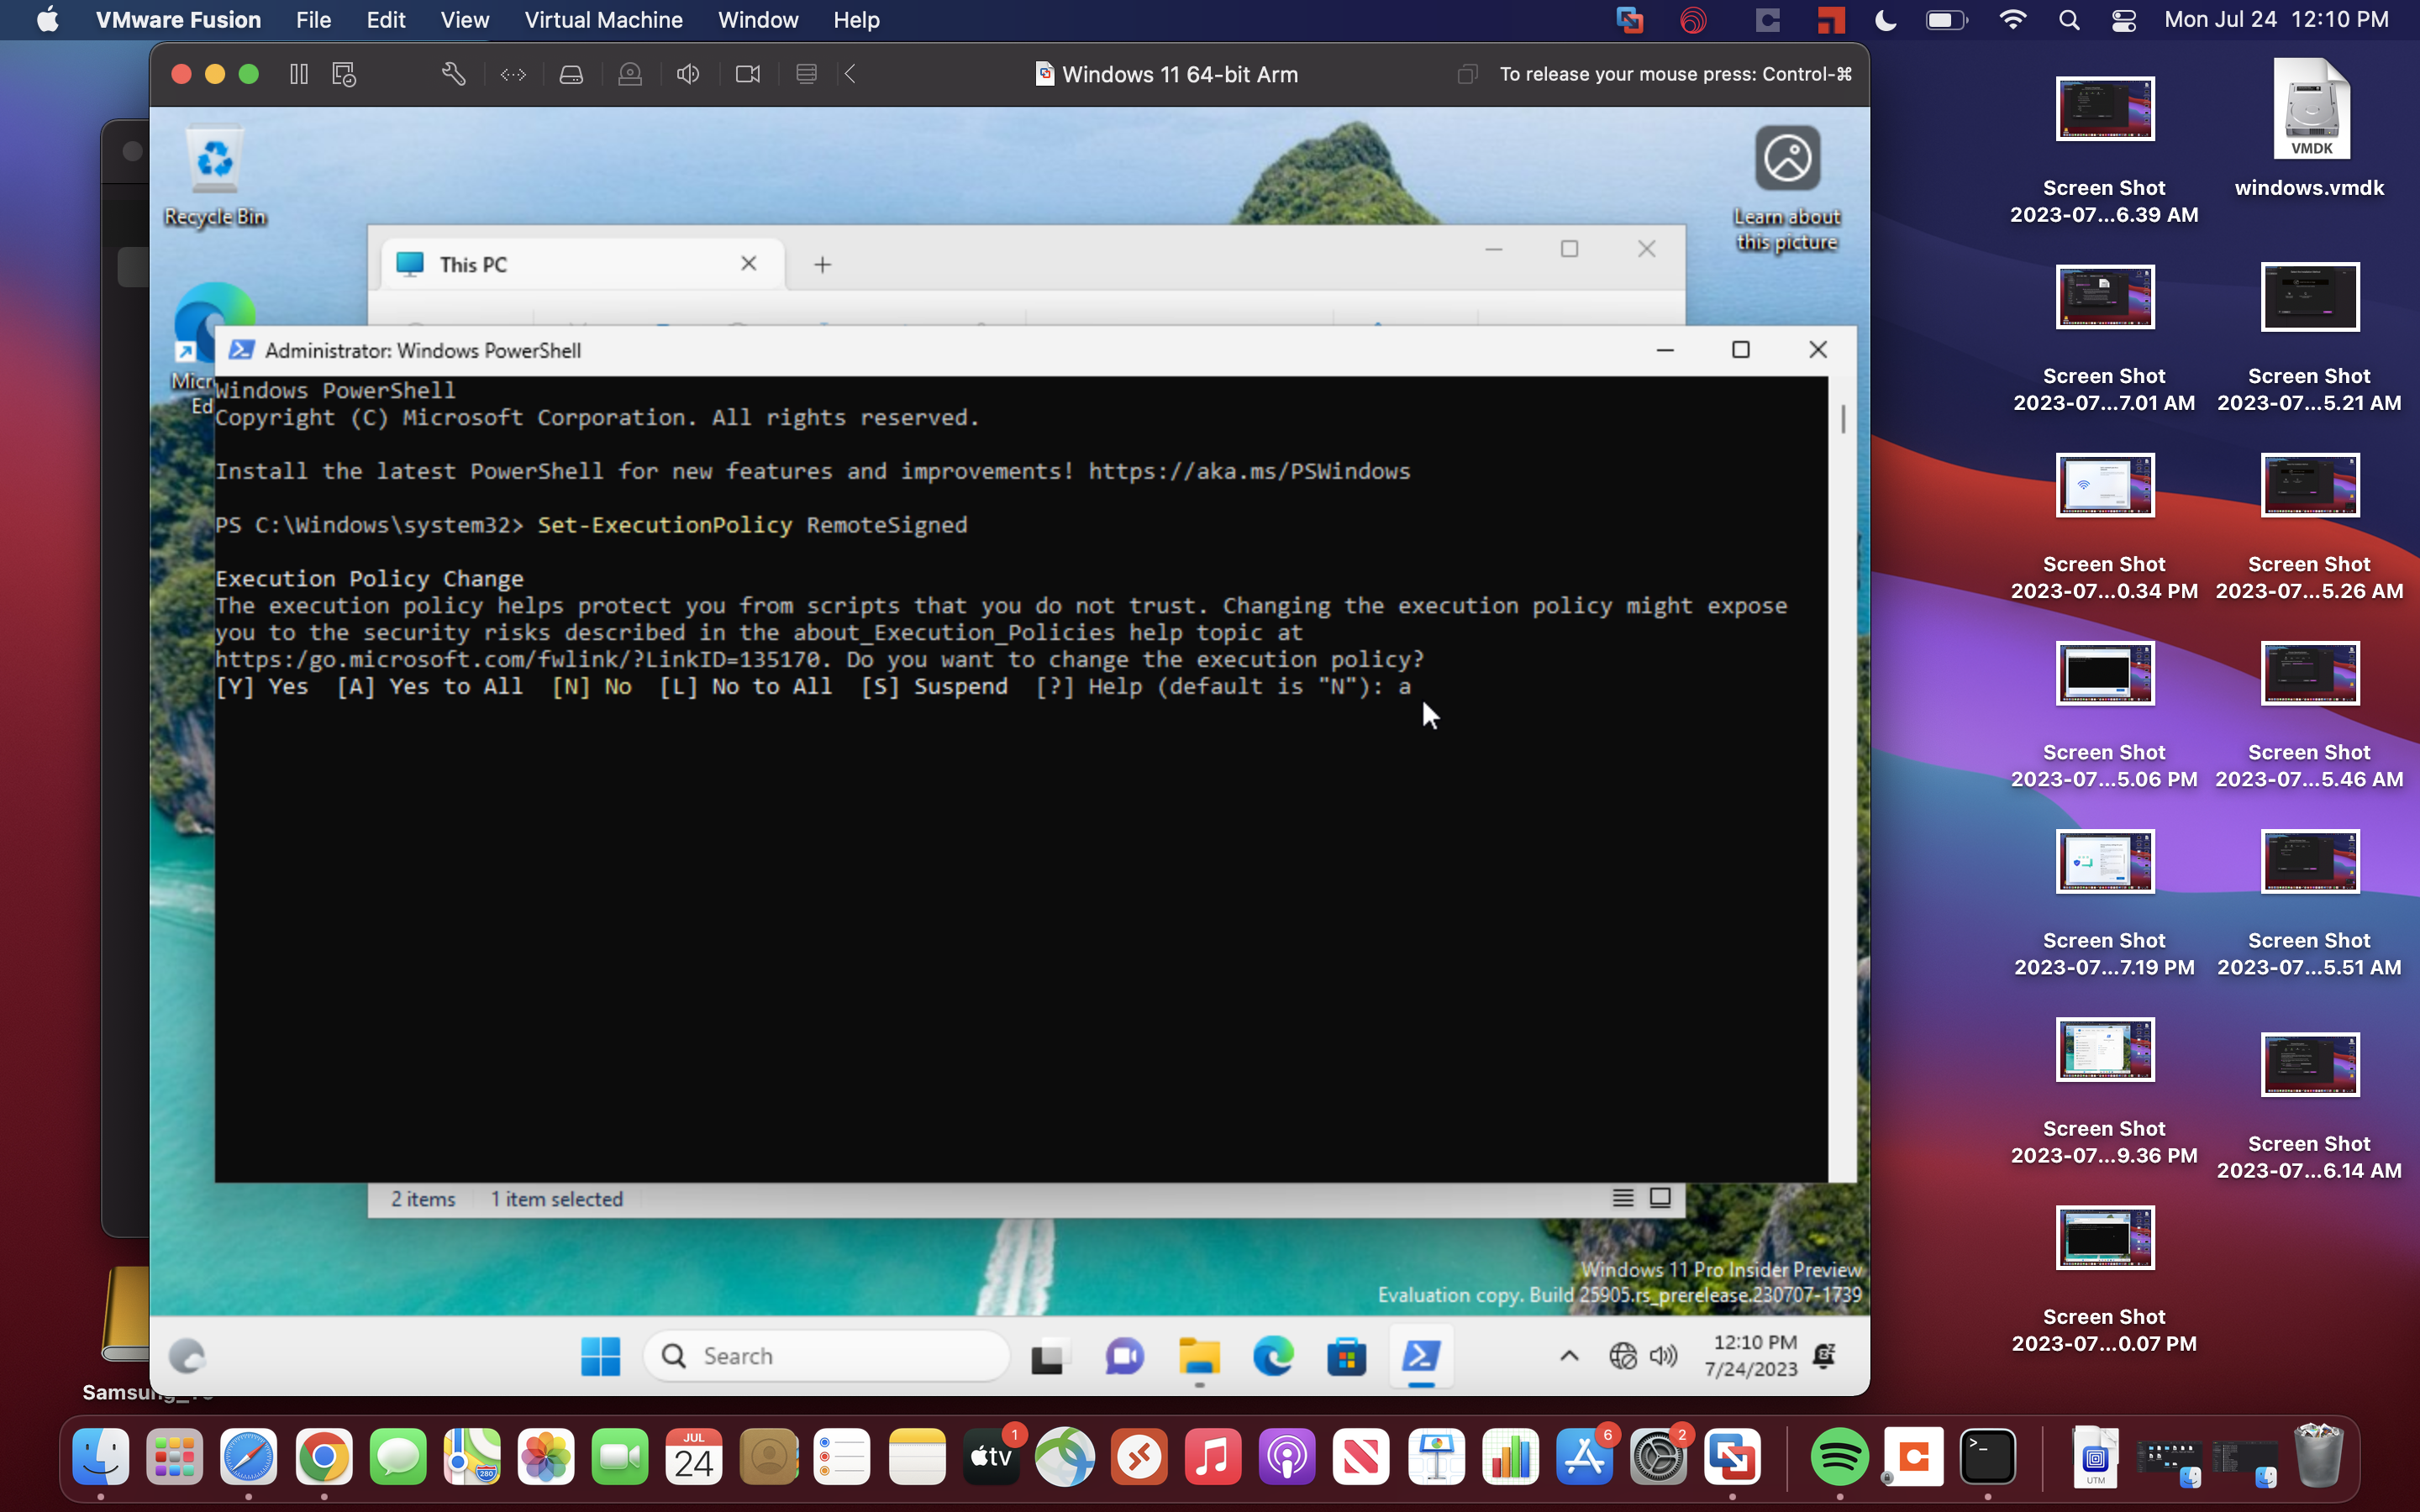
18.Close Powershell
19.Select 'Virtual machine' at the top of the app
Then 'reinstall VMware tools'

20.Select Install
This will add a virtual disk within Windows.
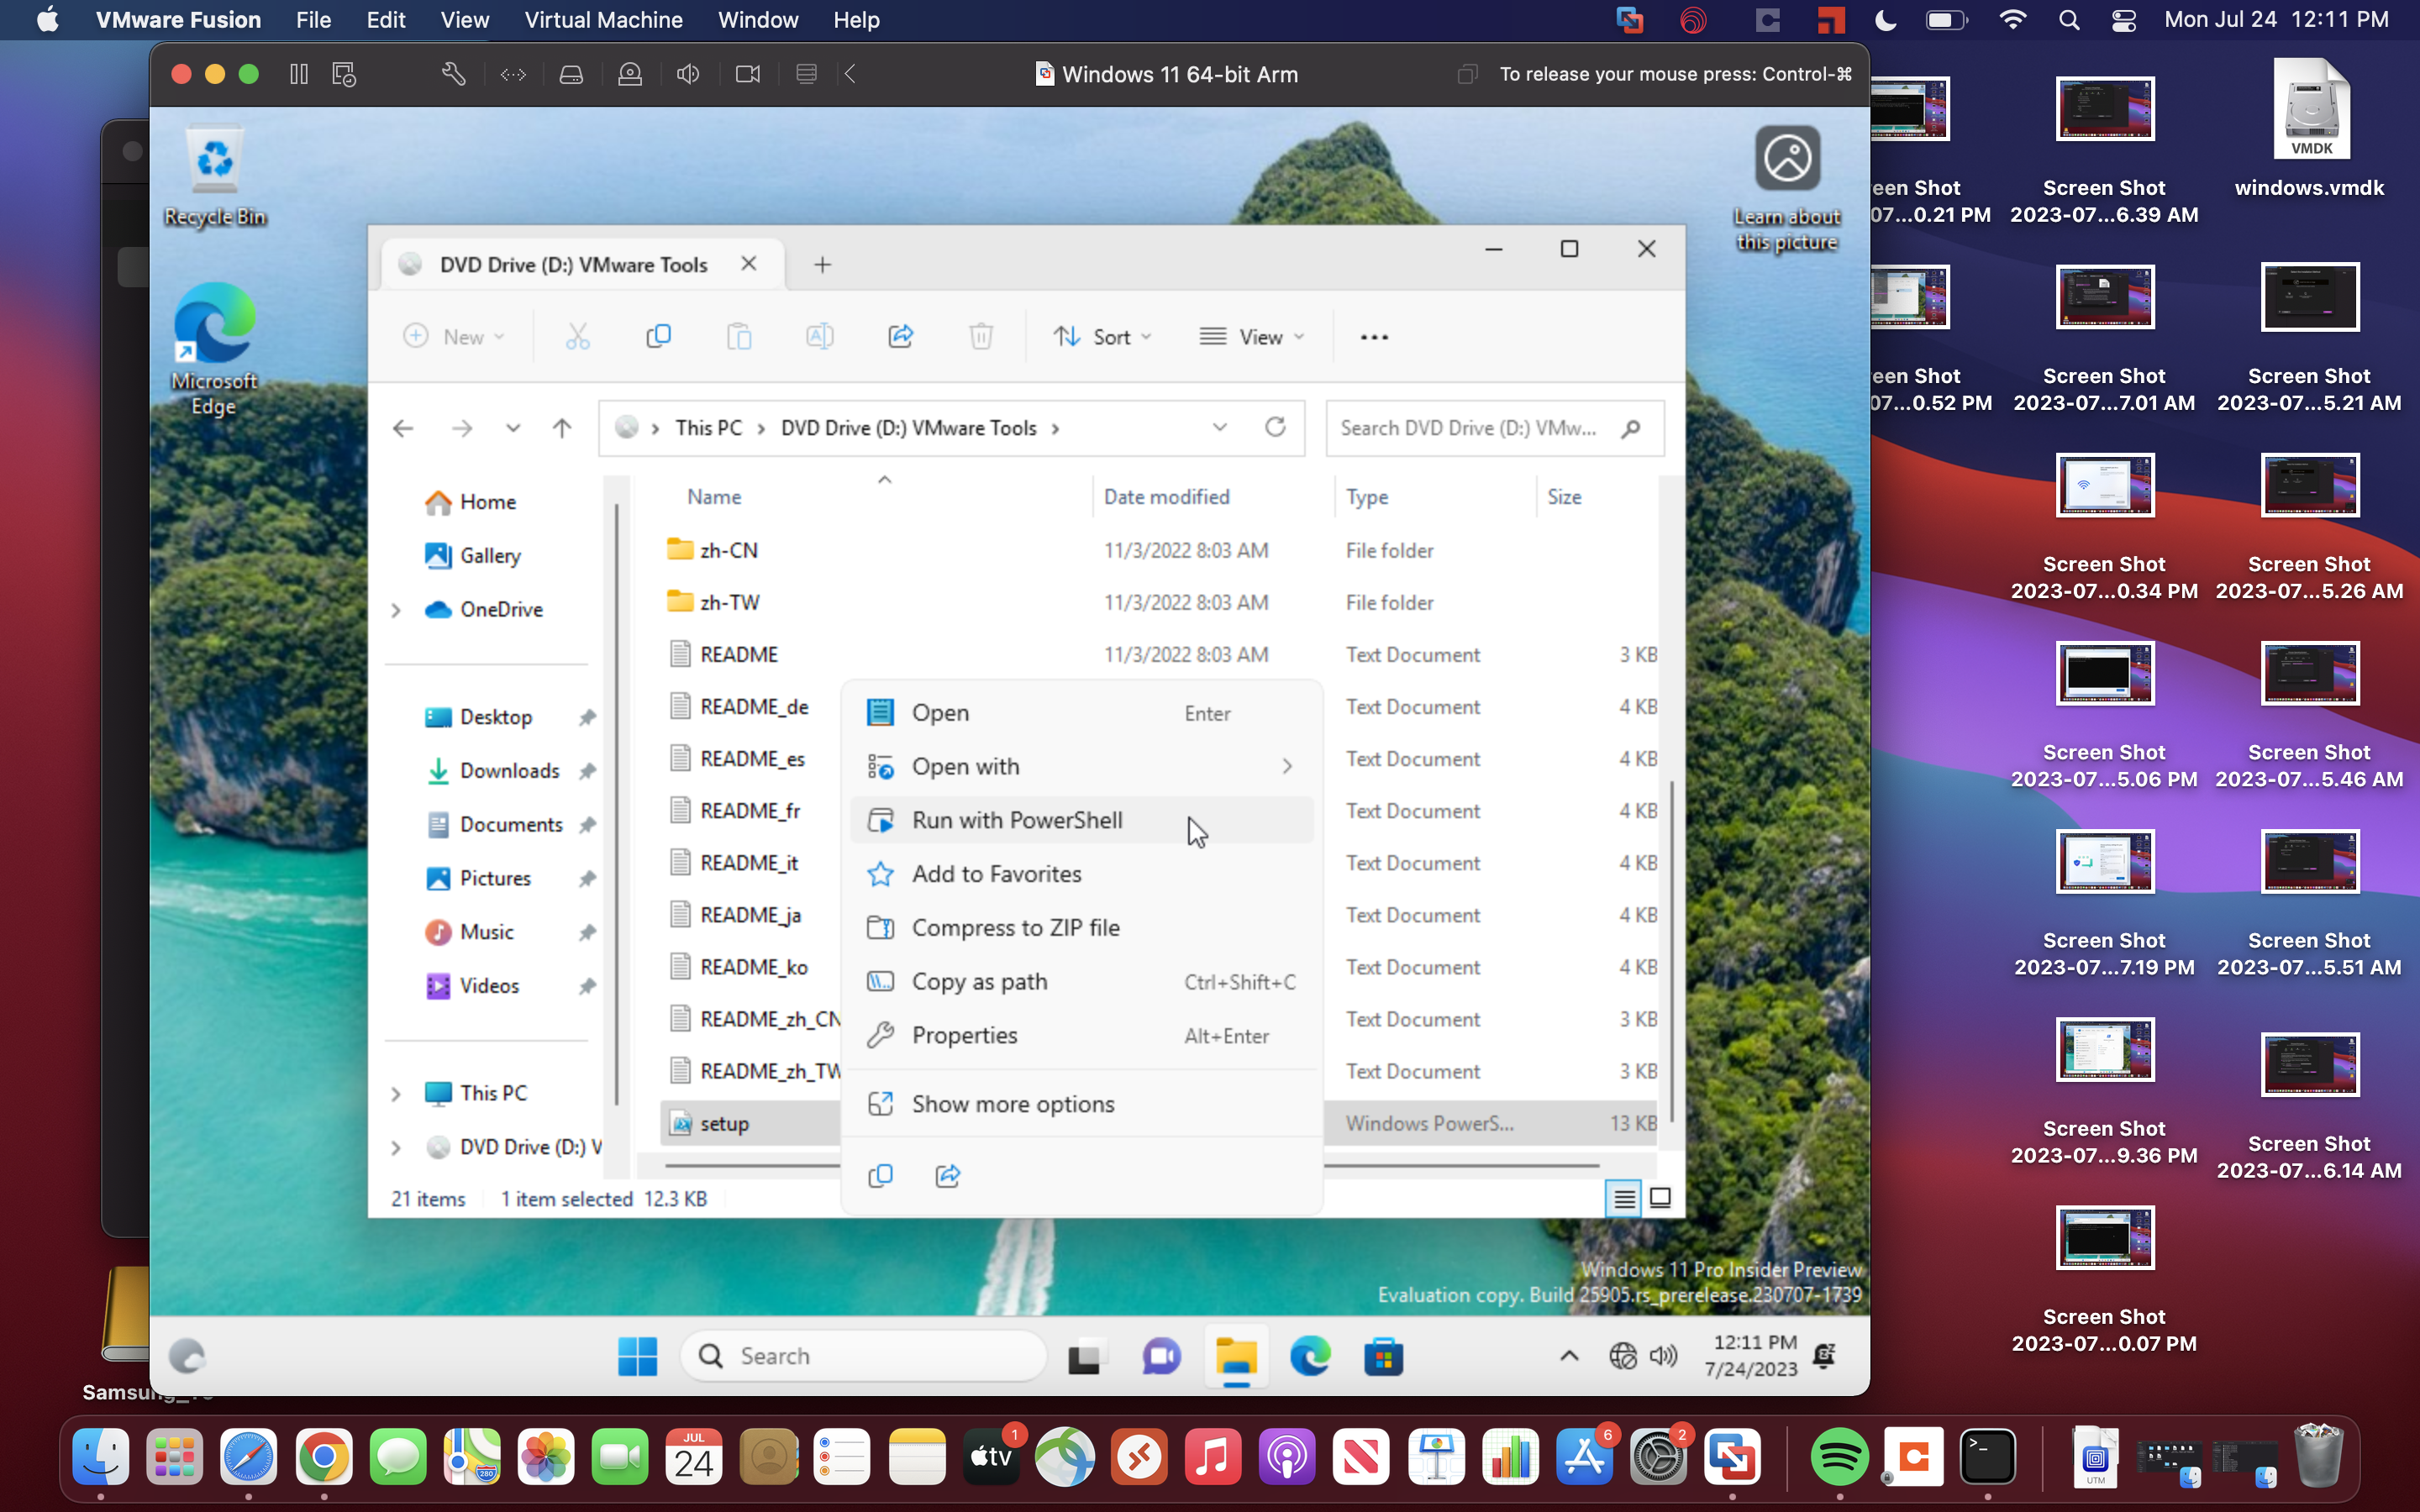
21.Open up File Explorer, then select "DVD Drive (D:)" on the left
22.Find the ‘Setup' file’, then:
23.Right-click on it
24.Choose 'Run with powershell'.
You should now have network access within Windows.
Windows download for Intel Macs
1.Open a new tab and navigate to https://www.microsoft.com/en-us/software-download/windows10ISO
2.Scroll down until you see a drop down menu that says Select Edition
3.Select Windows 10 (Multi-edition ISO)

4.You will then be presented with another Dropdown list for choosing the Language.
Choose English (United States)
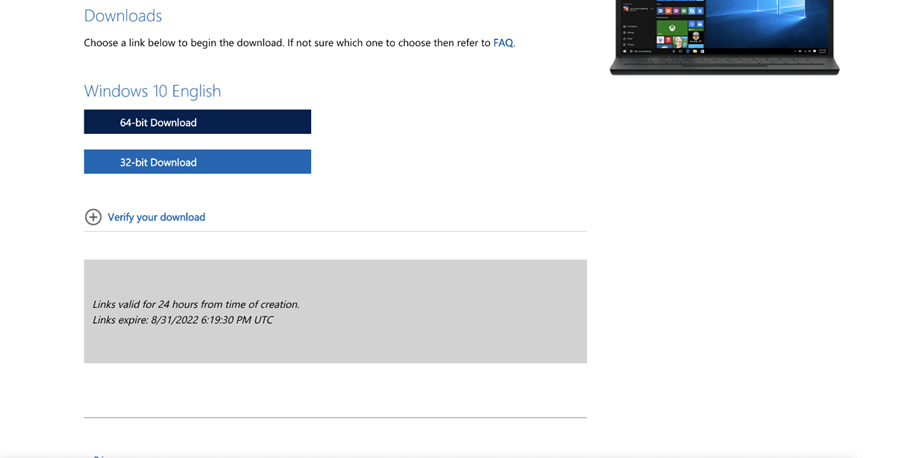
5.You will then be given the choice between a 64-bit Download and a 32-bit Download.
Choose the 64-bit.
With VMware open you will see the below window:
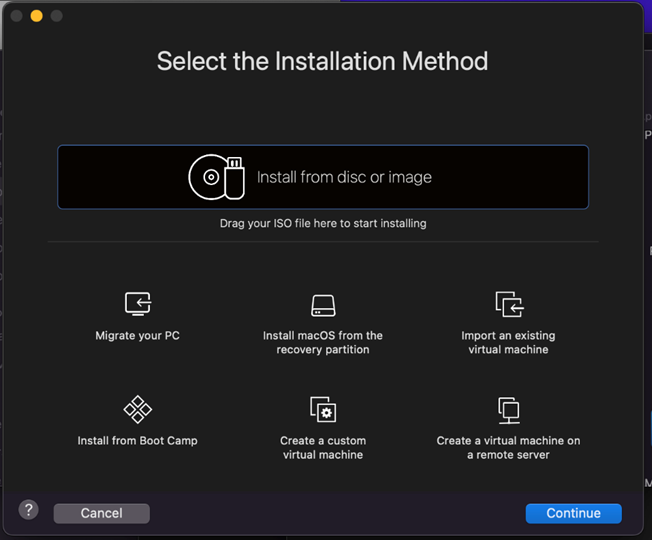
6.Click continue and then Click Use another disc or disc image

7.Navigate to your downloads folder and select the windows iso file we downloaded earlier. Click continue

8.The next window will ask you to enter in some information. The only fields you need to fill out is your Account Name and the Windows Version drop down menu. For the Windows Version select Windows Pro

9.The next window will ask you about integration, select More Isolated

10.The final screen will ask you to name the VM and to save it. You can leave the defaults as they are.
A black Window with a Play Button will appear. Click the play button to start the VM.
You will have to go through the Windows installation, just click through the prompts as the defaults are fine.