This wiki builds on the workflow that was followed to create proxies using this Sony F5 Production and Post-Production workflow explained here: | |
When you're done editing and want to Reconnect to the 4K media, uncheck the "Enable proxies" under the "Premiere Pro CC > Preferences > Media..." menu check box |
|
To check that the files are being referenced properly to the 4K media you can "right click" on the file in the Project Window and choose "Reveal in Finder" |
|
In order to properly "grade" or color correct the footage you must apply a special LUT .cube file to convert the color space from log to Rec.709 or Slog3 Cine. | Download the Slog LUT Here |
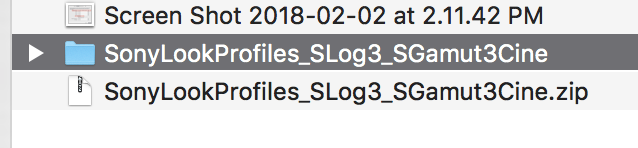
Then after the .zip file downloads unzip it by double clicking |
|
This folder contains the file you'll need |
|
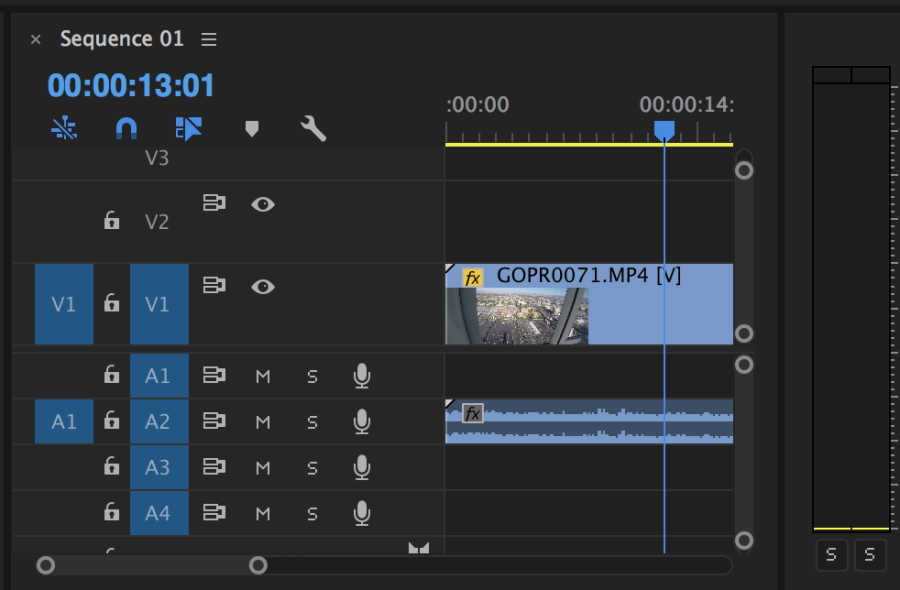
Select the clip you want to adjust in the timeline |
|
Click on the color tab |
|
Click on Lumetri Color |
|
Click on Input LUT and then click on the drop down |
|
Choose Browse |
|
Navigate to the folder containing the LUT SonyLookProfiles_SLog3_SGamut3Cine |
|
In that folder find the Sony SLog3 profile you'd like to apply. "LC-709" is closest comparable to Rec.709, SLog Cine is slightly different. Try both to determine which is best for the look of your project. |
|
Once the LUT is chosen you can either adjust the footage's white balance, tint (warm/cold equivalent to Kelvin values), and various light adjustments inside the Effects panel itself |
|
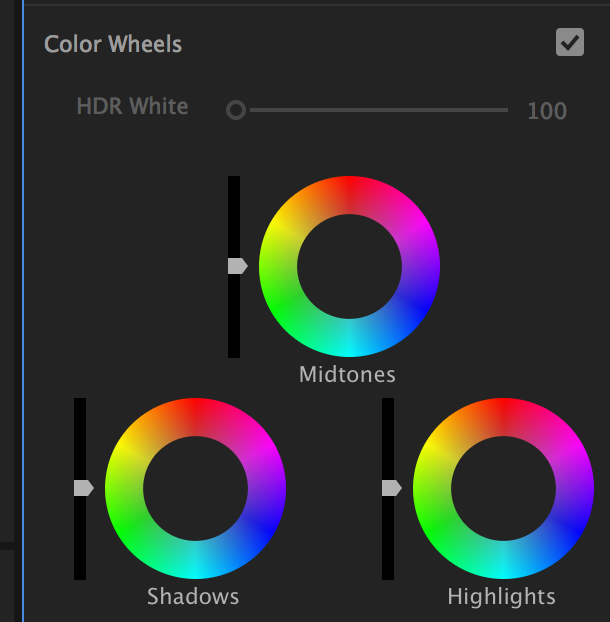
Next click "Color Wheels" section |
|
Click on Vignette this will give you the ability to apply and customize a vignette on your footage |
|
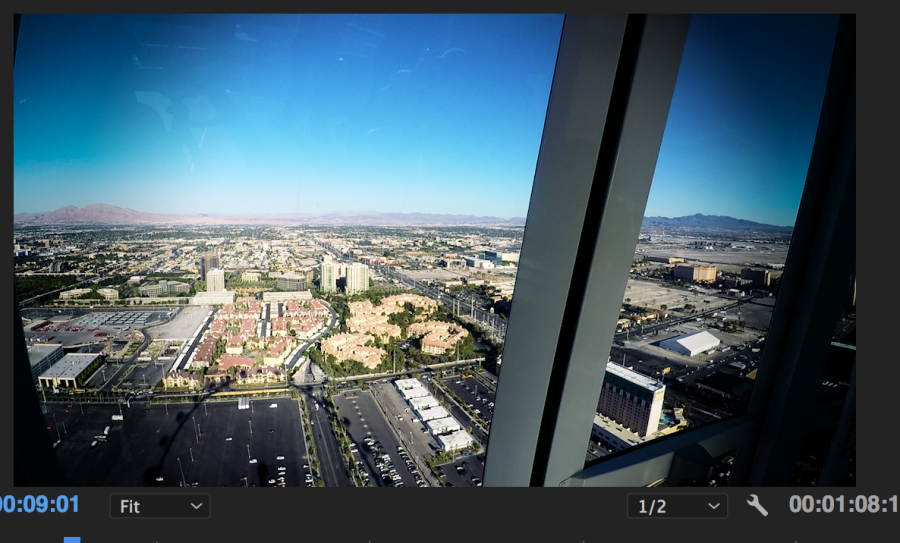
To explain a Vignette it's a circle that highlights a portion of the image. This is a very common and professional color correction technique. Here is an exaggerated look at a vignette. |
|
Same image but with a customized vignette to look more subtle. |
|
The controls are intuitive. Adjust to what you like. |
|


Overview
Content Tools