The purpose of this wiki is to demonstrate how to remotely adjust the individual trims of each channel of the Yamaha Tio1608-D I/O hardware. Although there are multiple methods to adjusting gain and levels in the system, this method should be understood to be controlling the actual Master Input, and should only be adjusted to troubleshoot audio problems (i.e. the wireless RF mics levels are too hot/loud even before any gain is applied.)
1.) Approach the Front-of-House audio control platform in the northwestern corner of CMB 6.102. Entrance to the platform is via the connected stairs on the northern face of the platform. Climb the stairs to access the platform. *Use caution when using the platform stairs, utilizing the available handrails to help your ascent/descent. |
|
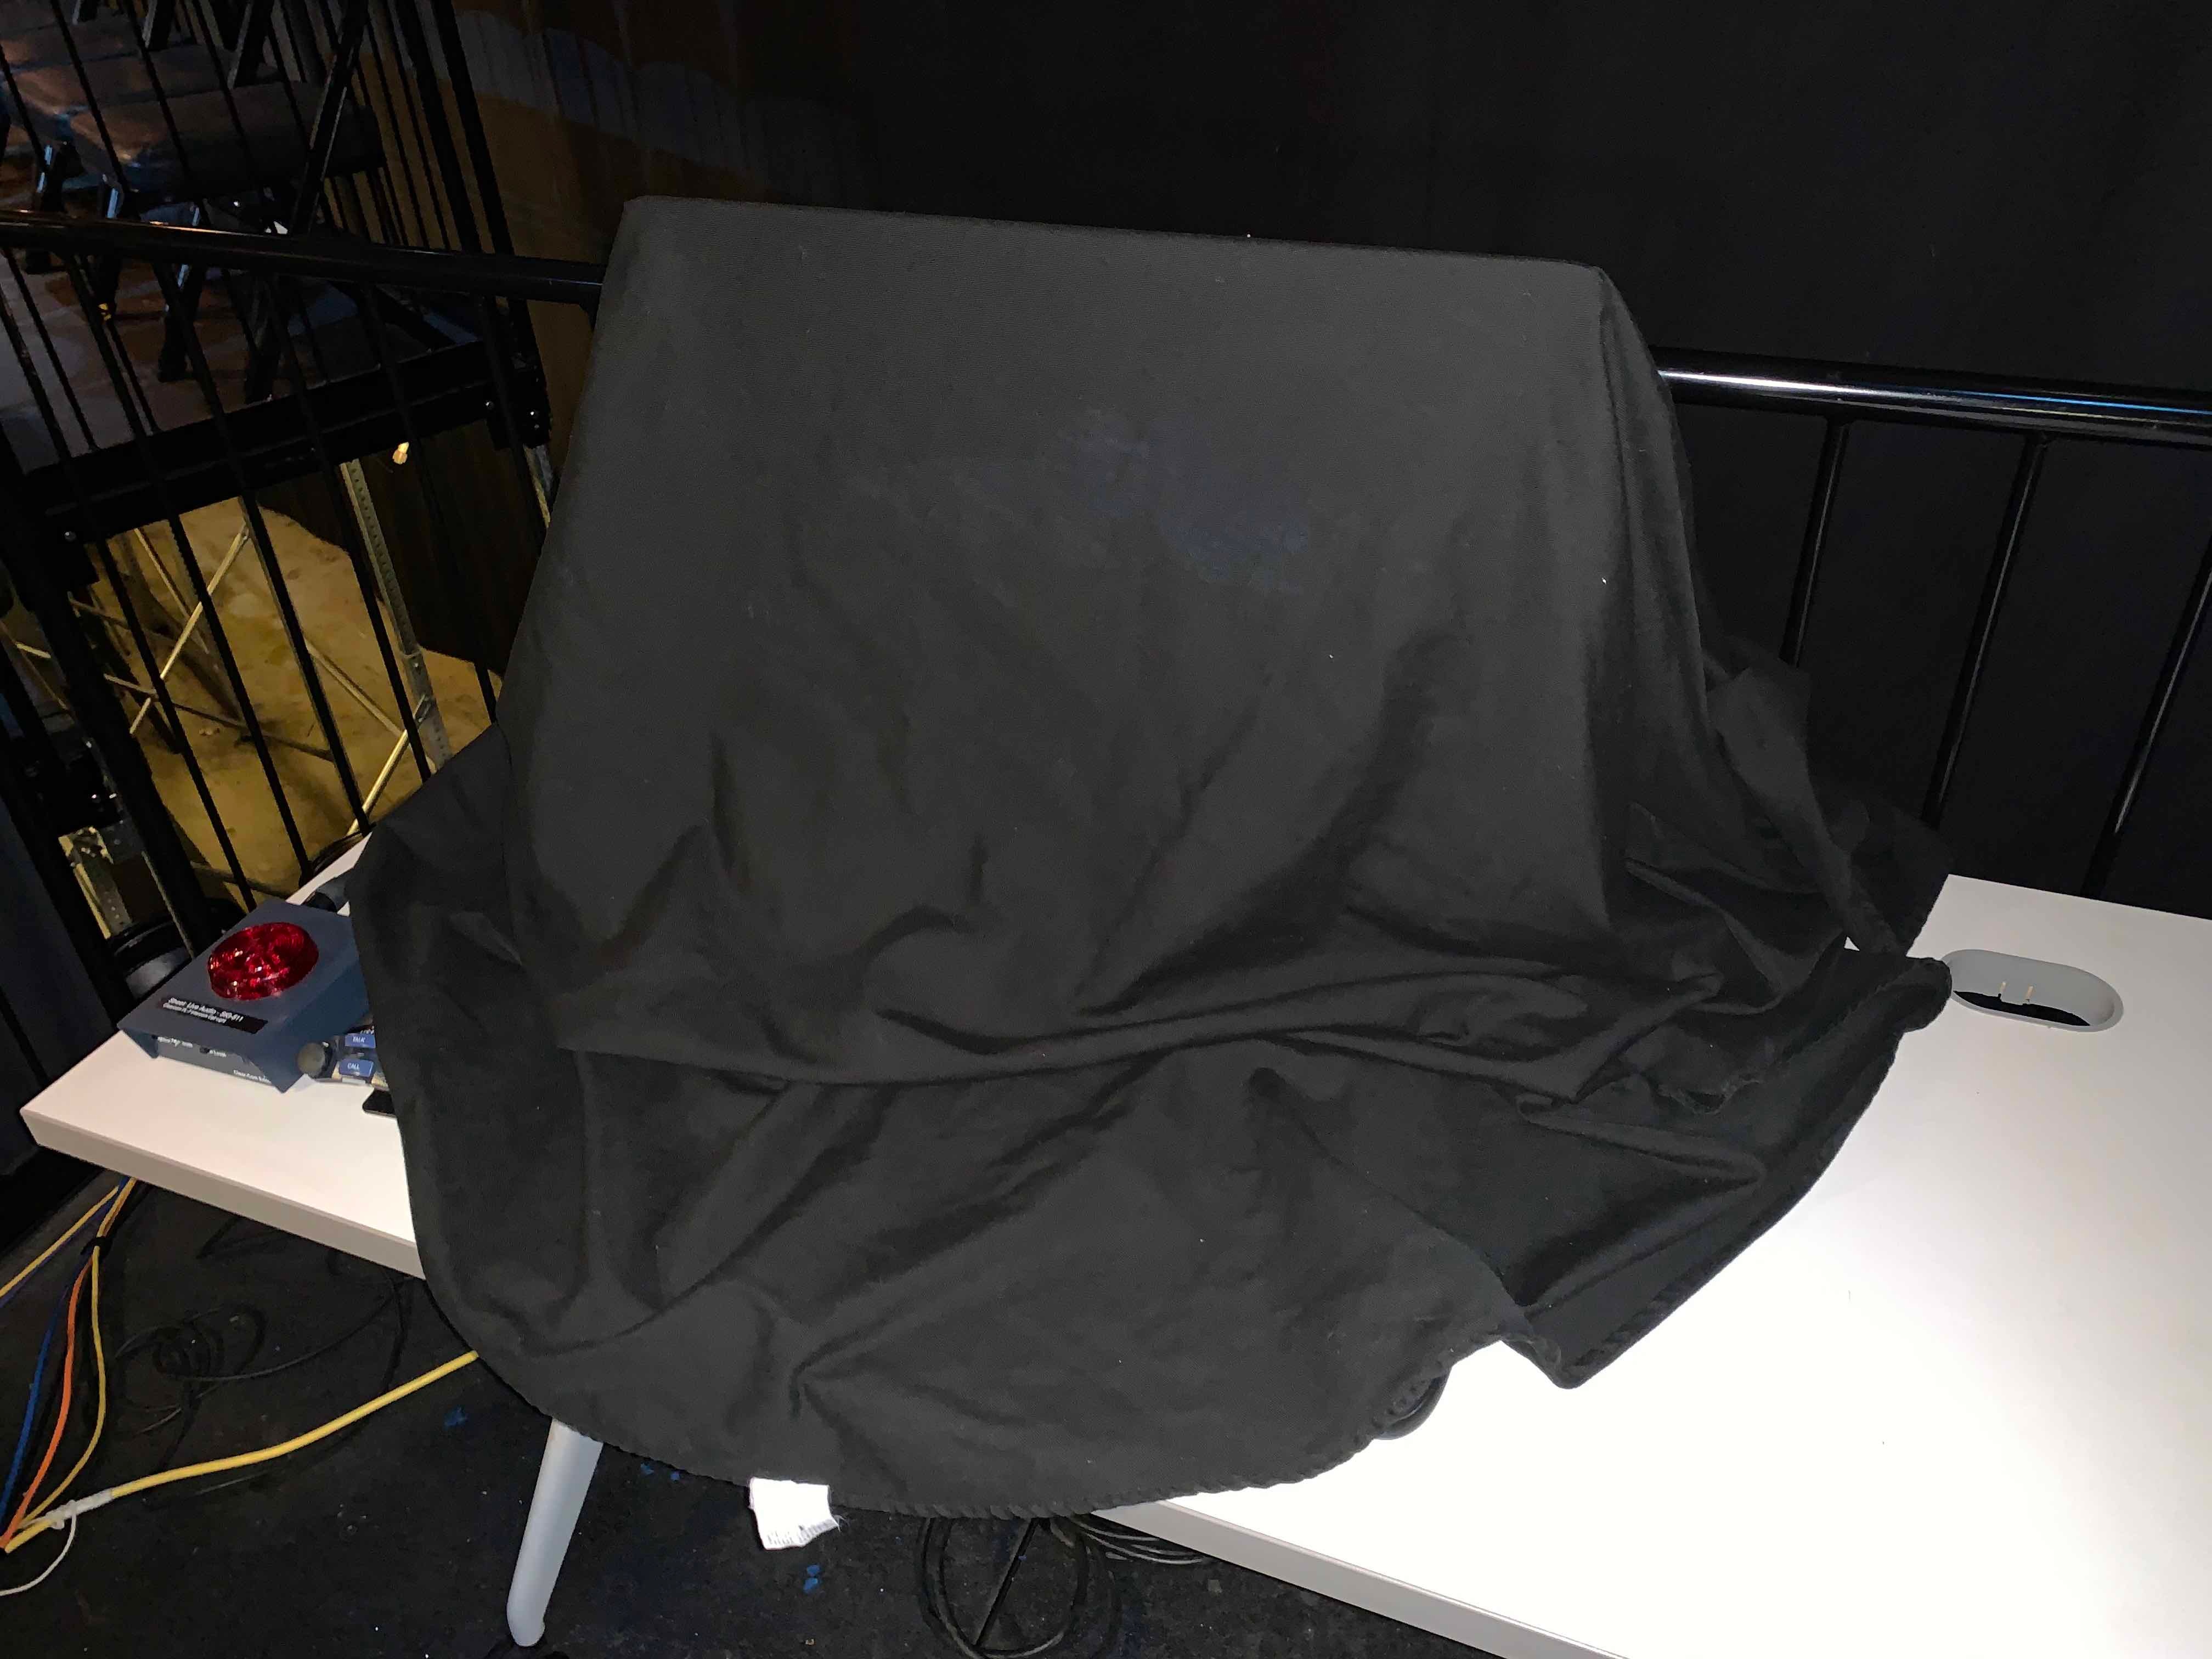
| 2.) Once at the top of the stairs, step onto the platform, and turn toward the rest to face the Dante Remote Control iMac. It should be covered with a protective piece of black cloth. |
|
| 3.) Remove the protective black cloth, fold it, and set aside on the work table. Press any key on the keyboard to wake the computer. |
|
4.) The computer has a Windows operating system installed. Pres the Control key + Option key + Delete key to access the login screen. | |
5.) To login the credentials are as follows: Username: .\dante Password: D@nte6102 |
|
| 6.) In the bottom left-hand corner of the screen, click the Window Icon to access the Start menu. |
|
| 7.) In the Start Menu, scroll down alphabetically in the Applications list until you find the Yamaha R Remote folder. Click on it to reveal its contents and double-click the R Remote icon to launch the app. |
|
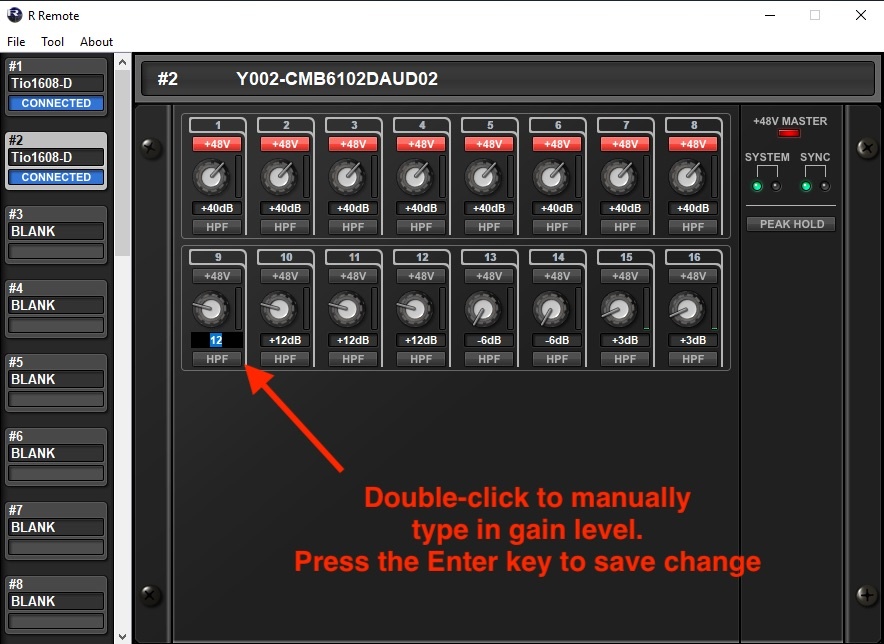
8.) The Yamaha R Remote software will launch and should already be connected to our hardware (i.e. Tio1608-D I/O devices) via the DANTE network. You can easily confirm the two devices are connected by observing the #1 and #2 devices have a blue CONNECTED status indicator lit up in the software. (see image to the right) |
|
9.) The R Remote software is a virtual representation of each device connected to our DANTE network. This relationship of Inputs is one-to-one, meaning that each input seen in the R remote controls the gain/trim of that input. For instance, Device #1 (Y001-CMB6102DAUD01) - Input 14 would control the settings for Audio XLR Input 14 on the stage snake box. Since this input is assigned to the stage, please note the red +48V Phantom Power button has been enabled to provide power to a microphone in the absence of its own power source. |
|
Some what differently, Device #2 (Y001-CMB6102DAUD02) - Input 14 would control the settings for Audio Input 30 (currently assigned to the Ambient Audience Microphones hanging from the grids) Unfortunately, the second device cannot be renumbered to accurately reflect the actual one-to-one inputs, but you can do the simple math to quickly identify the represented channel. Examples: 1 = 17 (1+16) 2 = 18 (2+16) 3 = 19 (3+16) 4 = 20 (4+16) and so on... Pro Tip: Selection of each device can be achieved by clicking on the device number in the device navigation window in the left column of the window. When selected the device will illuminate with a gray box and it's name will be listed in the main window. |
|
10.) The most common scenario will be on Device #2 (Y001-CMB6102DAUD02). You may need to adjust the trim/gain of Channels 9-12 (Audio Inputs 25-28) which are currently assigned to the hand held wireless RF microphones. These microphones have their own pre-amps and you can note +48V has not been enabled for these inputs. Use the mouse to adjust the gain knob up (clockwise) or down (counter clockwise) to a more desirable level. The adjusted level will be illustrated in decibels (dB) in the number field below each knob. Alternately, and a much more precise method, you may also double-click the adjusted level field (numeric value will become highlighted in blue,) and manually type in your desired gain (+ indicating a louder level, and - indicating a quieter level). Press the Enter/Return key when you're finished to save the change. |
|
| 11.) Lastly, when exiting the application a pop-up window will prompt you to save changes. This does not actually affect the work you've already done. Simply select No to exit the software. |
|


TROUBLESHOOTING | |
| iMac Off? | |
| Network Settings incorrect? | |
| DANTE settings incorrect |
Overview
Content Tools