- Attach the Lens to camera.
- Line up the red dot on the lens to the red dot on the camera housing.
|  Image Removed Image Removed  Image Added Image Added
|
- Turn the lens Clockwise to secure it to the housing.
|  Image Removed Image Removed  Image Added Image Added
|
- To remove the lens press this button and turn lens counter clockwise.
|  Image Removed Image Removed 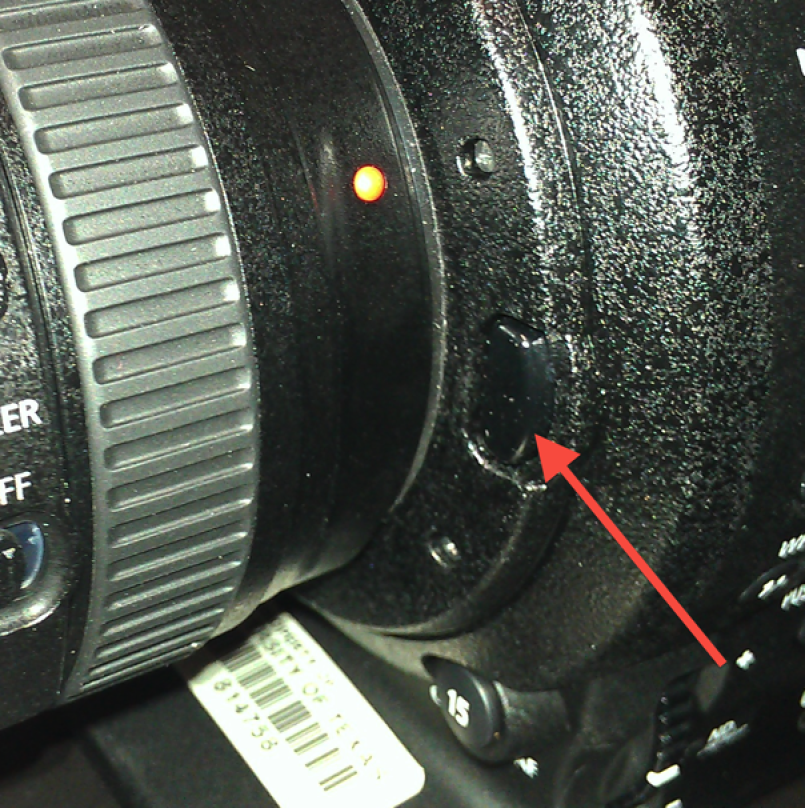 Image Added Image Added
|
- Battery Release to remove batteries for charging
| 
|
- Attach the handle to the top of the camera housing.
- Slide the handle bracket into the camera-housing bracket.
|  Image Removed Image Removed  Image Added Image Added
|
- Screw down the handle on the bracket
|  Image Removed Image Removed  Image Added Image Added
|
- Attach the handle remote cable to the camera body
|  Image Removed Image Removed  Image Added Image Added
|
- NINJA Setup
Slide the SSD hard drive in the caddy into the Ninja2
Don't force it make sure you have it lined up correctly. Only goes in one way.
| 
|
- Place the battery on the back of the Ninja following the arrows on the back of the Ninja
|  Image Removed Image Removed 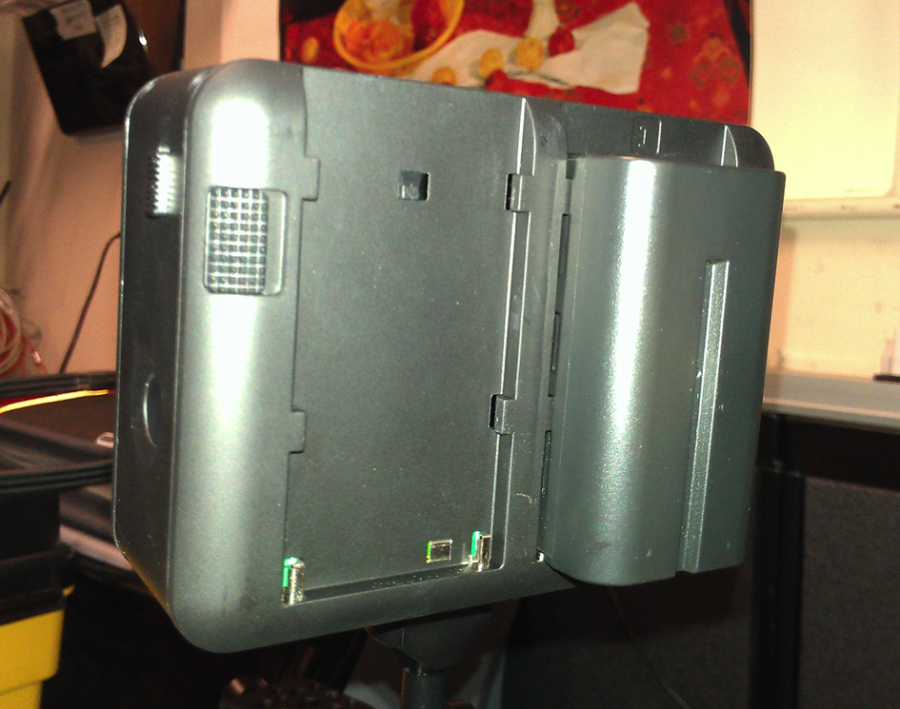 Image Added Image Added
|
- Mounting the Ninja to the C100
Screw in the mounting ball into the camera handle shown here
|  Image Removed Image Removed  Image Added Image Added
|
- Screw in the mounting ball into the Ninja
- Tighten the handle of the mounting bracket around both mounting balls connecting the camera to the Ninja as shown here.
|  Image Removed Image Removed  Image Added Image Added
|
- Insert battery or connect power.
- Turn camera on here.
|  Image Removed Image Removed 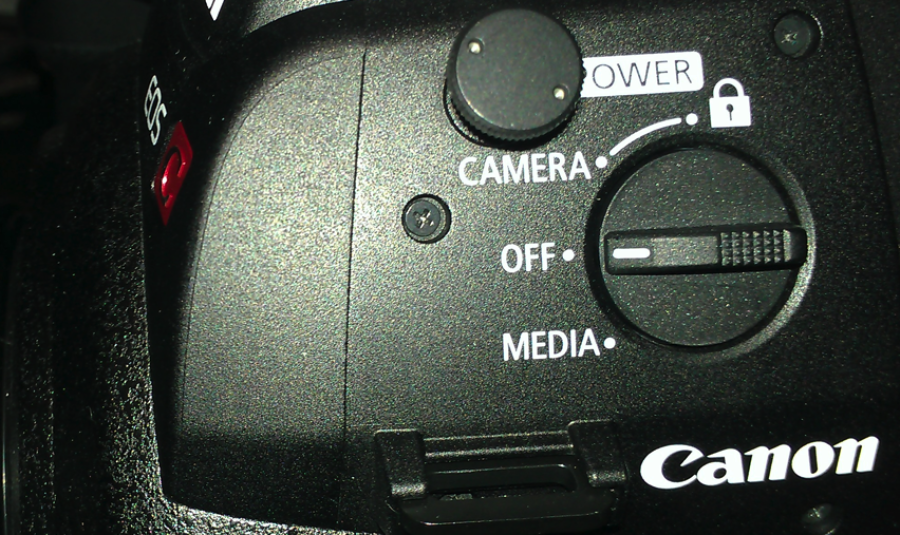 Image Added Image Added
|
- Press the Menu button to access the camera set up menus
|  Image Removed Image Removed 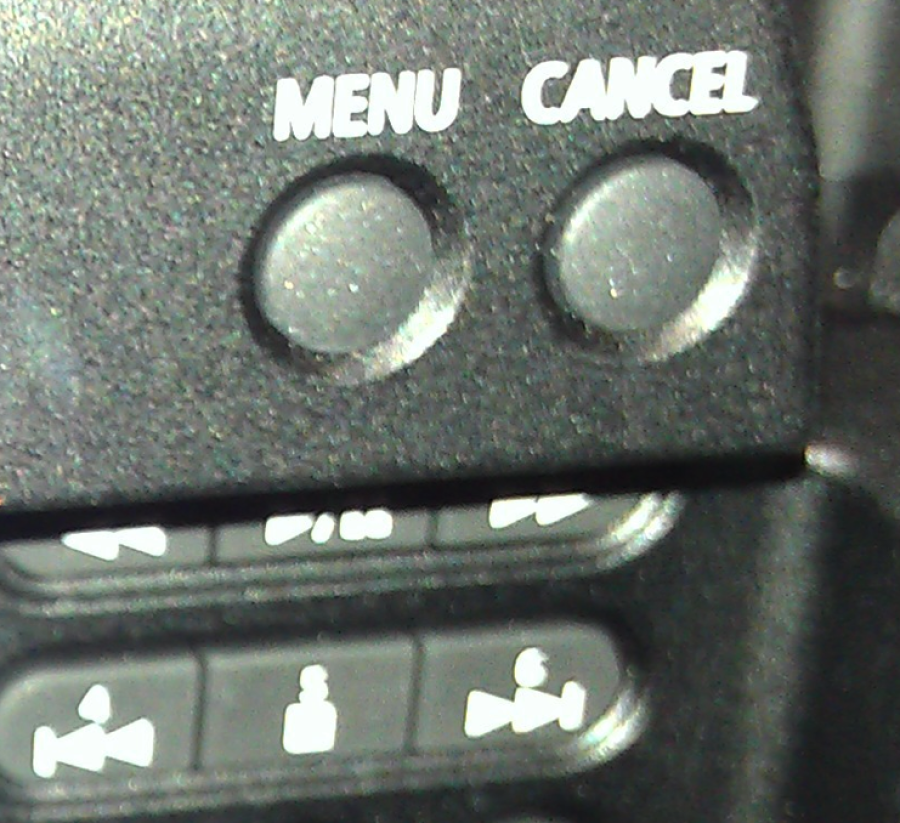 Image Added Image Added
|
- Use the button on the camera body handle to navigate the menus. Press button to select menu items.
|  Image Removed Image Removed  Image Added Image Added
|
- Reset the camera Settings. Go to >Menu>Other Functions>Reset>All Settings
|  Image Removed Image Removed 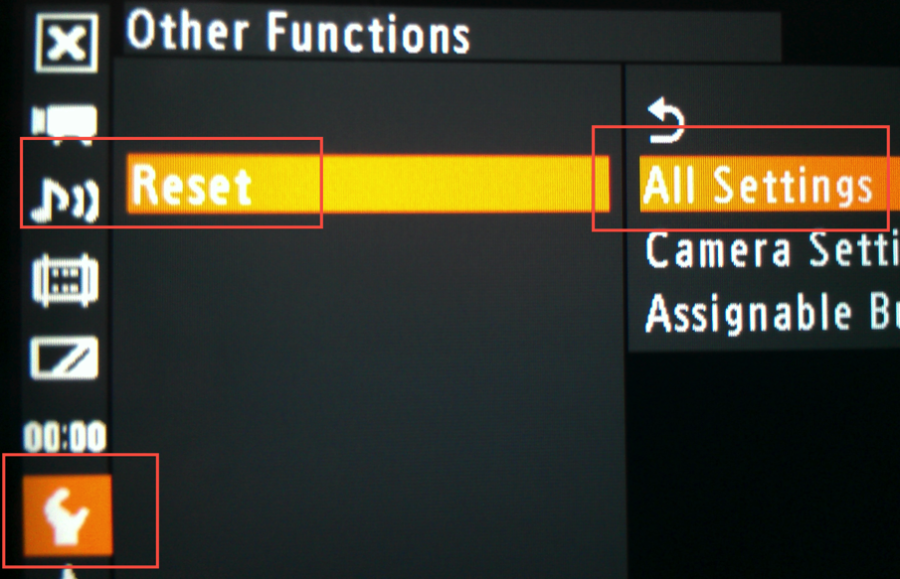 Image Added Image Added
|
|  Image Removed Image Removed 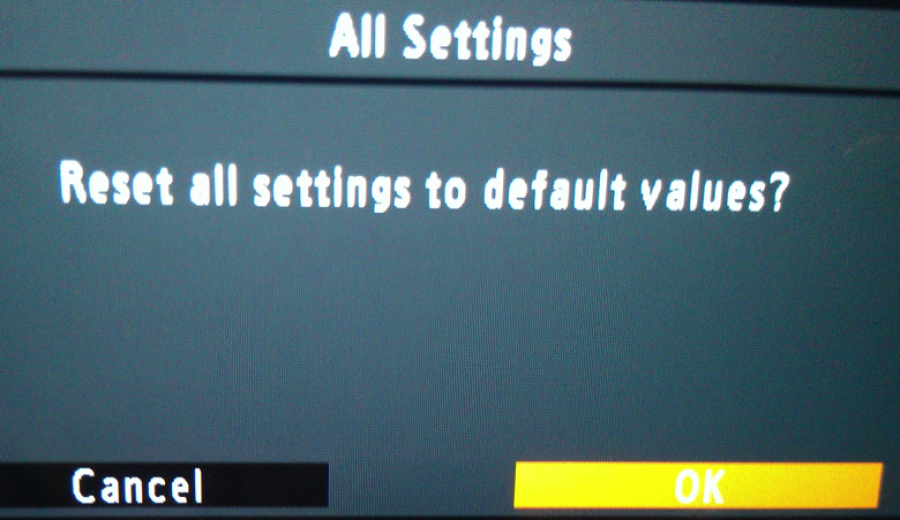 Image Added Image Added
|
|  Image Removed Image Removed  Image Added Image Added
|
- Set the camera Frame Rate to either PF24 or 24P
|  Image Removed Image Removed  Image Added Image Added
|
- Summary of settings
- Go to >Menu>Other Functions> System Frequency 59.94>Frame Rate 24P
|  Image Removed Image Removed  Image Added Image Added
|
- May also want to turn on the WFM overlay. Go to>Menu>Other>
WFM(LCD)
|  Image Removed Image Removed  Image Added Image Added
|
- Make sure the HDSI cable is not plugged in and change the following two menu items Menu>Other Functions>HDMI>
Timecode > On and>Record Command>On
| 
|
- Plug the HDMI cable into the C100
|  Image Removed Image Removed  Image Added Image Added
|
- Plug the other end of the HDMI cable into the Ninja recorder. Notice that there is a "In" arrow and an "Out" arrow.
The HDMI cable is plugged into the input shown here.
|  Image Removed Image Removed 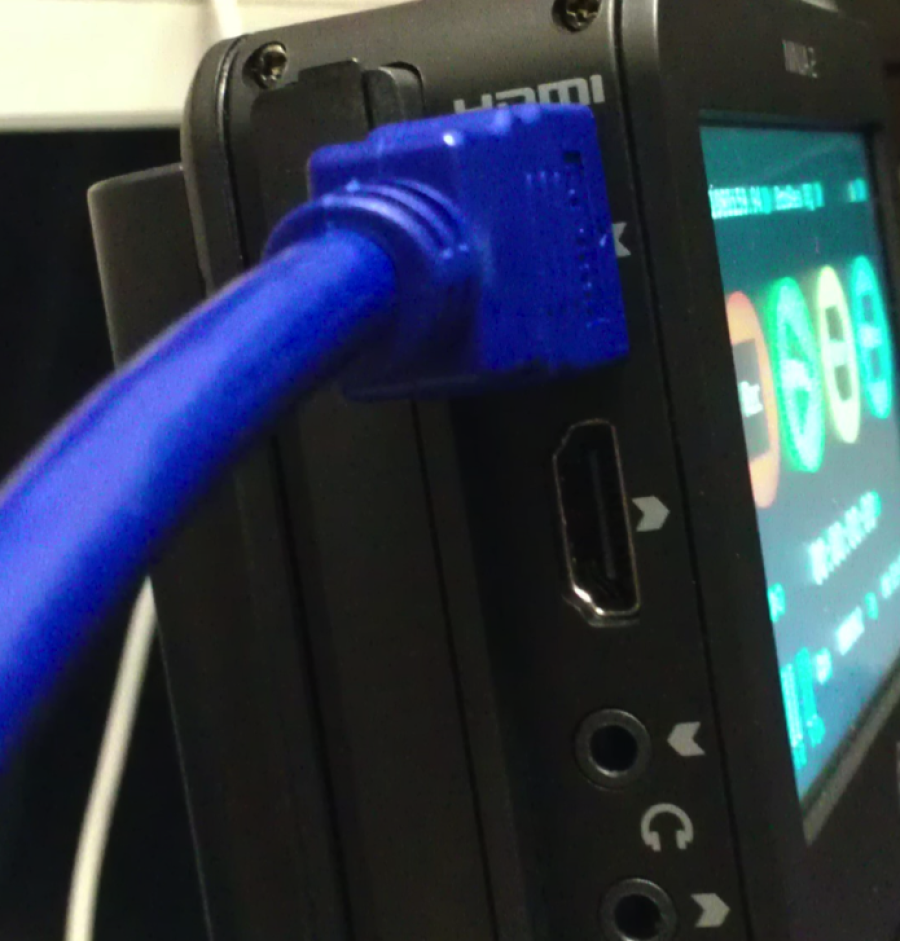 Image Added Image Added
|
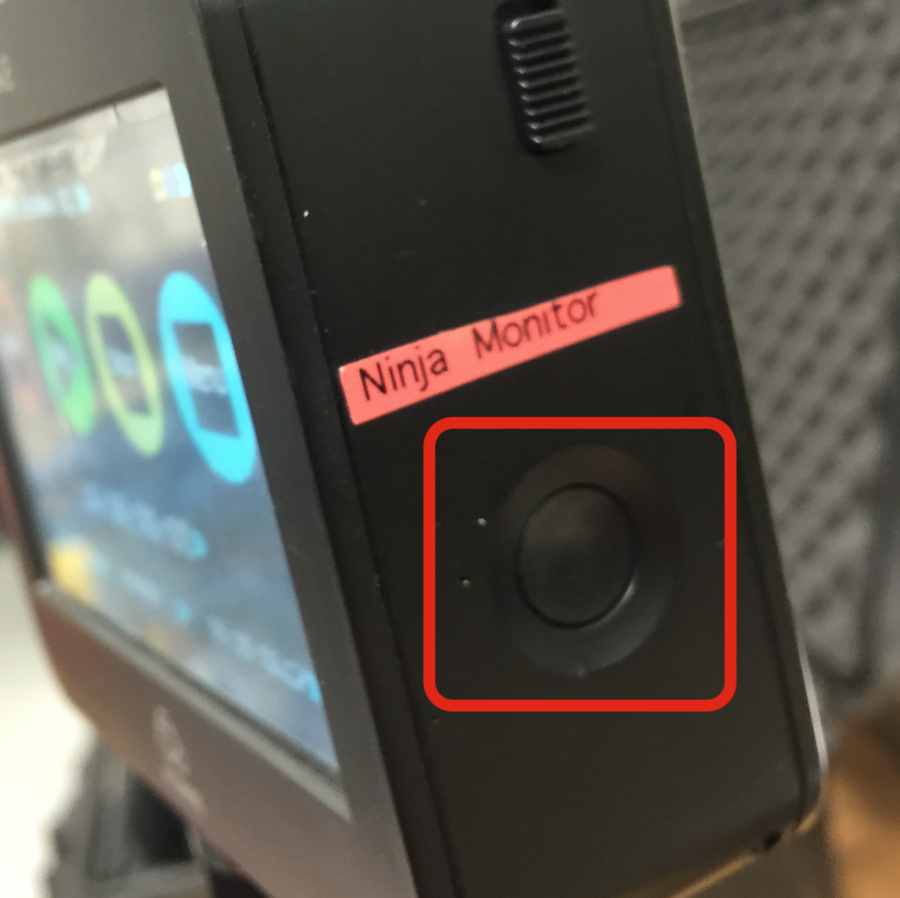
- Turn On the Ninja 2 by pressing the on off button
| 
|
|  Image Removed Image Removed  Image Added Image Added
|
- Change the Frame rate to 1080p23.98
|  Image Removed Image Removed  Image Added Image Added
|
- Click the Menu Icon return to the "Main Menu"
|  Image Removed Image Removed 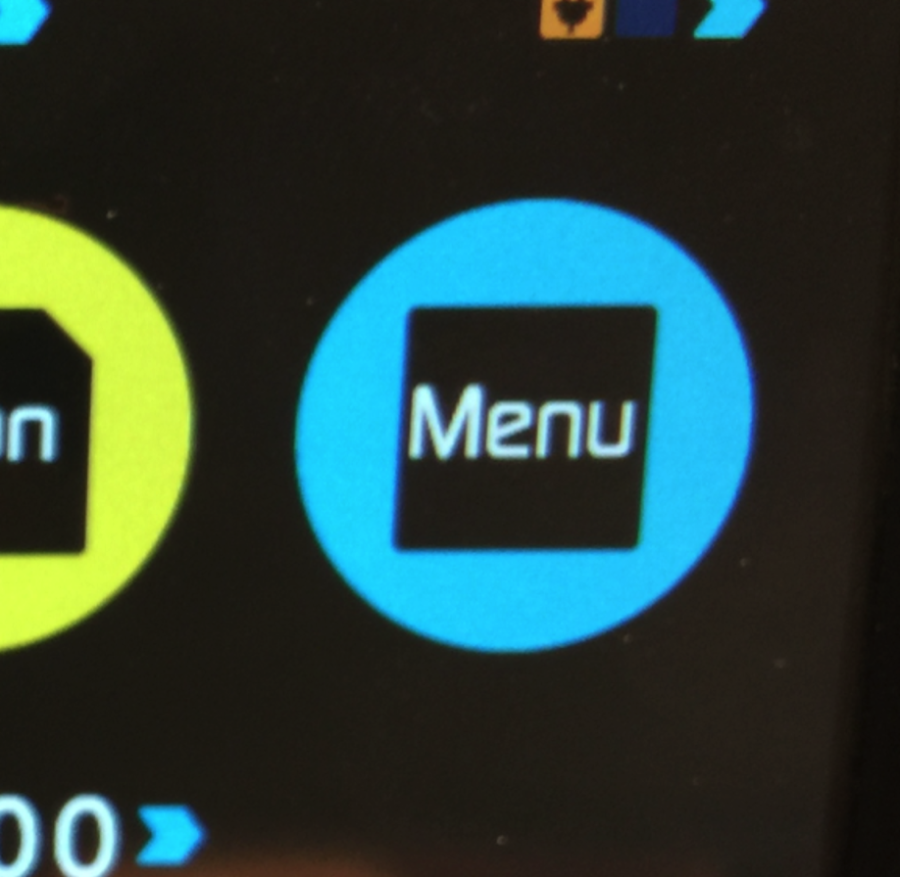 Image Added Image Added
|
|  Image Removed Image Removed 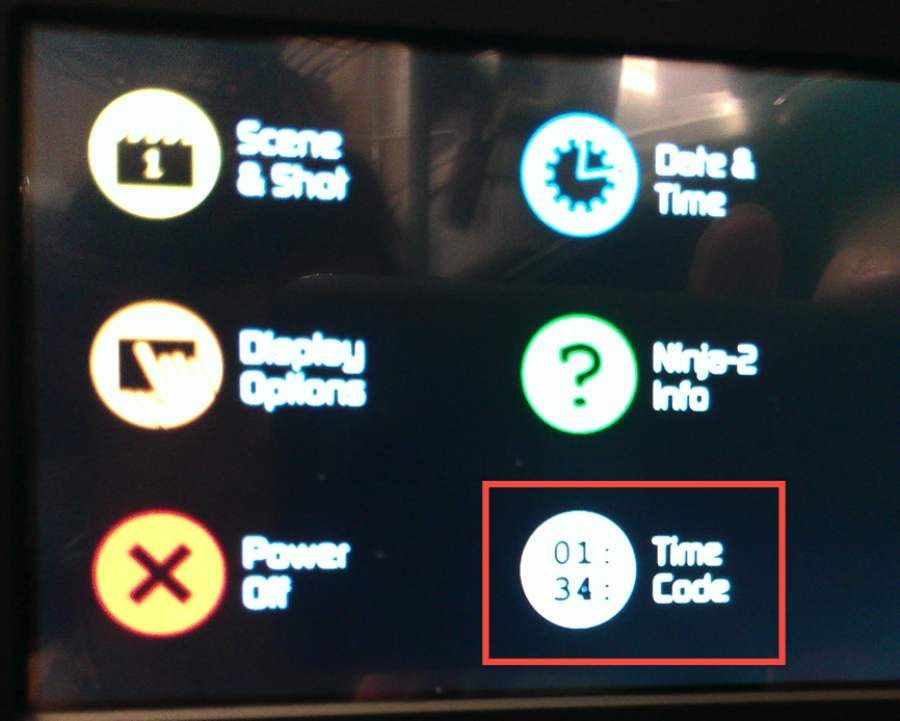 Image Added Image Added
|
- Make sure "Timecode" Menu is set to:
- Camera Trigger – HDMI
- Source – HDMI – This will enable the feature to start recording on the Ninja when you press record on the camera.
|  Image Removed Image Removed  Image Added Image Added
|
- Click Back button 2 x to get back to Main Page
| 
|
- Next format the hard drive in the Ninja.
- Press the HD icon on the main menu shown here
|  Image Removed Image Removed  Image Added Image Added
|
- Press the "Format HDD/SSD" icon
|  Image Removed Image Removed 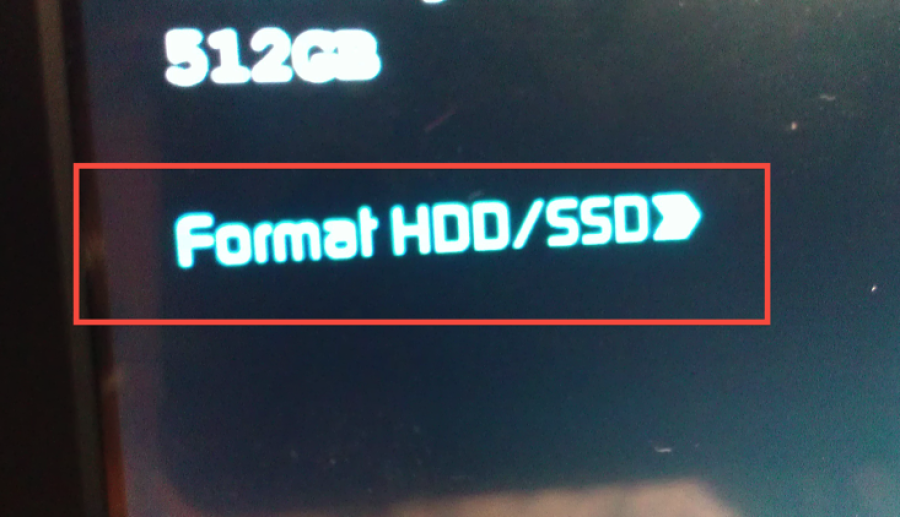 Image Added Image Added
|
- Confirm you are sure you want to format and choose "Format"
|  Image Removed Image Removed  Image Added Image Added
|
- Pressing the "Codec" icon on the main menu will prompt you to change the codec
|  Image Removed Image Removed 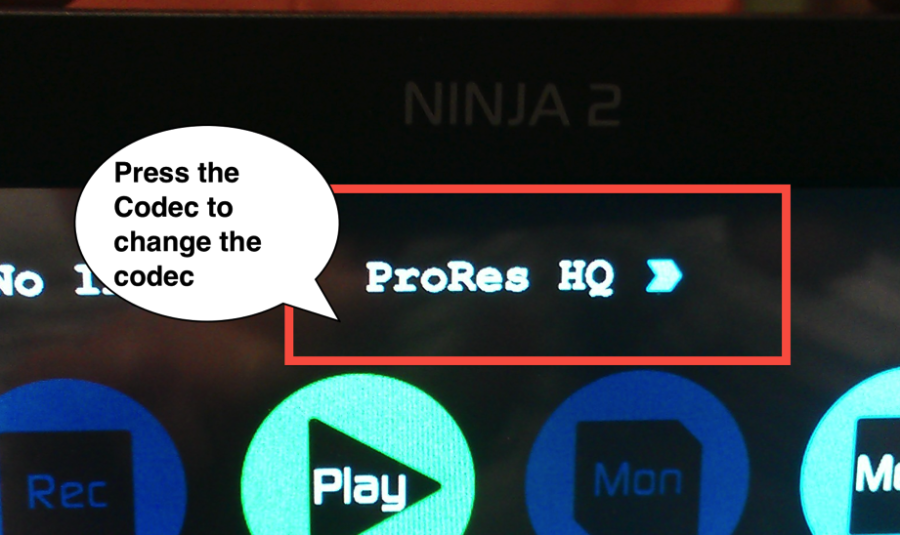 Image Added Image Added
|
- Choose the desired codec. ProRes 422 or ProRes 422 HQ is fine
|  Image Removed Image Removed 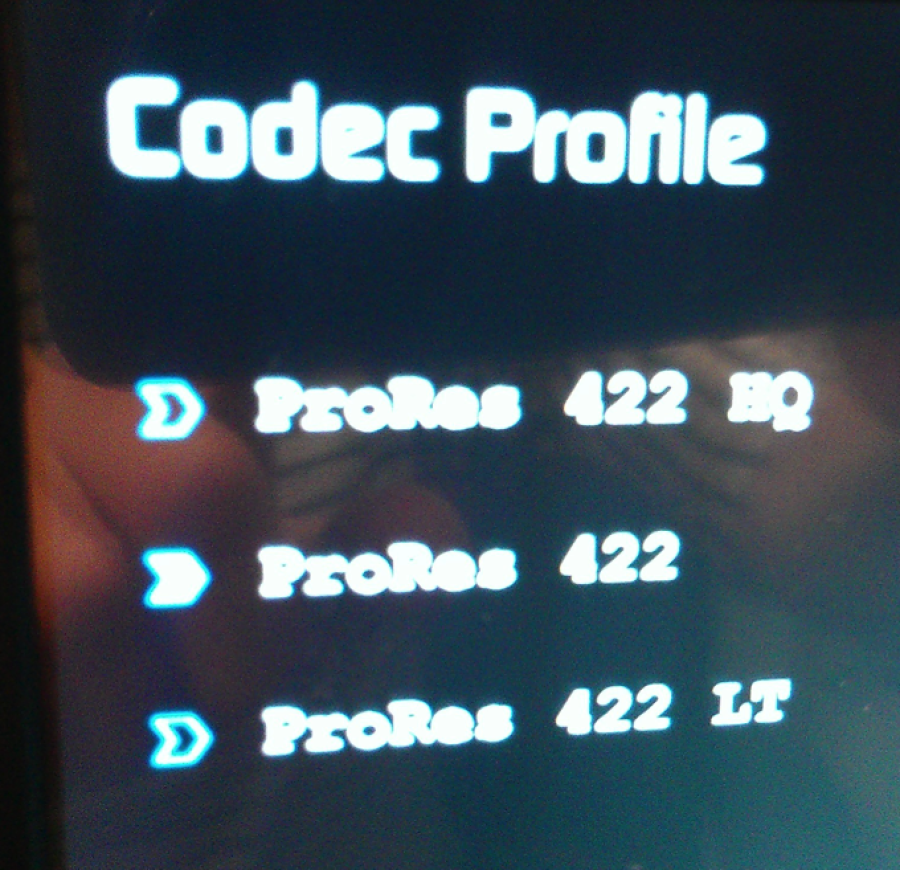 Image Added Image Added
|
- Go back to the main menu. You won't get the red record button unless you wave your hand in front of the camera or move the camera so it can recognize moving image in order to recognize the pulldown
|  Image Removed Image Removed 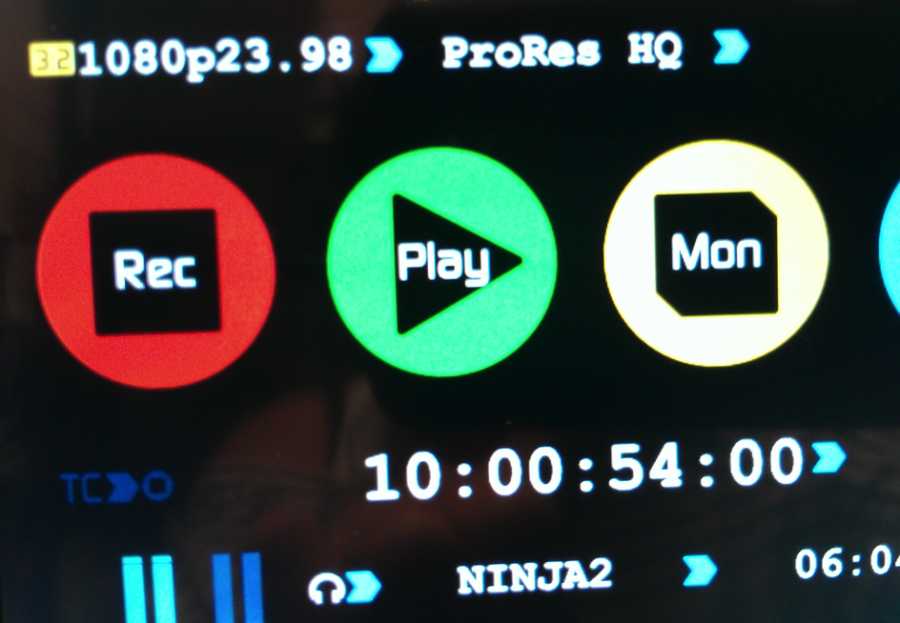 Image Added Image Added
|


