Page History
| Connect the Lighting Fixture to the lighting grid or find the fixture on the grid that you want to turn on. Locate where it is plugged in.
In this picture example the Light is plugged into "S1" 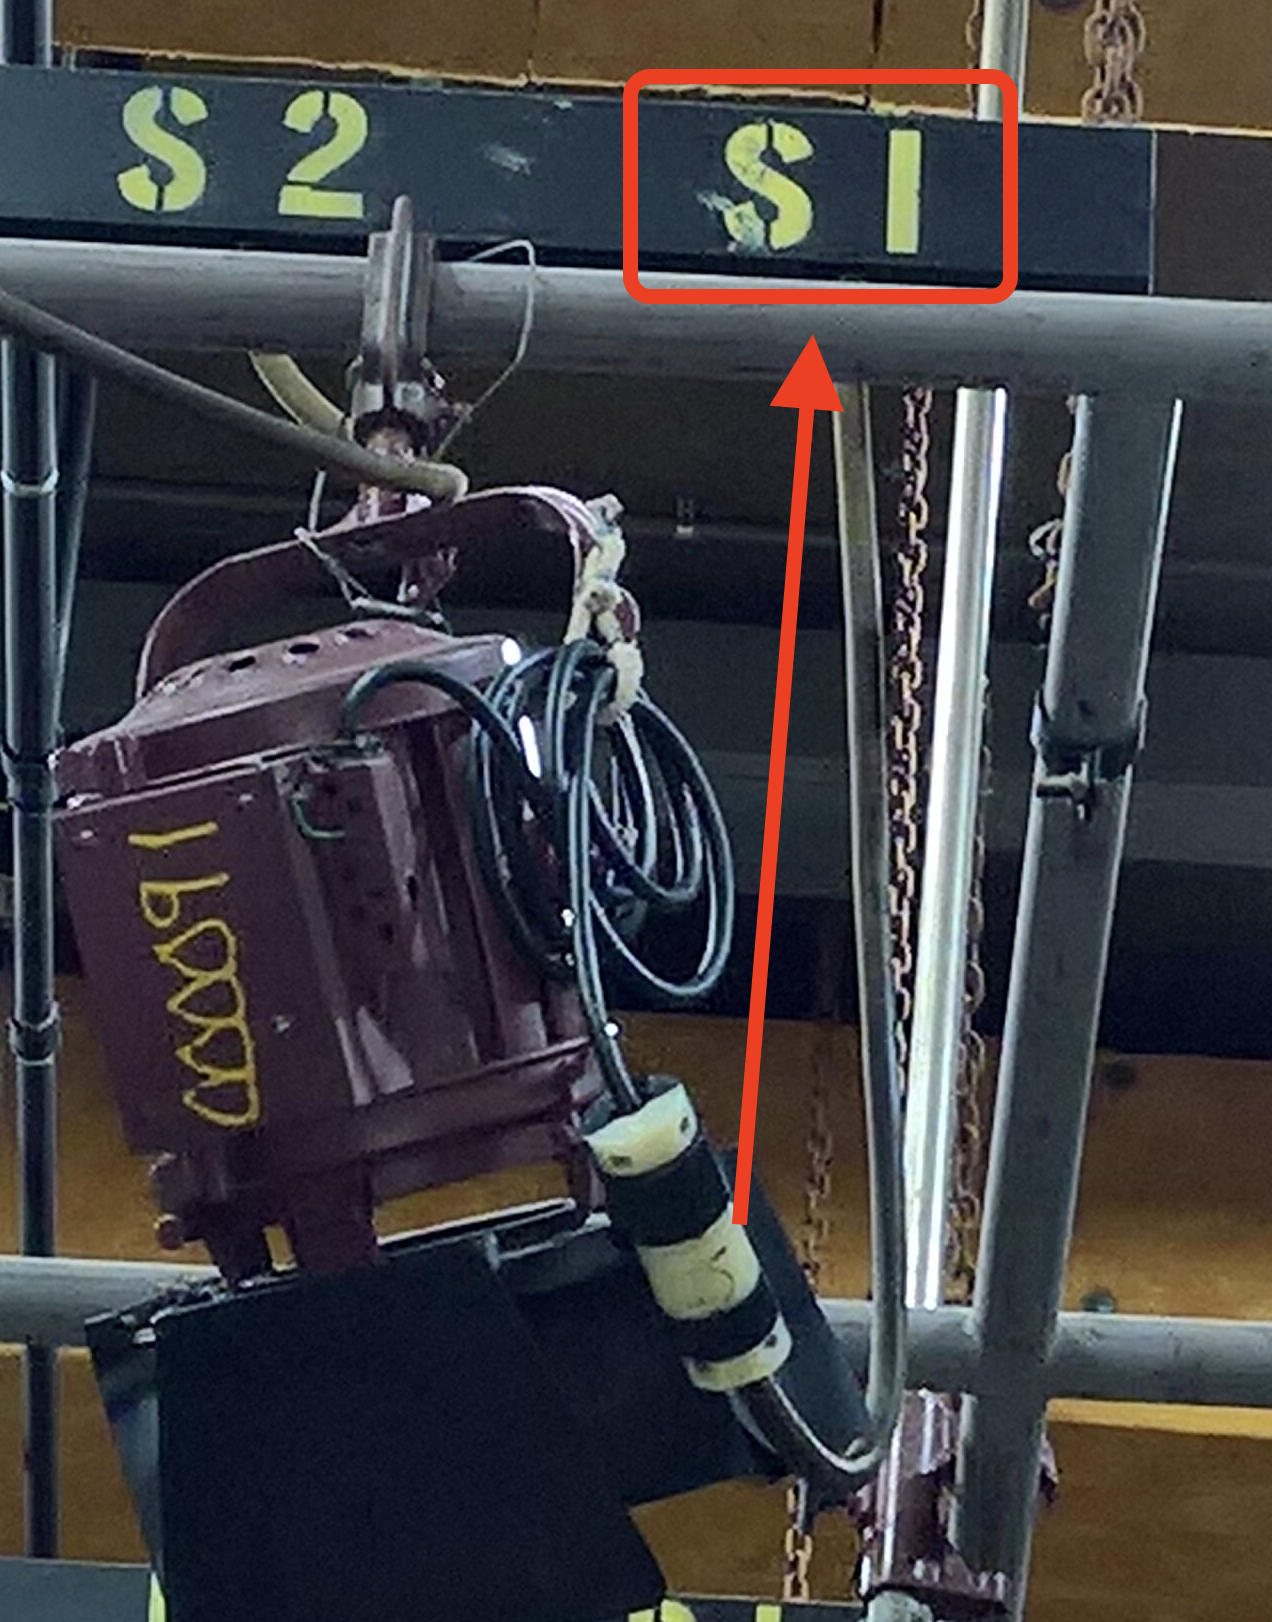 |
| Next we need to find the "Circuit" to turn on that matches "S2"
on the vertical side and the "1" on the horizontal side. |
|
|
| Press "Right" arrow till you get to menu #9 |
| Choose "Yes" |
| Hit ESC to get to the home page. |
| Select 1. Or Patch |
| Choose 1. "Edit Patch" click on F3 to select |
| Enter in the circuit to assign to the board. "73@40" and follow that by pressing the asterisk key ( * ) / FX PAGE button |
| Asterisk key that is the same as "enter" to set the dimmer assignment |
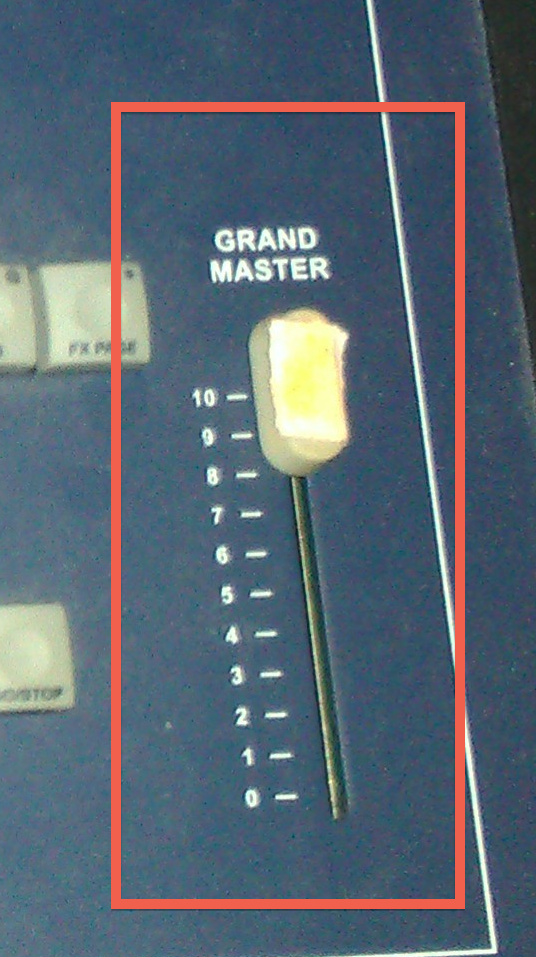
| Make sure that the scene mode is in "Single Scene" this seems to work the best Preset A should be up as well as Grand Master |
|
|


...
Overview
Content Tools