Page History
Identify your over cranked clips. Open Resolve or Premiere and check the FPS column of your source footage.
(It's weird that Resolve thinks our example is 120 fps and Premiere thinks they are 119.88 fps) |  or or  |
Open After Effects (we're using v14.0.1.5 here, but I could do this in version 4.1) |  |
| File > Import your over cranked files |  |
Your clips should show up in your project window. Notice they should also have a high frame rate (119.879 fps in our example) |  |
Select one of your over cranked files. Make note of its duration. (3:01 in our example here)
(After Effects uses the Greek Symbol Delta for duration (yay college)) |  |
| Right click on the selected clip and choose Interpret Footage > Main... |  |
Select the "Conform to frame rate:" |
radial button and type in the frame rate of your |
Avid project (we're 23.976 fps here) |  |
| Click OK |  |
Notice that your clip's duration is longer. (it was 3:01, now it's 15:00) | 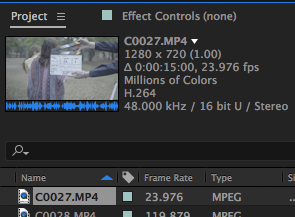 |
| Right click on that same clip and choose Interpret Footage > Remember Interpretation |  |
| Select the other clips in the project window |  |
Right click choose "Interpret Footage > Apply Interpretation" to the other selected clips in your project window |  |
| Notice that all of their frame rates have changed and their durations are longer. | 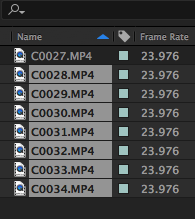 |
Now you need to set up Render Settings... and Output module... Templates | |
| Choose "Edit > Templates > Render Settings..." |  |
| Click the "Edit..." button |  |
These settings are probably fine and probably don't need to be changed, but just make sure yours looks like this, unless you're doing interlaced or something weird. Click OK Click OK |  |
| Choose "Edit > Templates > Output Module..." |  |
| Click the "Edit..." button |  |
| Click Format Options | 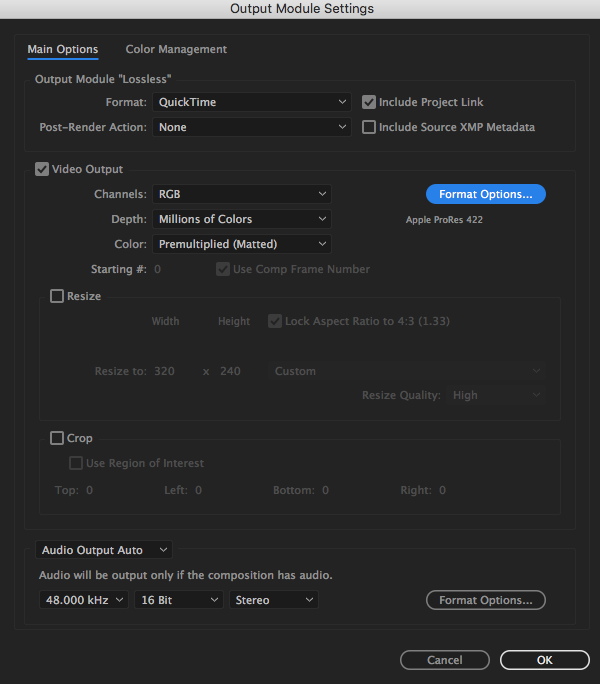 |
Choose a video codec like Apple ProRes 422 Click OK Click OK Click OK (Don't expect your audio to be in sync...this happens when you mess with the laws of physics) |  |
| Choose "Window > Render Queue" |  |
| The Render Queue shows up where the timeline would be |  |
| Drag one clip in your project window to the Render Queue |  |
Click "Not yet specified" next to Output To: |  |
Choose a Render destination folder Click Save |  |
| Select the rest of your clips | 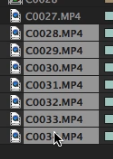 |
| Drag them to the Render Queue |  |
| Notice Compositions were made for every clip and added to the render Queue with the same destination |   |
| Click Render |  |
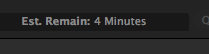
Wait... After Effects will Estimate, but After Effects often lies when it comes to time estimation.
|  |
| Quit After Effects (save if you want) | |
| Launch Avid |  |
| Open or create a project | |
| Use the Source Browser to locate your transcoded footage | 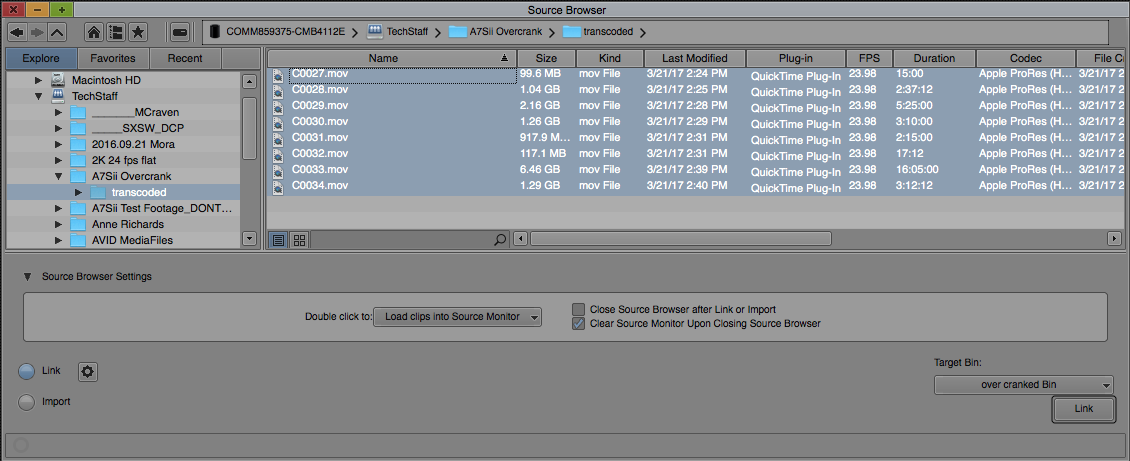 |
| Select clip(s) and click Link |  |
Check you footage to make sure it's what you expect. Then transcode or consolidate in Avid. The Audio will most likely be unusable, but we can all hope. | 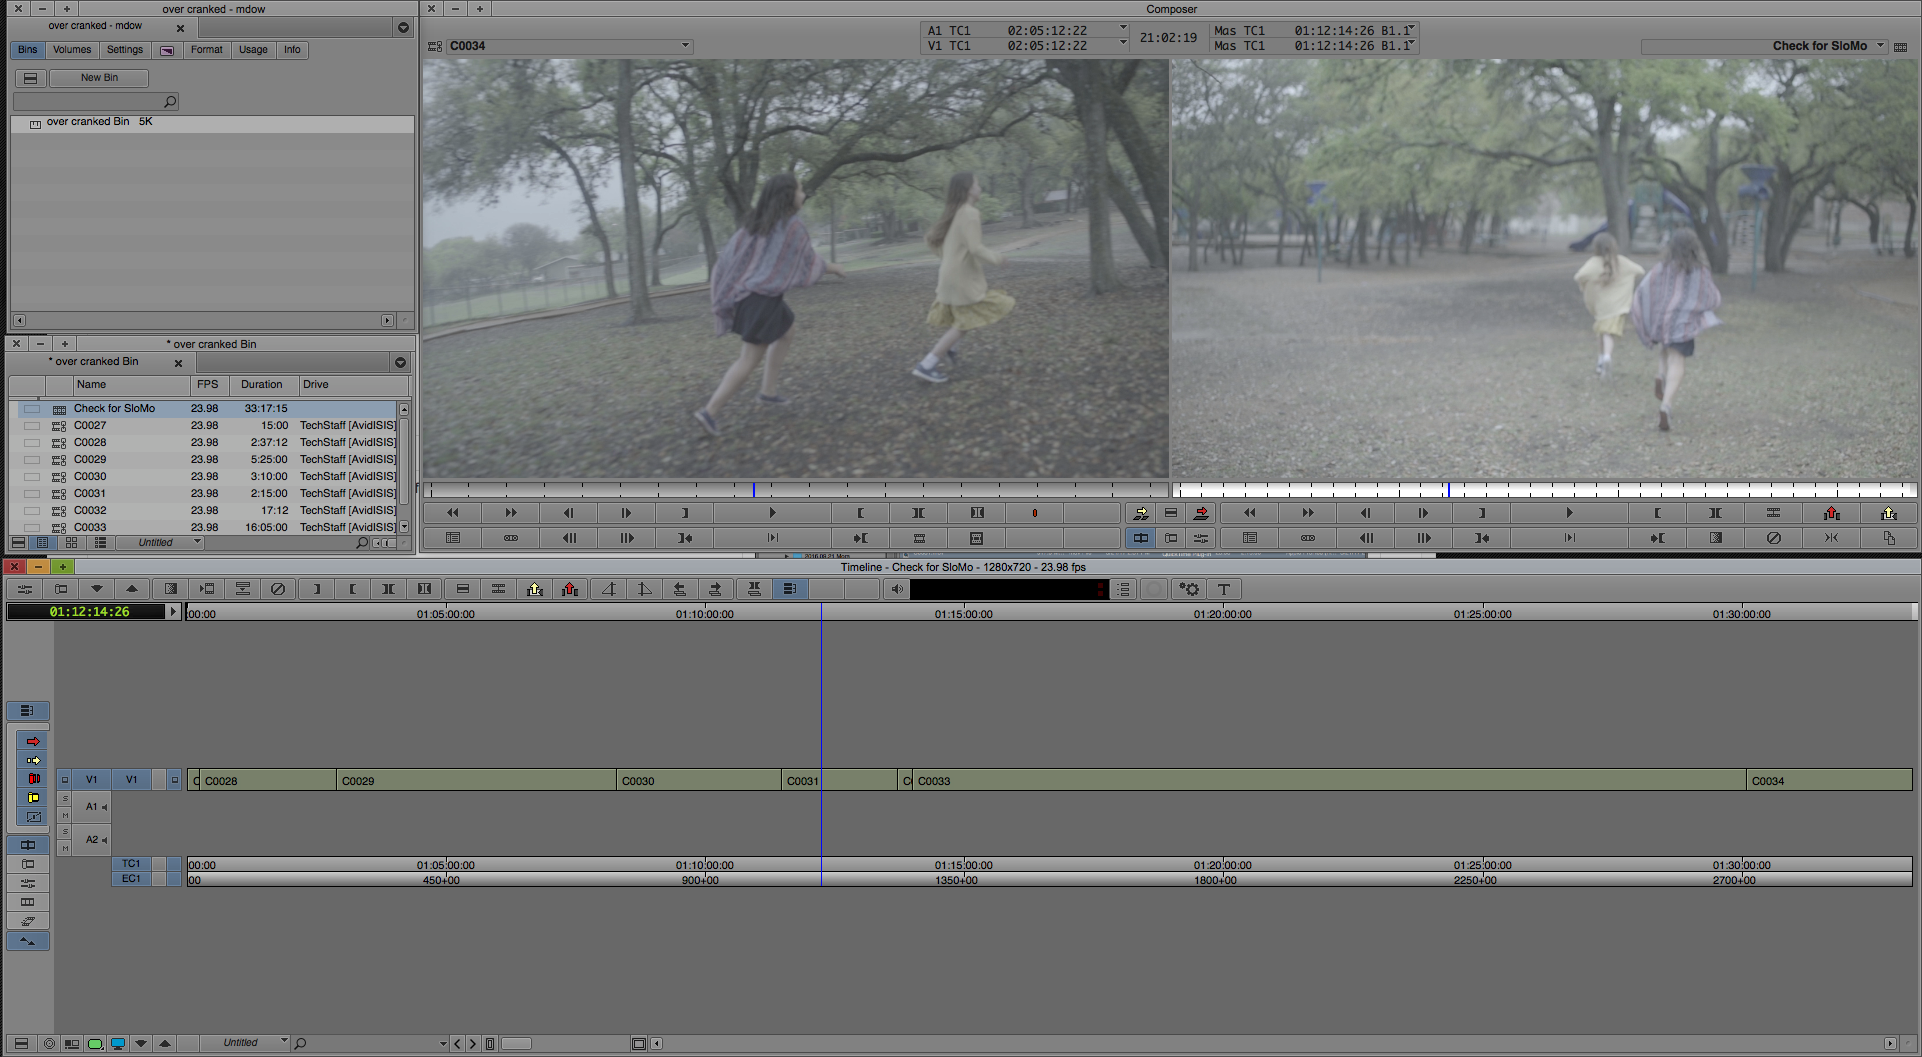 |
Overview
Content Tools