Page History
| Open Davinci Resolve Version 15 |
|
| click on "New Project" |
|
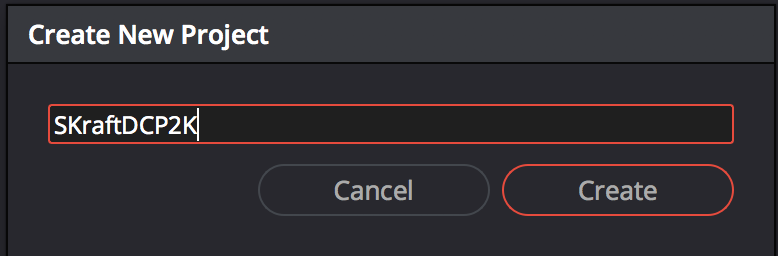
| Name the project and click on "Create" |
|
| Click on Media Tab |
|
Find the 2K clip with the 5.1 interleaved audio that was exported Right click it and choose "Add into Media Pool" |
|
Choose to Change the frame rate Click "Change" |
|
| Next - Go to the Edit Tab |
|
Right click in the Media Pool area >Choose >Timeline>CreateNew Timeline |
|
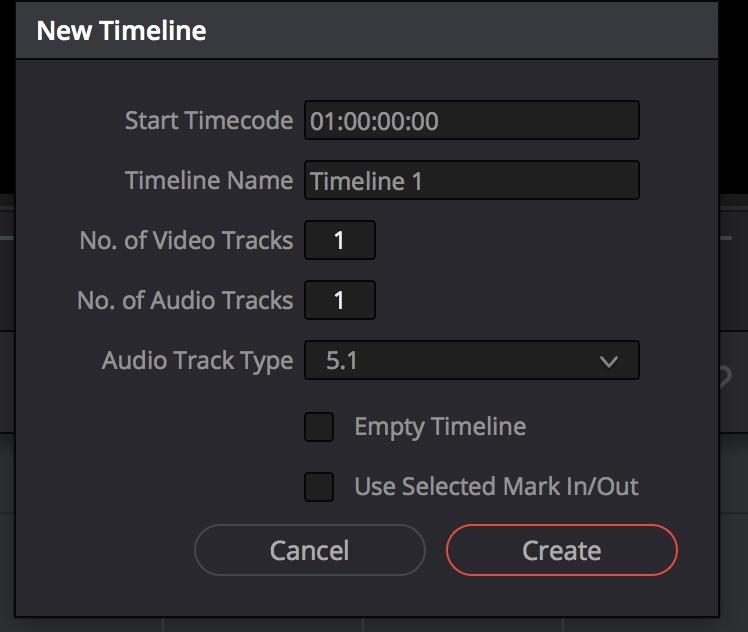
Set the Timeline to be 1 Video Track 1 audio track that is 5.1 Uncheck Empty Timeline Click on "Create" |
|
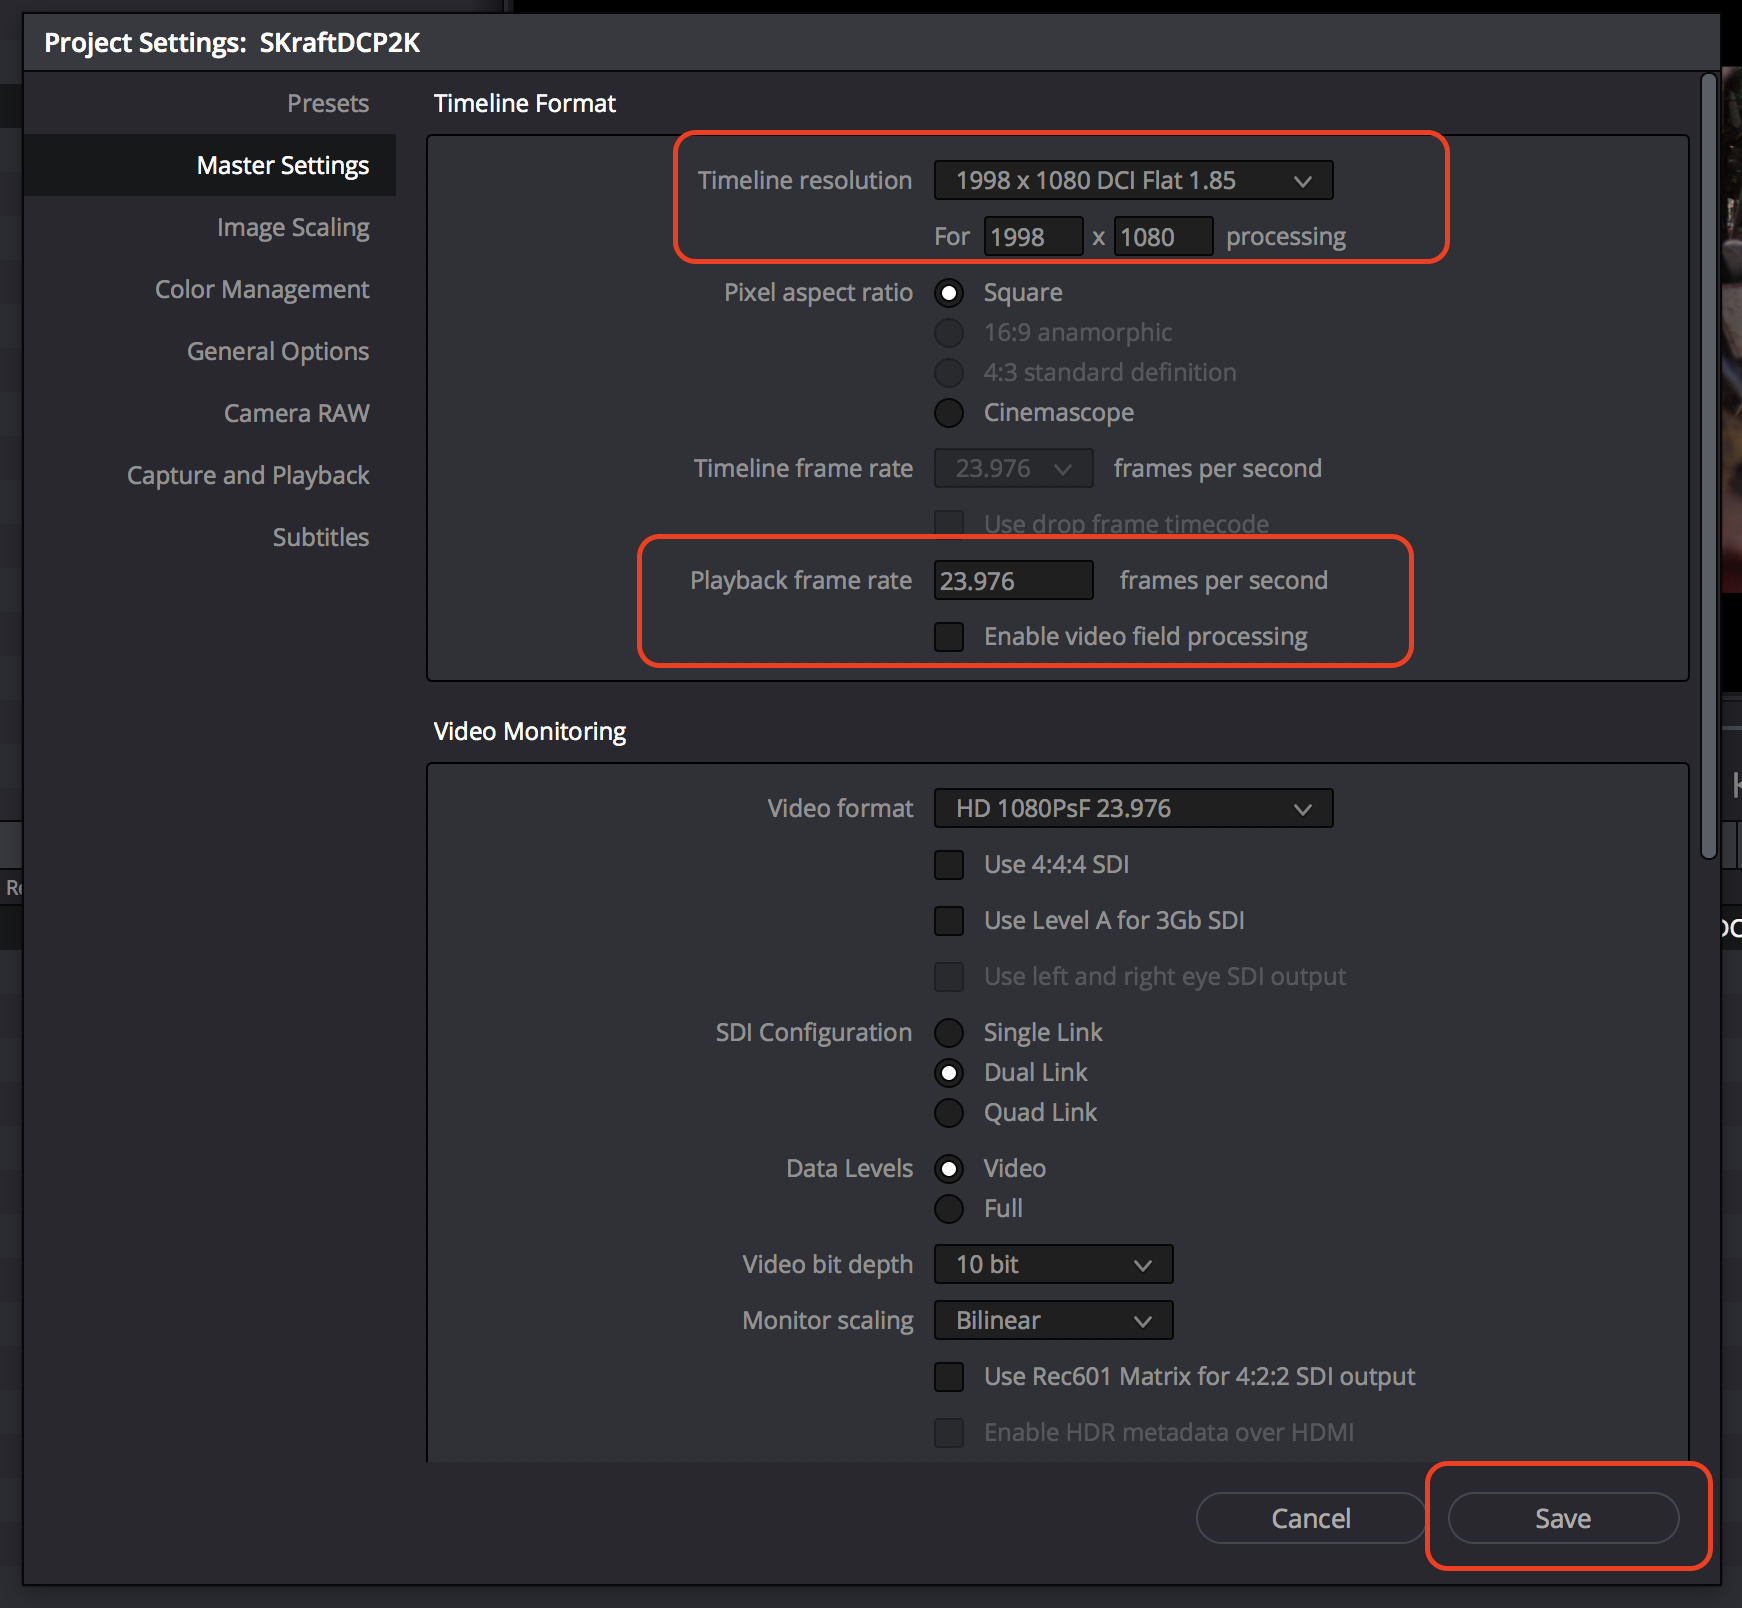
| Click on the "Gear" Icon to set the correct aspect ratio for the timeline |
|
We have a "flat" DCP 1998 x 1080 so make the timeline resolution 1998 x 1080 Same as if you had a 2048 x 858 Scope DCP Click on "Save" |
|
Check Image Scaling Use this only if someone has given you a file that is not scope or flat Stretch Frame to all corners or try all the input scaling settings to make sure you are scaled right |
|
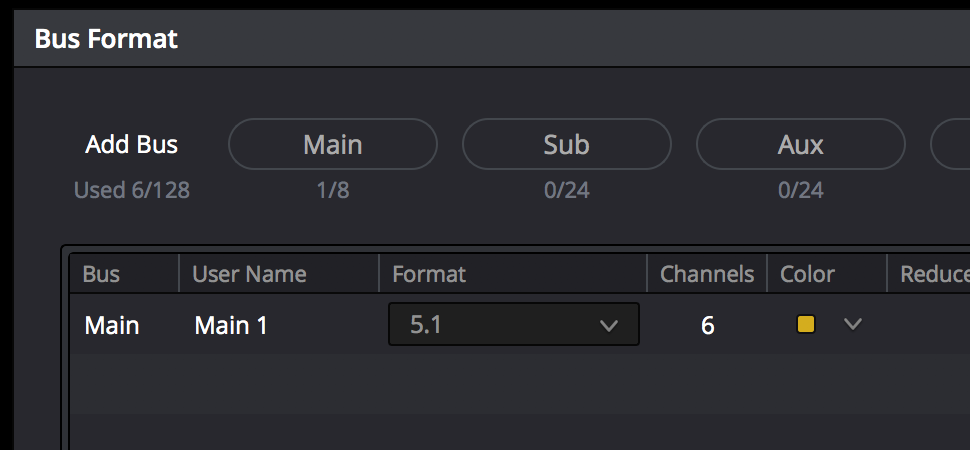
| Next go to >Fairlight>Bus Format |
|
Choose Format 5.1 NOT 5.1 FILM!!Click on OK |
|
| Go to the Deliver Tab |
|
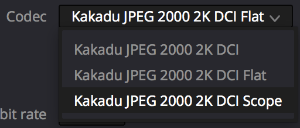
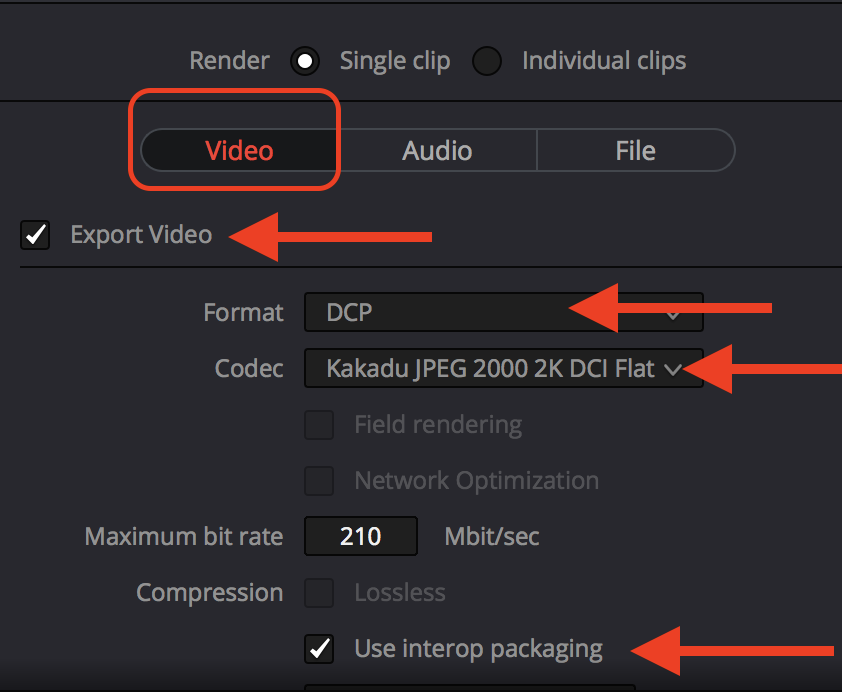
Choose Format - DCP Codec - Kakadu Jpeg 2000 2K DCI Flat or Scope depending on what type of DCP you are making
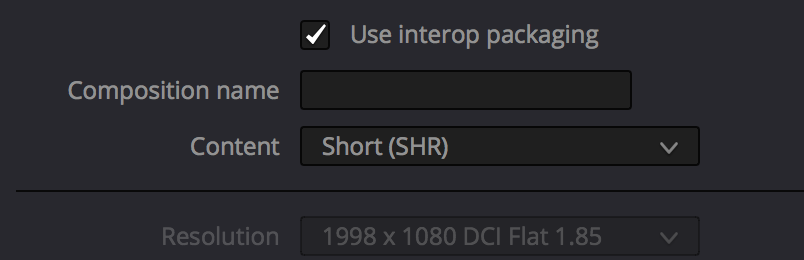
Make sure interop packaging is checked |
|
Content - SHR or ?
|
|
Change the Composition Name to what you want the DCP Named when it shows up on the Server |
|
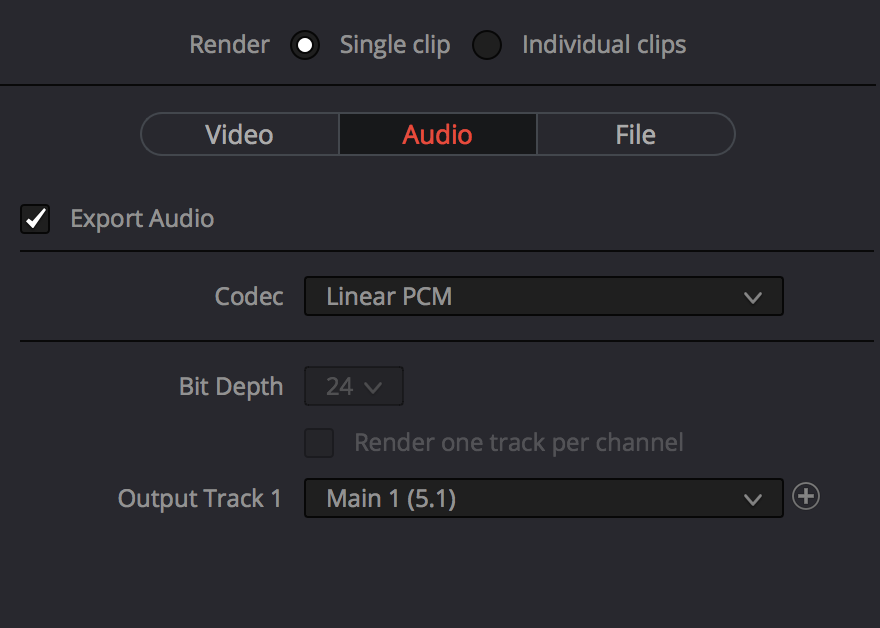
Audio choose Codec Linear PCM Output Track Main 1 5.1 |
|
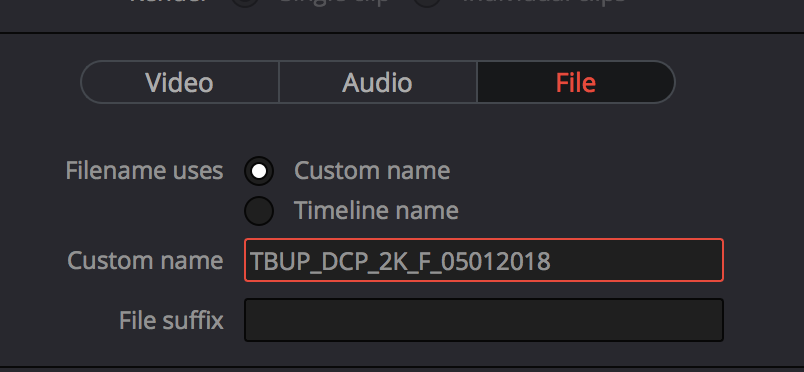
Click on "File" tab and change the "Custom Name" to what you want the DCP Named |
|
| Click on Add to Render Queue |
|
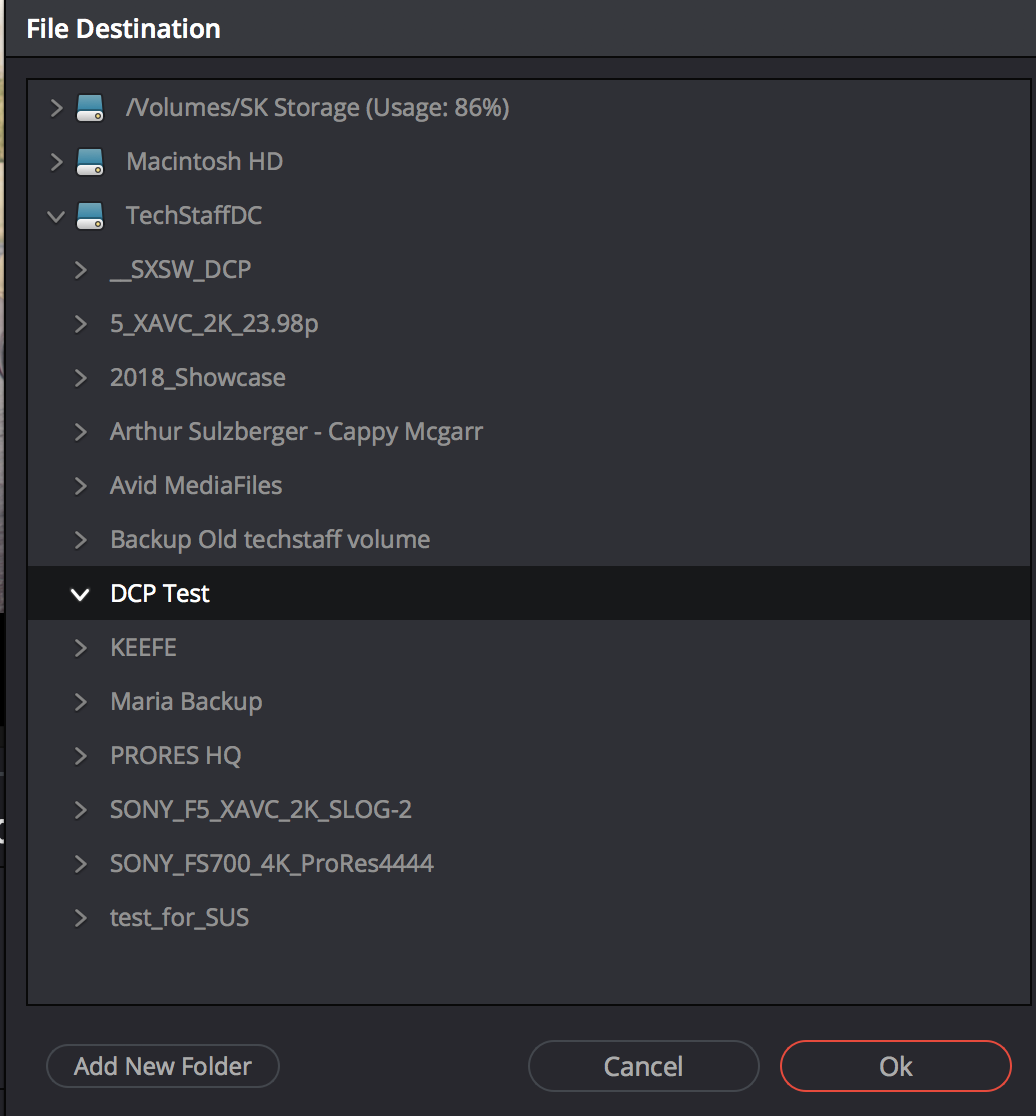
Choose the destination and click on the drive/folder you want to save the DCP folder to. |
|
| Start Render |
|
| Notice the colors get weird looking in the render that is normal. |
|


Overview
Content Tools