Page History
...
Open your course in Canvas
- From the sidebar, click "Zoom"
- Click the blue "Schedule a New Meeting" button
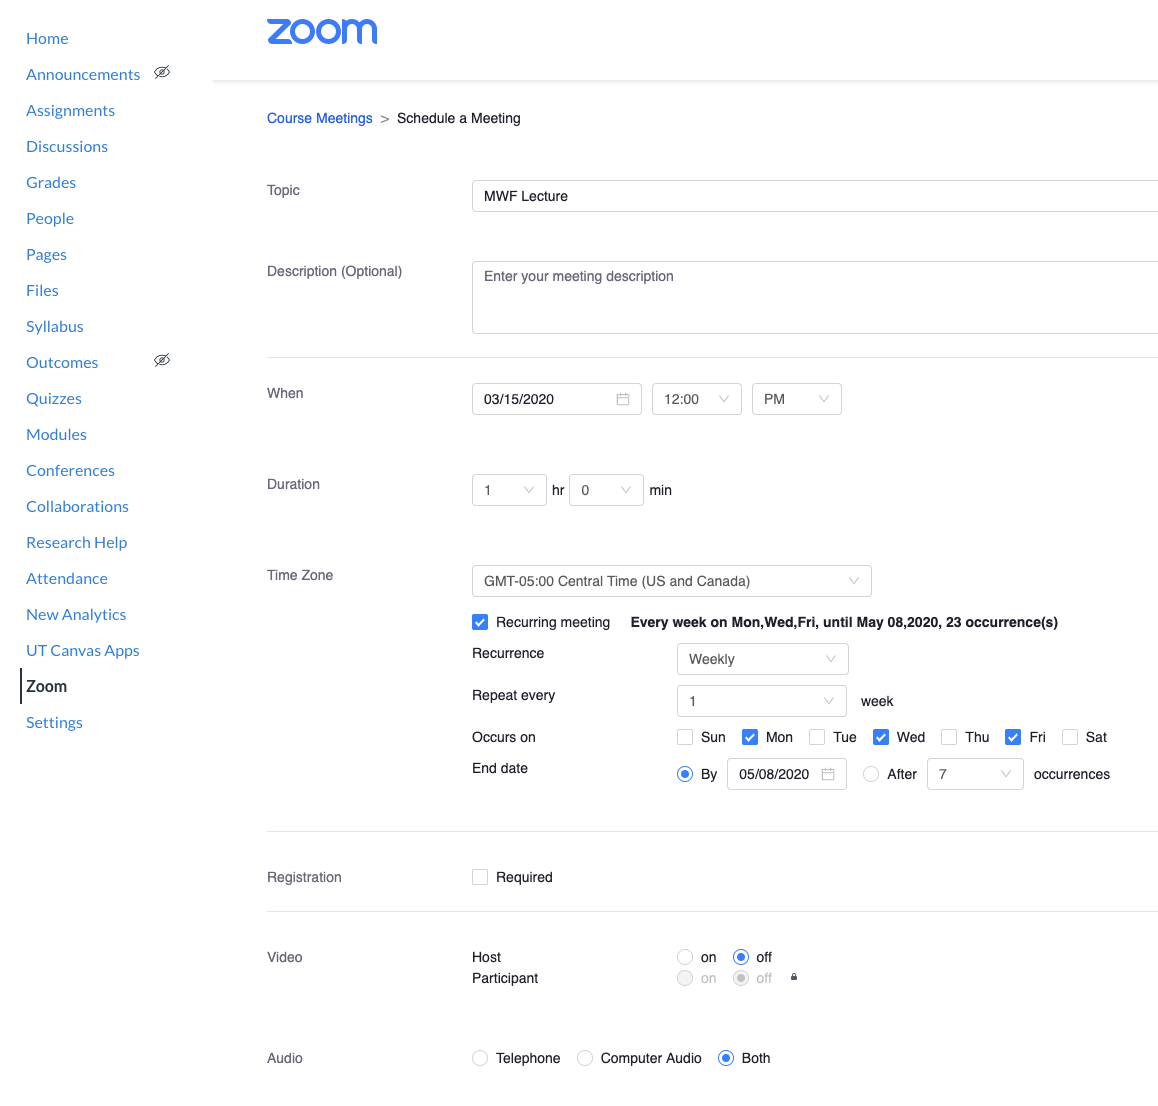
- Fill out the settings for your meeting as desired. You can provide a topic, description, decide the time and duration, and more.
- We recommend setting the topic to the course number, e.g., "E 303D"
- Your meeting time and duration should be set to that of your regular class session. In our below example, the class meets for an hour at 12pm.
- By selecting "Recurring meeting", you can automatically schedule the event to repeat each week. Use the "Weekly" option and select the days on which your class occurs.
- "Require meeting password" is unchecked by default. This option is not necessary and may complicate the process of joining for your students.
- Be sure to check the "Mute participants upon entry" option. This will prevent background noise from students or other participants from being immediately broadcast when they enter the meeting.
"Enable waiting room" will be set on by default, to restrict unauthorized or unwanted access by parties external to UT.
- This is, in part, a security measure meant to decrease potential disruption of Zoom meetings.
- "Only authenticated users can join" is enabled by default for security. This restricts outside users without Zoom accounts from accessing your meetings.
- If you plan to have a guest lecturer or other non-UT attendee to this meeting, click the dropdown box and select "Sign in to Zoom". This will allow your guests to join your meeting with a free Zoom account.
You can record your lecture using the "Record the meeting automatically" option shown in the screenshots below. When recording, use the "In the cloud" option. This will automatically save your Zoom meetings as recordings that you can view in the "Cloud Recordings" tab.
- Once recording has stopped, it will be processed by Zoom and automatically added to your Cloud Recordings. These may take some time to process, after which you will receive an email notification stating that they are ready.
- Please note: You will need to click the "Publish" toggle on these recordings to make them available to your students.
- Students can access these recordings from the Canvas sidebar for the course under the "Zoom" heading
- Once recording has stopped, it will be processed by Zoom and automatically added to your Cloud Recordings. These may take some time to process, after which you will receive an email notification stating that they are ready.
- Alternative hosts: Enter the email address (theusersEID@eid.utexas.edu) of another Zoom user who is Licensed - to allow this user to start the meeting in your absence. Read more about Alternative Hosts.
- When configured to your liking, click "Save" to save your meeting. It will automatically be added to your Canvas calendar, as well as to your students' calendars.
 e
e


| Multiexcerpt | ||
|---|---|---|
| ||
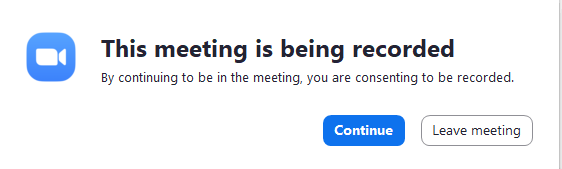
Regarding Recording ConsentIf you are recording a Zoom meeting of any kind, all participants will receive a notice, shown below, that they are being recorded as part of the meeting. They mustconsent to the recording or they will be removed from the meeting. They will receive this consent notice regardless of if a meeting is set to be recording automatically or if recording is started during the course of the meeting. Please familiarize your students with this procedure if you plan to record class sessions.
|
...
Overview
Content Tools