Page History
(note you must have the paid version of the program the free version will not work)
CMB 4.120A or CMB 4.112J or CMB 4.112H have studio versions
| Step One you need to export a 5.1 2K or 4K file in AVID or Premiere | |
| Open Davinci Resolve Studio |
|
| click on "New Project" |
|
| Name the project and click on "Create" |
|
| Click on Media Tab |
|
Find the 2K clip with the 5.1 interleaved audio that was exported Right click it and choose "Add into Media Pool" |
|
Choose to Change the frame rate Click "Change" |
|
| Next - Go to the Edit Tab |
|
Right click in the Media Pool area >Choose >Timeline>CreateNew Timeline |
|
Set the Timeline to be 1 Video Track 1 audio track that is 5.1 Uncheck Empty Timeline Click on "Create" |
|
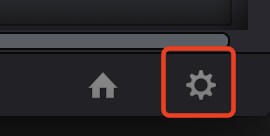
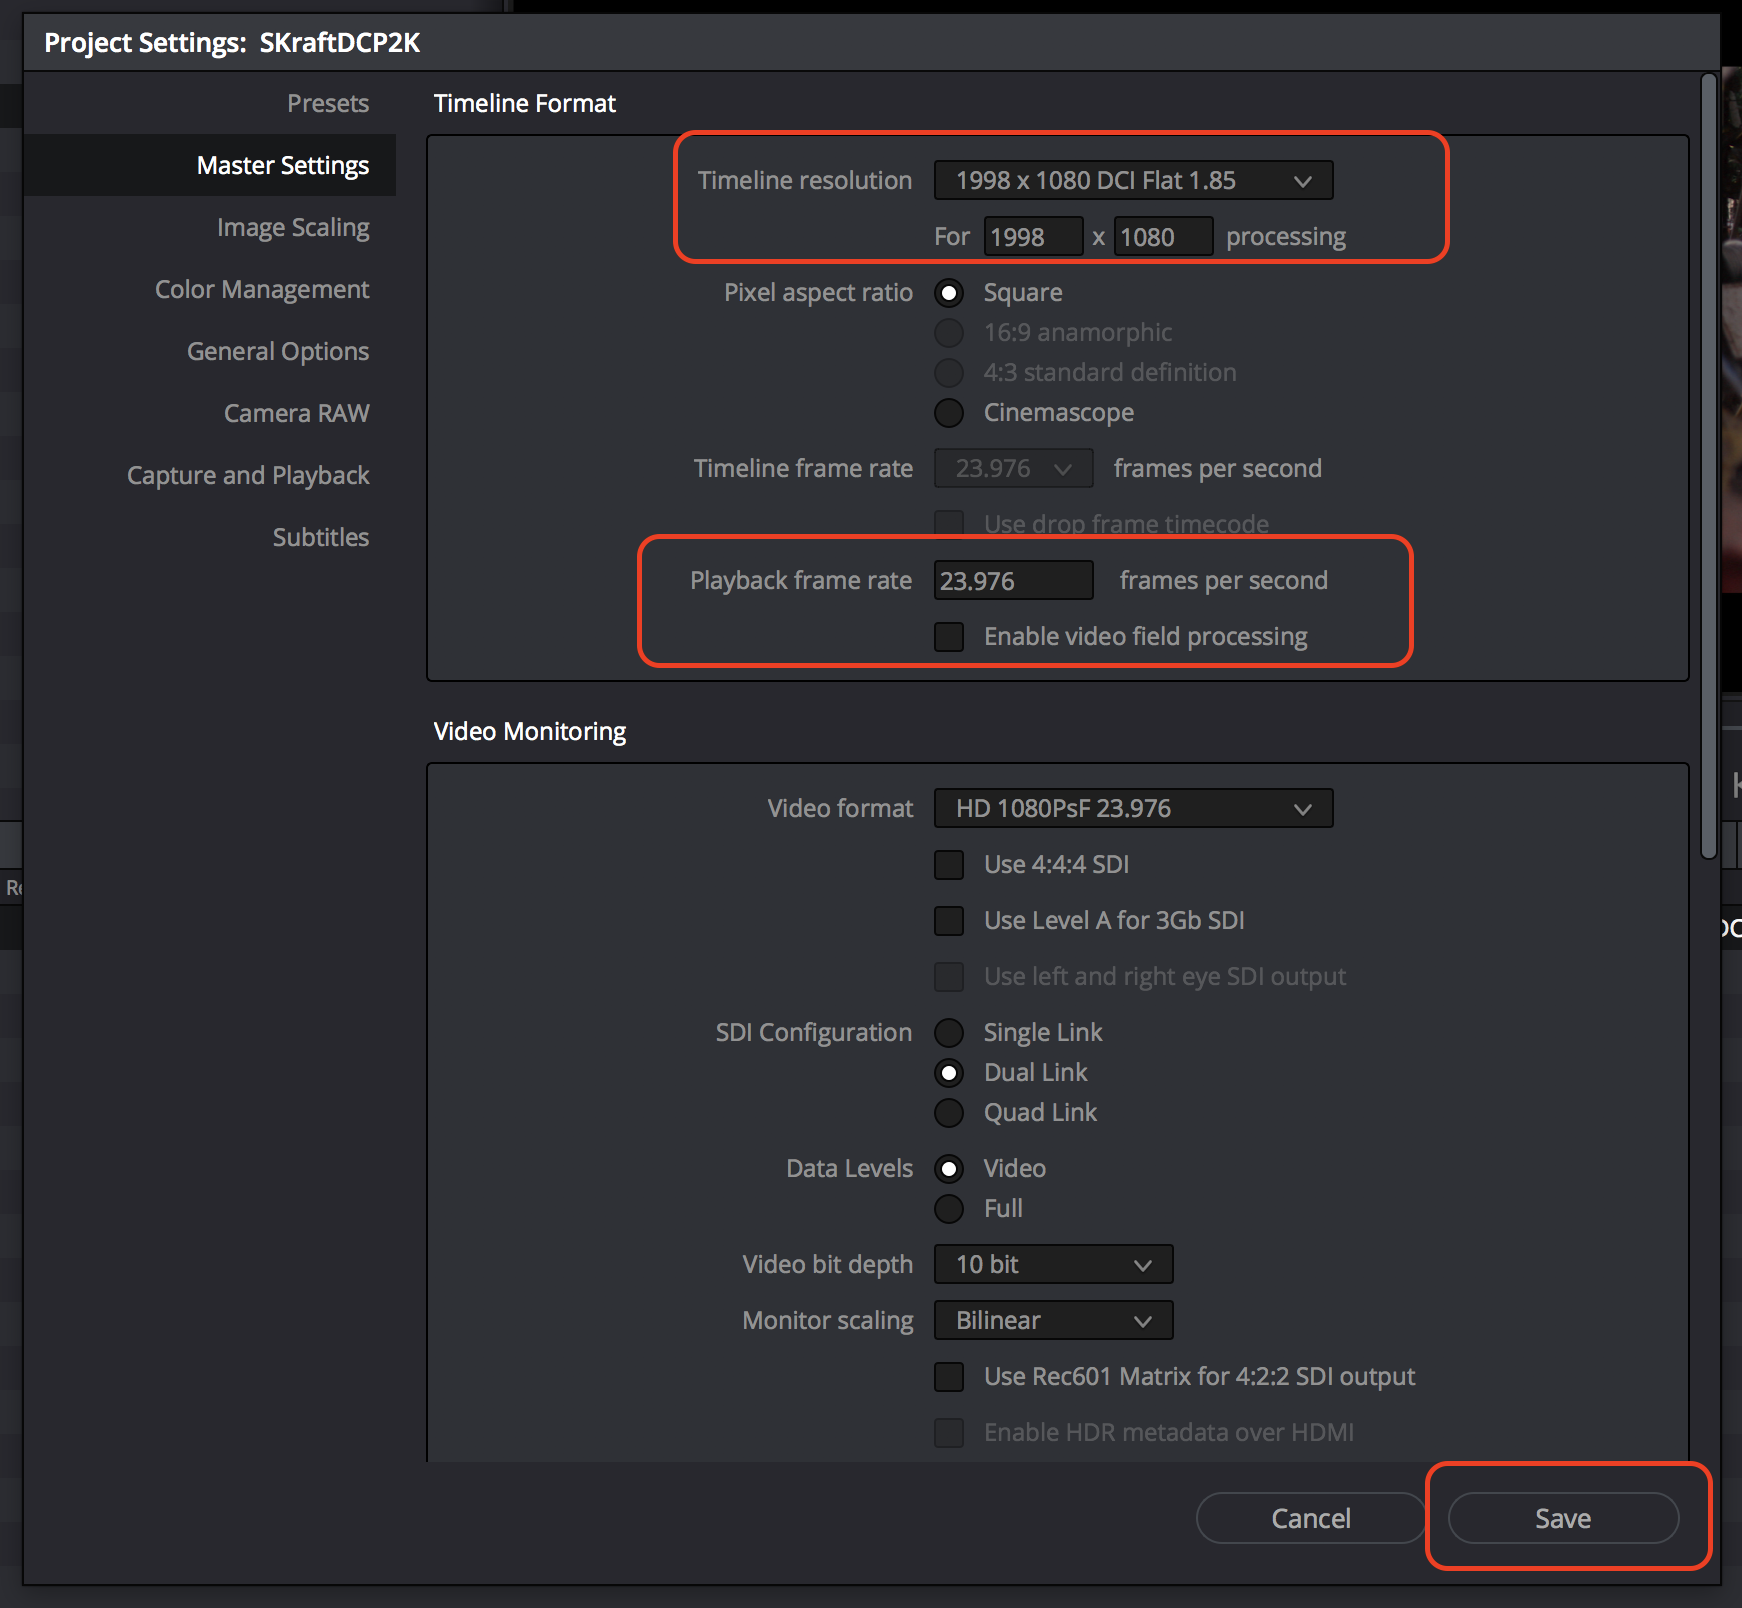
| Click on the "Gear" Icon to set the correct aspect ratio for the timeline |
|
Choose Master Settings We have a "flat" DCP 1998 x 1080 so make the timeline resolution 1998 x 1080 Same as if you had a 2048 x 858 Scope DCP Click on "Save" |
|
Check Image Scaling Use this only if someone has given you a file that is not scope or flat Stretch Frame to all corners or try all the input scaling settings to make sure you are scaled right |
|
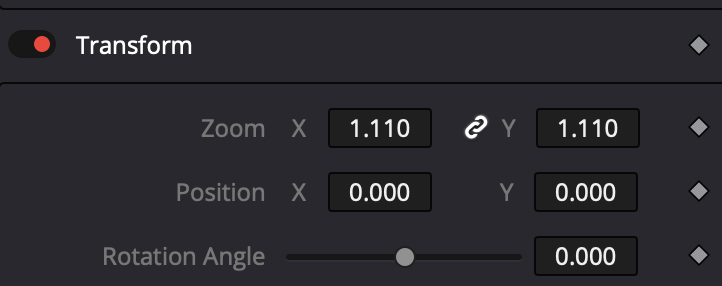
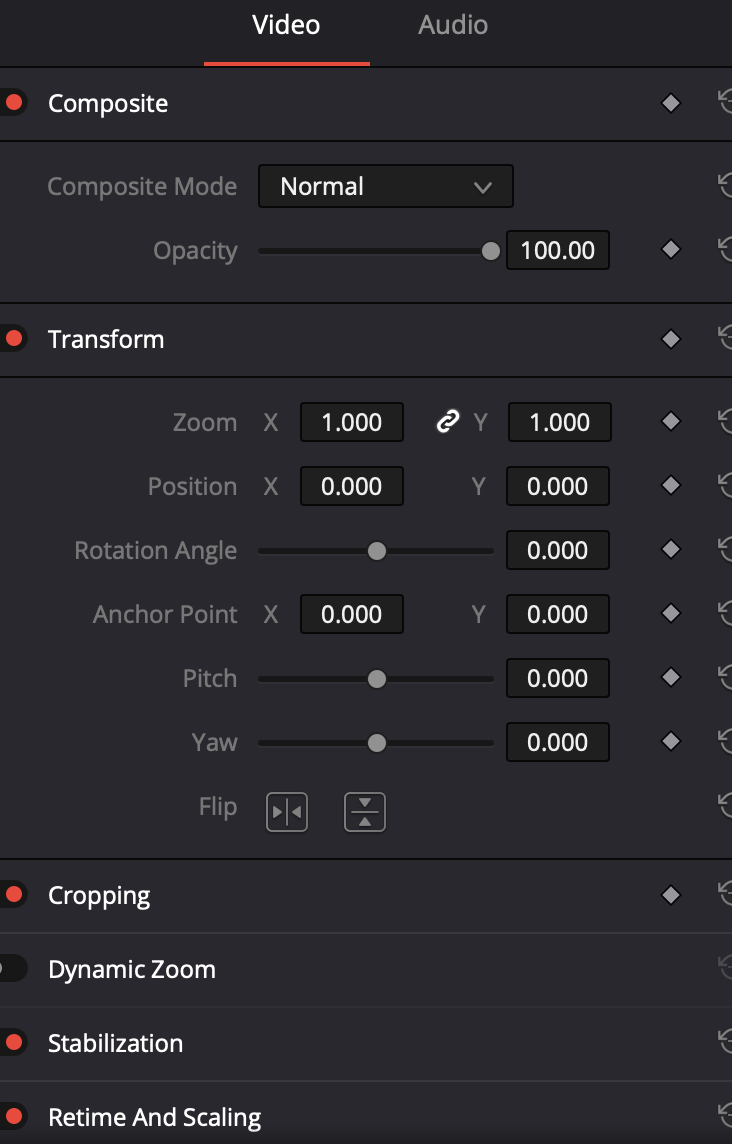
One Note if you need to scale your file in the timeline Click on the upper left hand window and choose Inspector |
|
Here you can scale the image if you have a flat to scope conversion In other words if you have a flat DCP playing at a scope venue you can scale it up and loose a little of the top and bottom .110
|
|
| Next go to >Fairlight>Bus Format |
|
Choose Format 5.1 NOT 5.1 FILM!!Click on OK |
|
| Go to the Deliver Tab |
|
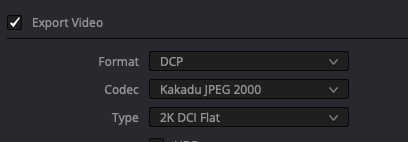
Choose Custom Click on the Video Tab Choose to Export Video Format DCP Codec Kakadu JPEG 2000 Type 2K DCI Scope or Flat
Make sure interop is checked Resolution is usually auto detected but make sure it matches your Project Master Settings |
|
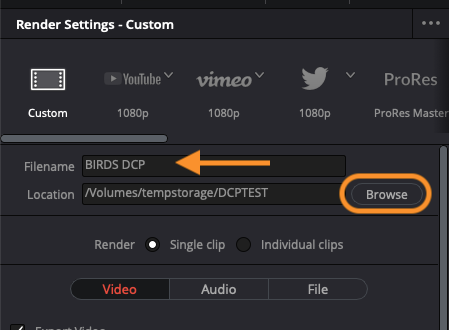
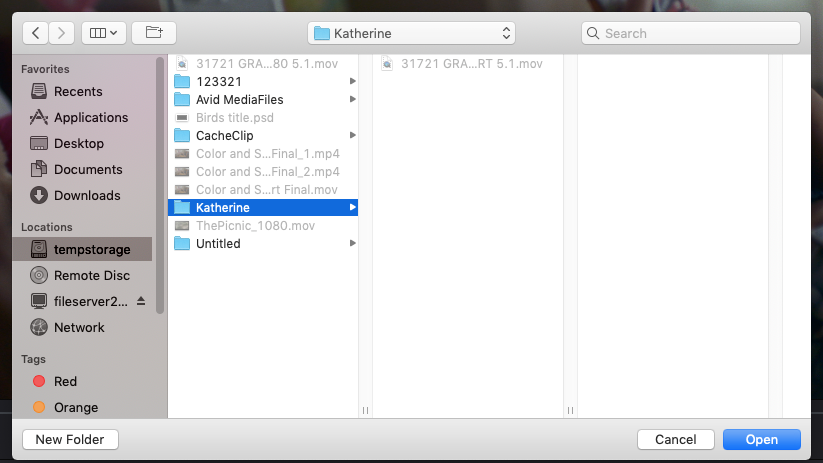
Click on Filename and title it Location browse to where you want to save the file |
|
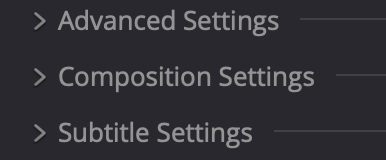
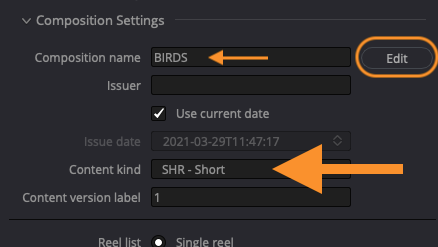
Next set the Composition Settings Click on Composition Settings |
|
|
|
DCP Name will auto populate as you put in info All the boxes here are important to make sure you label the DCP this way. Film Title - enter that if not already entered Frame Rate Choose 24 Use Encode aspect ratio is usually correct but double check that it matched the Master Project Settings Audio Language En - English or whatever Subtitle info Territory = US Resolution choose 2K 2048 x 1080 Audio Type 5.1 Surround choose IOP and None Package type Click OK |
|
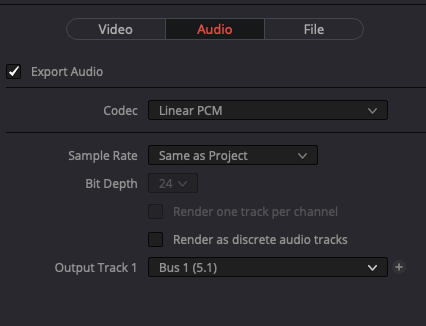
Audio choose Codec Linear PCM Output Track BUS 1 5.1 |
|
Select the name of the DCP in the top to copy the file name. |
|
Click on "File" tab and change the "Custom Name" to what you want the DCP Named paste the same name as the DCP folder name |  |
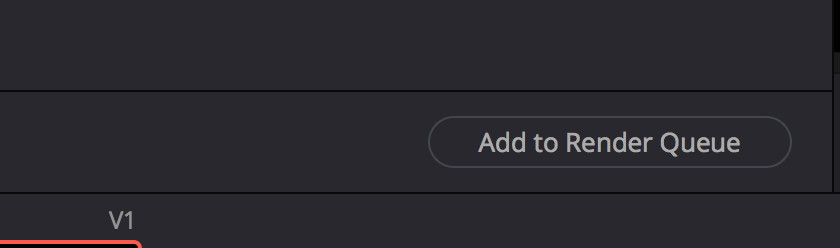
Click on Add to Render Queue |
|
If you have a STEREO DCP ??? We were getting this for stereo DCP - that is okay |
|
| Choose Render All |
|
| Notice the colors get weird looking in the render that is normal. |
|


...
Overview
Content Tools